How to Navigate Tags (Detailed)
This guide offers a straightforward approach to adding and managing tags in Podup, enhancing your content organization and discoverability. By following the step-by-step instructions, users can efficiently create, edit, and delete tags, ensuring their posts are well-categorized. Additionally, the guide provides extra tips for integrating tags directly into blog posts, making it a valuable resource for optimizing your content management process. Viewing this guide will simplify your tagging experience and improve overall workflow.

Tags and hashtags both help organize content, but their primary functions differ. Tags are general keywords used on websites and blogs for internal categorization and SEO. Hashtags, marked by a "#," are mainly used on social media to create clickable links that enable widespread content discovery and participation in trending topics.
1. Navigate to https://app.podup.com/home
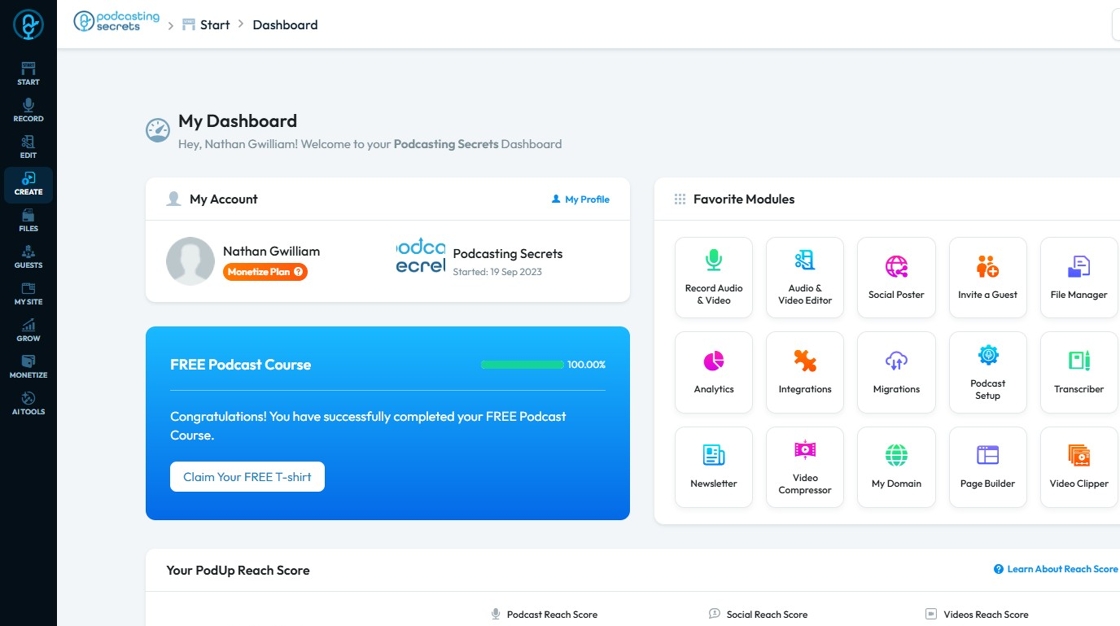
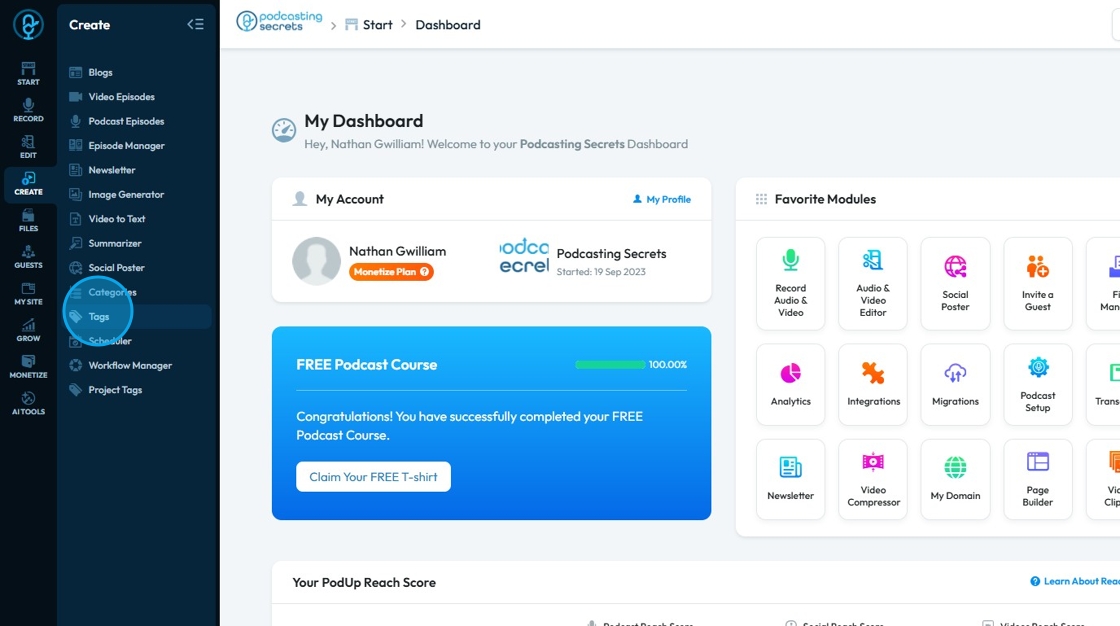
2. Click "Create"

3. Select "Tags"
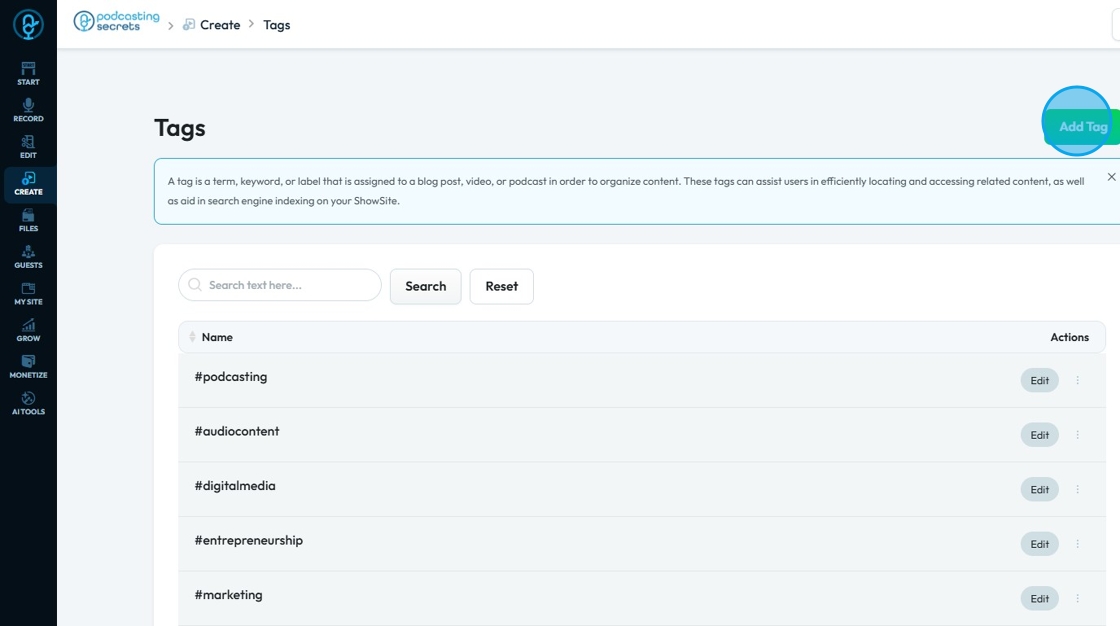
4. Click "Add Tag" to create a new Tag
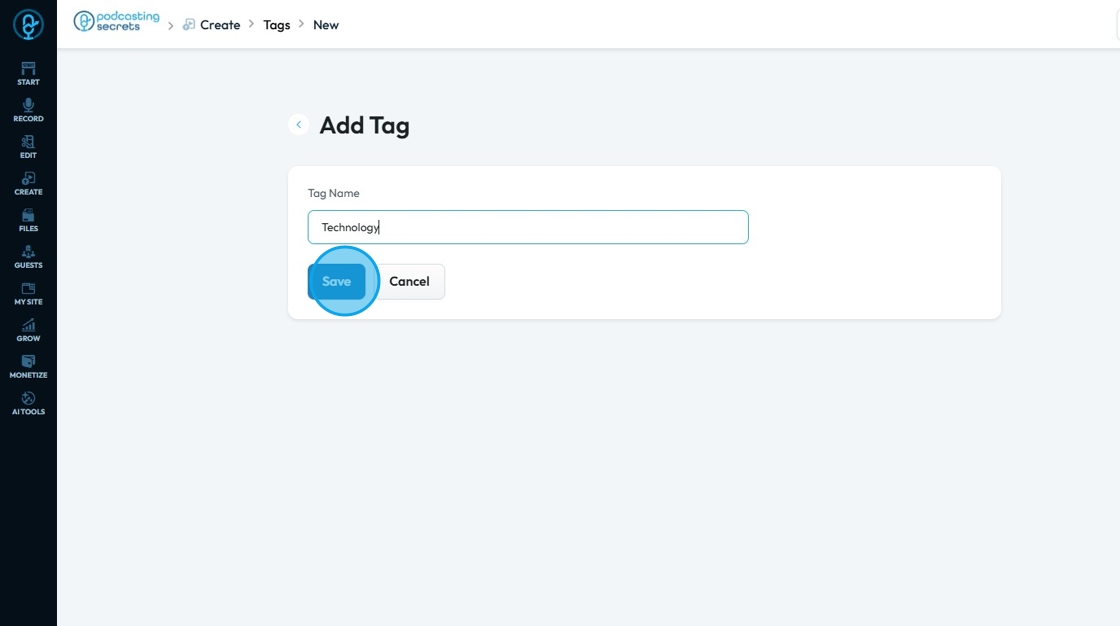
5. Click the "Tag Name" field to enter the name
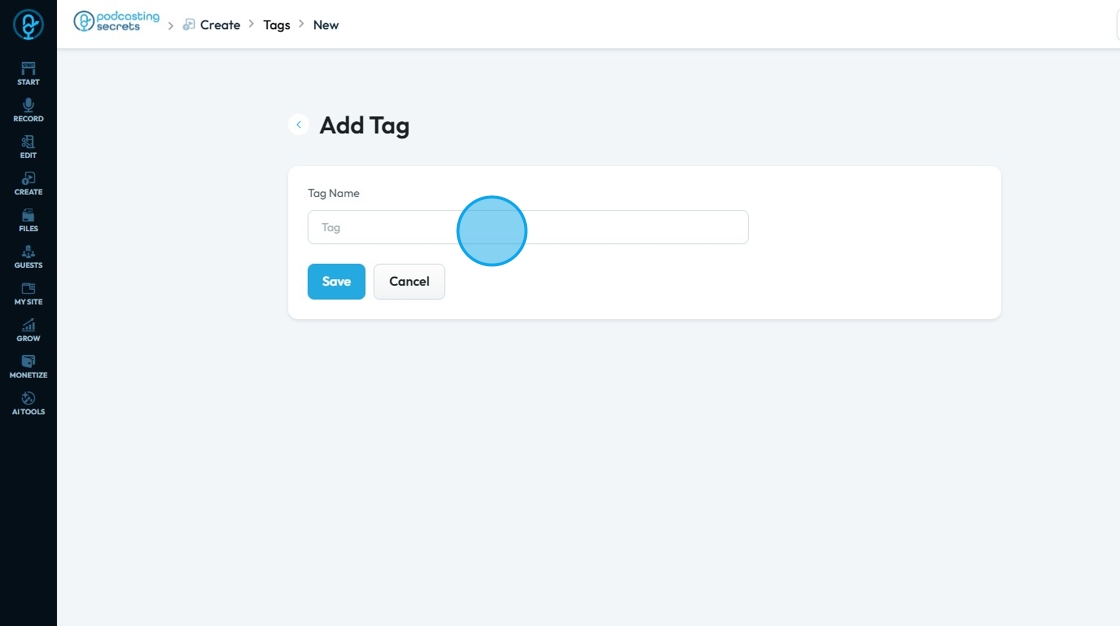
6. Write the desired tag and then click "Save" to save the tag or click "Cancel" to delete the progress
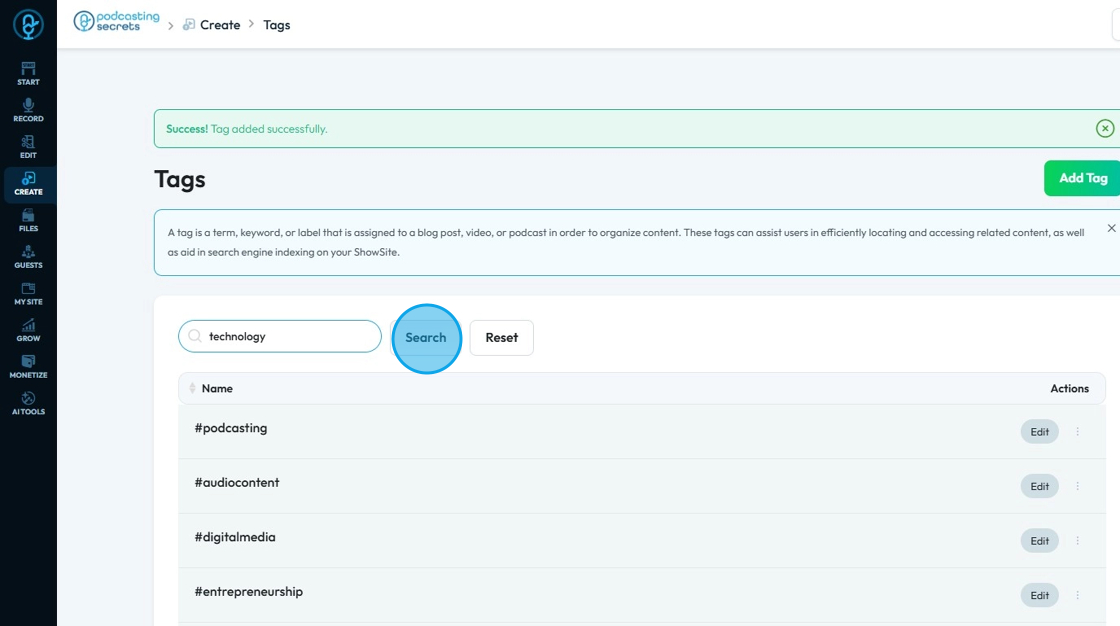
7. Once the tag is saved, a "Success! Tag added successfully" message will appear

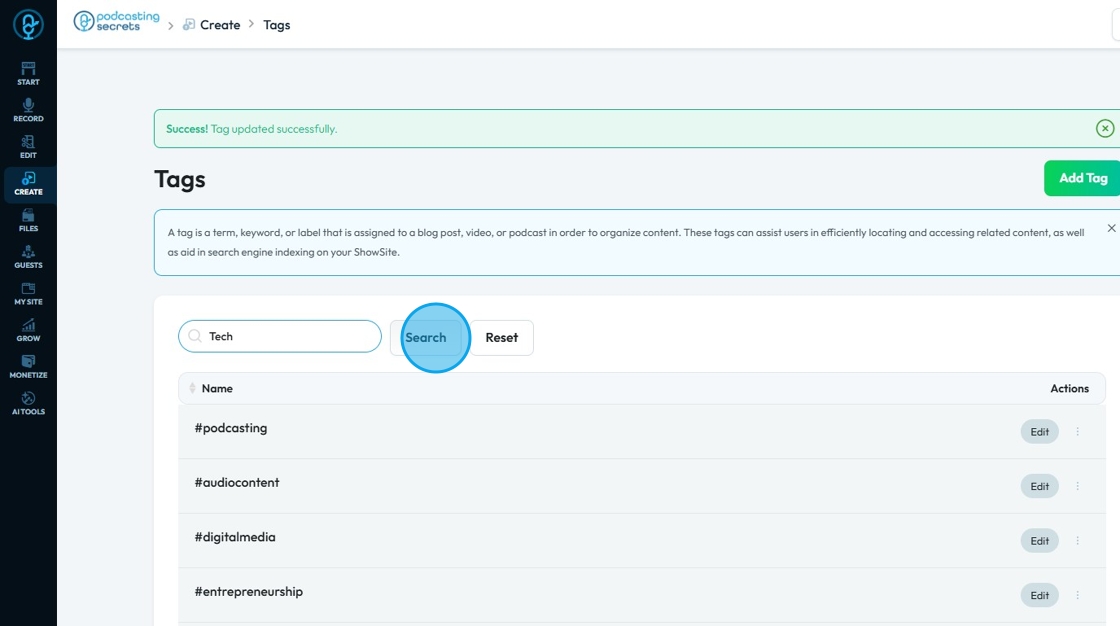
8. To find a tag, click the "Search text here" field

9. Enter the name of the tag and then click "Search"
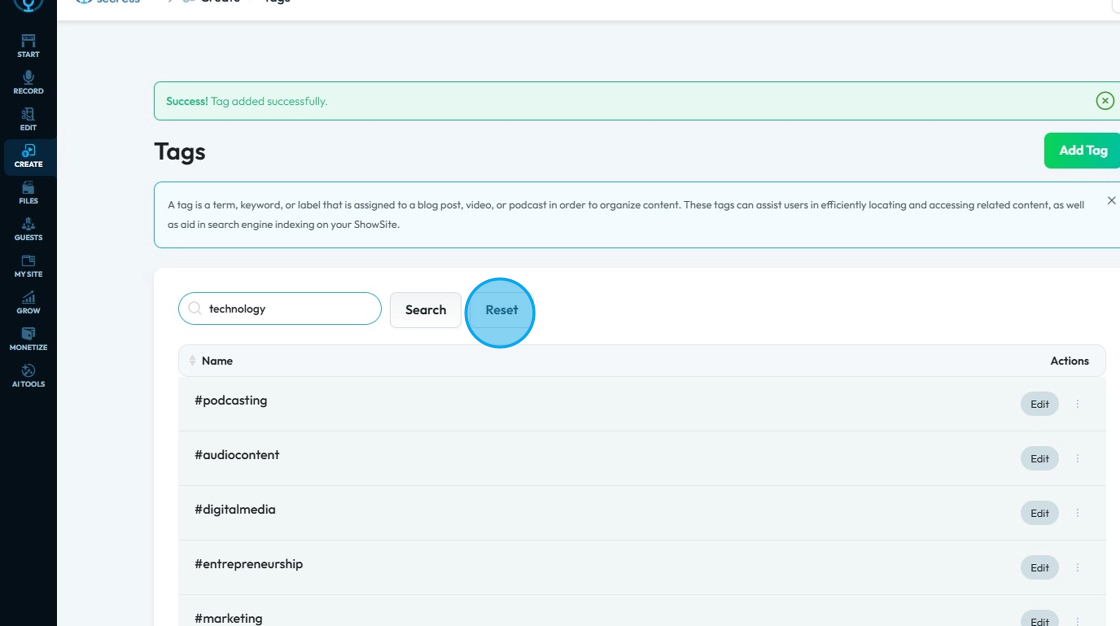
10. Click "Reset" to reset the tags to their original format
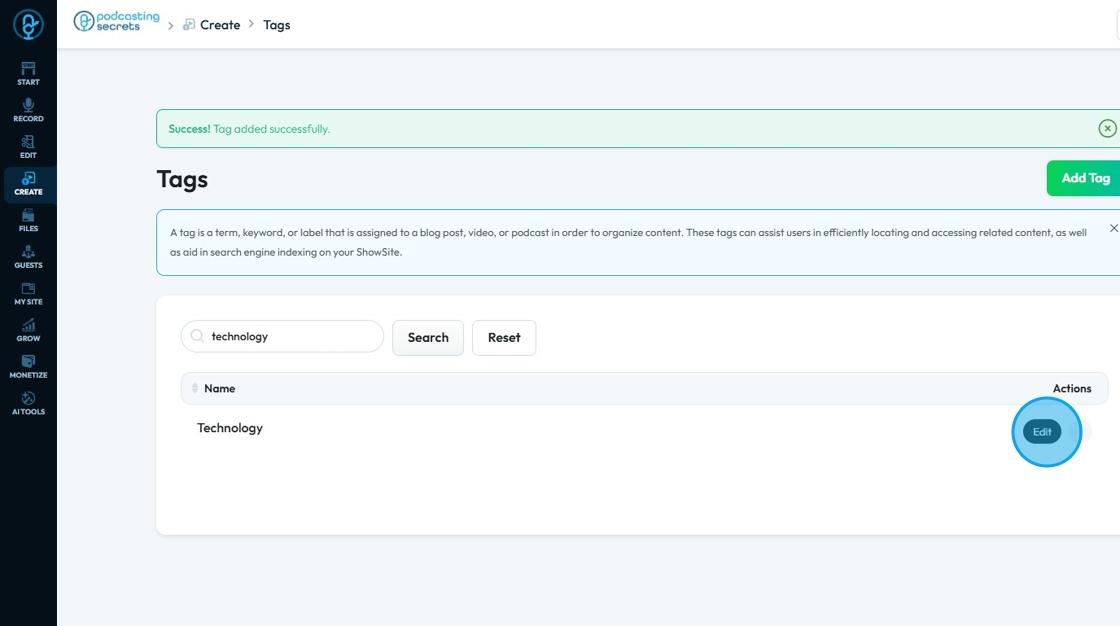
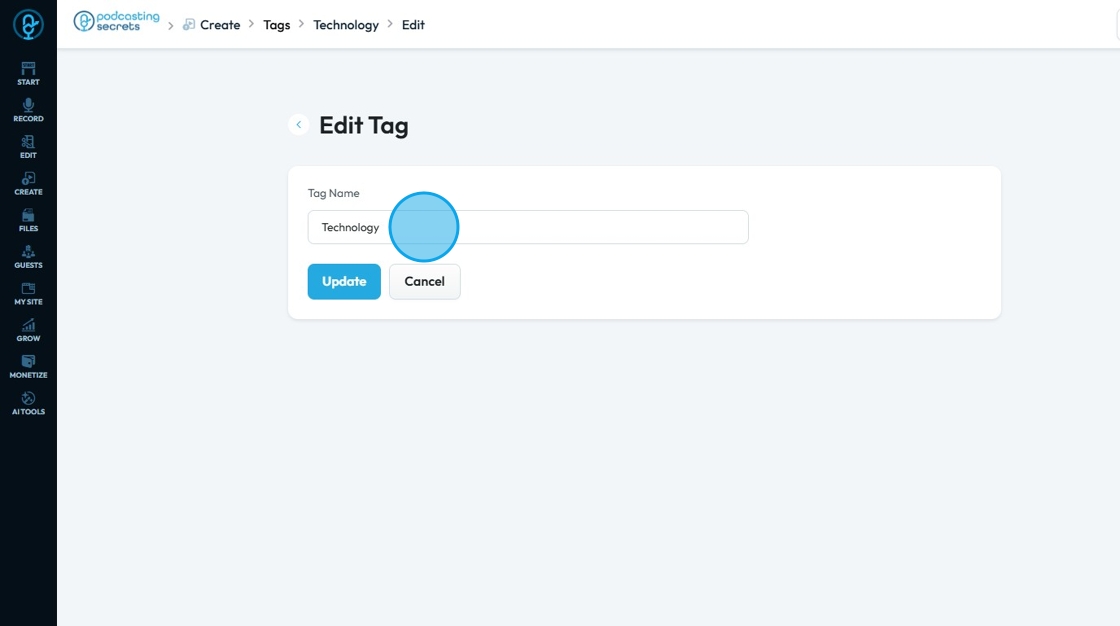
11. Click "Edit" button of the desired tag
12. Click the "Tag Name" field to change the name of the tag
13. Enter the desired name in the "Tag Name" field
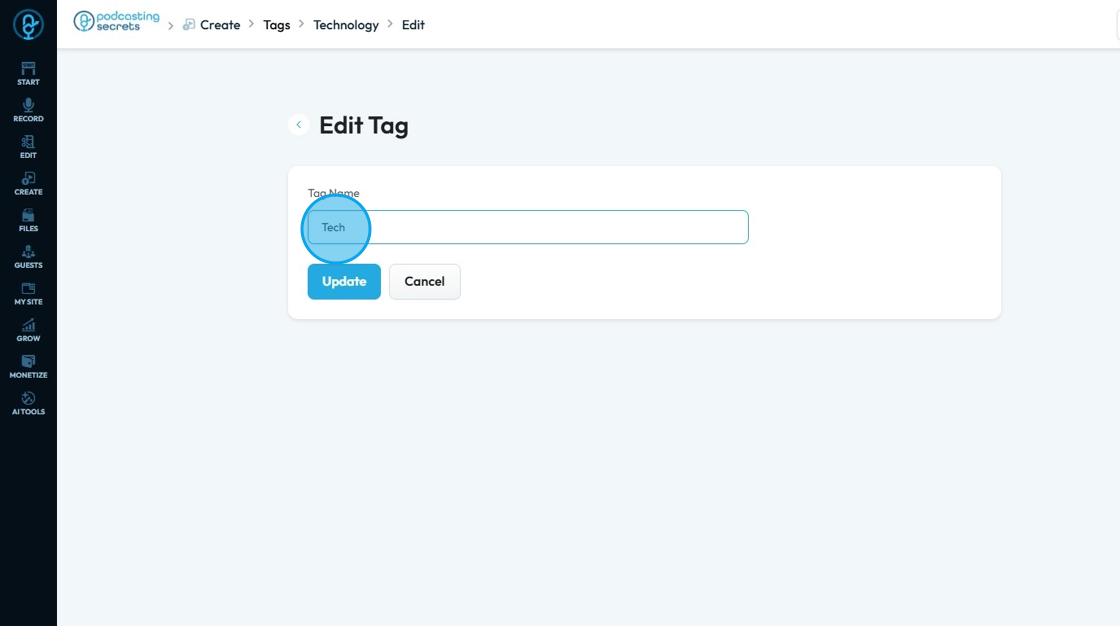
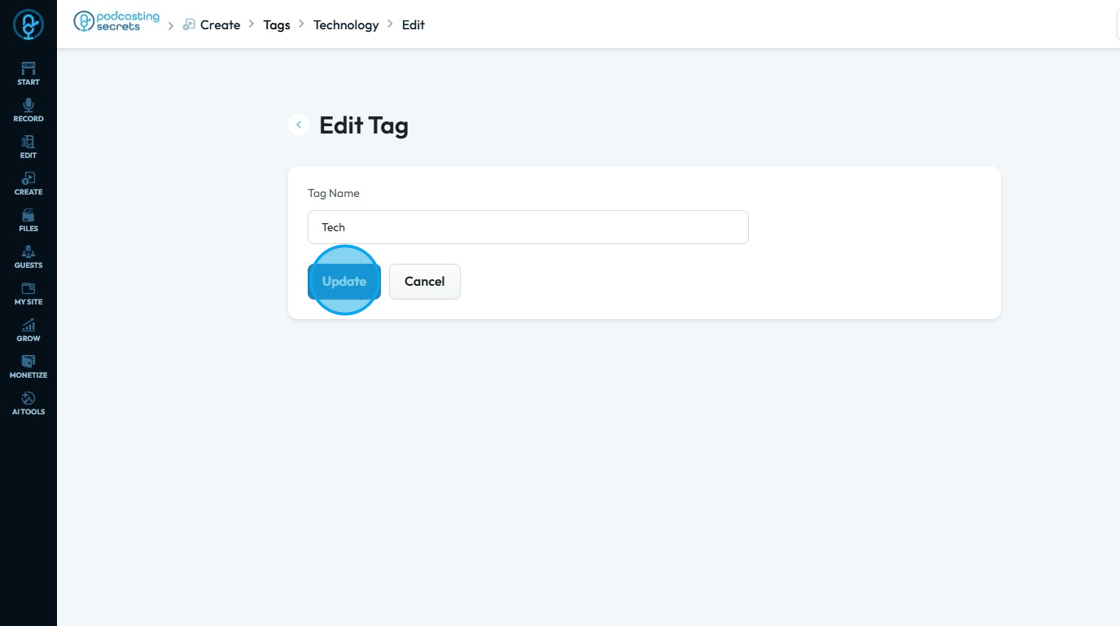
14. Click "Update" to change the title of the tag or click "Cancel" to undo the changes - meaning you will keep the original title
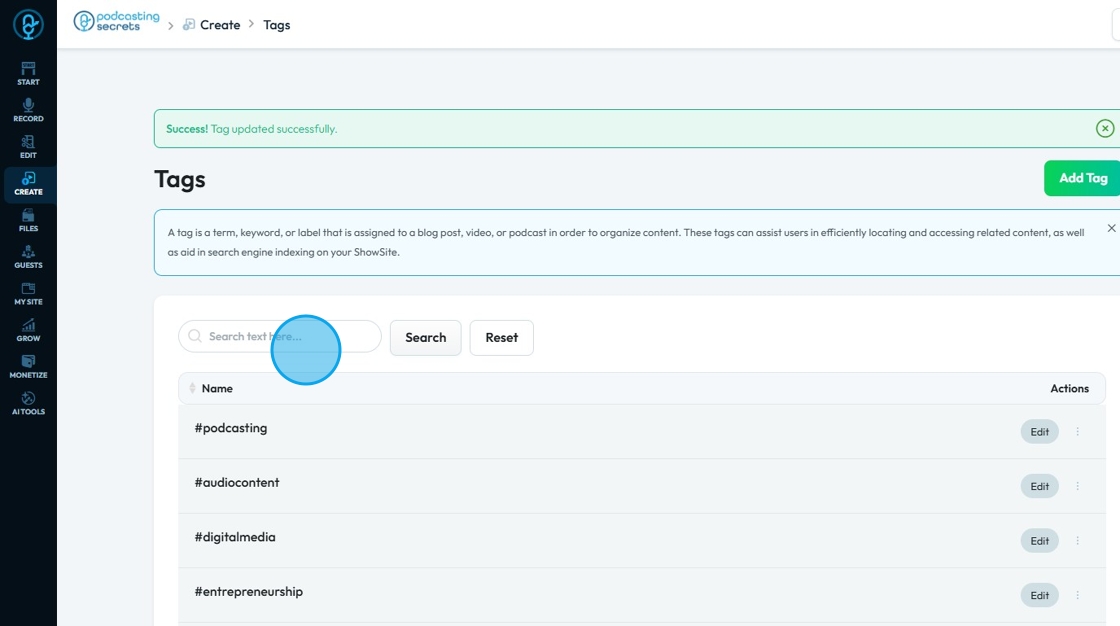
15. Once the changes are saved, you will see "Success! Tag updated successfully" message

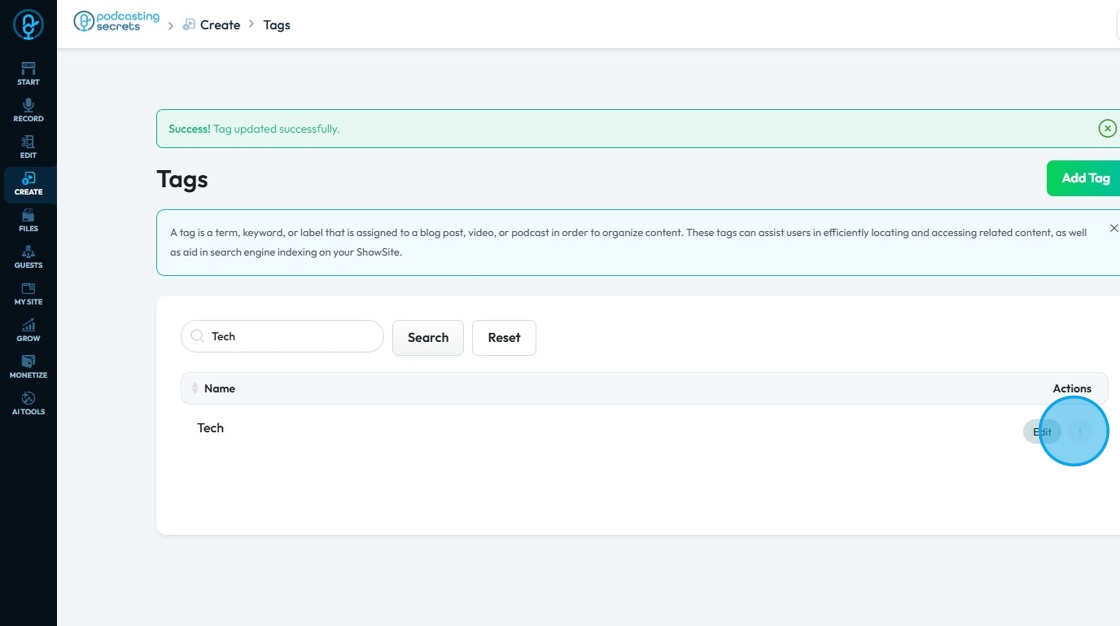
16. To remove a tag, click the "Search" field
17. Type in the name of the tag and click "Search"
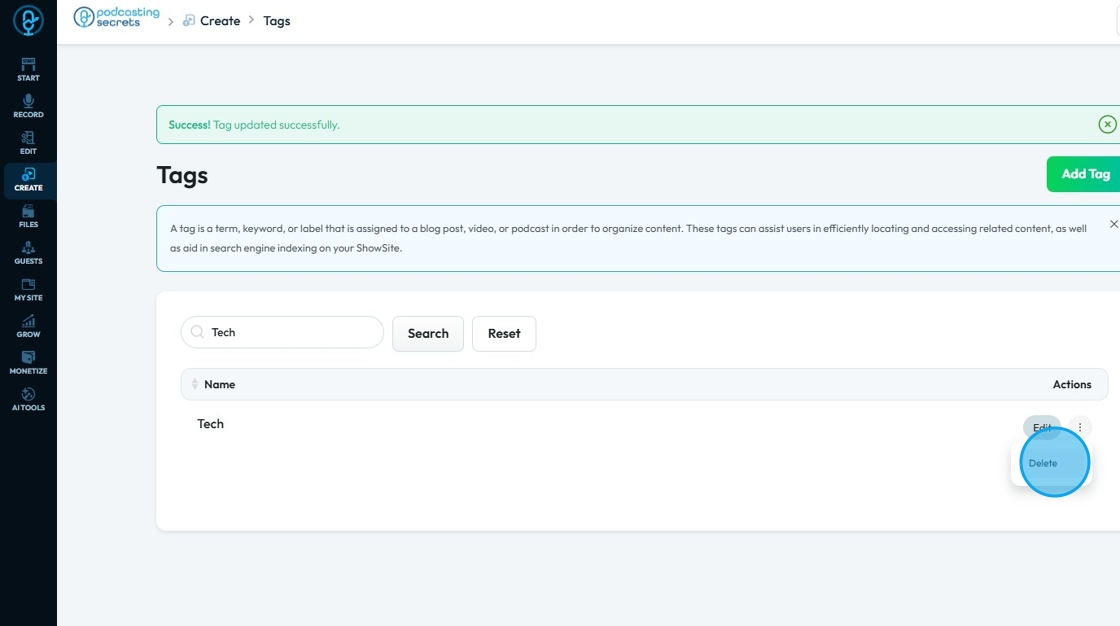
18. Click the three-dots icon of the Tag that needs to be removed
19. Click "Delete"
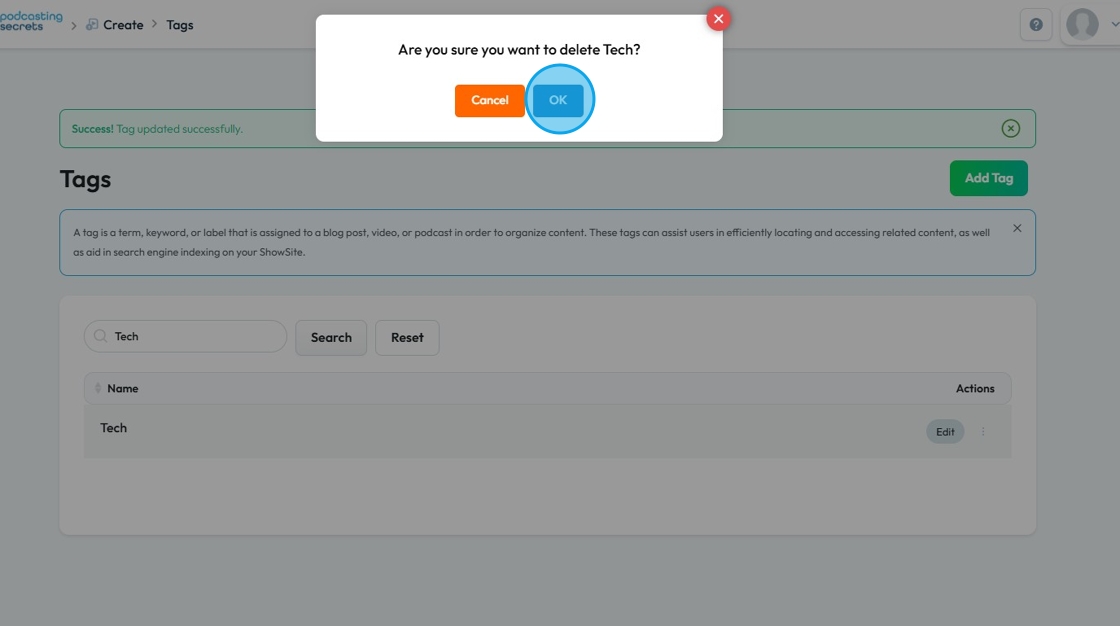
20. A pop-up will appear "Are you sure you want to delete Tech?"
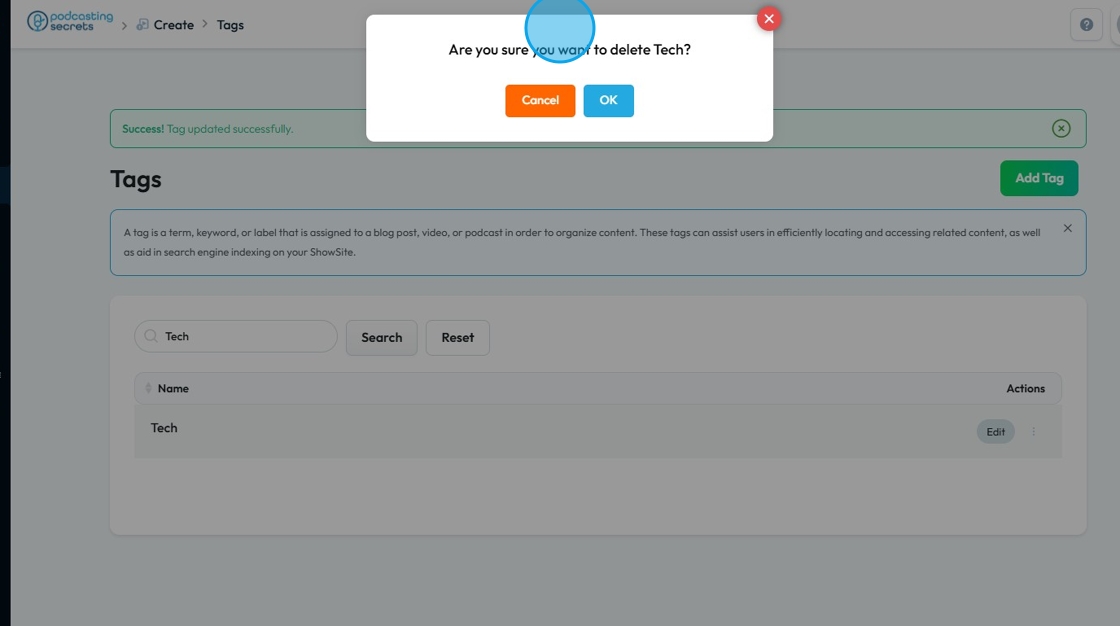
21. Click "OK" to remove the tags from the list
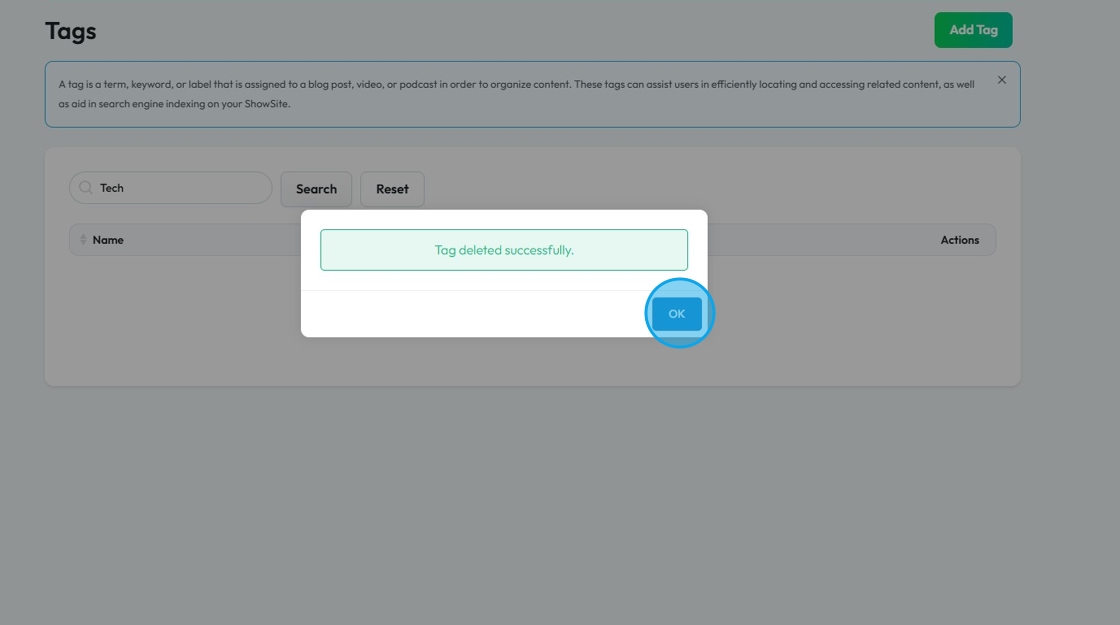
22. "Tag deleted successfully" message will appear on the screen, just click "OK" to remove it
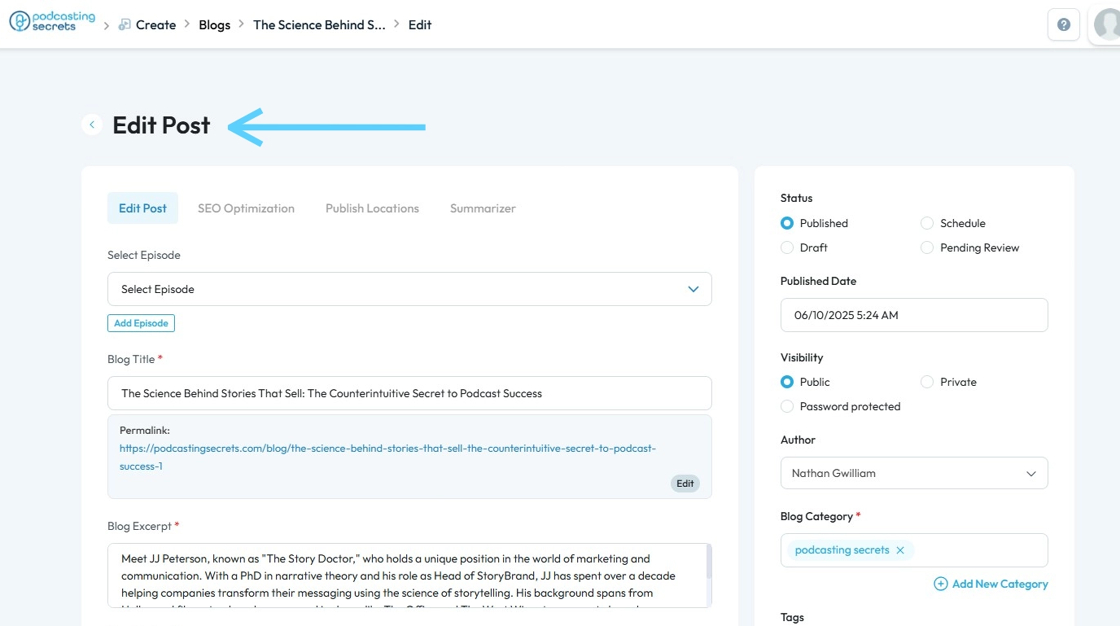
23. "EXTRA INFO" To add a new Tag to an existing Blog go to "Edit Post" page
24. "EXTRA INFO" Click "Tag" text field to enter the Tag
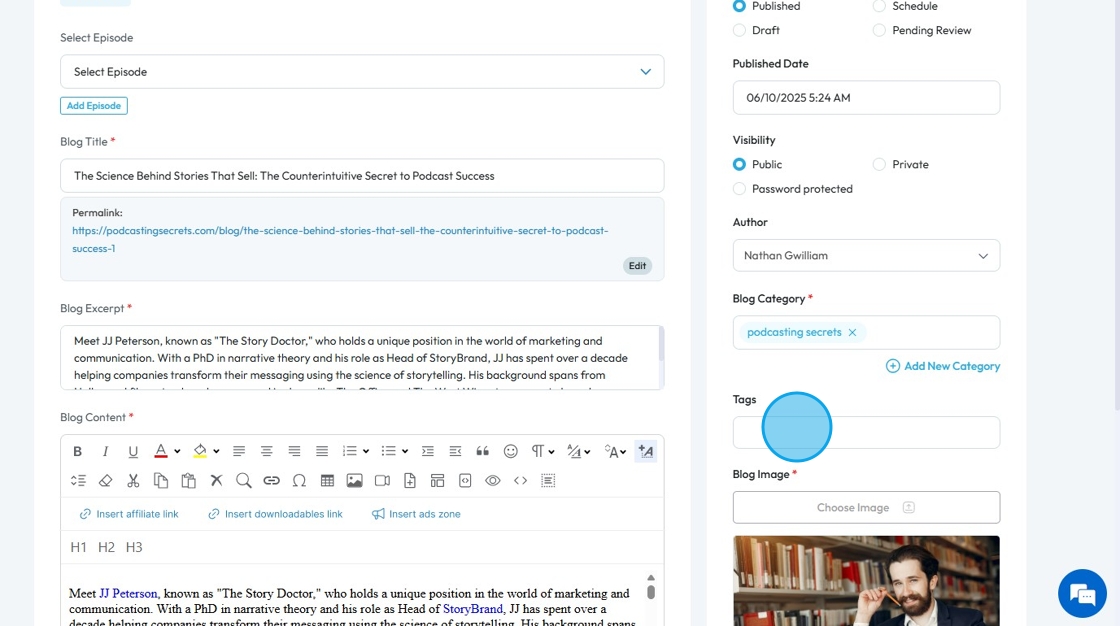
25. "EXTRA INFO" Search the "Tag" which needs to be added to a Blog
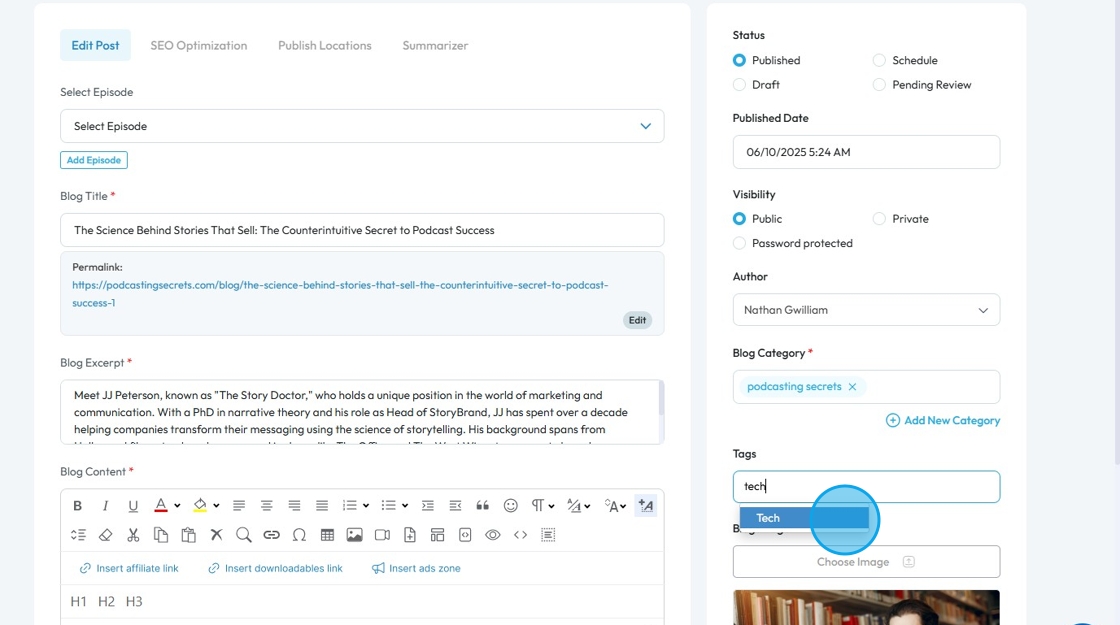
26. "EXTRA INFO" Add the "Tag" and save the Blog.

Related Articles
How to Navigate Blogs (Detailed)
This guide provides a comprehensive overview to create blog posts on Podup, making it a valuable resource for anyone looking to enhance their blogging process. It outlines step-by-step instructions for both writing original content and generating ...How to Navigate Video Episodes (Detailed)
This guide shows you how to easily create and share amazing video posts on PodUp. You'll get simple, step-by-step instructions to get your videos online, make them easy to find (that's the "SEO" part!), and share them on different places, all while ...How To Navigate Podcast Episode (Detailed)
This guide offers a step-by-step approach to creating and publishing a podcast episode on Podup, making it accessible even for beginners. It emphasizes the importance of SEO and categorization to enhance discoverability and engagement. By following ...How To Navigate Episode Manager (Detailed)
This guide provides a step-by-step process for adding an episode in PodUp, making it an invaluable resource for podcasters looking to streamline their workflow. It covers everything from entering episode details to uploading images and sharing links, ...How To Navigate Site Themes (Detailed)
This guide offers a comprehensive step-by-step approach to customizing your website's theme and logo using PodUp, providing valuable insights on design elements such as templates, colors, fonts, and logos. It empowers users to create a visually ...