How To Navigate Episode Manager (Detailed)
1. Navigate to https://app.podup.com/home
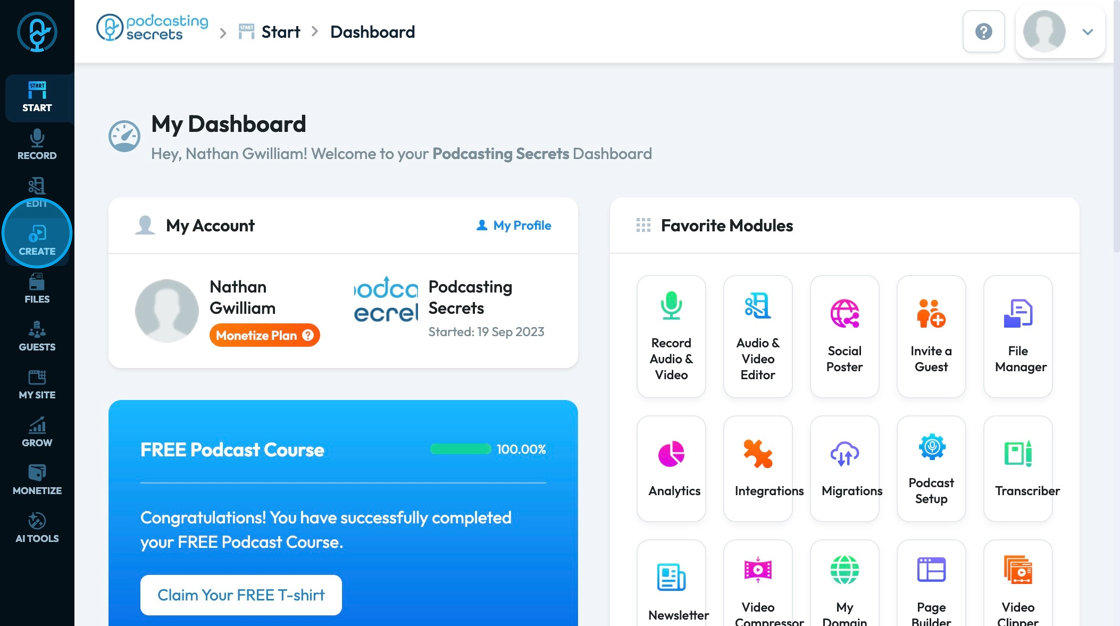
2. Click "Create" on the left hand side navigation bar
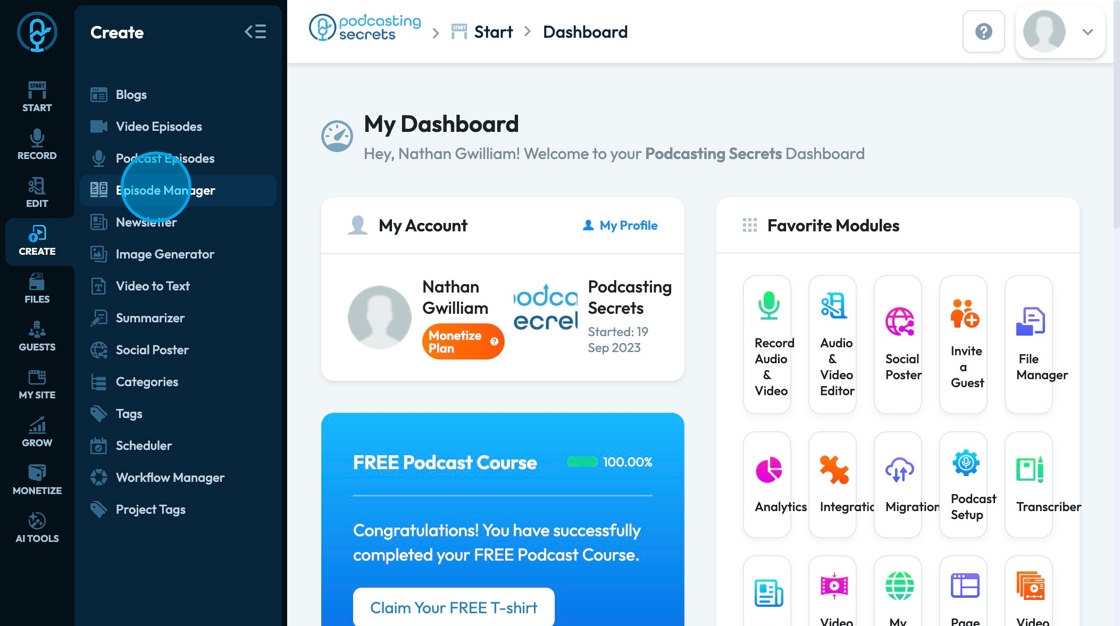
3. Click "Episode Manager"
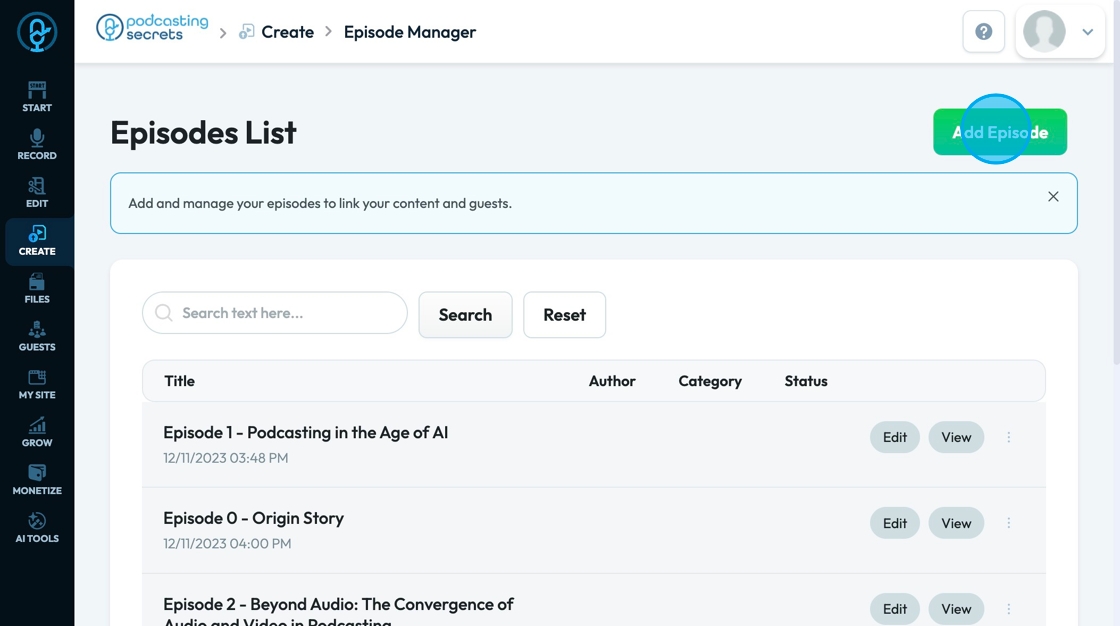
4. Click "Add Episode" to add an episode to your episode manager
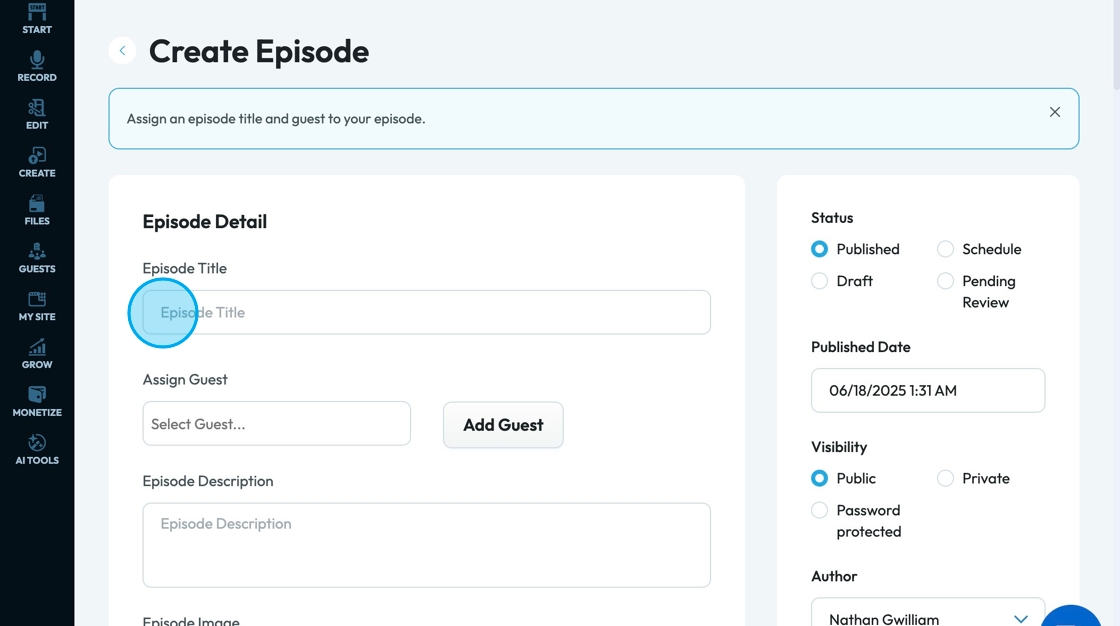
5. Click the "Episode Title" field to write the title of this episode
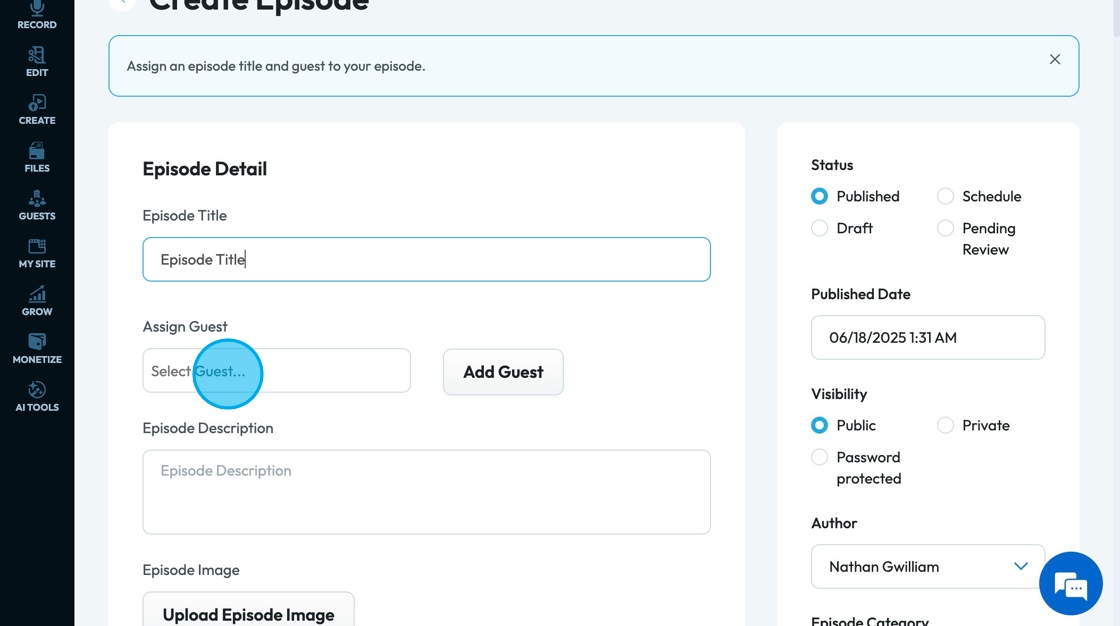
6. Click the "Select Guest" field to select your guest from a drop-down menu of guests already in your "Guest Manager"
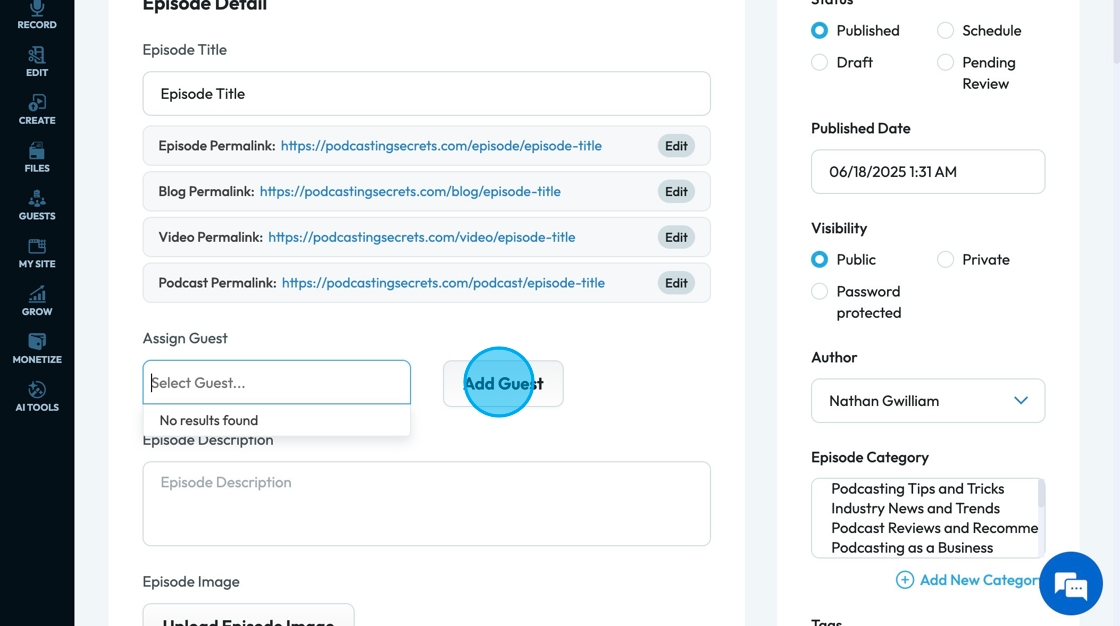
7. Click "Add Guest" to add a new guest to your "Guest Manager" and to your episode
8. If you select to add a guest, your guest manager will open in a new tab, and you can simply fill in the information for your guest
- First Name
- Last Name
- Phone
- Date of Birth
- Education
- Address
- Zip Code
- Bio
You can also check a box to invite a guest to for an interview
Select "Save" to save the bio of your guest

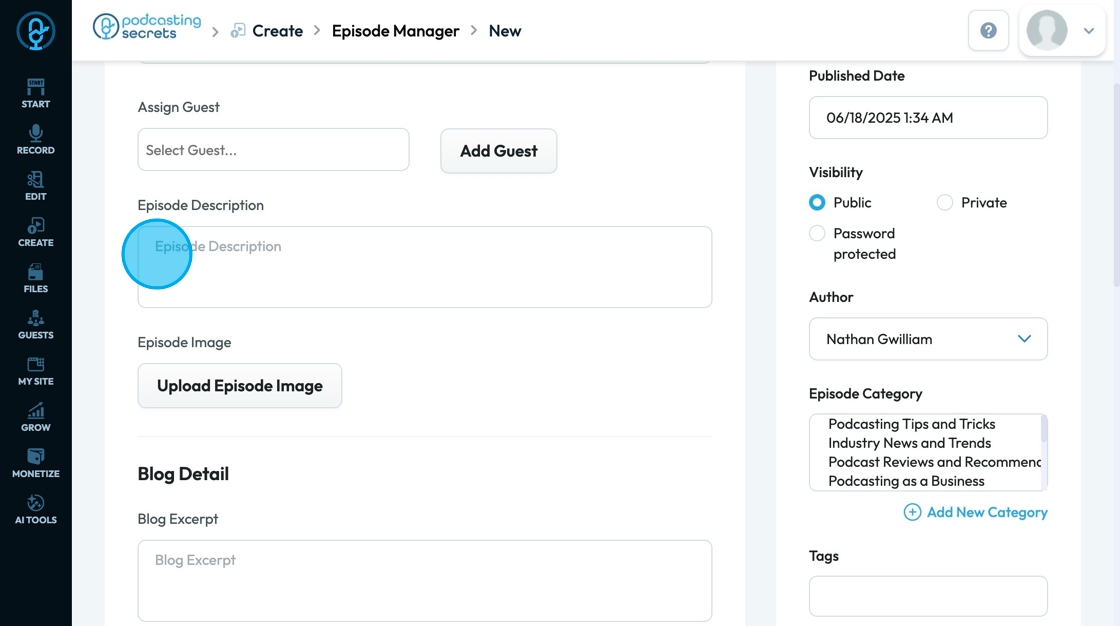
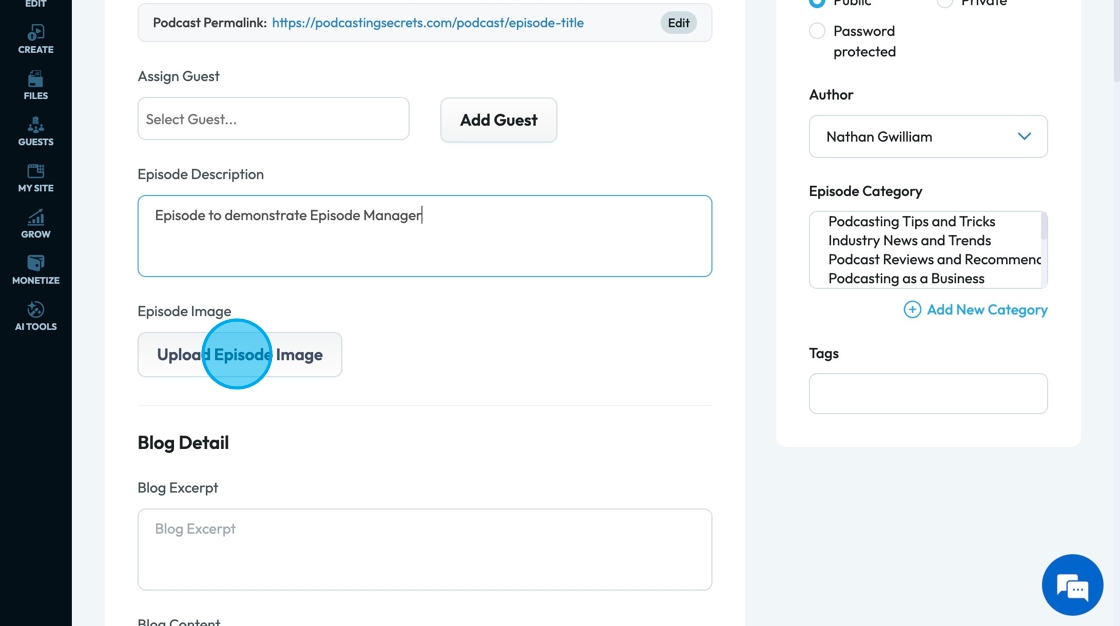
9. Click "Episode Description" to add a short summary or description fo your episode
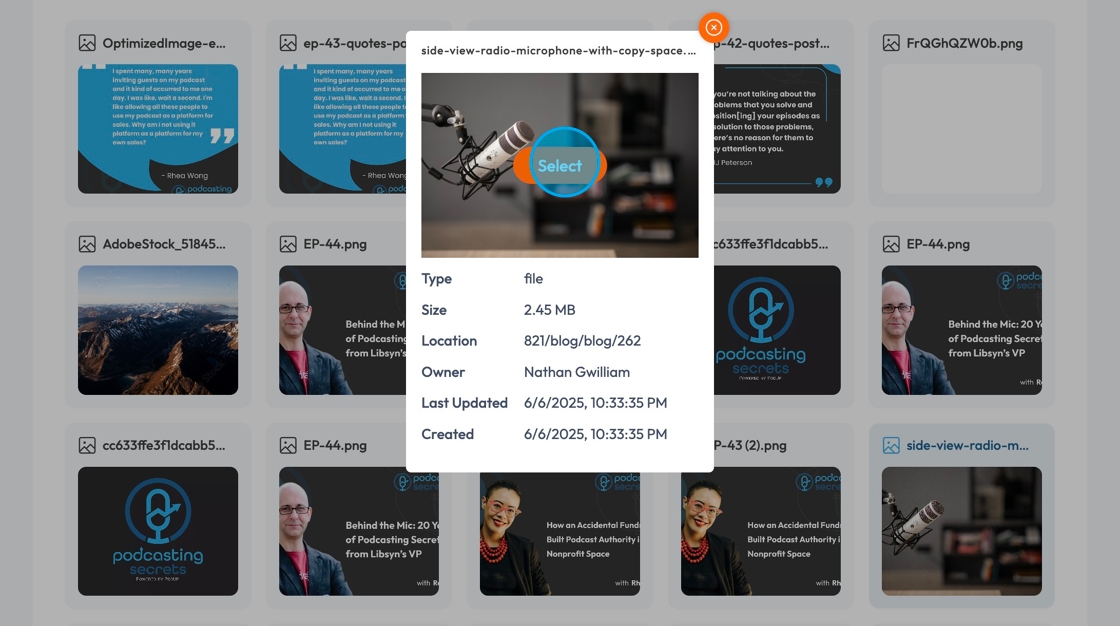
10. Click "Upload Episode Image" to add the image that will be the cover for your episode
11. A pop-up will appear allowing you to select an image from the files in PodUp or from your computer
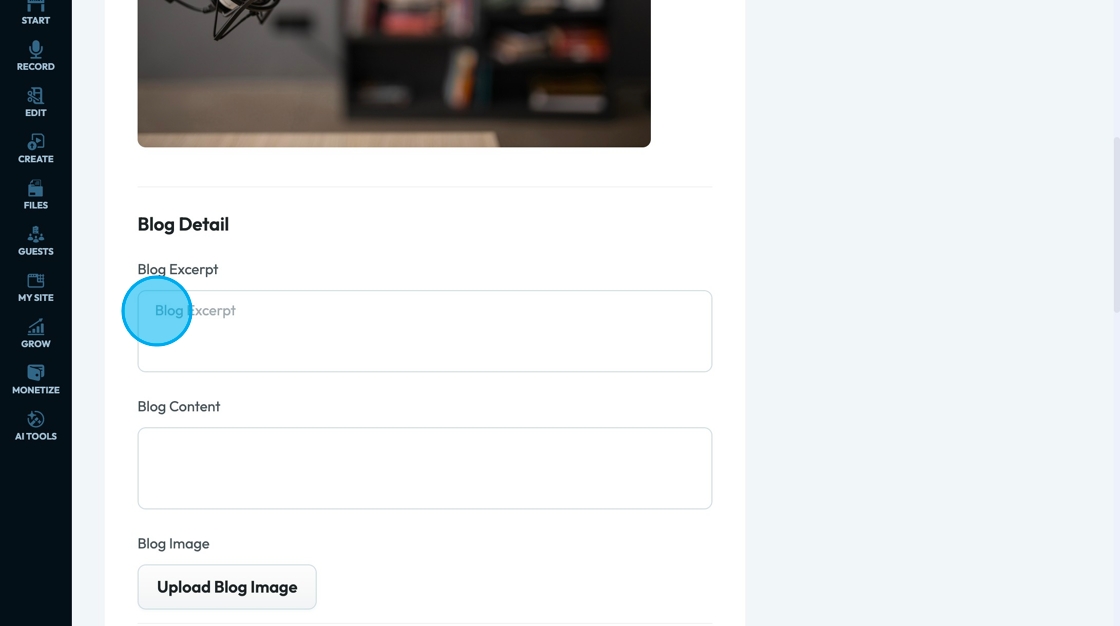
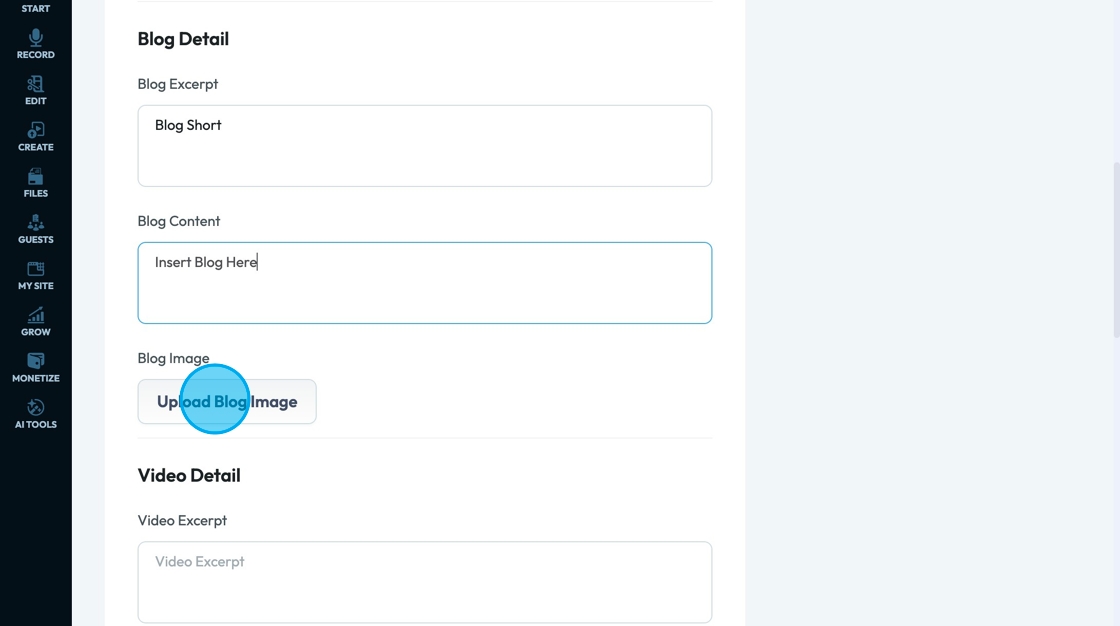
12. Click the "Blog Excerpt" field to write a description or a summary of your blog
13. Insert the full blog into the "Blog Content" field
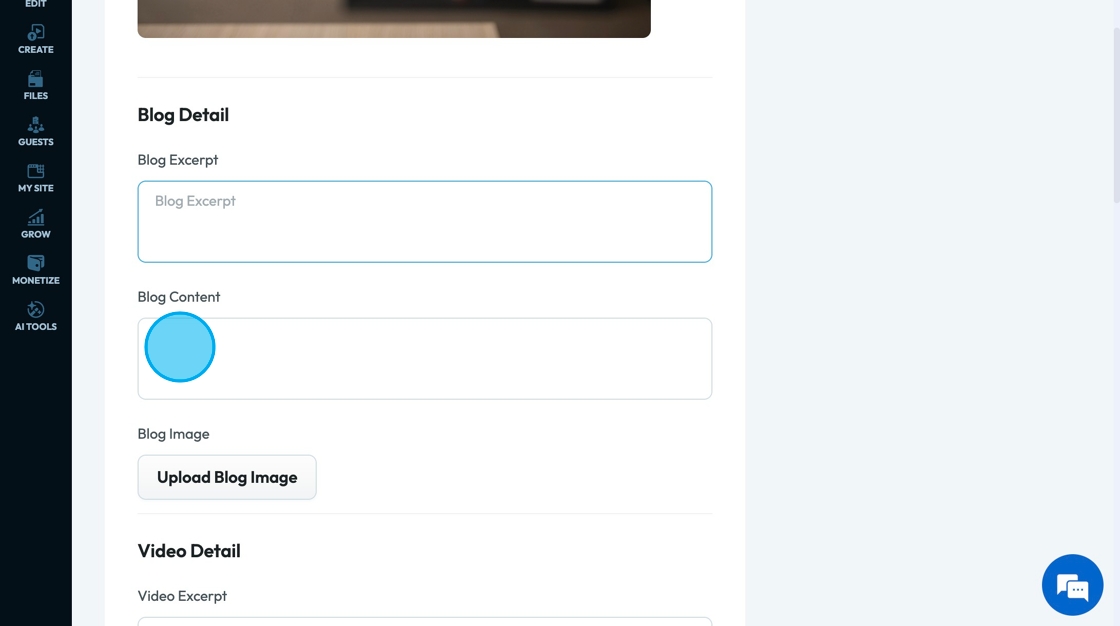
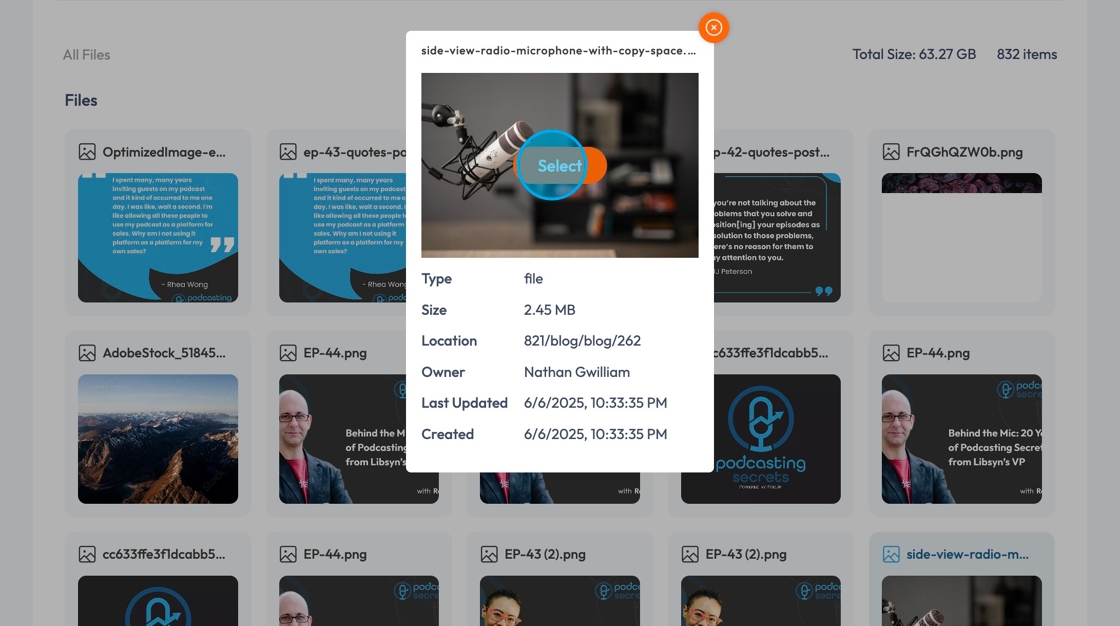
14. Click "Upload Blog Image" to add the image that will appear at the top of your blog
15. A pop-up will appear allowing you to select an image from the files in PodUp or from your computer
16. Upload your video in 1 of 2 ways
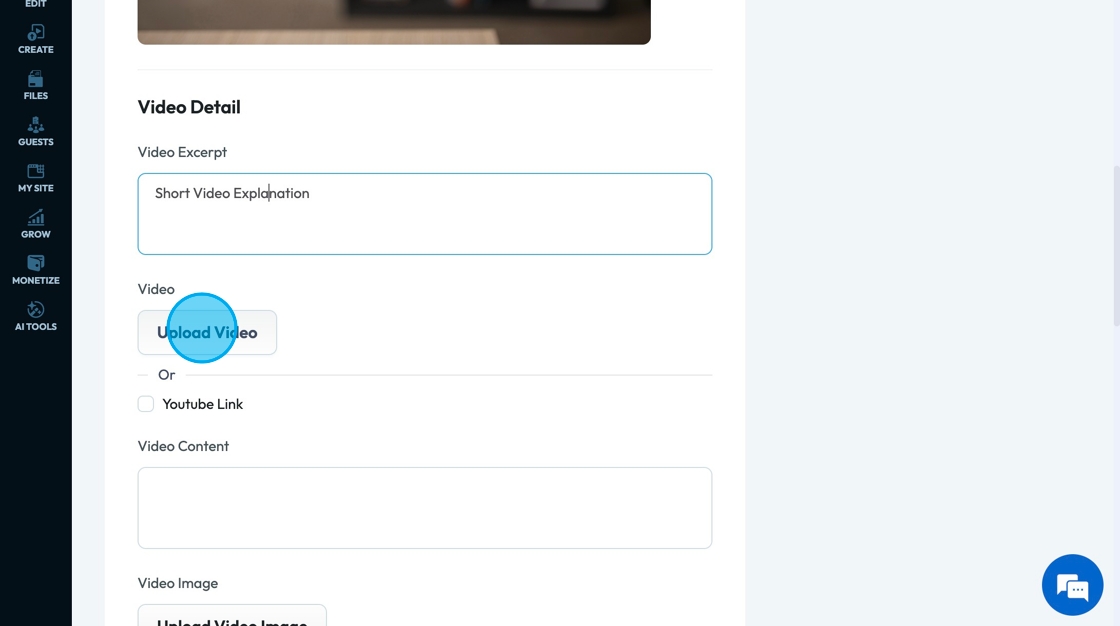
- Click the "Video Excerpt" field to write a description or a summary of your video
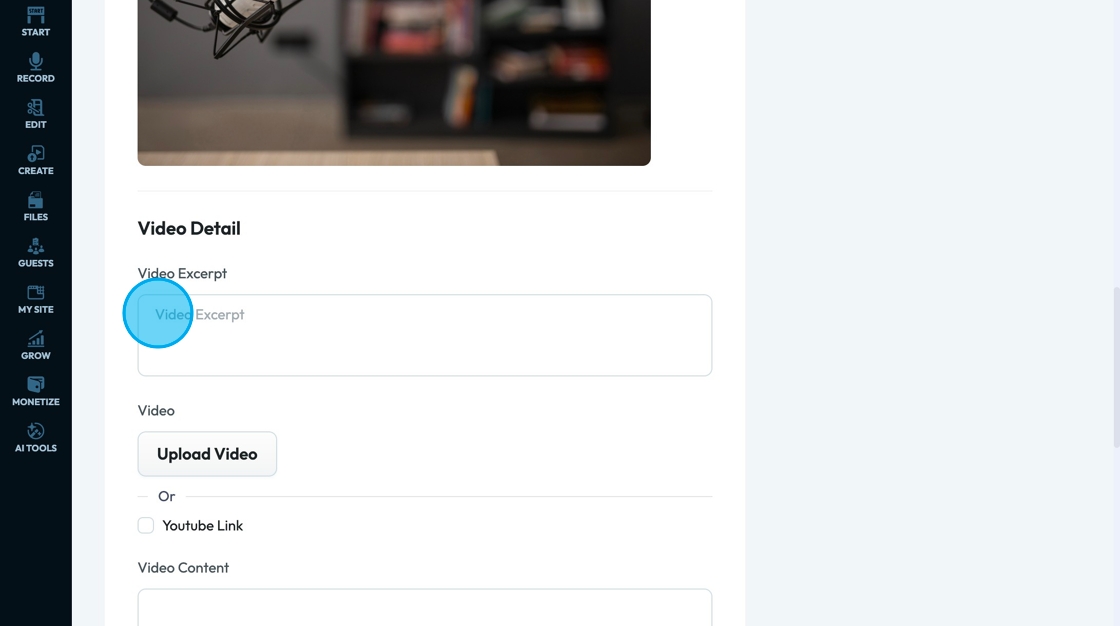
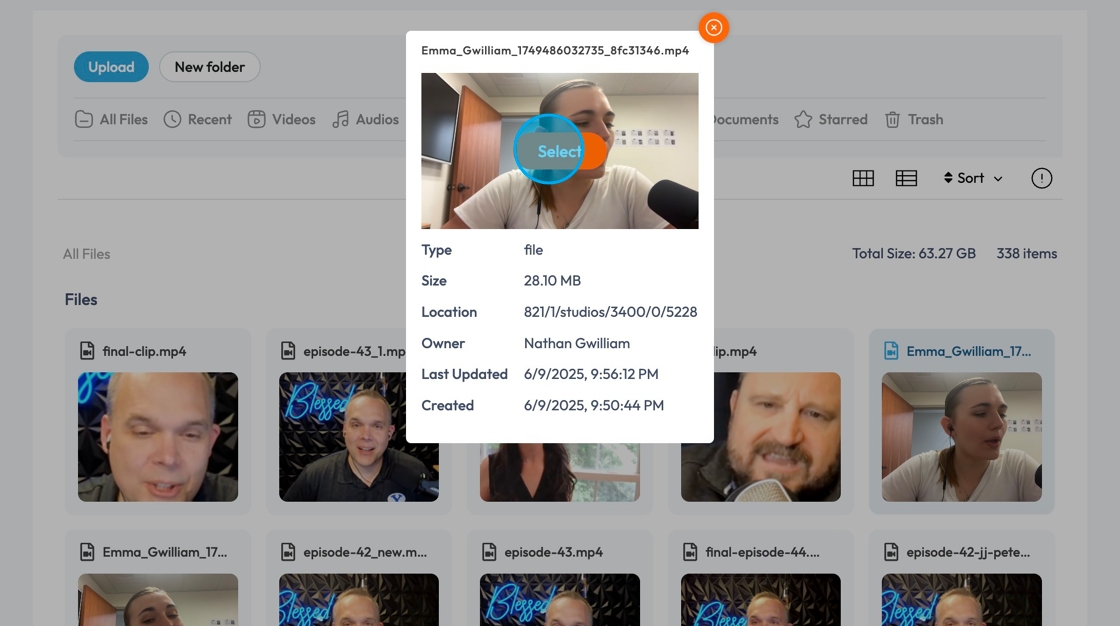
17. Click "Upload Video" to upload your video episode
18. A pop-up will appear allowing you to select an image from the files in PodUp or from your computer
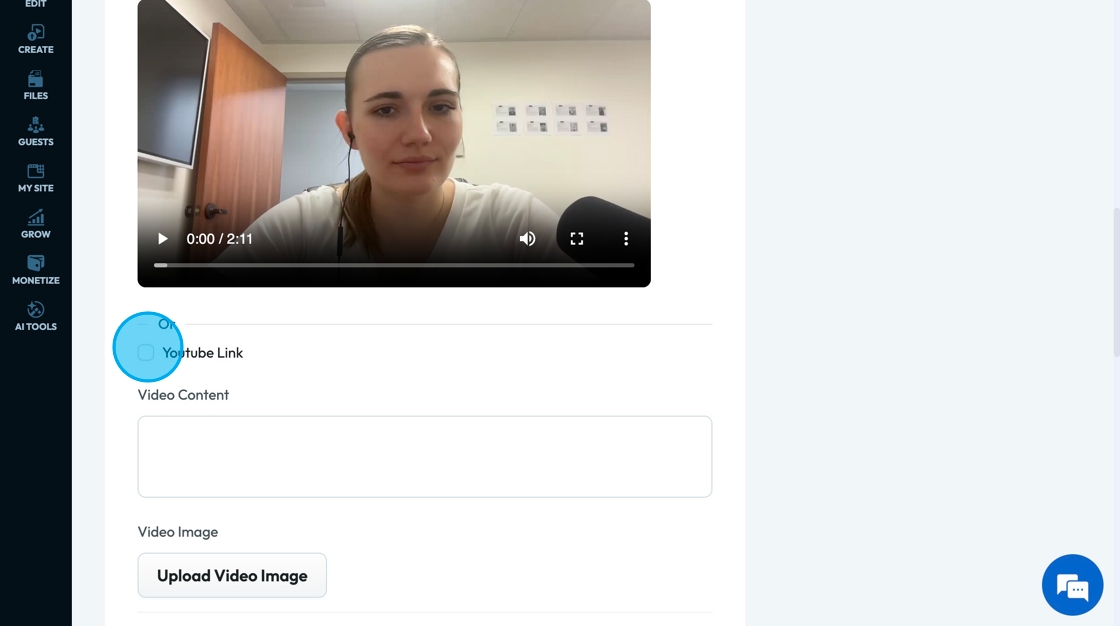
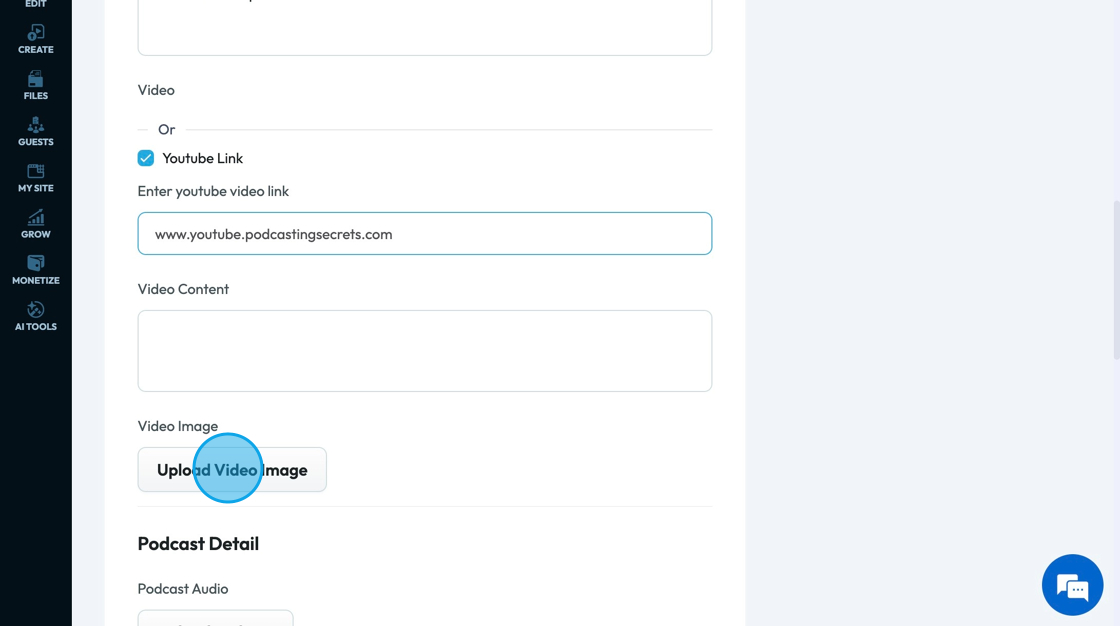
19. 2) Click "Youtube Link"
20. Enter the YouTube video link into the "Enter youtube video link" field
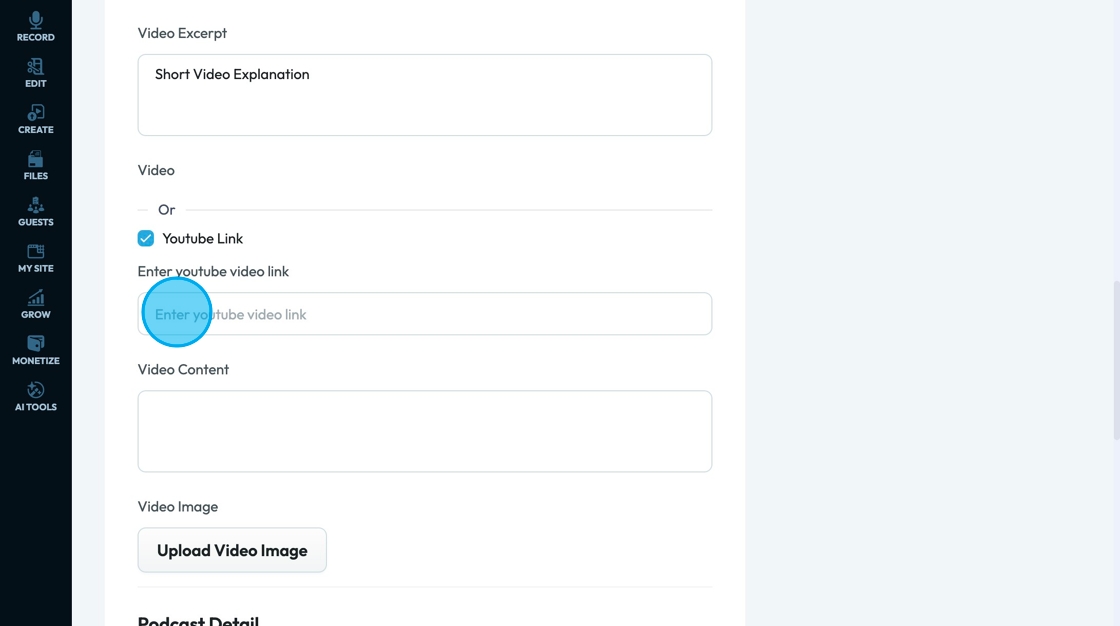
21. Enter a description or summary of your video into the "Video Content" field
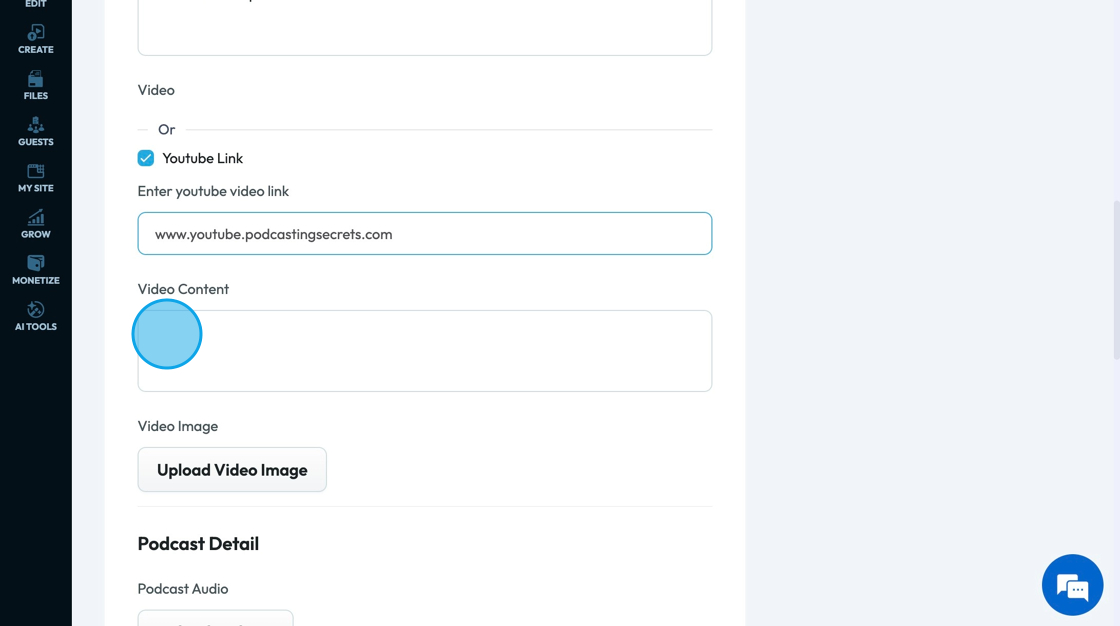
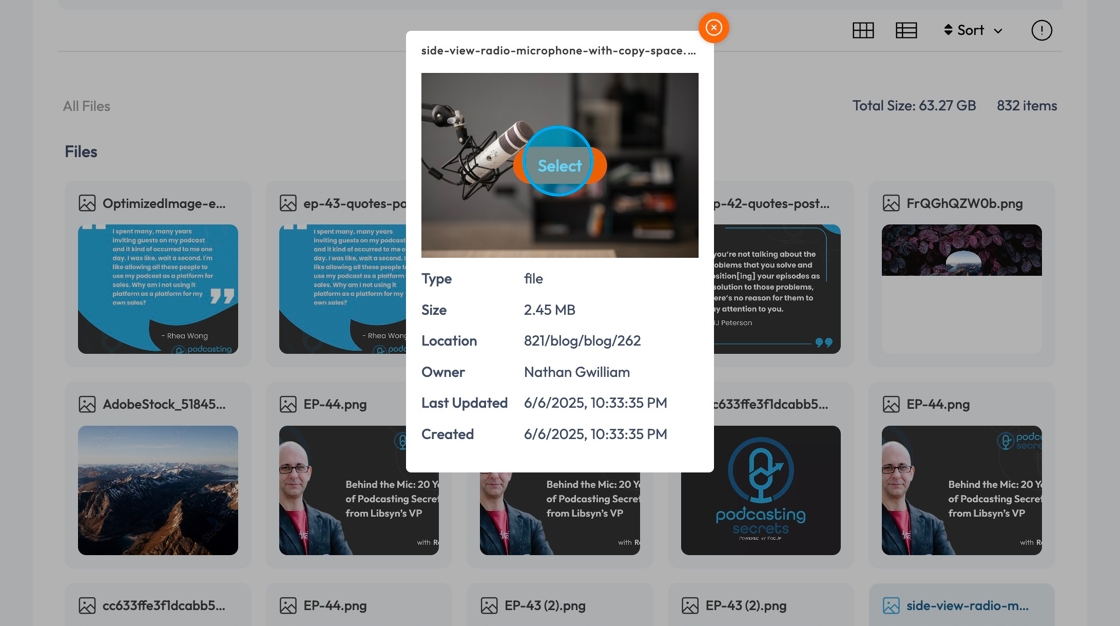
22. Click "Upload Video Image" to add the image that will be used as the thumbnail - cover image - for the video
23. A pop-up will appear allowing you to select an image from the files in PodUp or from your computer
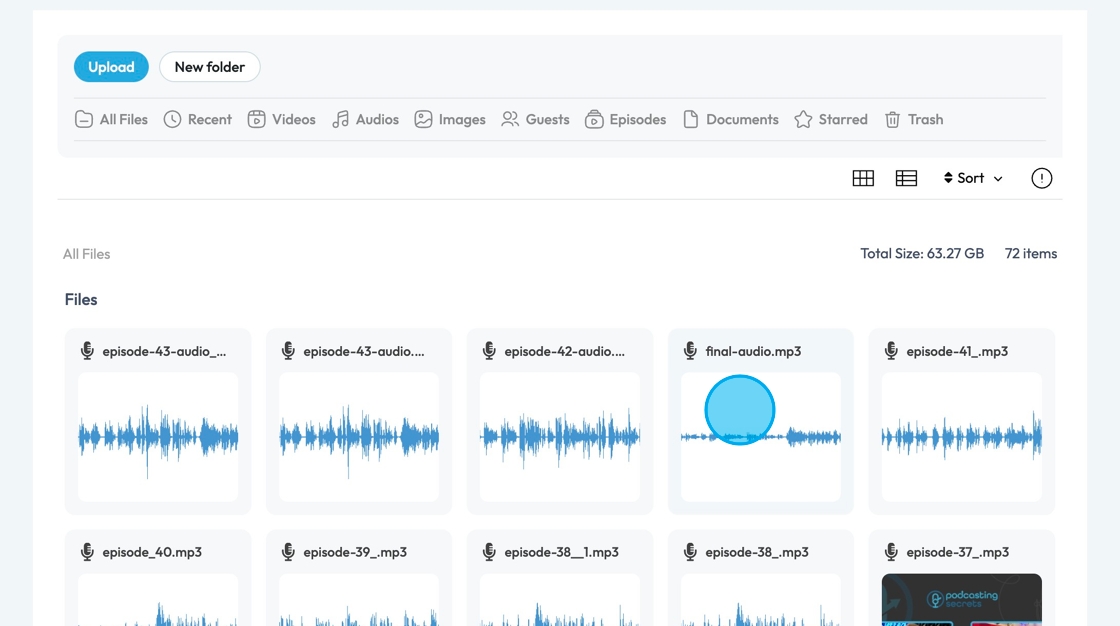
24. Click "Upload Podcast" to add your podcast to the episode manager
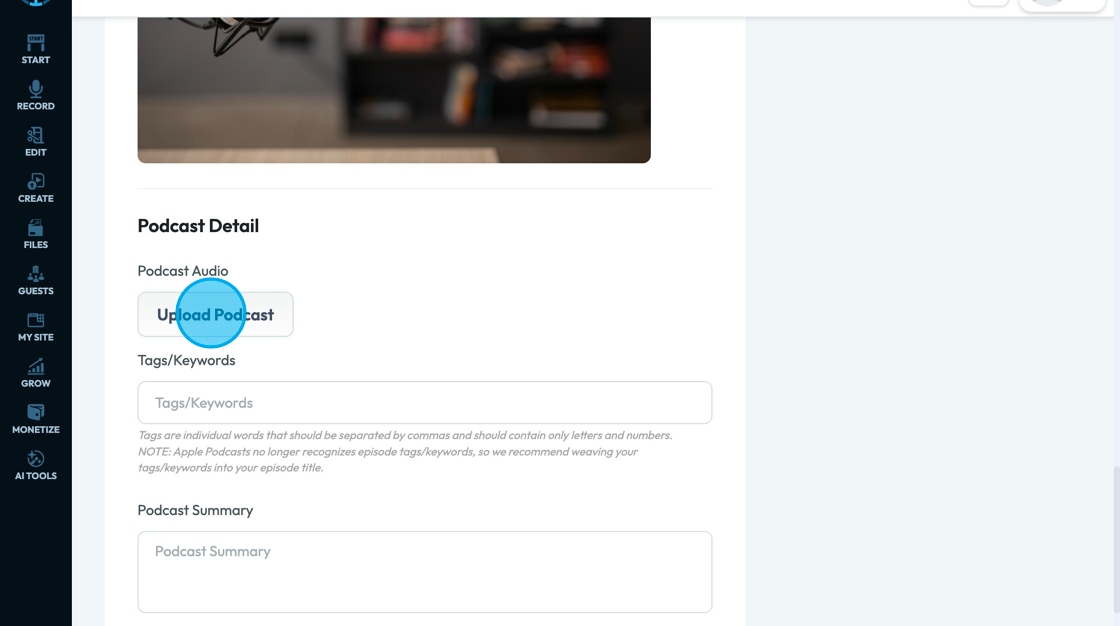
25. A pop-up will appear allowing you to select an audio file from the files in PodUp or from your computer
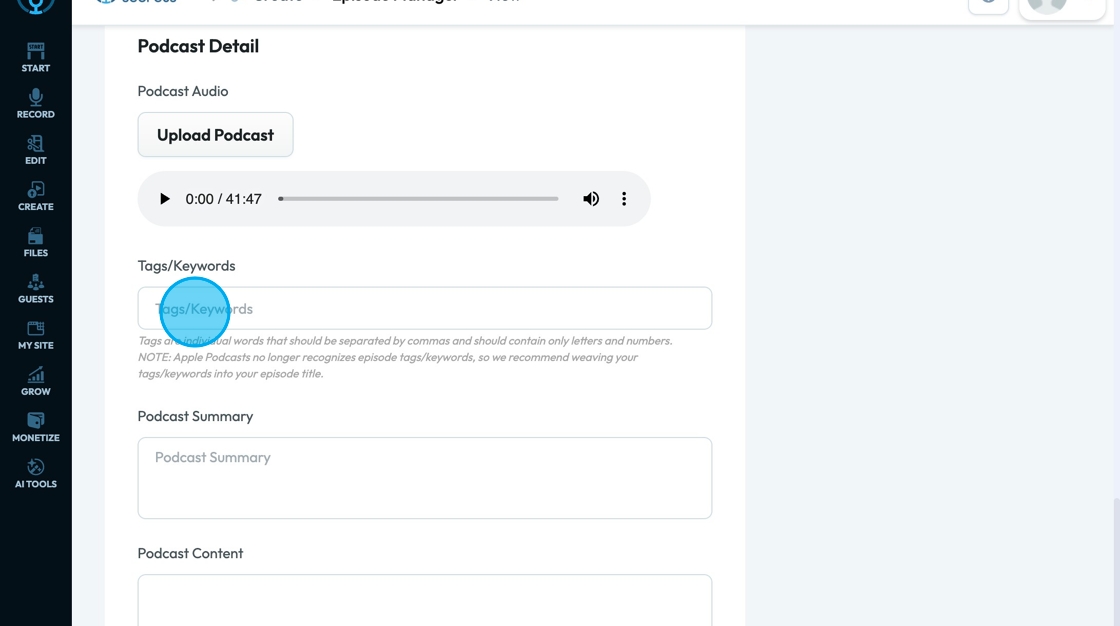
26. Click the "Tags/Keywords" field to add tags and keywords which will be added to your content to make it easier for people to find your content
- Each tag should only have letters and numbers
- Separate tags by commas
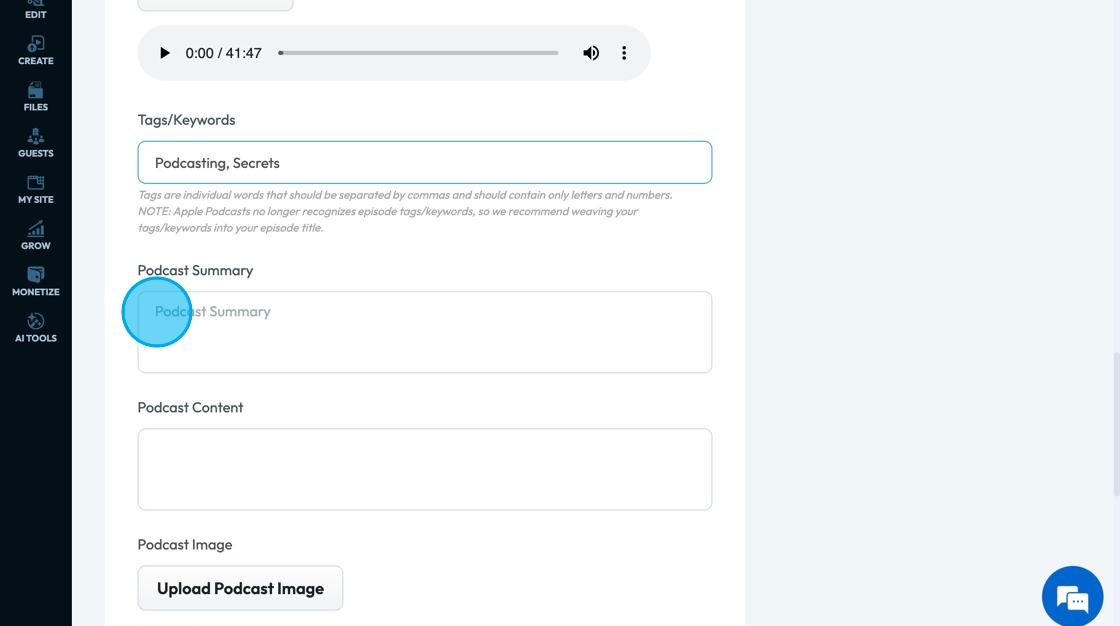
27. Click the "Podcast Summary" field to add a short overview of what the episode is about.
It's often shown on podcast platforms (like Apple or Spotify) and helps listeners quickly decide if they want to tune in. Think of it as a quick pitch or teaser.
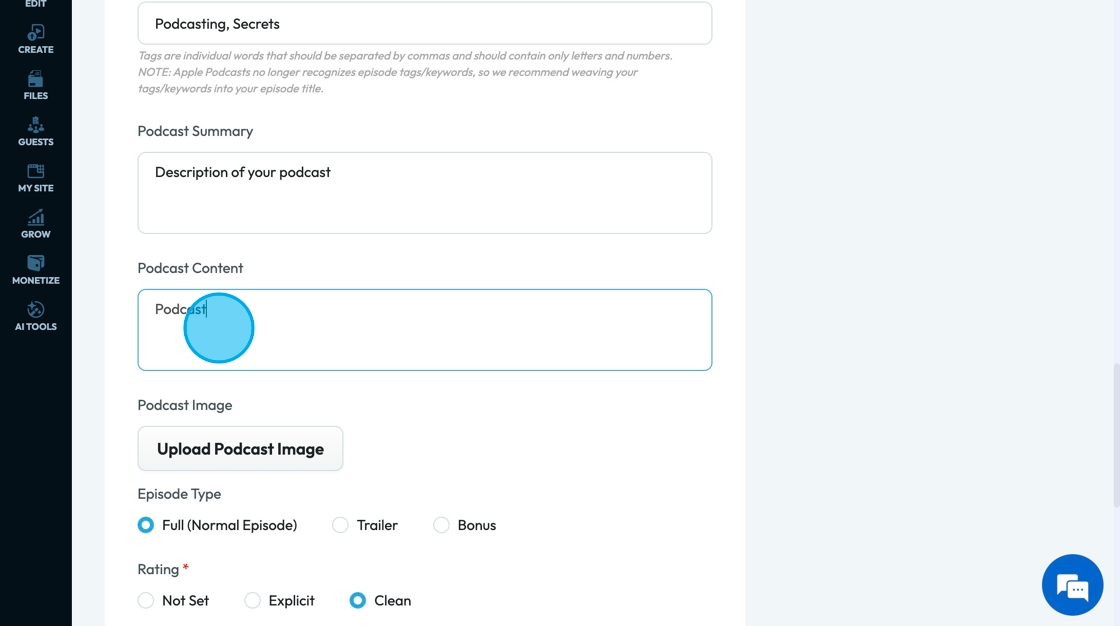
28. Click "Podcast Content" feild to add the full written version of the episode, which can include a transcript, show notes, guest bios, resources, or anything else you want to include in more detail.
It’s typically used on your website or blog to give extra value or for SEO.
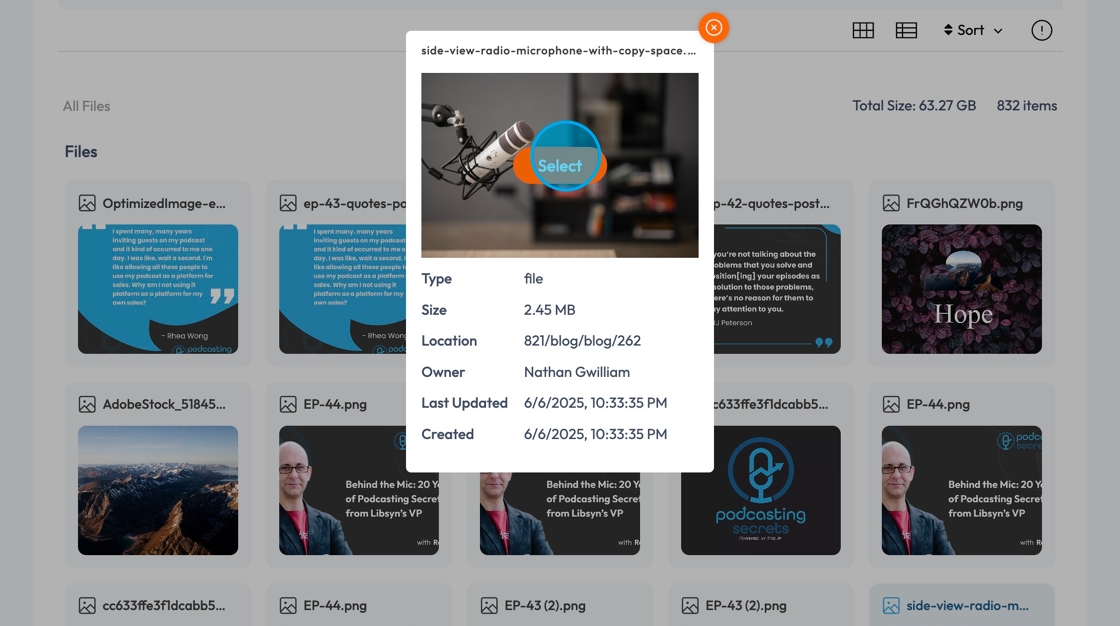
29. Click "Upload Episode Image" to add the image that will be the cover for your podcast
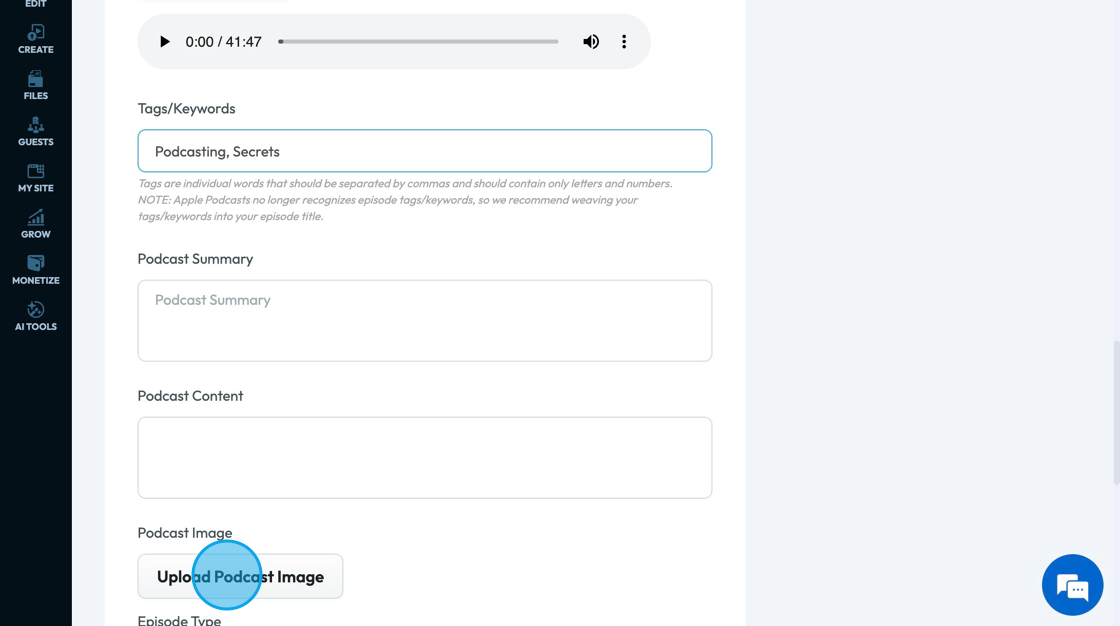
30. A pop-up will appear allowing you to select an image from the files in PodUp or from your computer
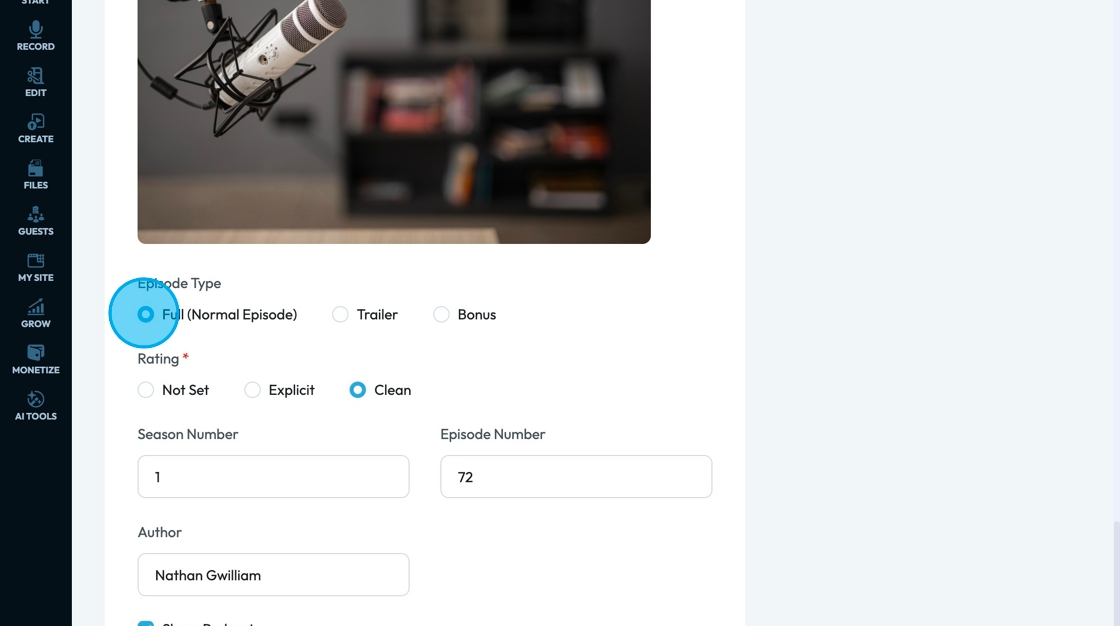
31. Click the "Episode Type" to indicate what kind of episode this is. You can know that you selected that type when the blue circle is directly to the left of the episode type
- "Full (Normal Episode)": A regular, complete episode that’s part of your main series. Contains interview stories or discussions
- "Trailer": A short preview that introduces your podcast and what listeners can expect. usually released before the first episode or a new season
- "Bonus": Extra content outside your usual schedule, like updates or special features. Could be behind-the-scenes clips, updates, special interviews, or holiday specials
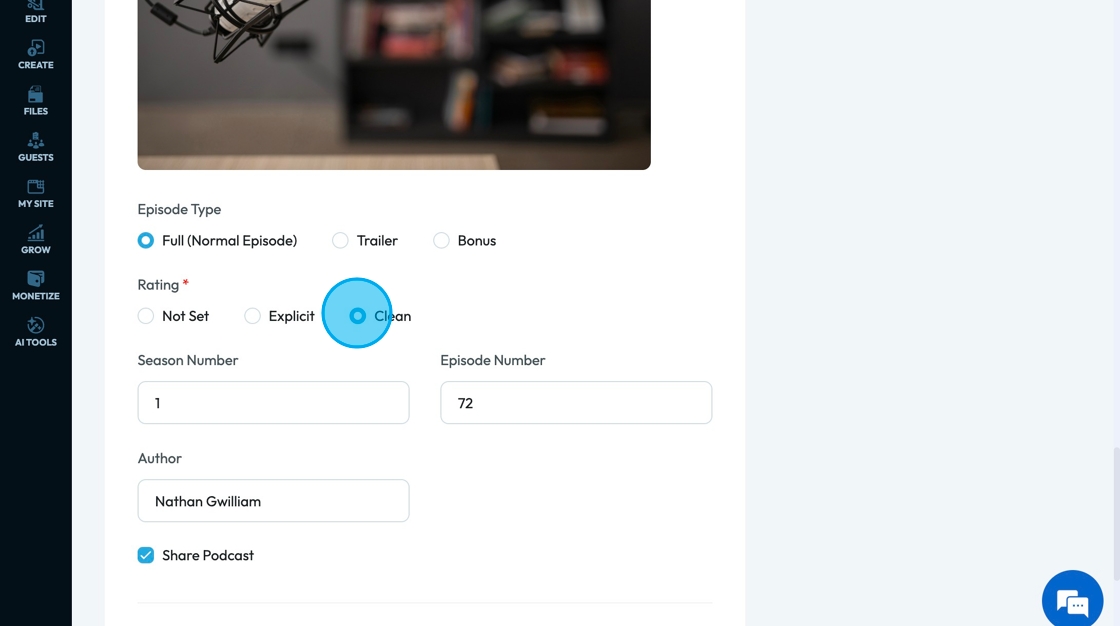
32. Select one of 3 ratings for your podcast to build trust, attract new listeners, and improve visibility
- "Not Set": No rating has been chosen. Some platforms may treat this as a warning or flag it as incomplete. It’s best to choose a rating to avoid issues.
- "Explicit": Podcast includes strong language, adult themes, or content not suitable for all audiences. It helps platforms restrict access to appropriate listeners and avoid content warnings.
- "Clean": Content is free of swearing, adult topics, or anything considered inappropriate. It’s safe for all ages and often favored by schools or family-friendly audiences.
33. Enter the season number into the "Season Number" field to give structure to your podcast while offering you and your audience clear expectations
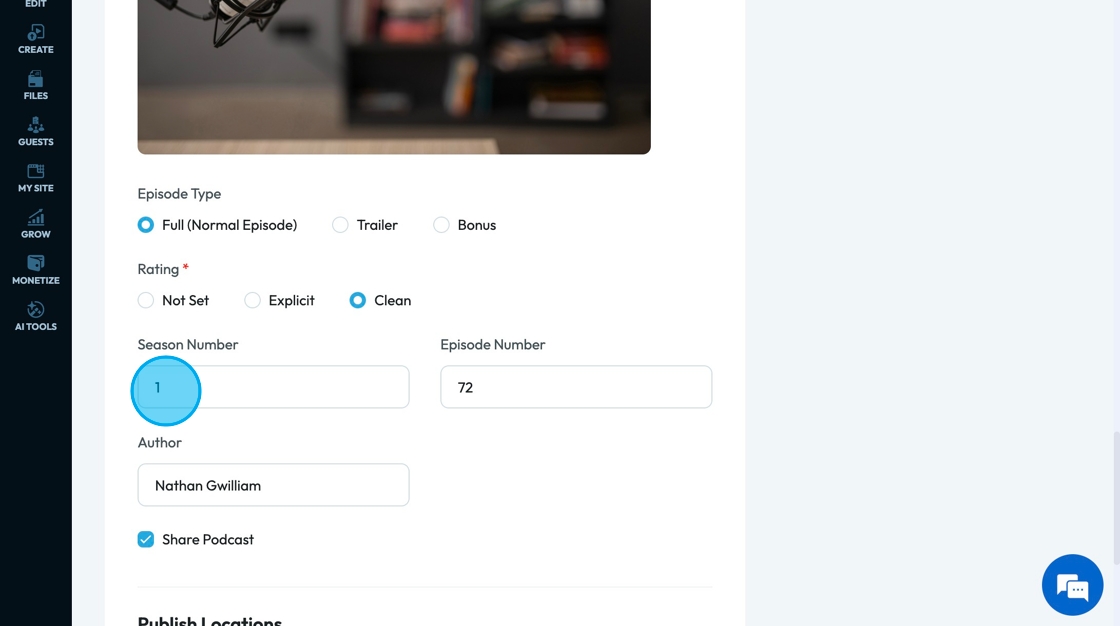
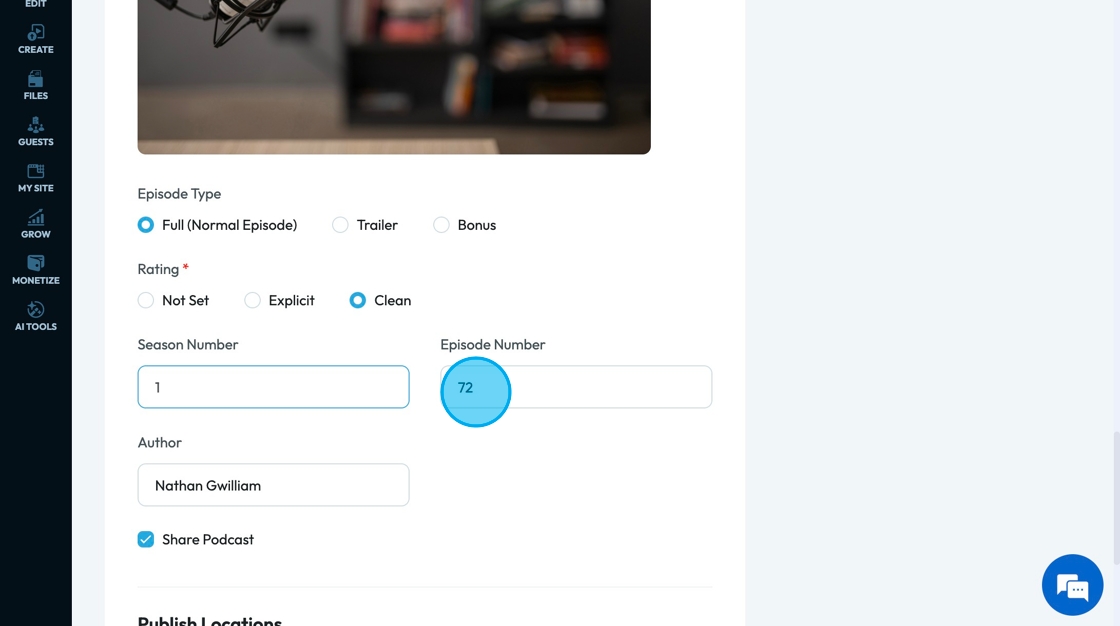
34. Enter the episode number into the "Episode Number" field to stay organized and keep track of the order of your episode
- This is helpful for you to know the order.
- This is helpful for your clients to be able to follow your podcast sequentially
- This is helpful for your podcast platforms to know the order of your episodes to stay accurate
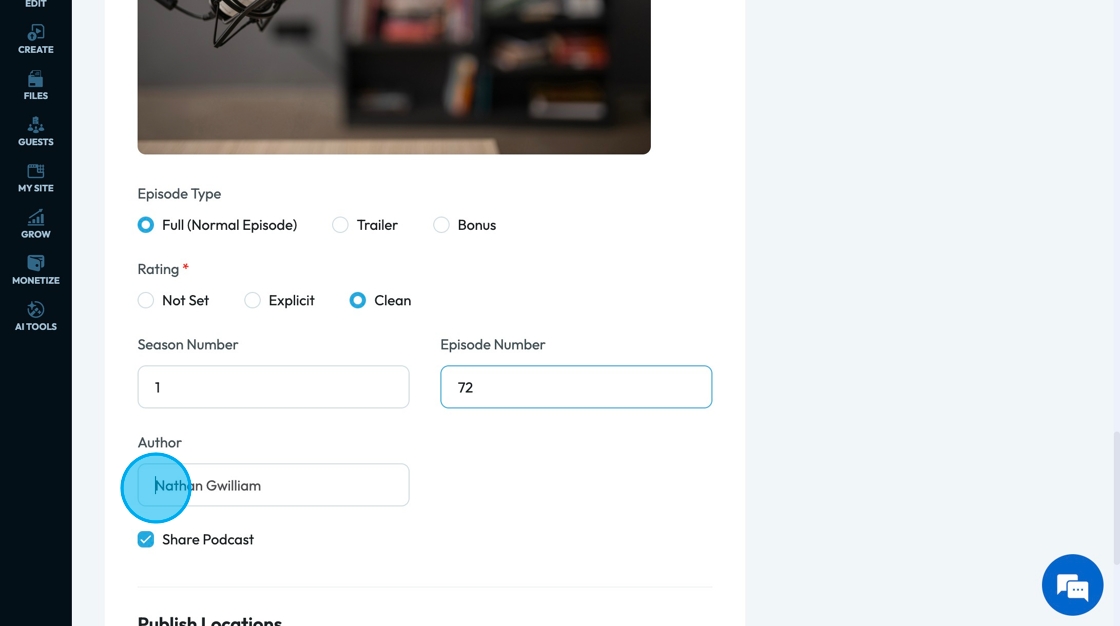
35. Click the "Author" field to record the author of the content
36. Click "Share Podcast" to share the content according to the publication date
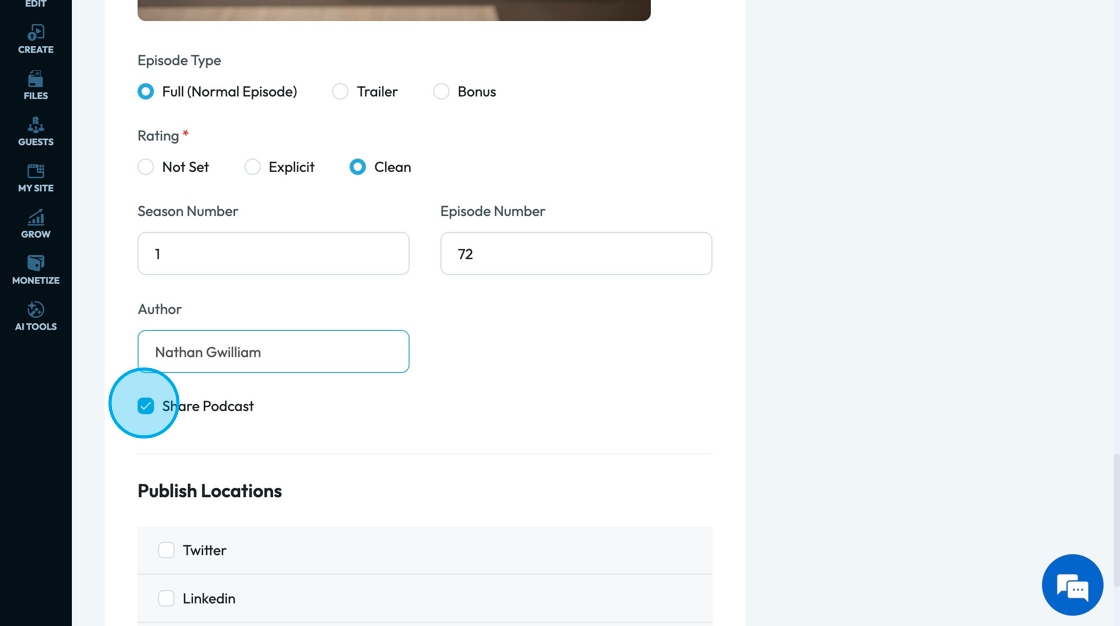
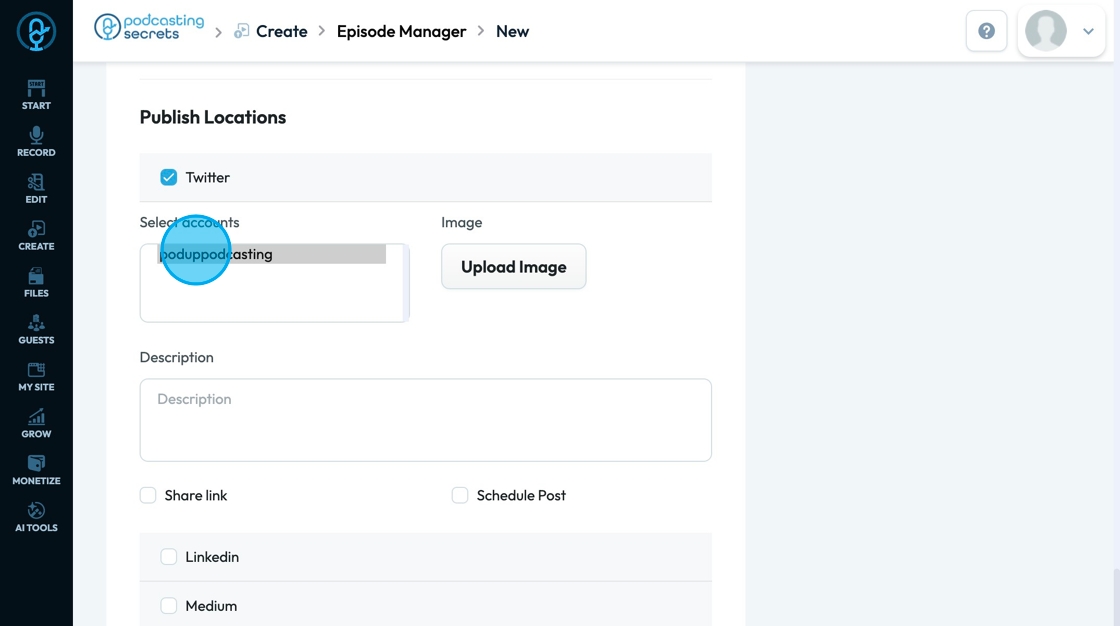
37. Select the social media platforms that you want to publish your content on
- The selected accounts will have a blue check mark next to them
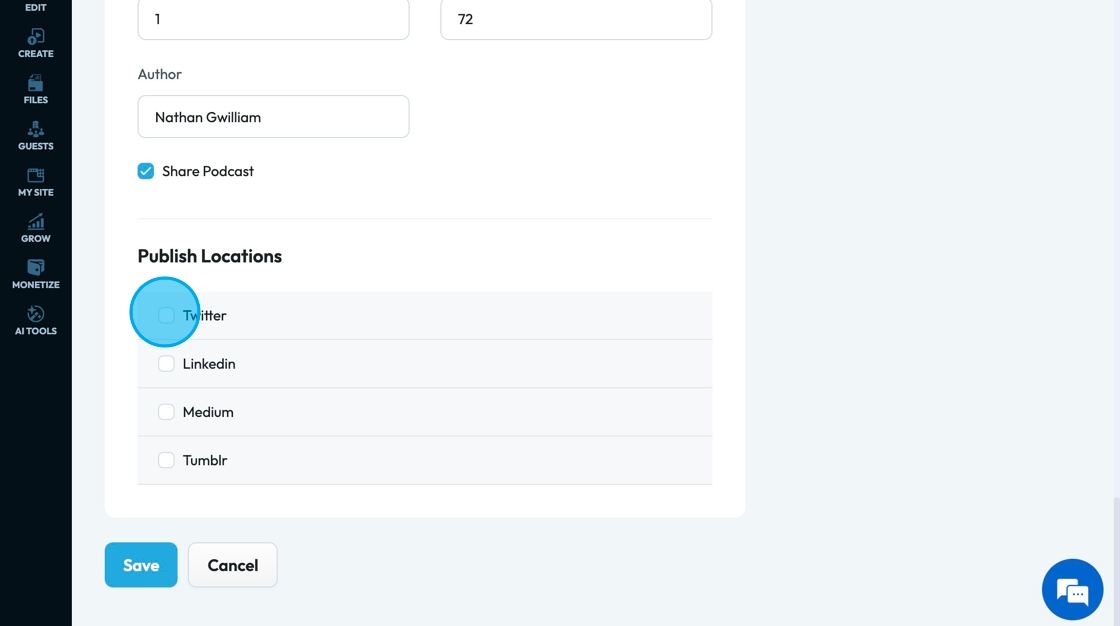
38. Click the account you wish to publish to
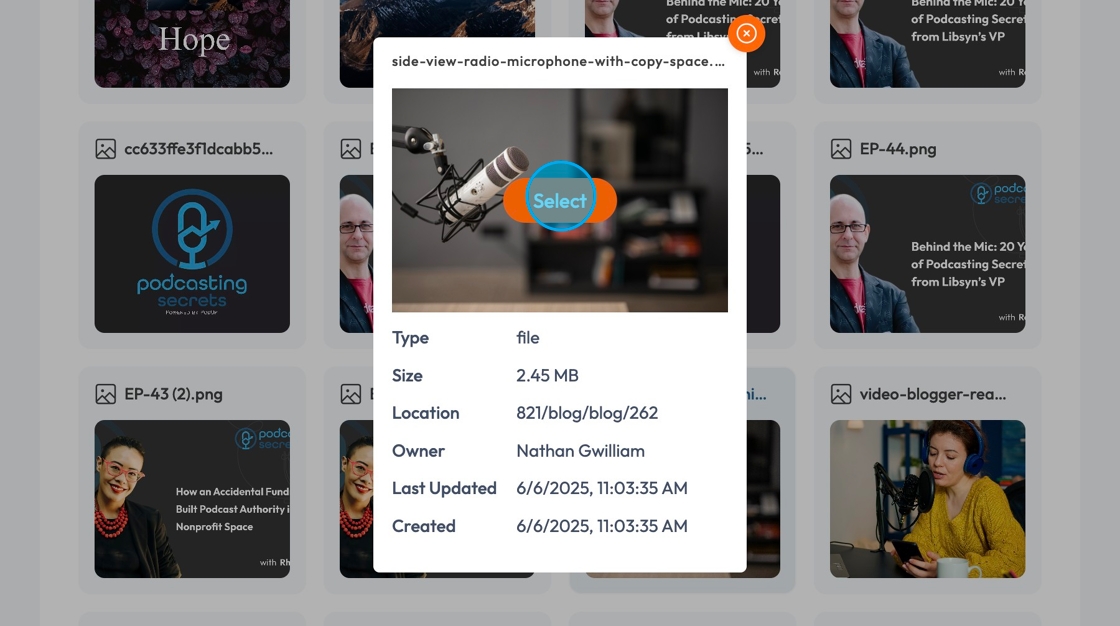
39. Click "Upload Image" to select the image you want to upload with the decription
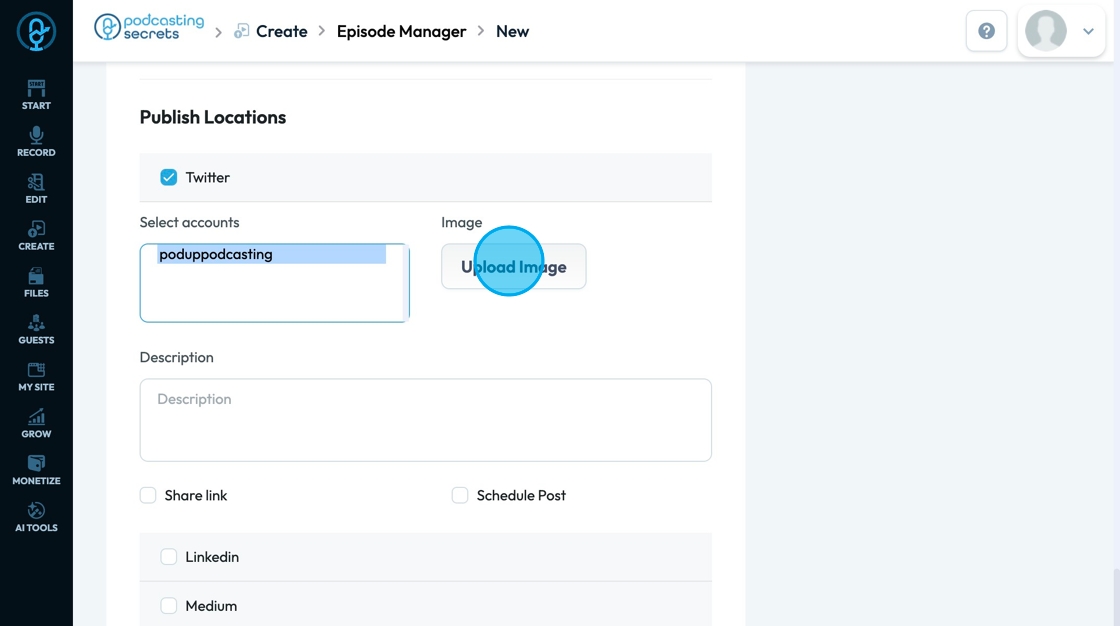
40. A pop-up will appear allowing you to select an image from the files in PodUp or from your computer
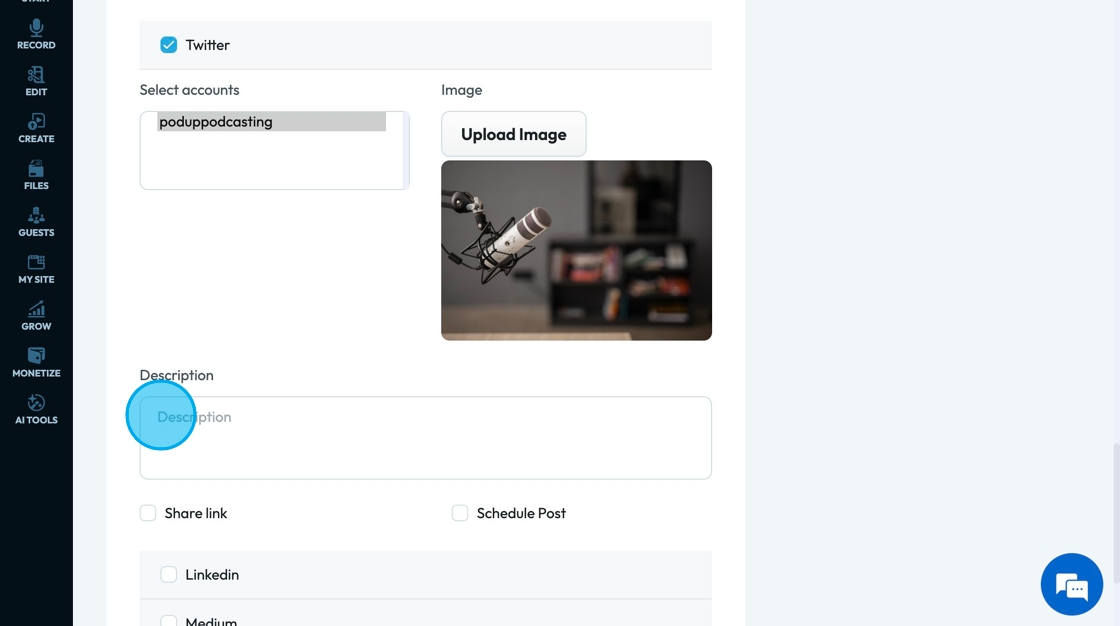
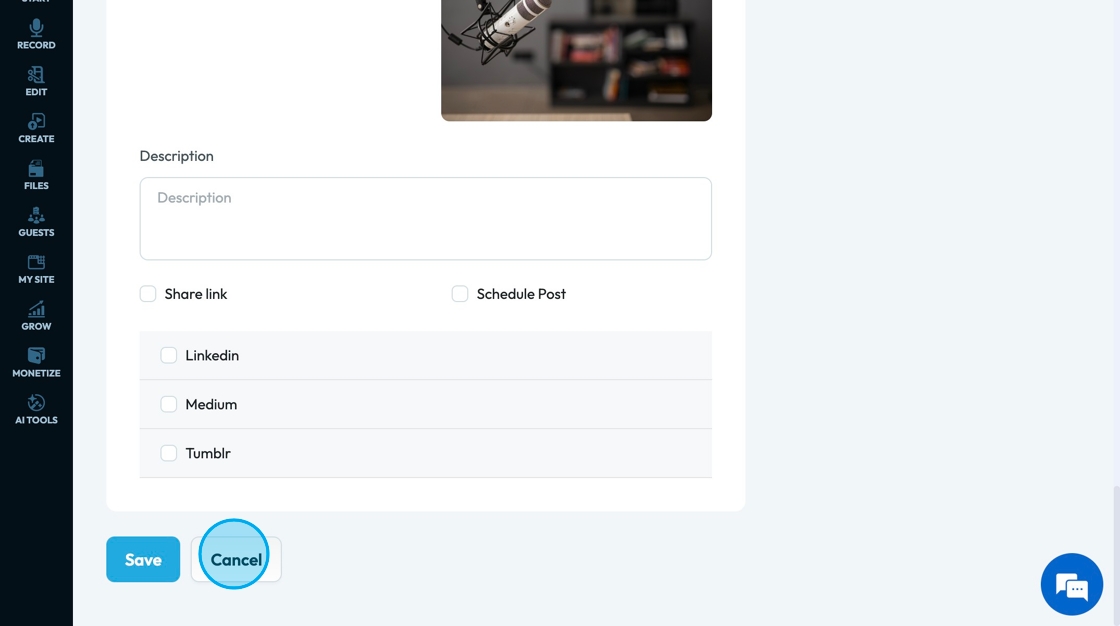
41. Click the "Description" field to add a summary of your content
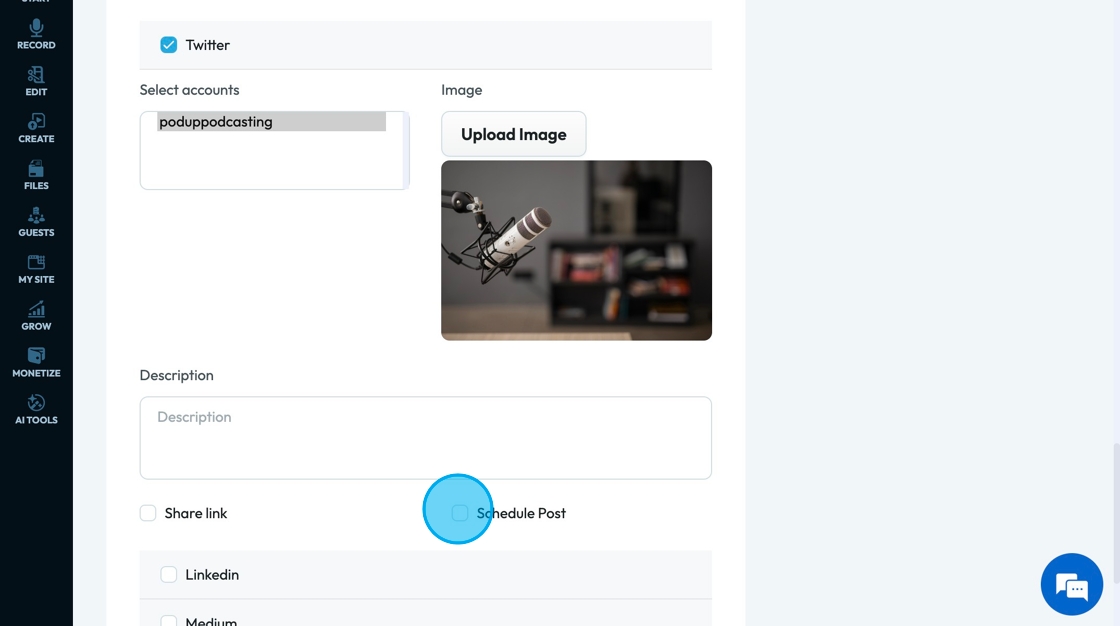
42. Click "Share link" to share the link to the published episode in the post
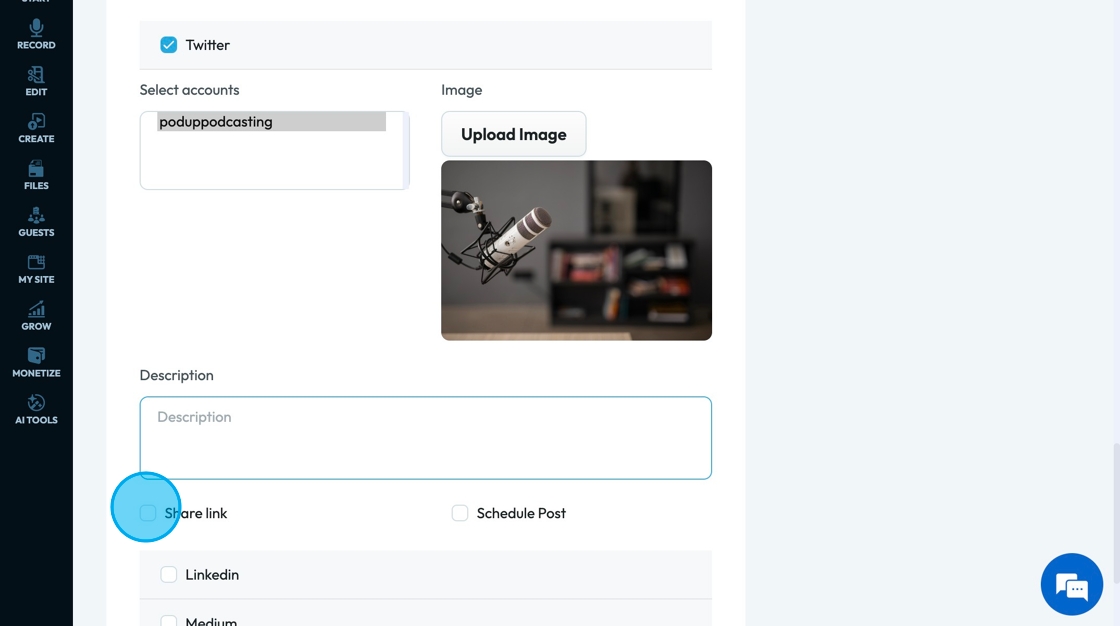
43. Click "Schedule Post" to schedule the when the post will be published on this social media page
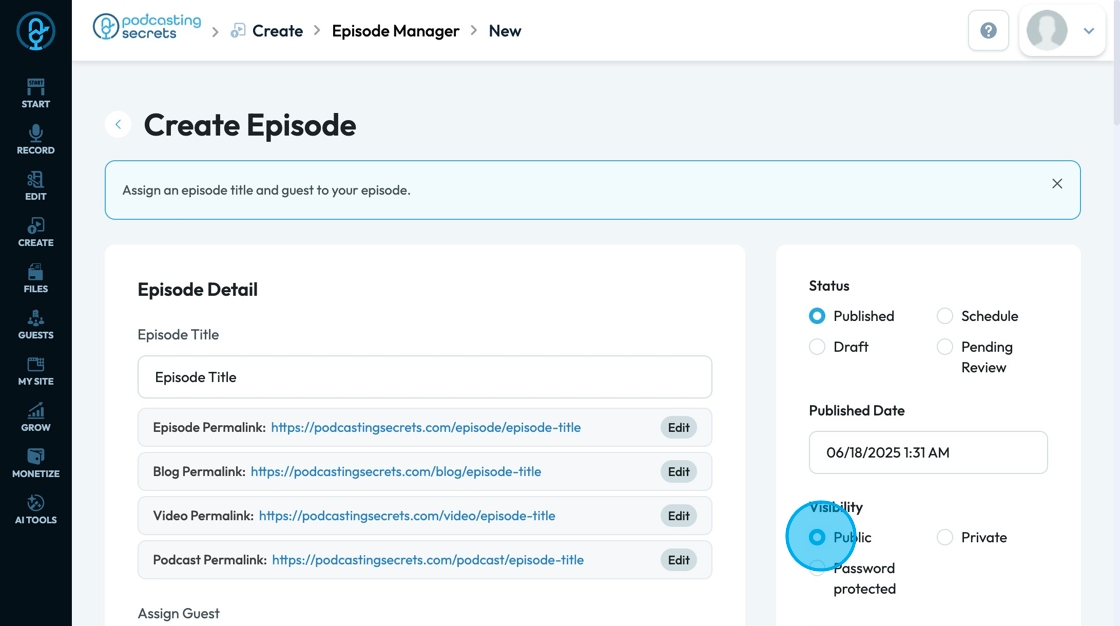
44. Select an option under "Status" to state the current stage of publication
- Published: You can insert a particular date
- Draft: Video is still in the editing phase
- Schedule: You can set a time to publish the draft
- Pending Review: Indicates that you are waiting for feedback or approval
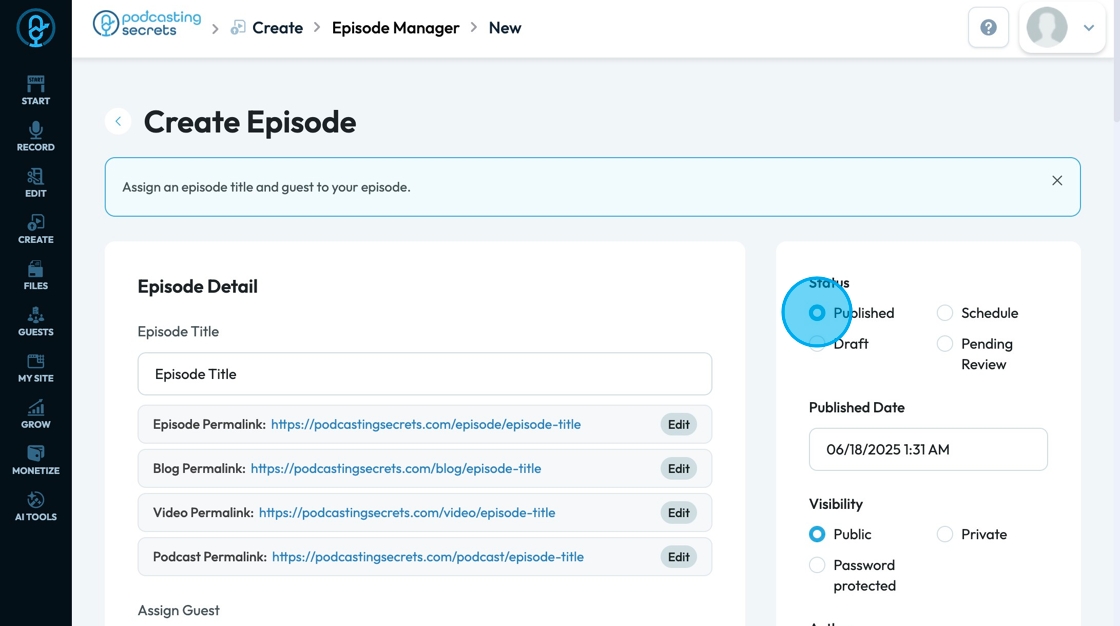
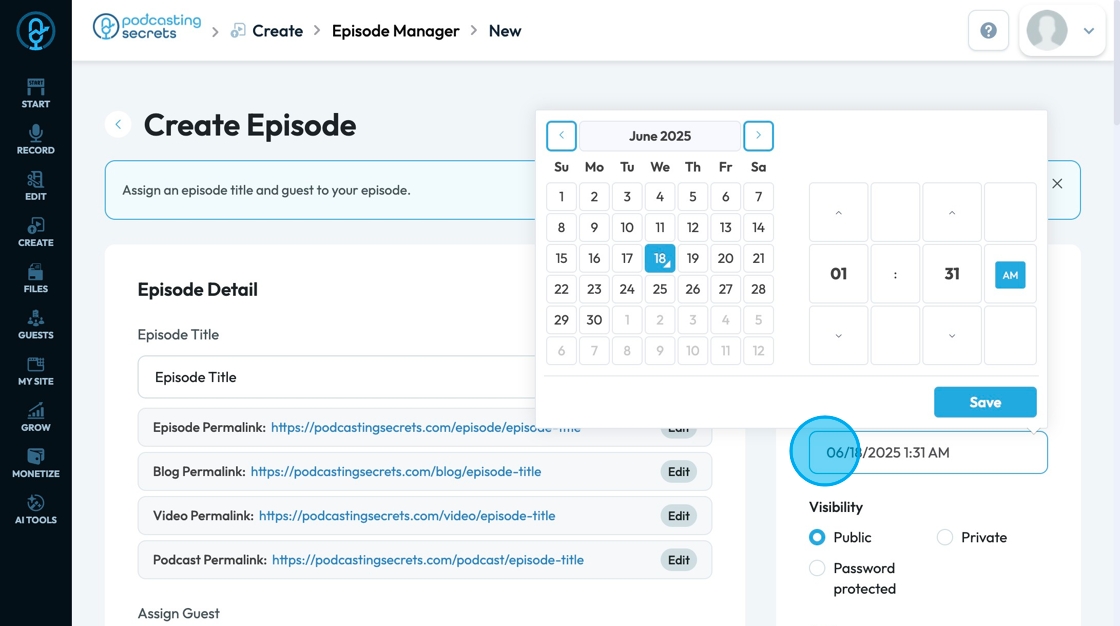
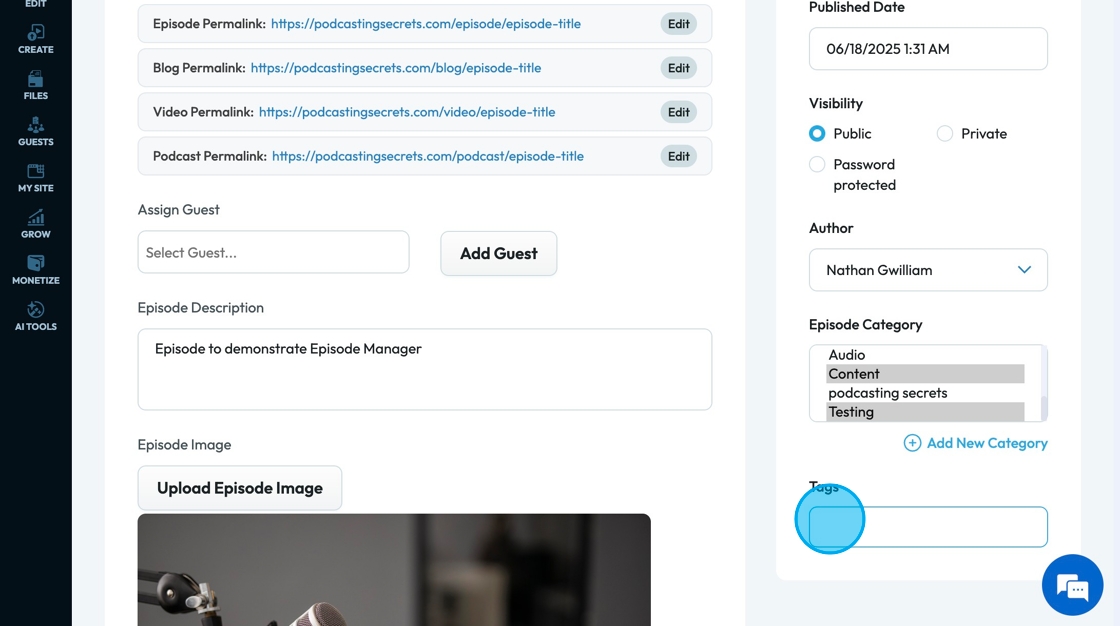
45. Click the "Published date" field to select the date and time when episode will be published
46. Click an option under "Visibility" to change who can see the podcast post
- Public: Visible to everyone
- Password protected: Visible to everyone who has the password
- Private: Only you can see it
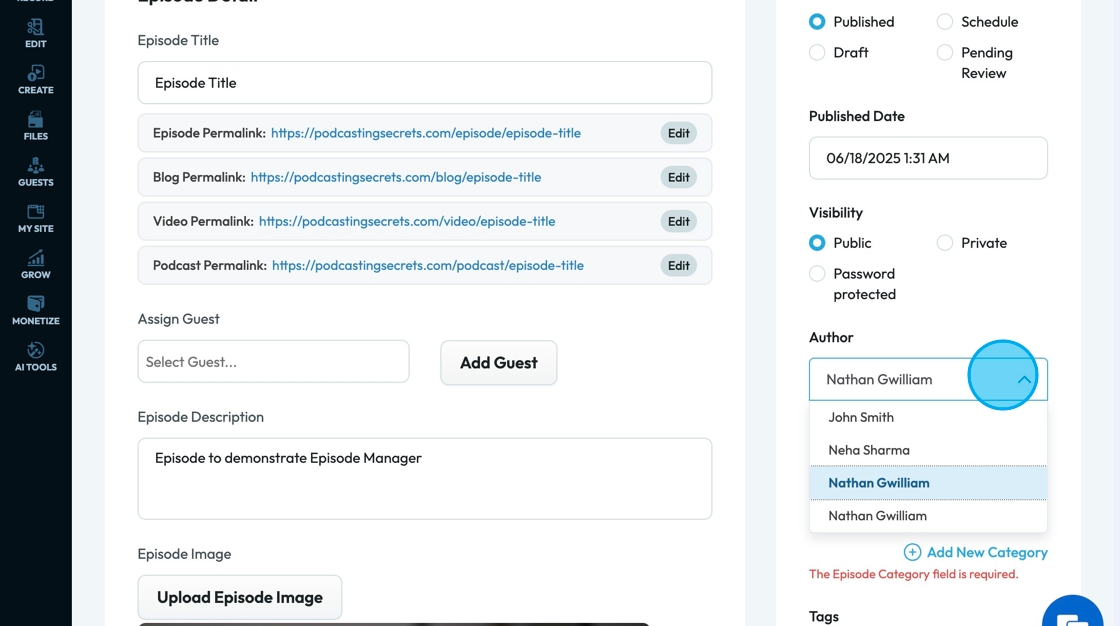
47. Click "Author" to see a dropdown list of authors.
48. Click the "Select Category" to choose the overall topic or theme that the episode will fall under
You can select multiple different categories
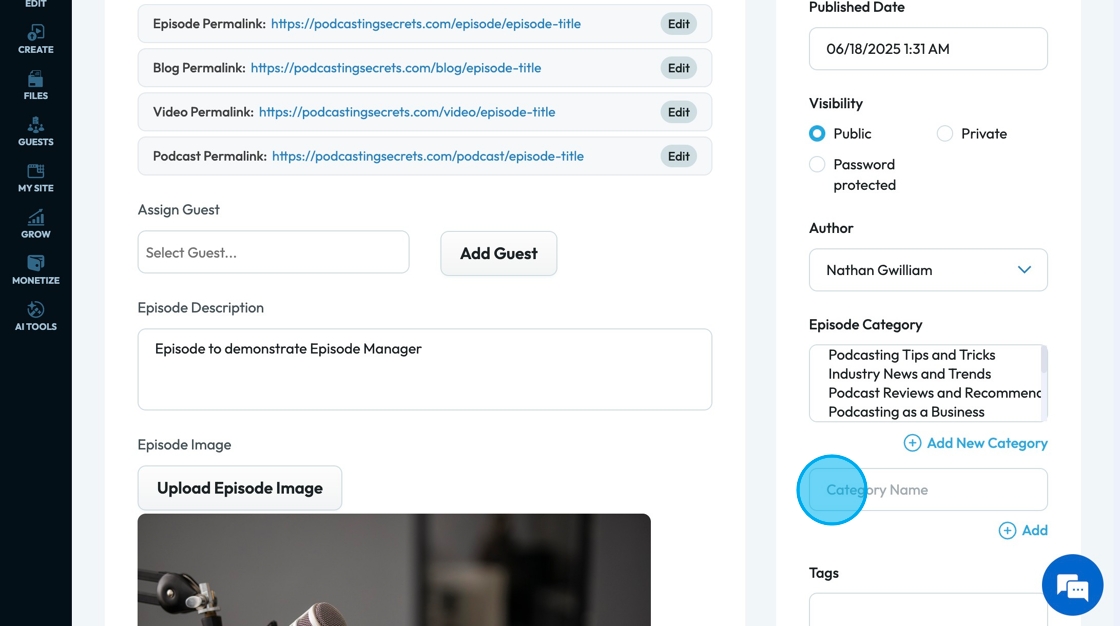
49. Click "Add New Category" to add categories that are not available in the drop-down menu
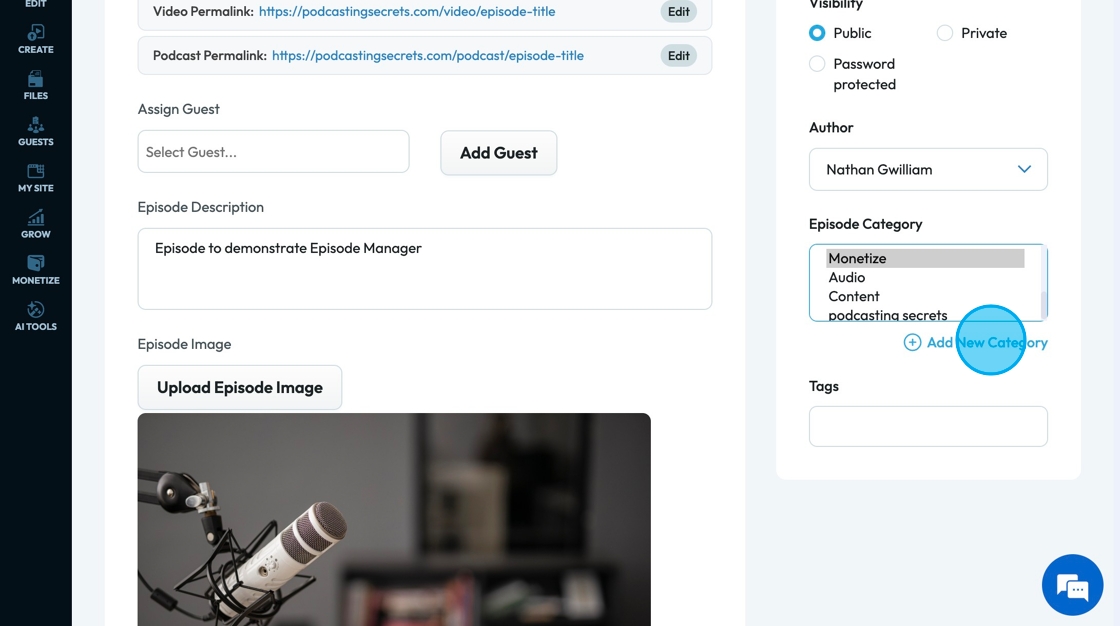
50. Click "Tags" field to add tags to the episode
- Add a word or phrase then click enter to add the tag
- If the tag was successfully entered it will be put in a blue bubble
- You can add multiple tags
51. Click "Save" to save the episode and any changes you made to your episode manager

52. Click "Cancel" to delete the progress that you made on the episode
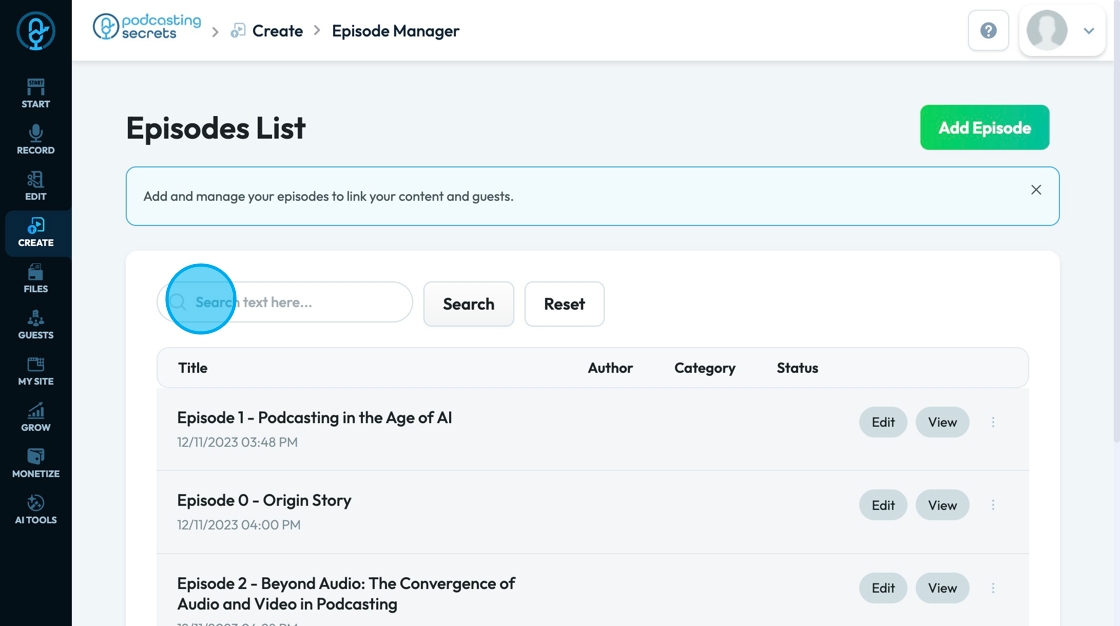
53. Click the "Search text here" field to search for a specific episode
54. Run the search by selecting "Search"
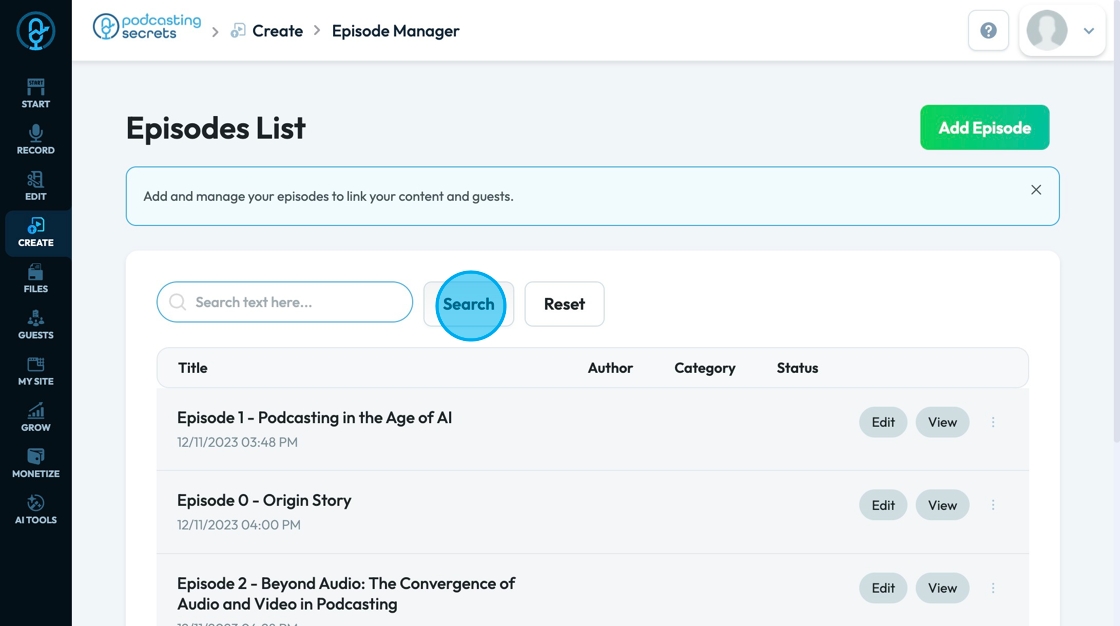
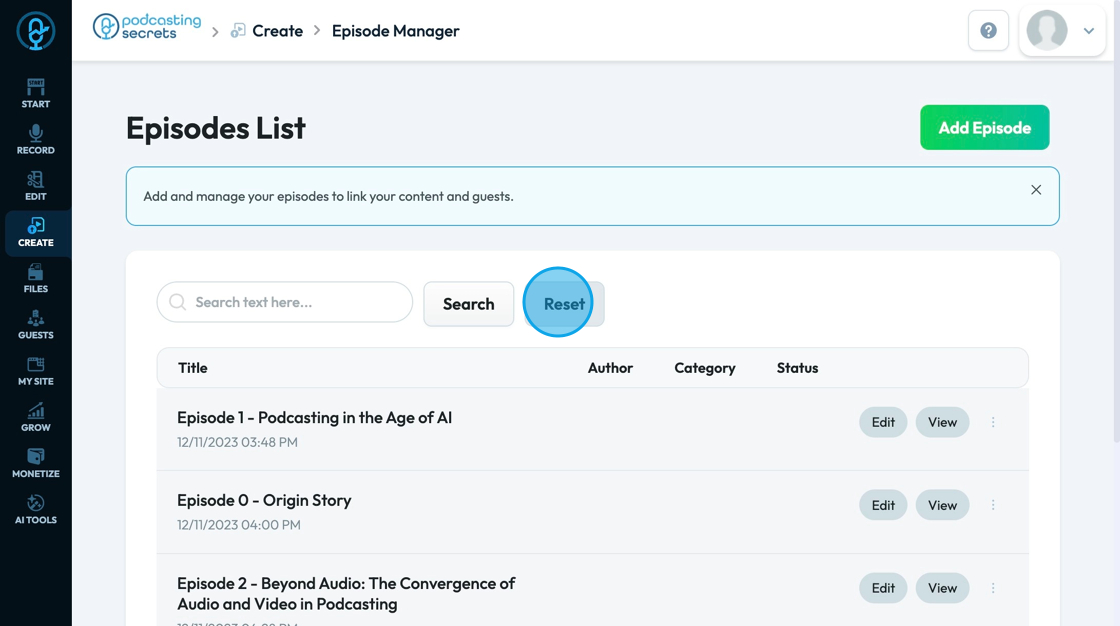
55. Click "Reset" to set everything back to its original setting
56. Click "Edit" to edit the episode content - this will bring you back to the page you just edited

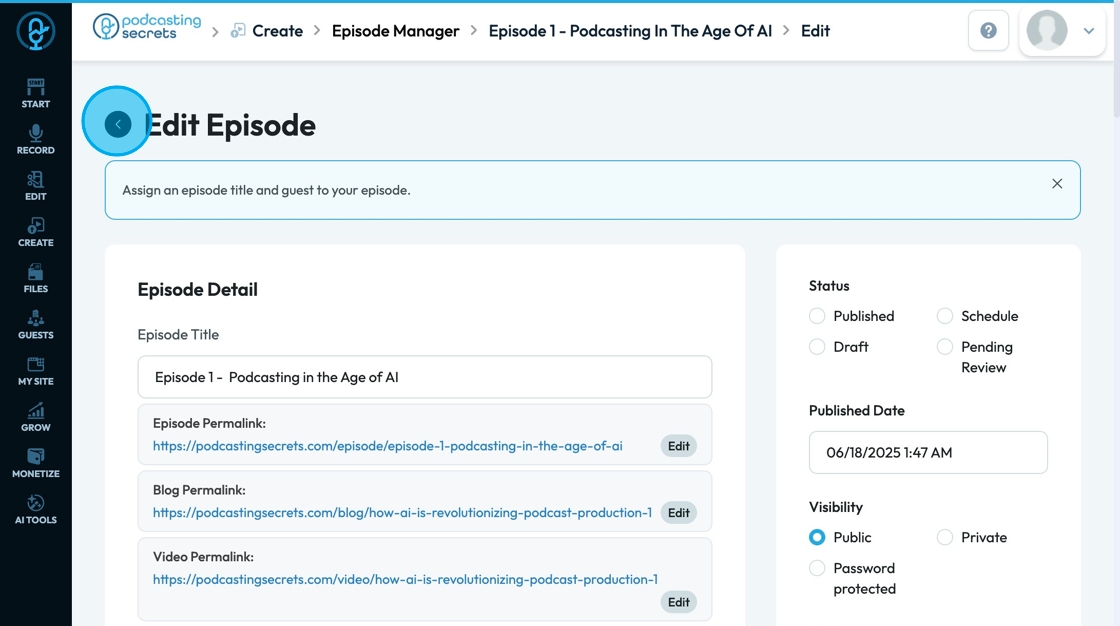
57. Click the back arrow to return to the Episode Manager
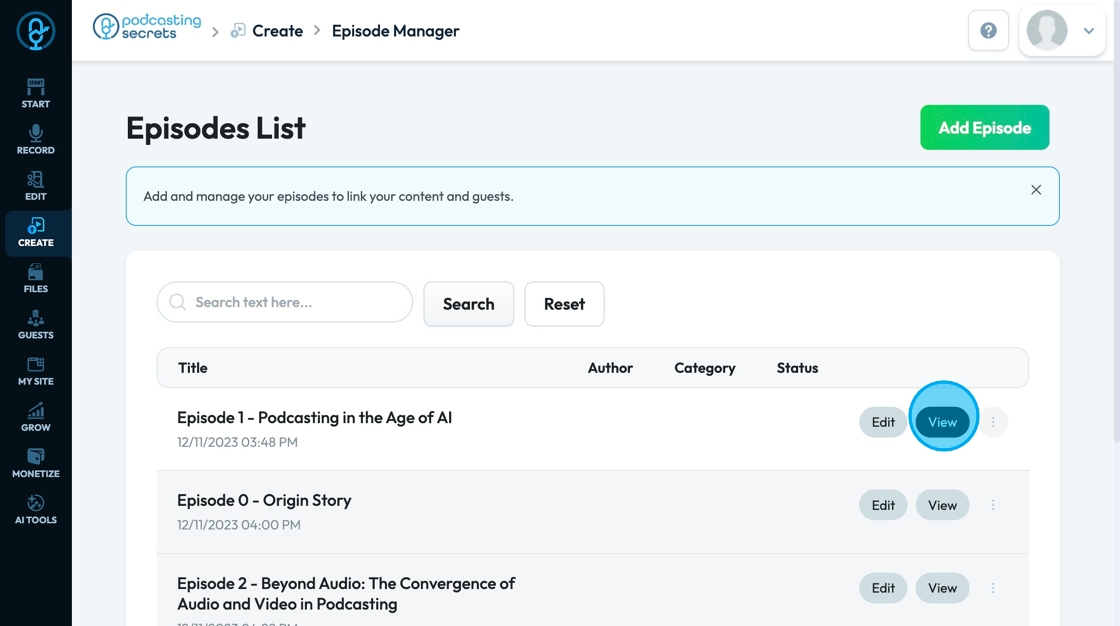
58. Click "View" to see what the published episode looks like
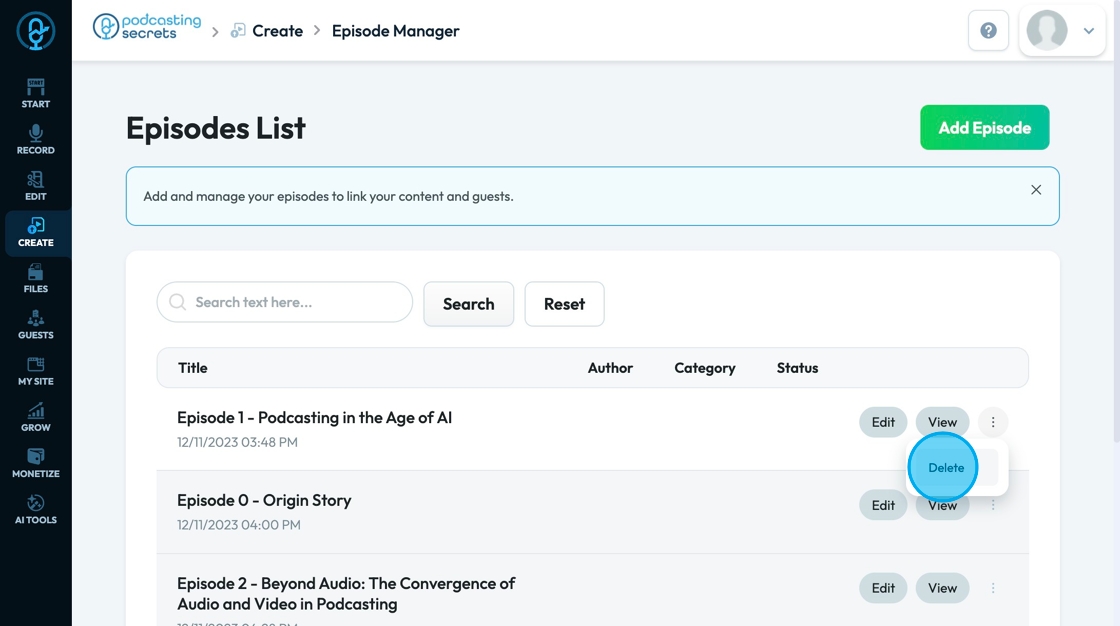
59. Click "Delete" to delete the episode
Related Articles
How to Navigate File Manager (Detailed)
This guide offers essential insights into effectively managing your podcast files within PodUp. It covers everything from accessing the File Manager to organizing, uploading, and sharing files, ensuring a streamlined workflow. With tips on sorting, ...How To Navigate Podcast Episode (Detailed)
This guide offers a step-by-step approach to creating and publishing a podcast episode on Podup, making it accessible even for beginners. It emphasizes the importance of SEO and categorization to enhance discoverability and engagement. By following ...How to Navigate Guest Manager (Detailed)
This guide provides a straightforward process for adding guests to the PodUp application, ensuring you can efficiently manage guest information and invitations. By following the steps outlined, users can easily input necessary details and customize ...How to Navigate Video Episodes (Detailed)
This guide shows you how to easily create and share amazing video posts on PodUp. You'll get simple, step-by-step instructions to get your videos online, make them easy to find (that's the "SEO" part!), and share them on different places, all while ...How To Navigate Newsletter Generator (Detailed)
This guide provides a comprehensive walkthrough on generating AI newsletters specifically tailored for podcast monetization. It simplifies the newsletter creation process, allowing users to effectively incorporate keywords, blogs, videos, and ...