How To Navigate Social Media Poster (Detailed)
This guide provides a straightforward method for creating and scheduling social media posts using the Podup platform. It offers step-by-step instructions, ensuring users can easily navigate through the process of adding content, selecting social accounts, and utilizing features like hashtags and emojis. By following this guide, users can streamline their social media management, enhance their online presence, and effectively engage with their audience at optimal times.
1. Navigate to https://app.podup.com/home
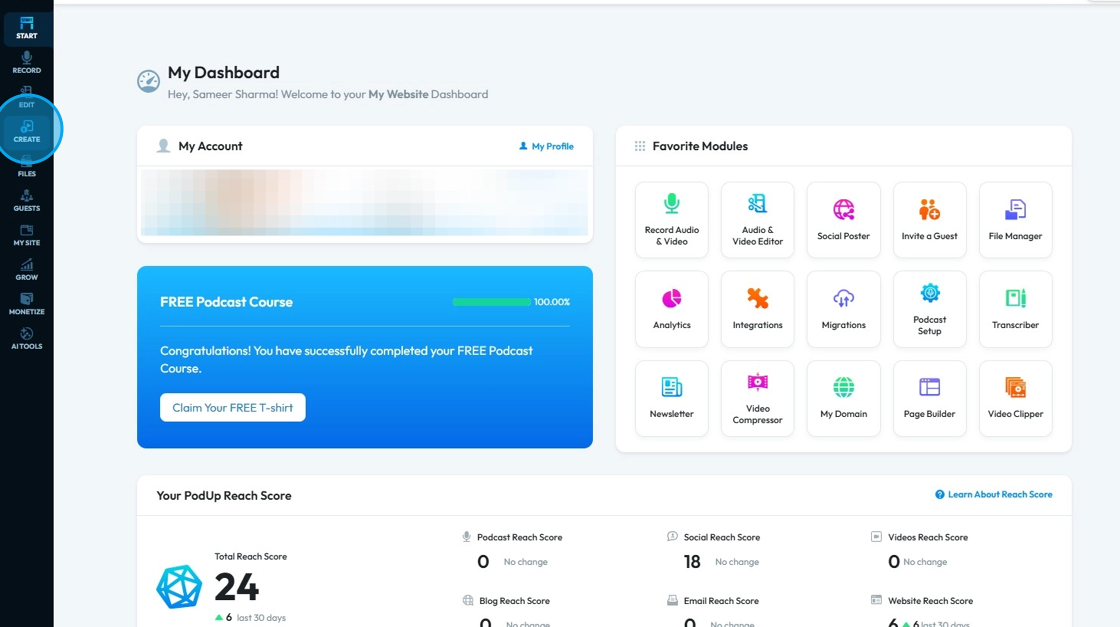
There are two ways to access "Social Poster". Quickest way is from the "Dashboard".

2. 1) Click "Social Poster" in "Favorites Modules"

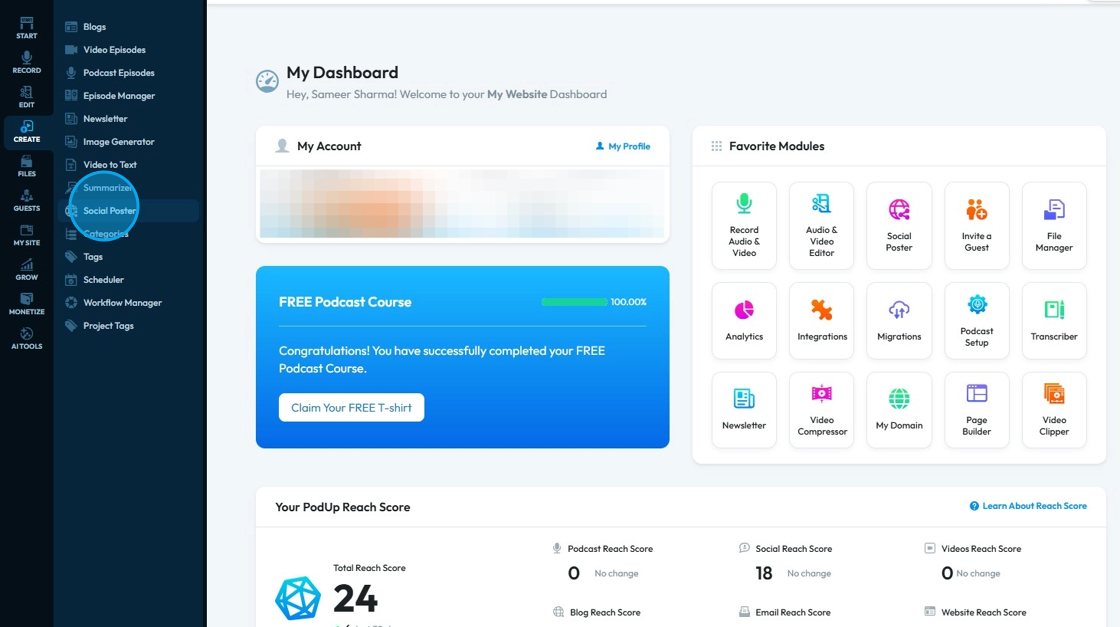
3. 2. Click "Create" from the side panel.
4. Select "Social Poster"
5. "Search" field can be used to locate a specific post
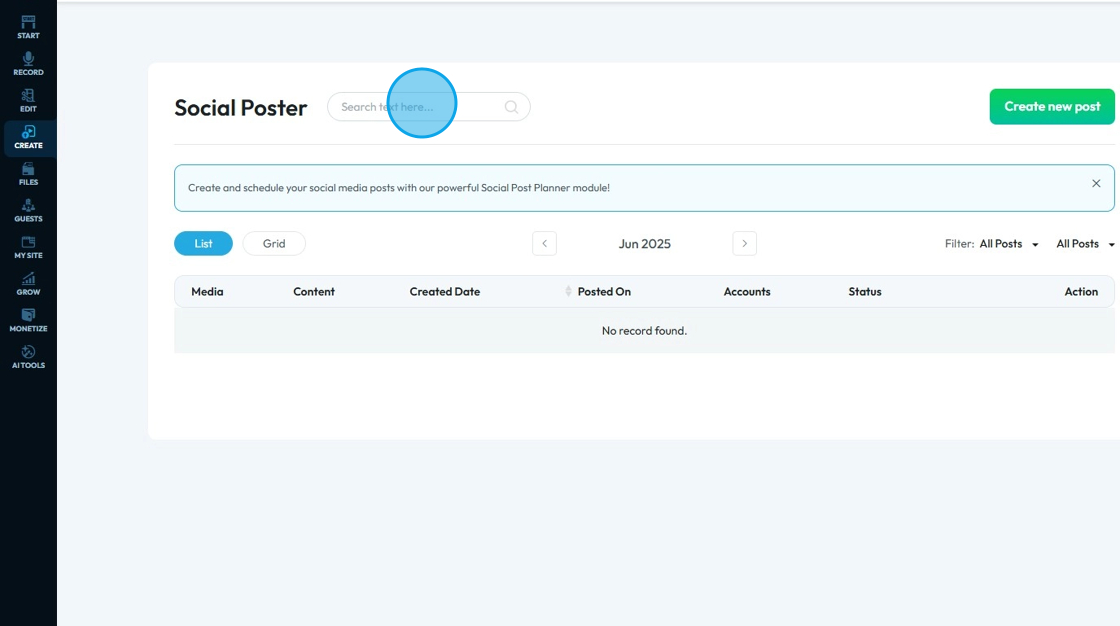
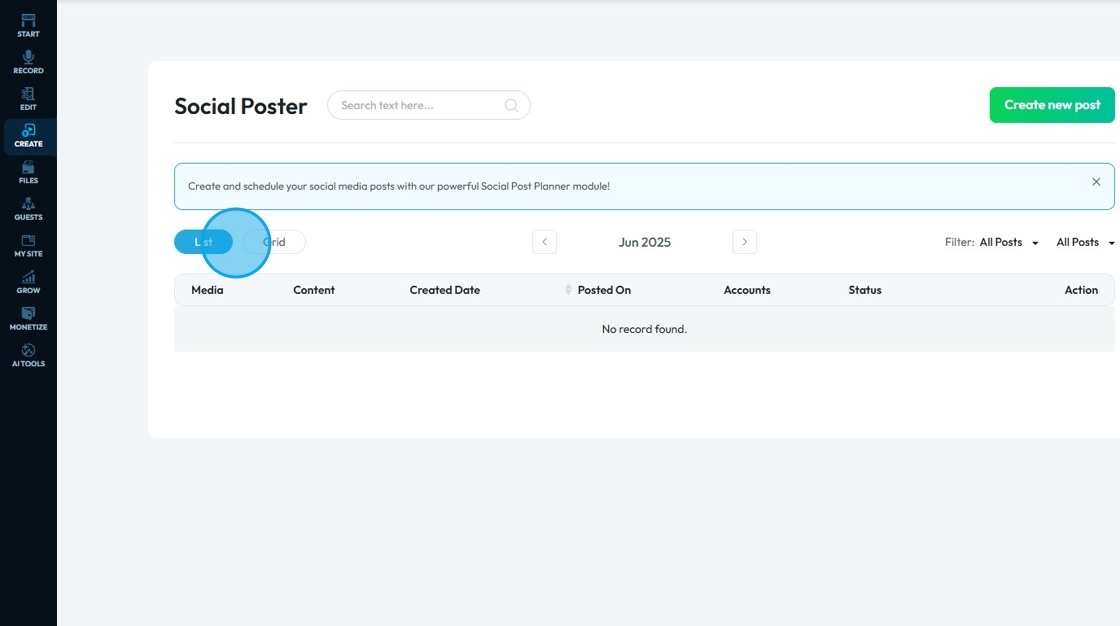
6. Can select the desired layout from either "List" or "Grid"
- "List" layout: Items are arranged vertically, showing more details like title, date, and controls; best for reading and managing content.
- "Grid" layout: Items are arranged in rows and columns with thumbnails or cards; best for visual browsing and quick scanning.
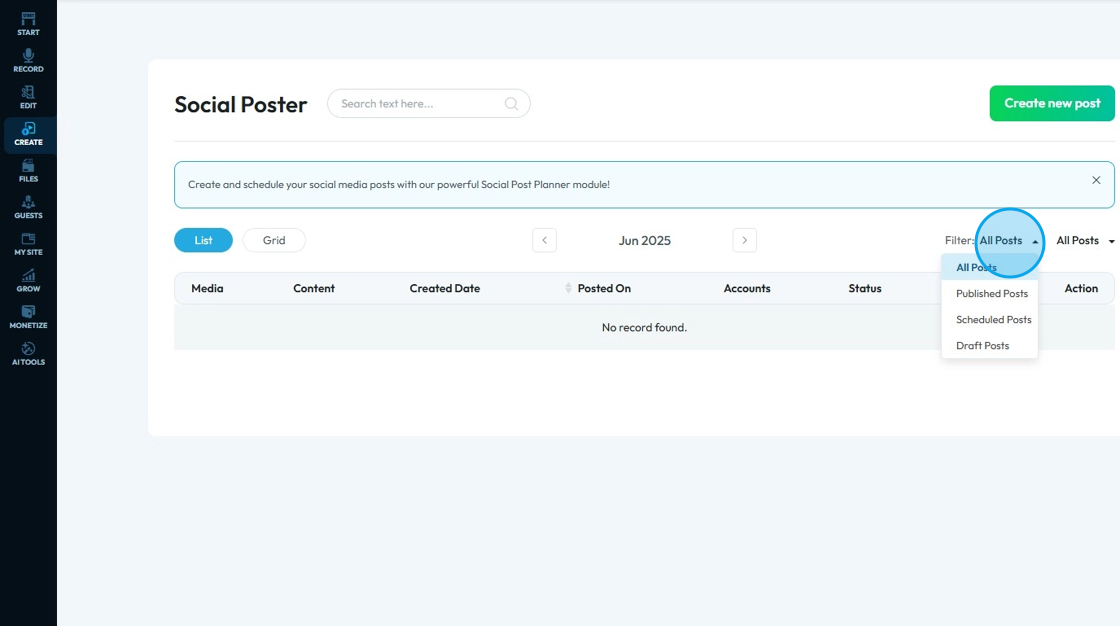
7. Click "All Posts" drop-down menu, right next to "Filter" to filter out Posts based on "Status"
- Filter by
- All Posts
- Published Posts
- Scheduled Posts
- Draft Posts
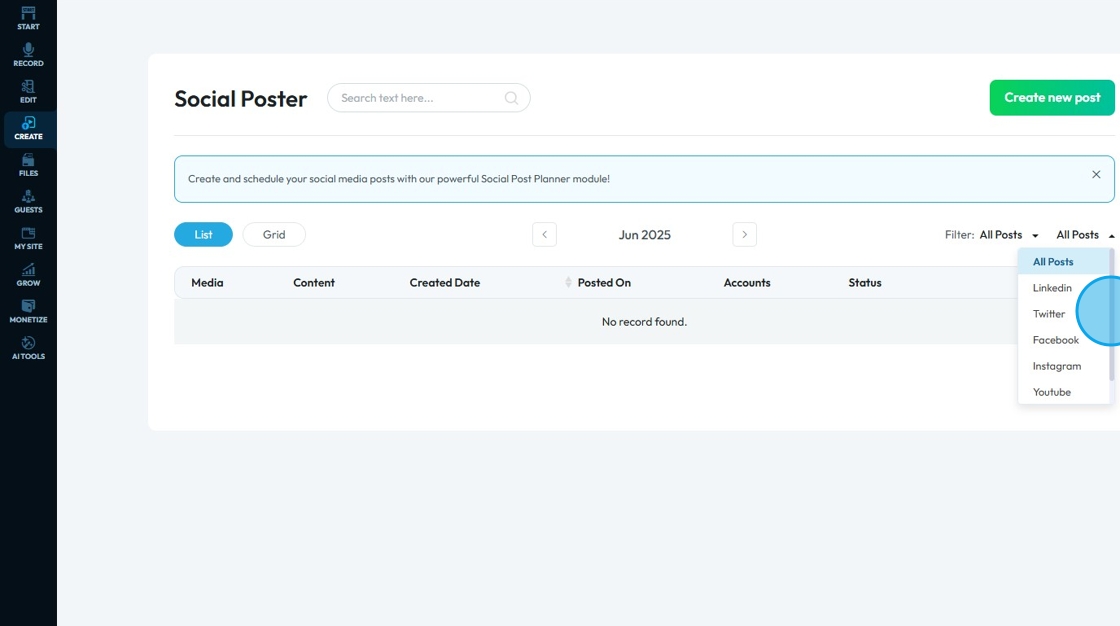
8. Click the second "All Posts" to filter out Posts based on the "Social Platforms"
- Youtube
- TikTok
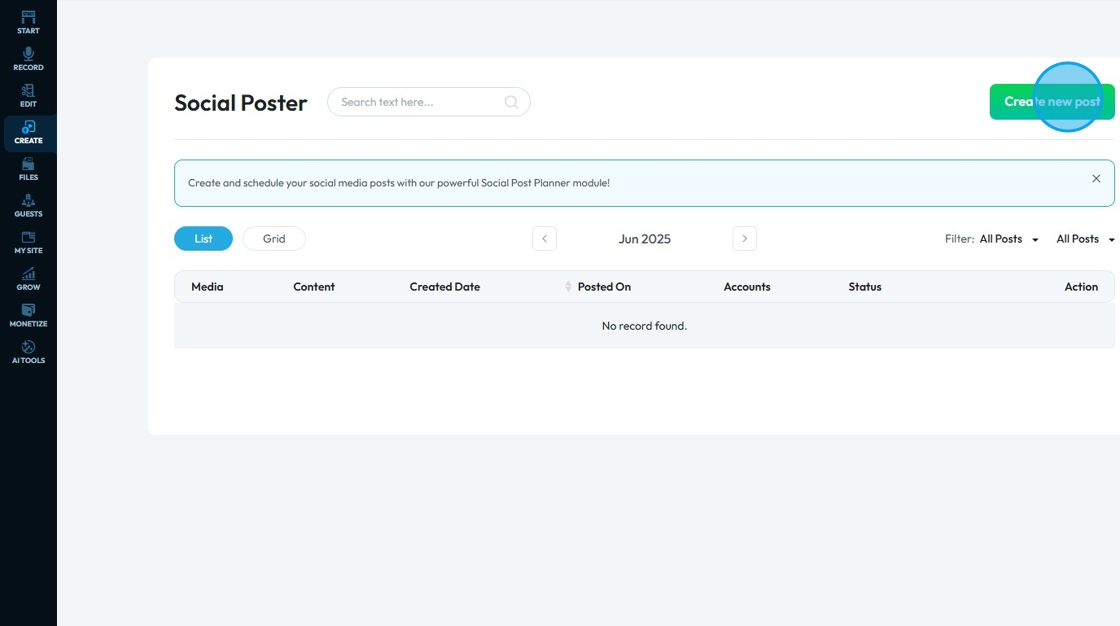
9. Click "Create new post" to make a new Social Poster.
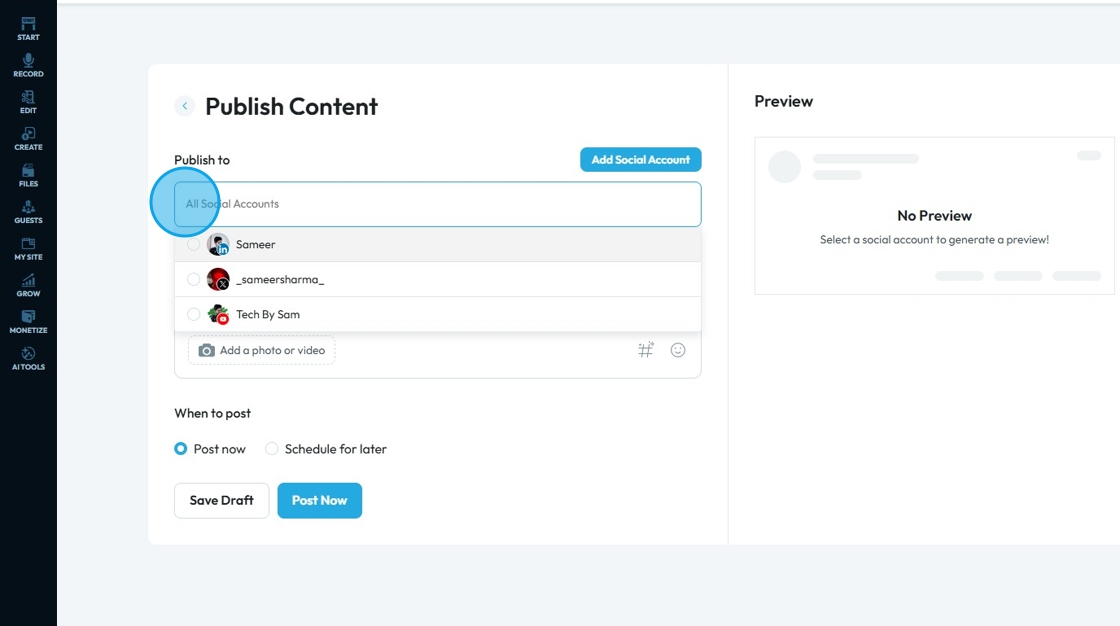
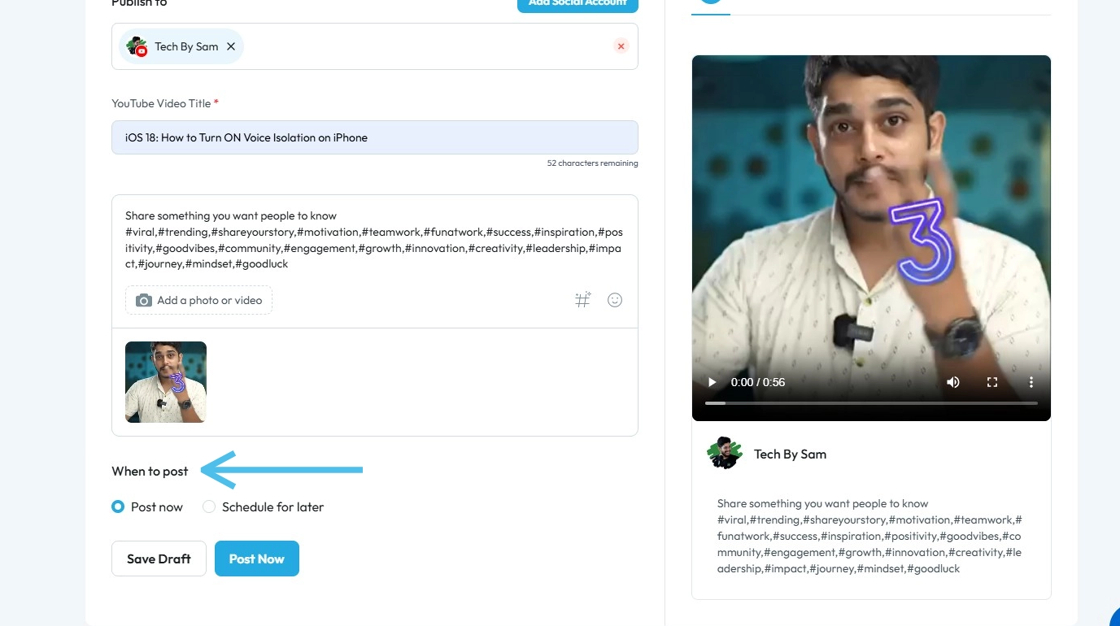
10. Click the "Add Social Accounts" field to add a Social Account.
- Ex. Accounts of YouTube, X (Twitter), LinkedIn, etc.
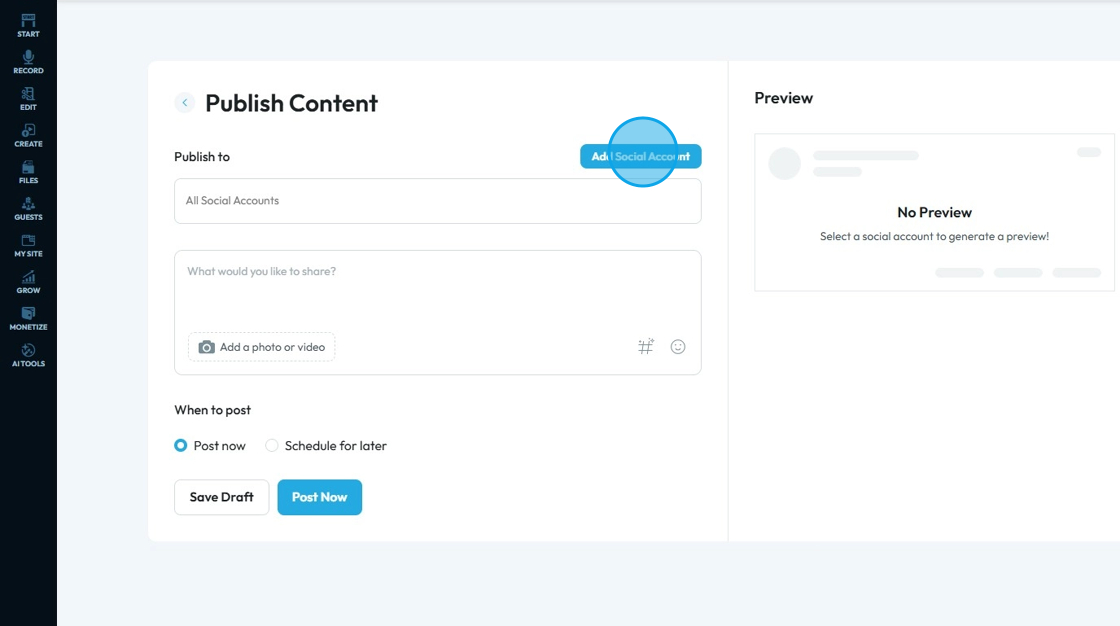
11. Click "All Social Accounts" to choose accounts you want to post on.
- Select each account individually
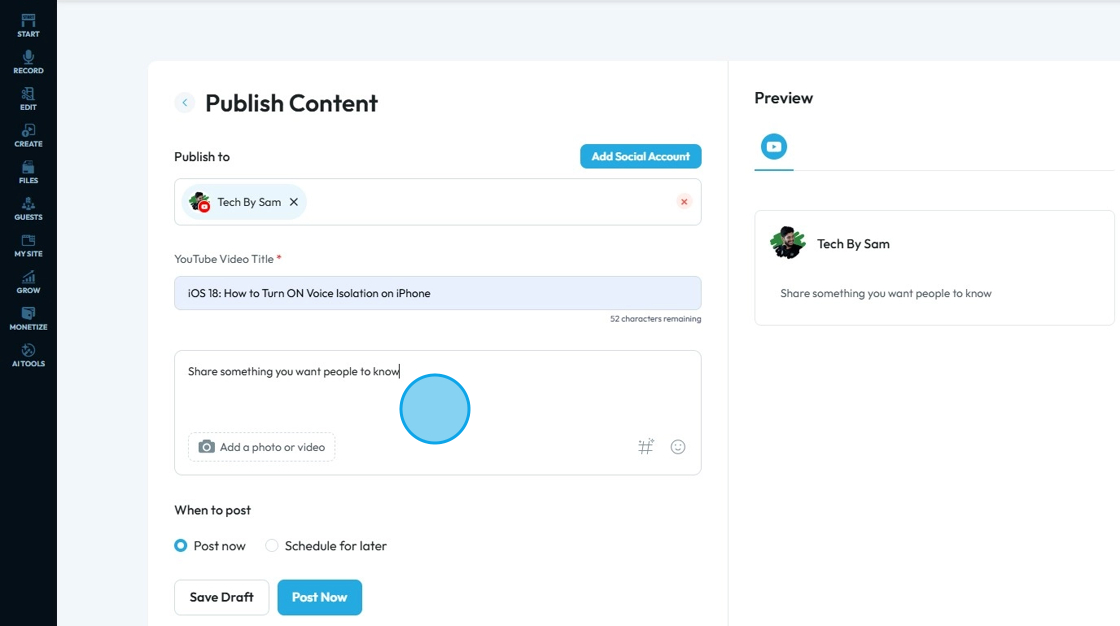
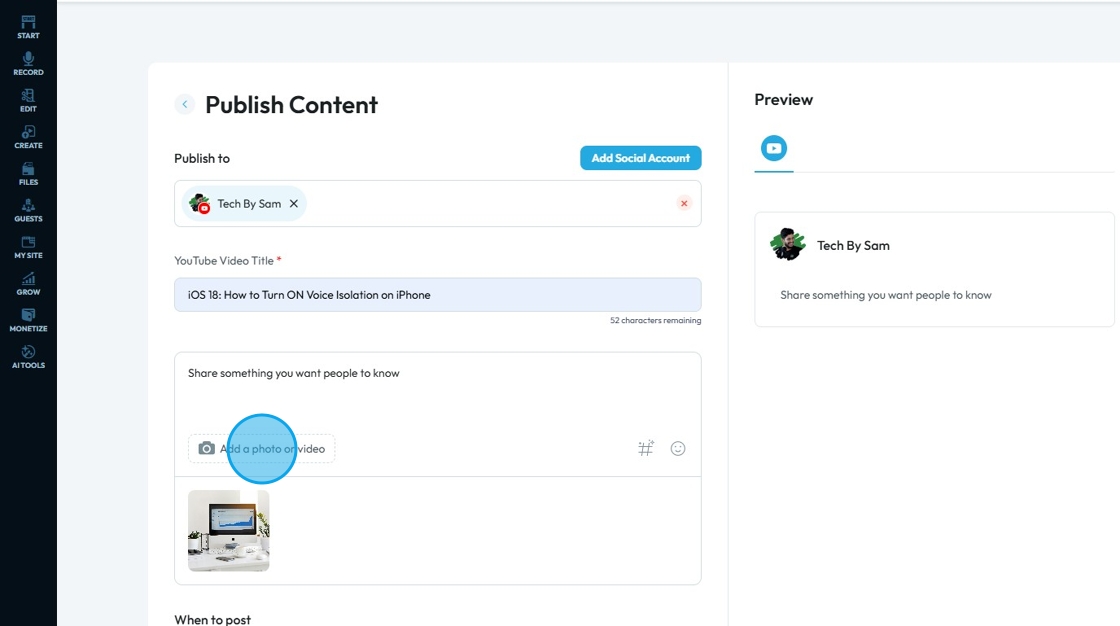
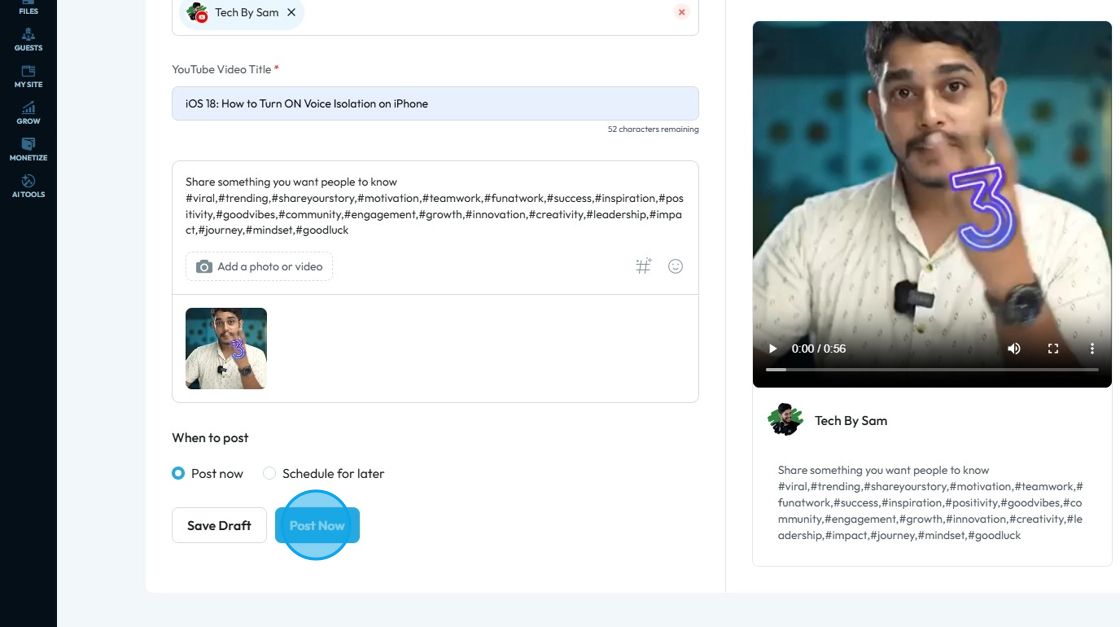
12. Click the "Youtube Video Title" field to enter the "Title" for your Post.
Note: A title is only needed for a Youtube Video so this feild will only appear when YouTube account is selected

13. Click "What would you like to share?" and insert the text you want to share with the post. This will be the caption
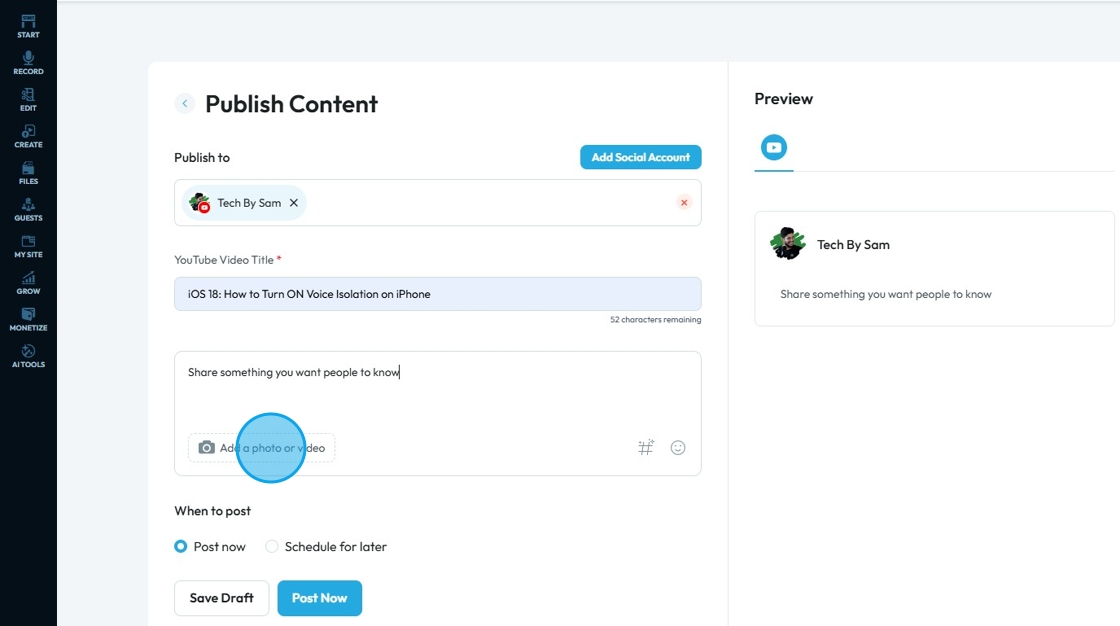
14. Click "Add a photo or video" to select a photo or video from your PodUp media library or from your computer
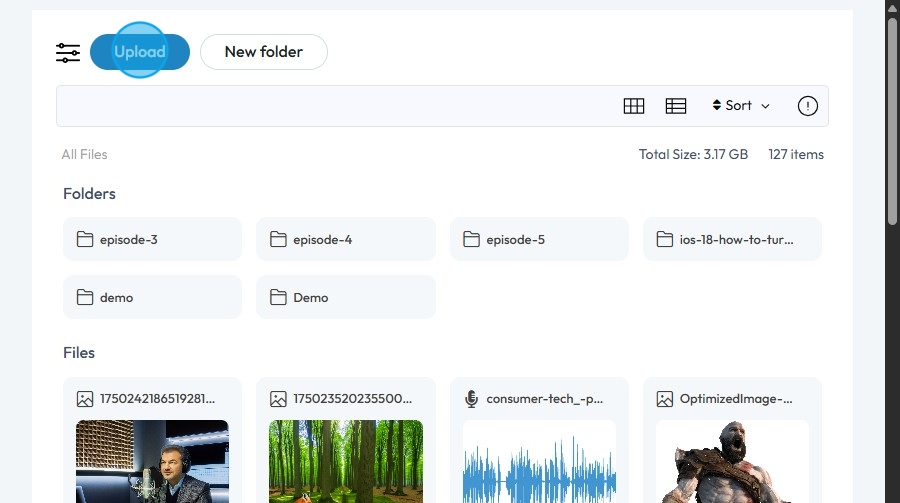
15. An "Upload" window will be available.
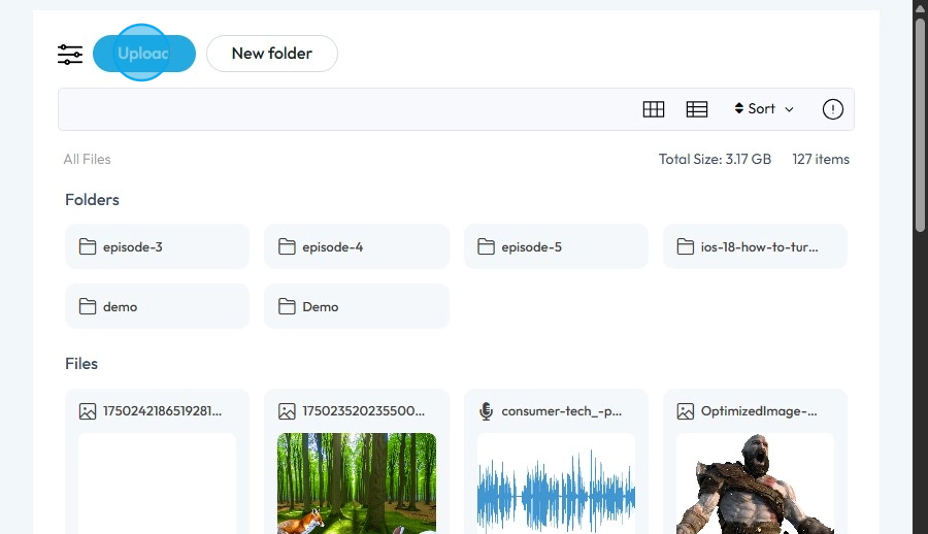
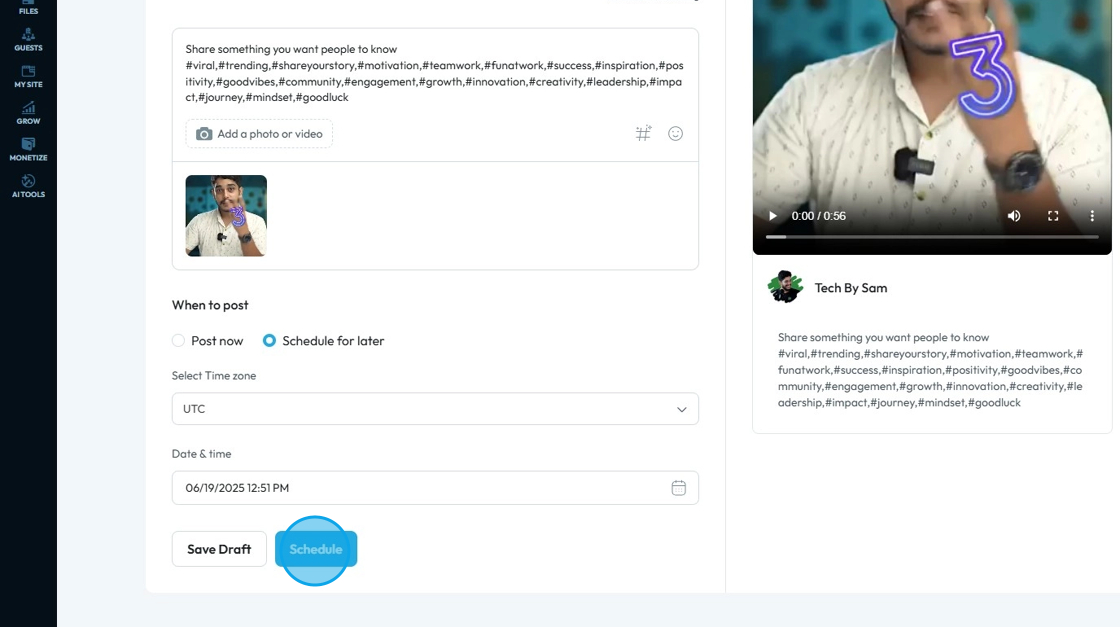
16. Choose a file

17. Click "Select" to import it for Social Poster

18. To "Upload" a file from your computer. Click on "Add a photo or video".
19. Click "Upload"
20. Select the file and it will upload.

21. Choose the "File" you uploaded

22. Click "Select"

23. To select a Video instead of a Photo. Click "Add a photo or video"

24. Click on the video to import.

25. Click "Select"

26. Click on "#" icon to allow AI to generate relevant hashtags for your post
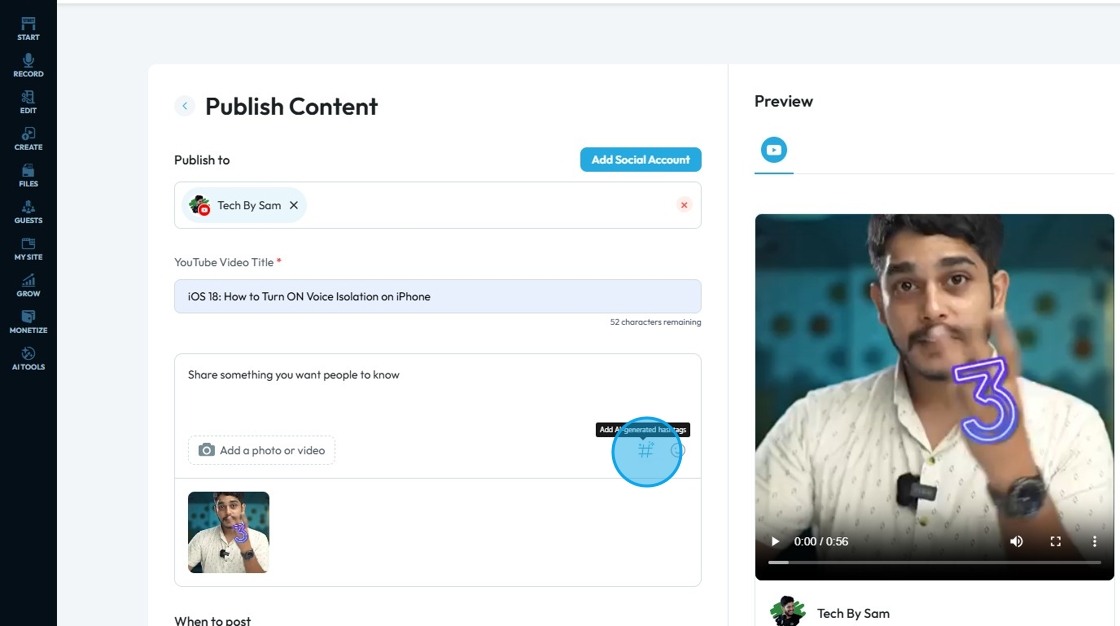
27. A pop-up will appear with the newly generated hashtags. Click "Add hashtag"

28. Click "Emoji" icon to add an emoji to the post
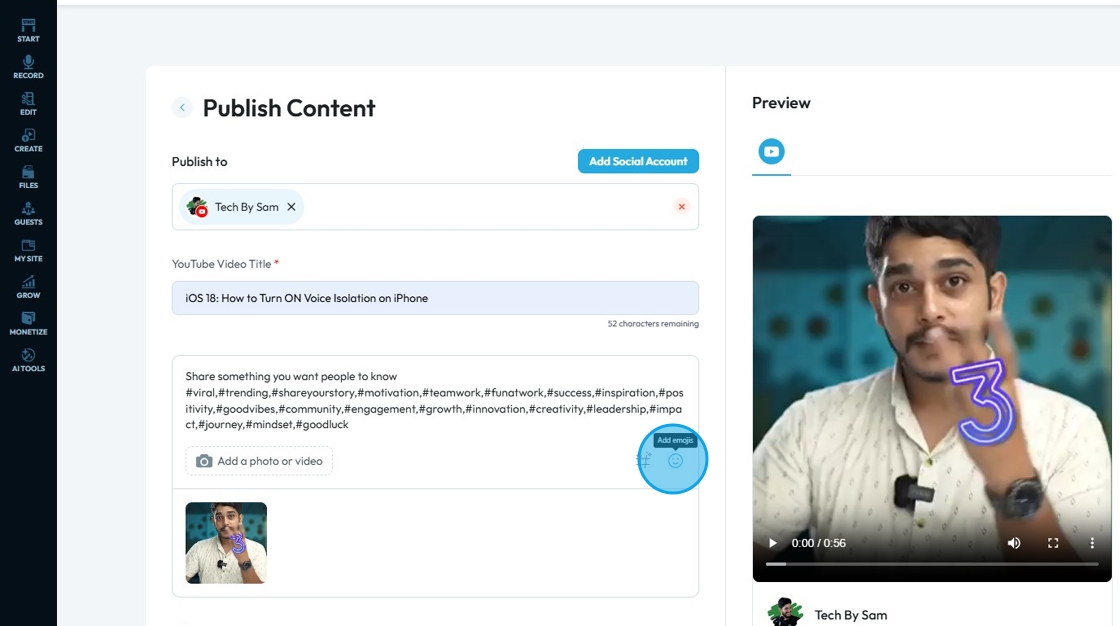
29. Choose the perfect Emoji for the post.

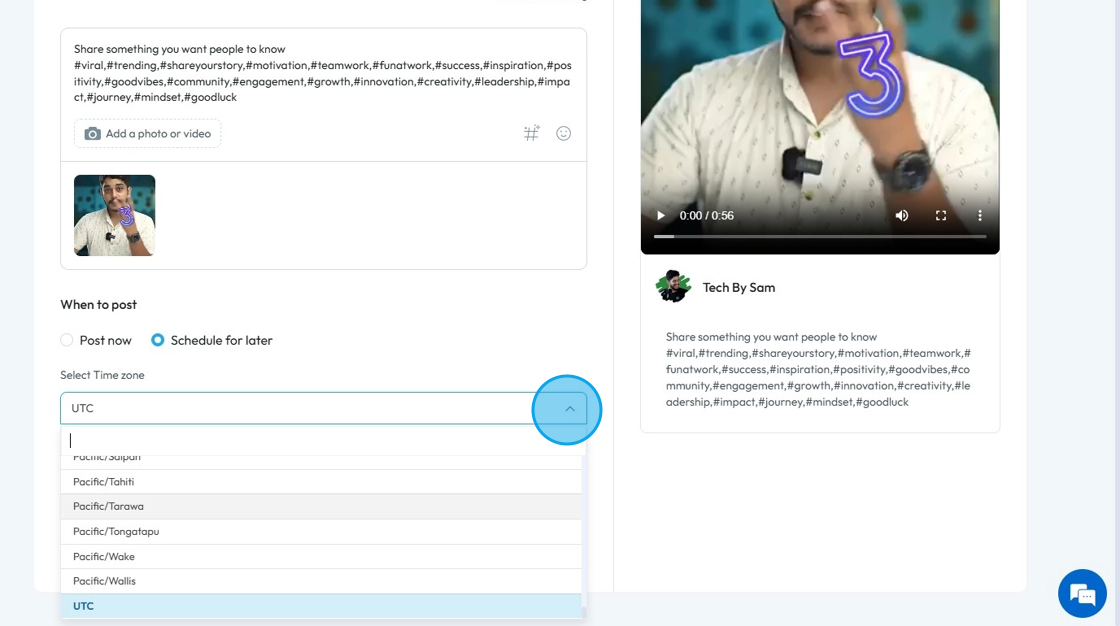
30. Under "When to Post" section you can either choose "Post now" or "Schedule for later"
31. Click "Schedule for later"

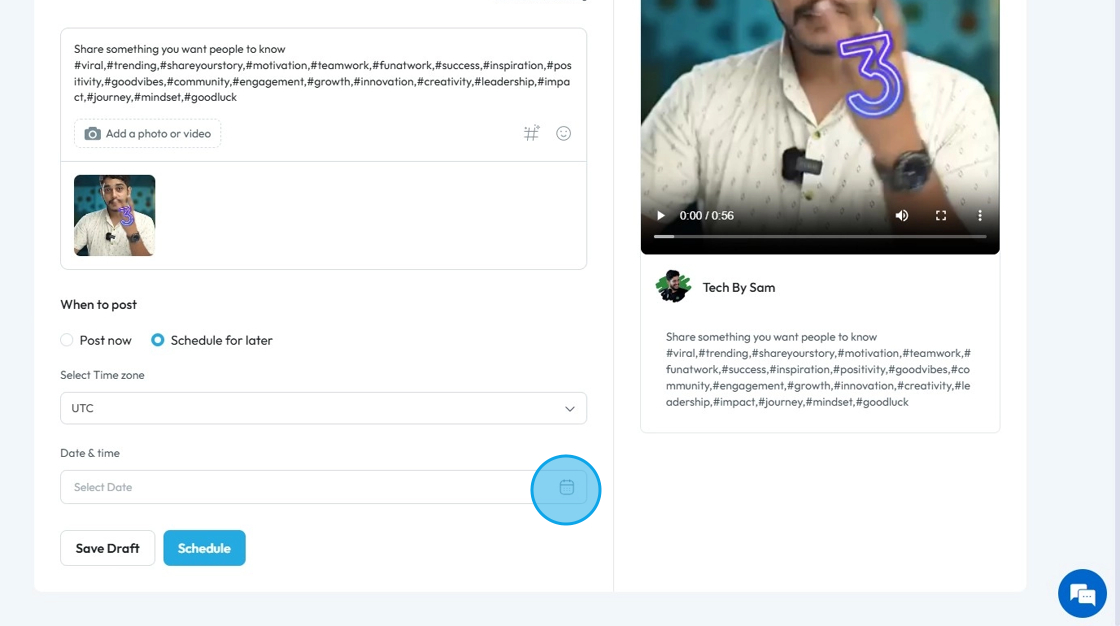
32. Select the appropriate "Time zone"
33. Click the "Select Date" field
34. Select the "Date and Time" and Click "Save"
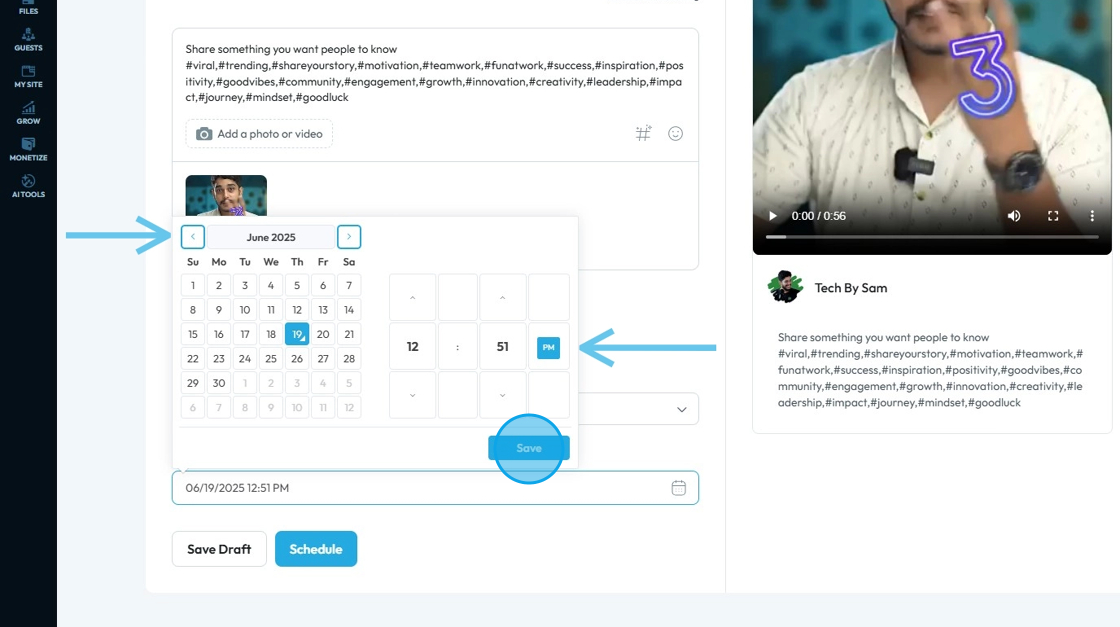
35. Click on "Save Draft" to make a draft of the post
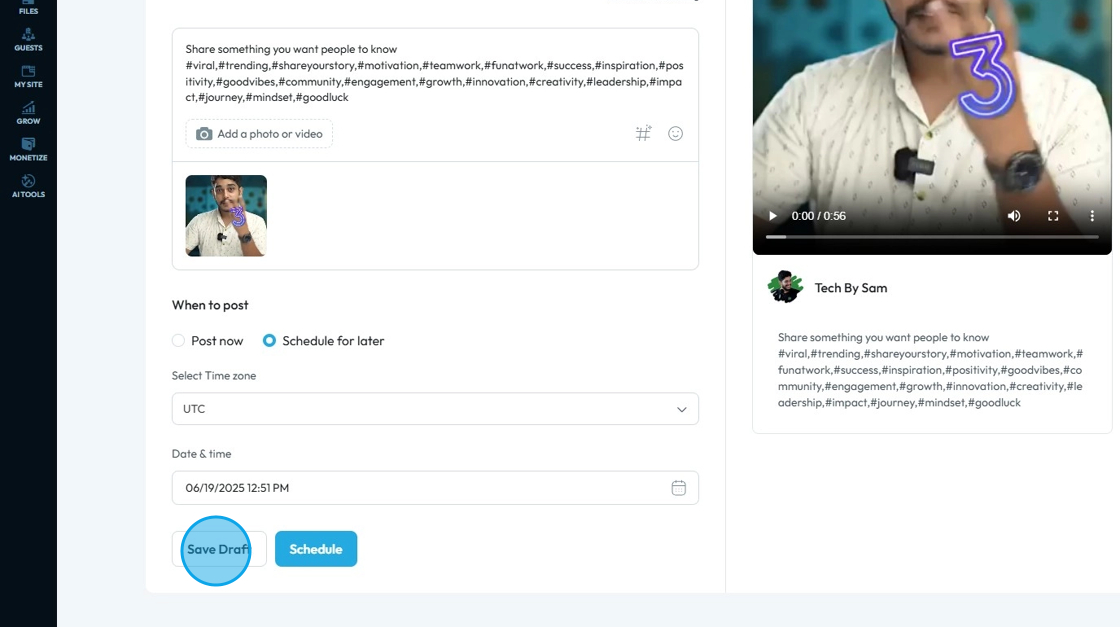
36. Click on "Schedule" to schedule the Post
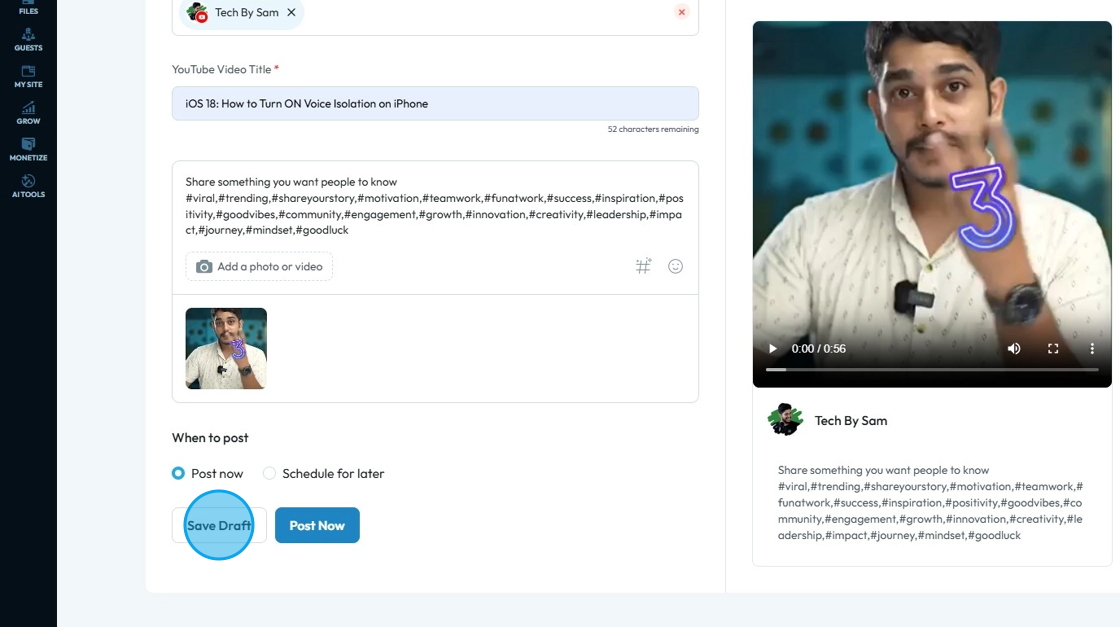
37. To post now, Select "Post Now" under "When to post" section

38. Click "Post Now" to publish the social post
39. Or Click "Save Draft"
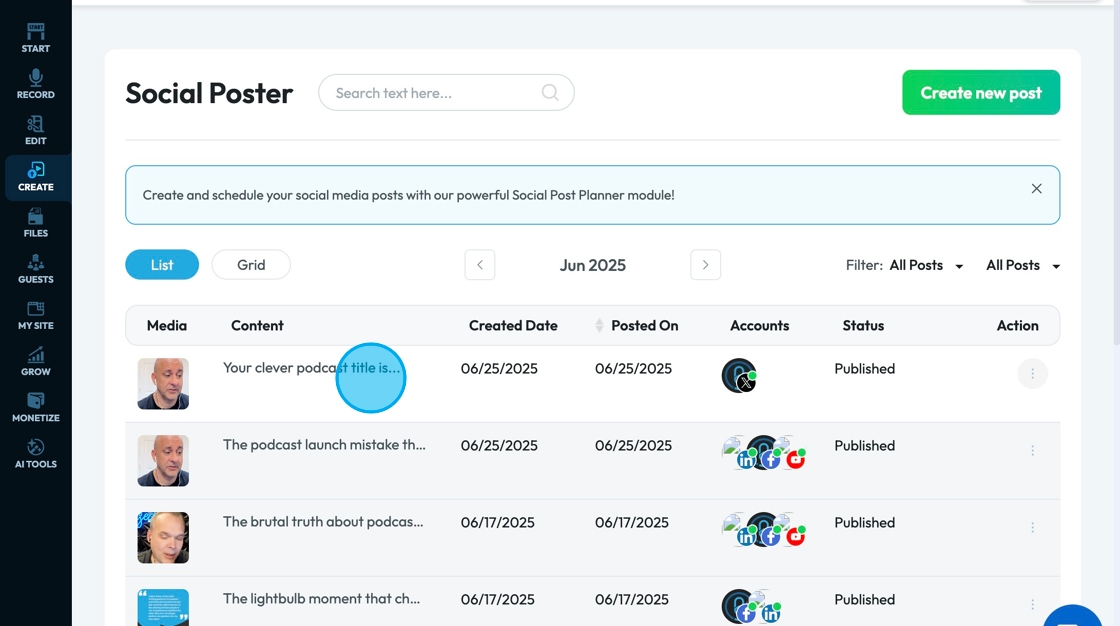
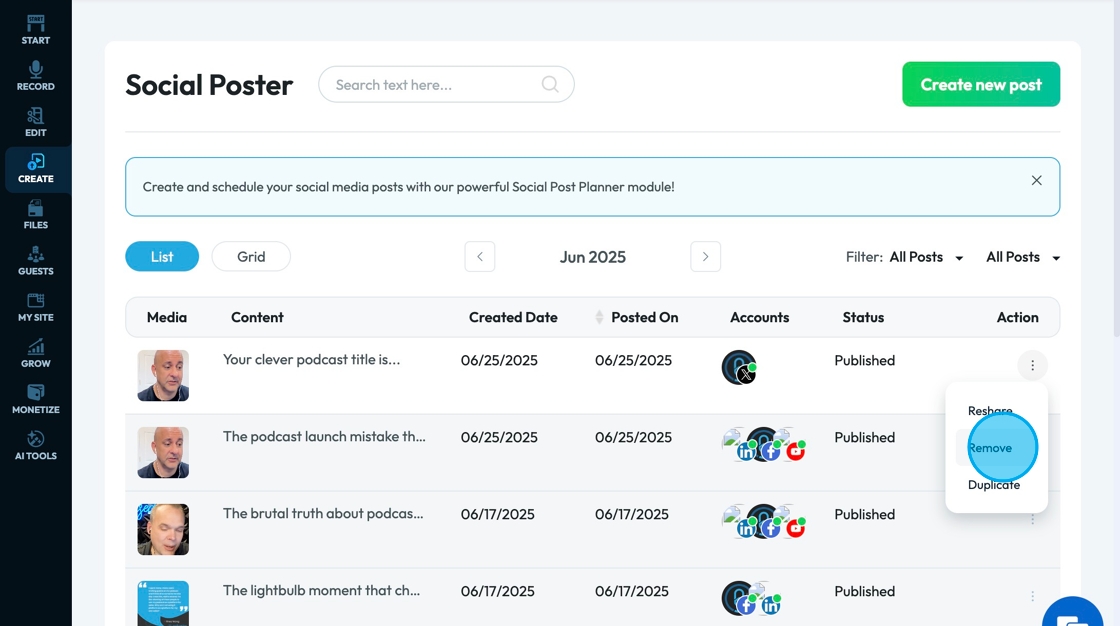
40. The Social Poster main page will show the media, the content, the created date, the date it was posted, the accounts it was published to, and the status of the media (Draft or Published)
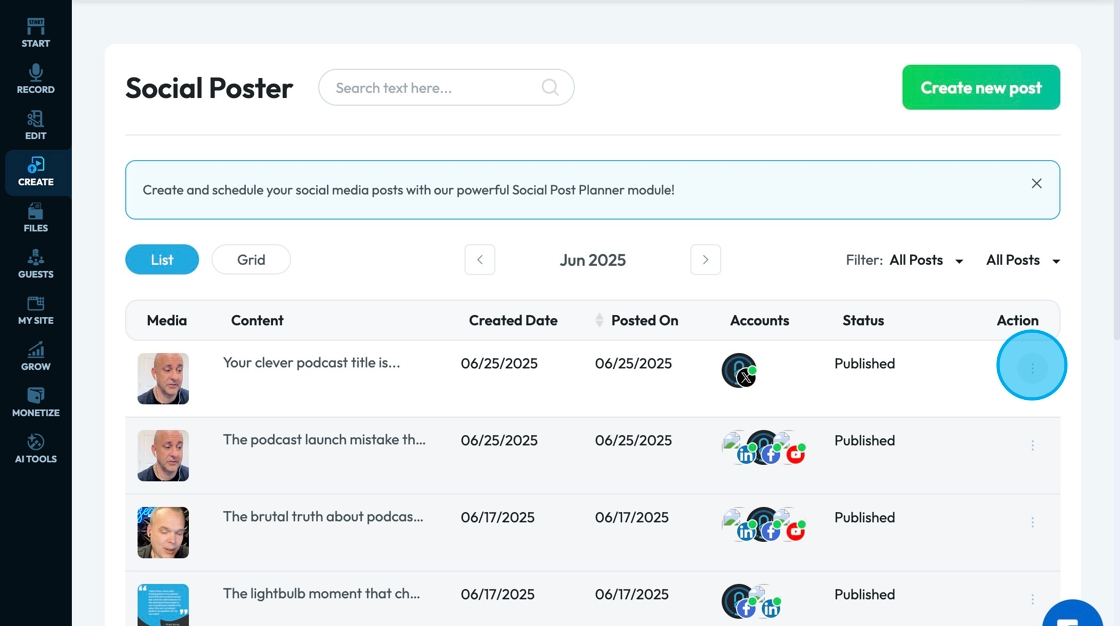
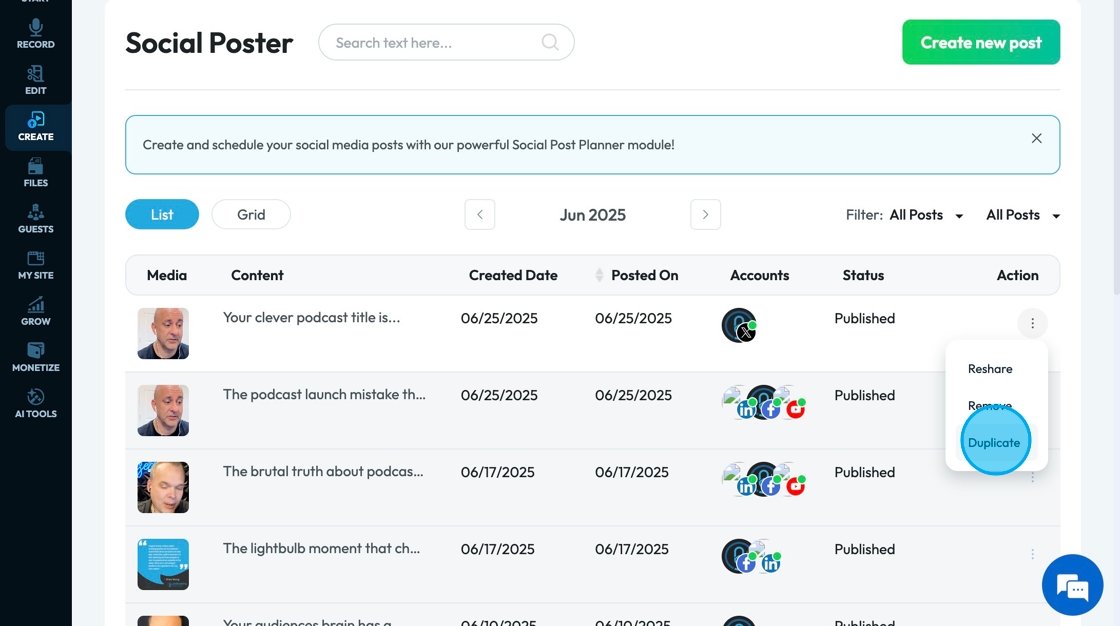
41. Click the 3 dots to see the action items for the post
42. Click "Reshare" to schedule a time to republish the post
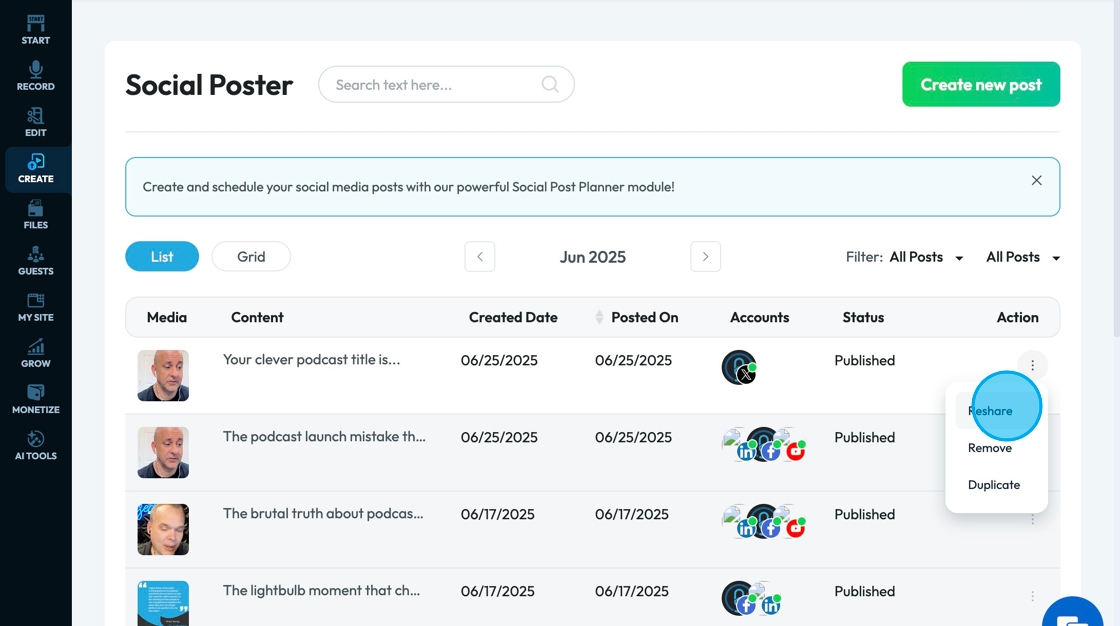
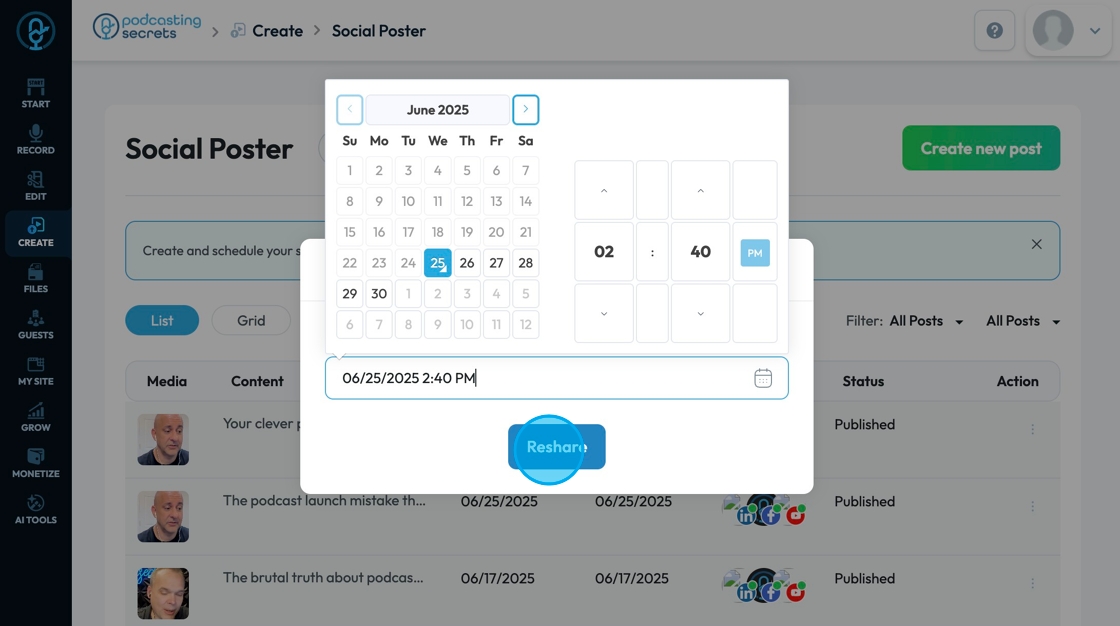
43. Click the Date & Time to select a new date

44. Select the desired date and time then click "Reshare" to save the publication
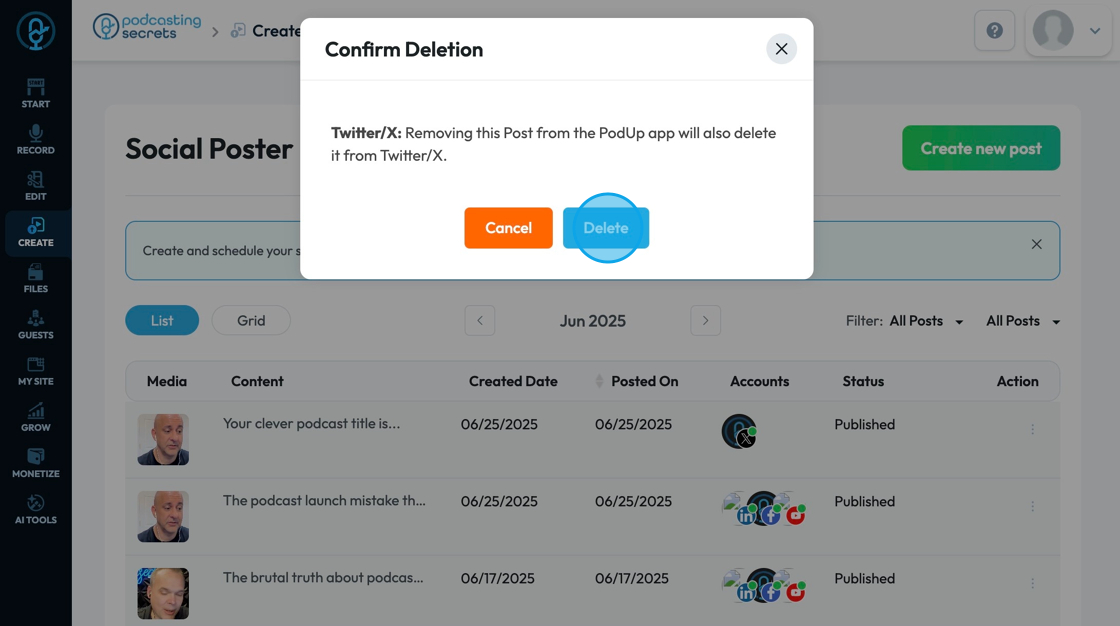
45. Click "Remove" to delete the record of the post in PodUp as well as deleting it from the social media platforms that was published to
46. A pop-up will appear, allowing you to confirm that you want to delete the post which clearly states what will be deleted
47. Click "Duplicate" to completely duplicate the media post as a draft
Related Articles
How to Publish a Social Media Post?
Easily publish and schedule social posts with PodUp to grow your presence across platforms 1. Navigate to https://app.podup.com/home 2. Click "Create" 3. Select "Social Poster" 4. You will be directed to the "Social Poster" page 5. Click "Create New ...How can I schedule a social media post for later?
Use this guide to schedule social media posts for better timing and engagement. 1. Navigate to https://app.podup.com/home 2. Click "Create" 3. Select "Social Poster" 4. Click "Create new post" 5. You will be directed to the Publish Content page 6. ...How to Navigate Analytics (Detailed)
This guide offers a comprehensive overview of accessing and understanding podcast analytics through PodUp Analytics, making it essential for podcasters aiming to optimize their content reach. By breaking down key metrics and providing step-by-step ...How to Create Reels for Social Media Using My Podcast Episode
This guide shows an easy way to turn podcast episodes into short, eye-catching video clips for social media. With simple steps and helpful AI tools, you can quickly create high-quality, branded videos to share on Instagram, Facebook, and more—perfect ...How to Navigate Image Generator (Detailed)
This guide offers a straightforward process for generating AI images tailored for podcast studio setups, making it ideal for podcasters and content creators. By following the step-by-step instructions, users can easily visualize their podcast ...