How to Navigate SEO (Detailed)
This guide offers a comprehensive approach to optimizing your podcast website for SEO, crucial for increasing visibility and attracting more listeners. It details essential steps, such as generating sitemaps, crafting effective meta titles and descriptions, and integrating analytics tools. By following this guide, you can enhance your website's performance, improve search engine rankings, and ultimately grow your podcast's audience. Whether you're a beginner or looking to refine your strategy, this resource is invaluable for podcast creators.
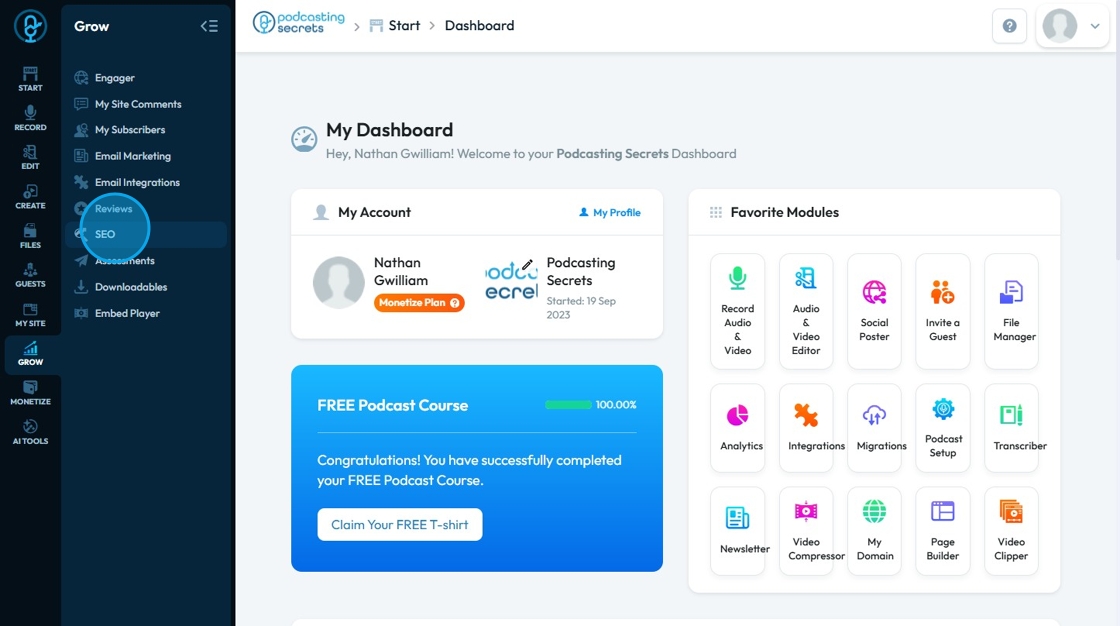
1. Click "Grow"

2. Click "SEO"
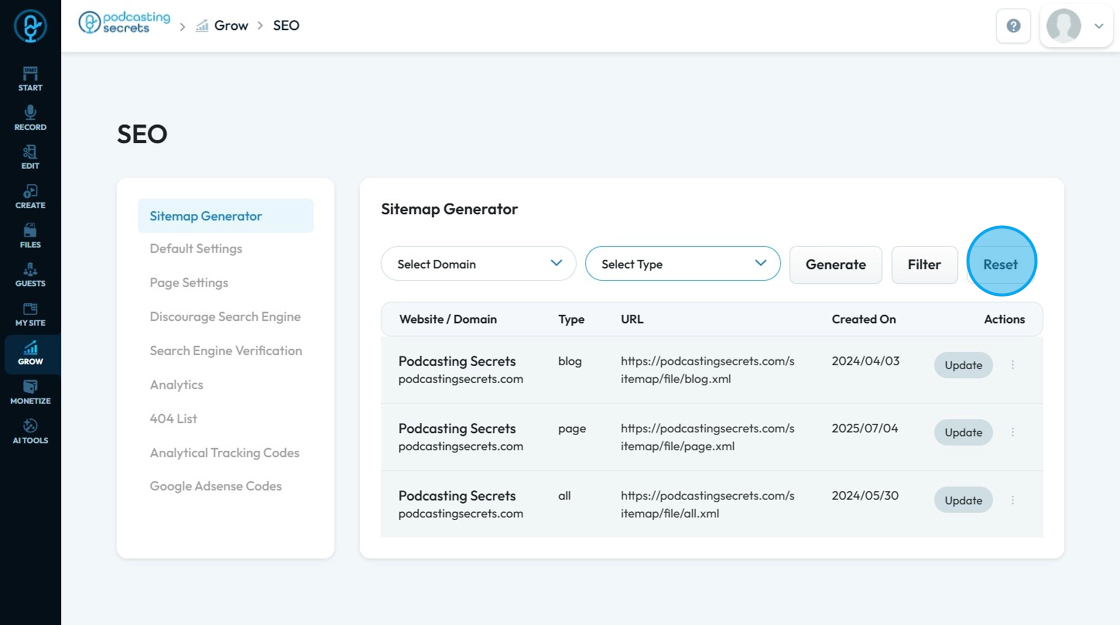
3. Click "Sitemap Generator"
Sitemap: A sitemap is a file that provides information about the pages, videos, images, and other files on your website, and the relationships between them. Think of it as a blueprint or roadmap of your website
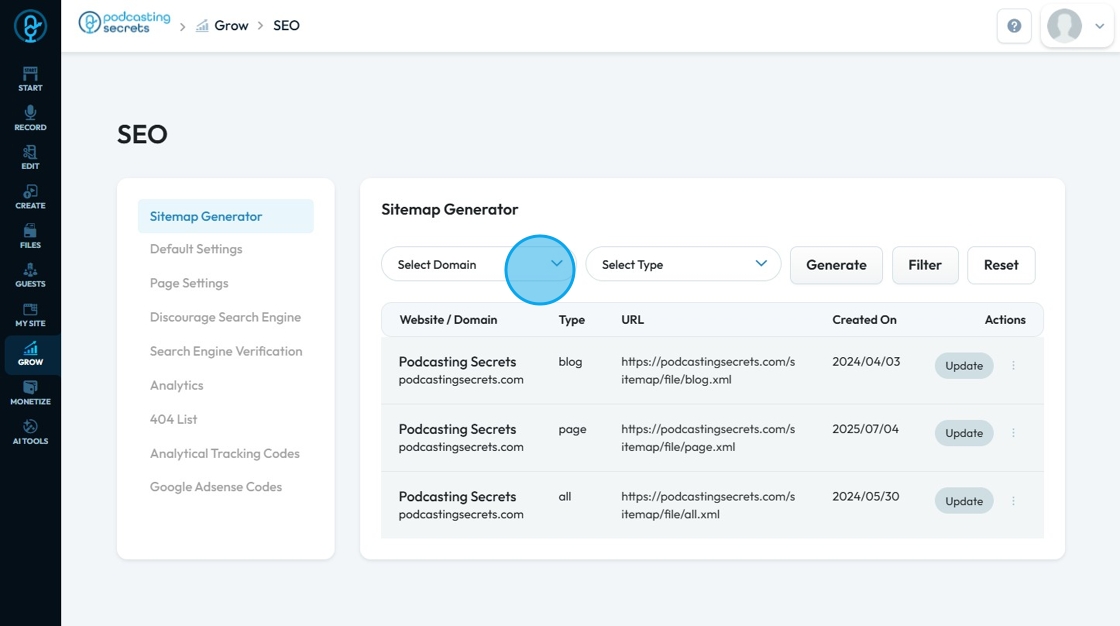
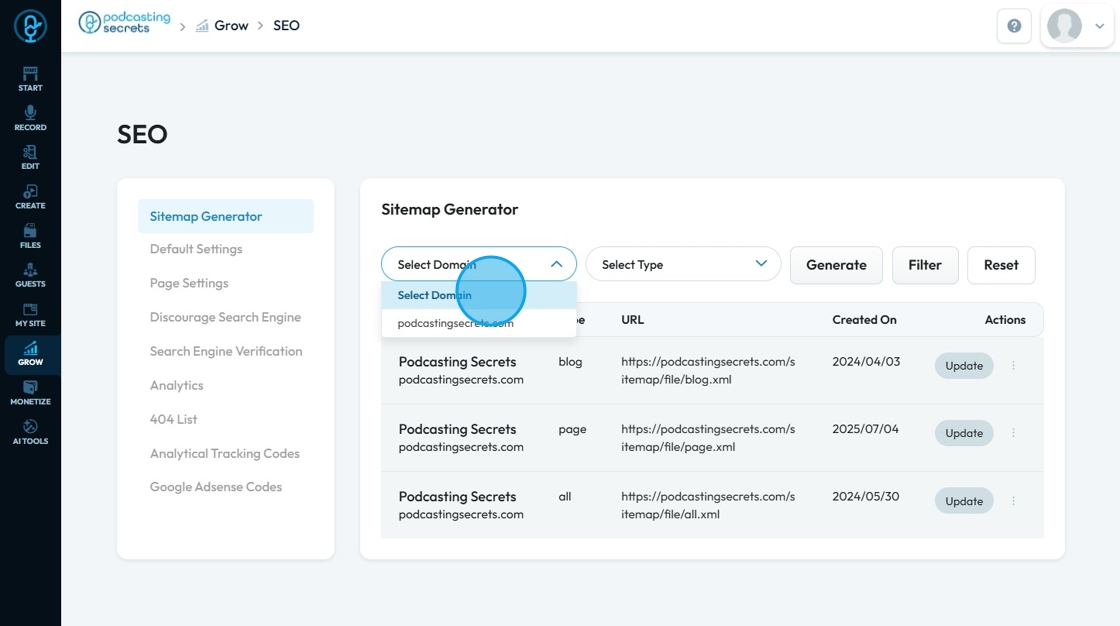
4. For generating site map, click and choose the domain of your website
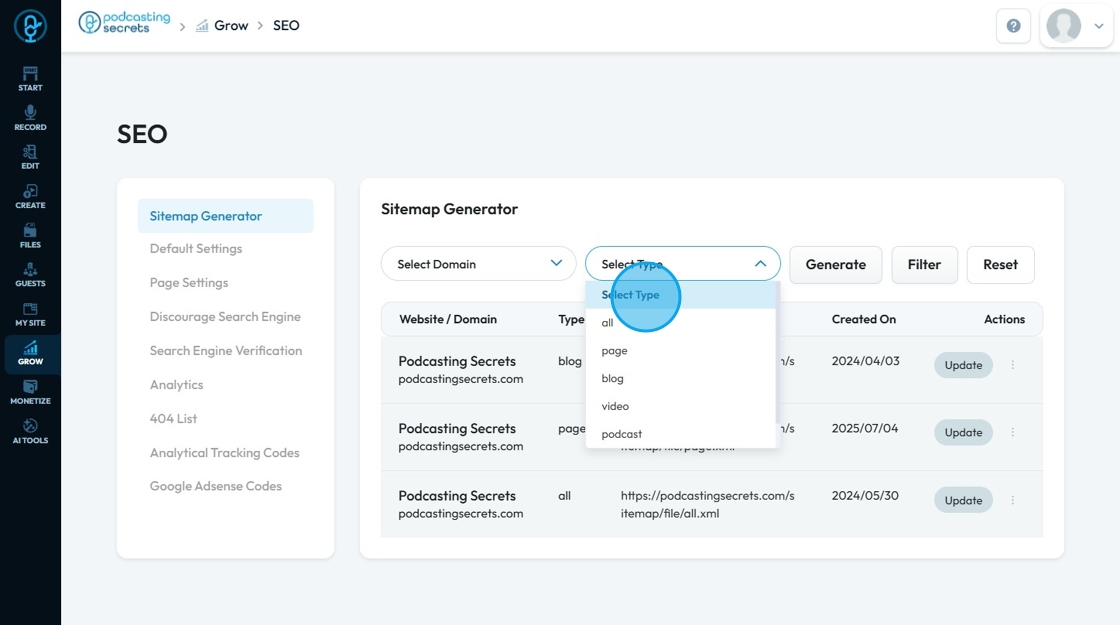
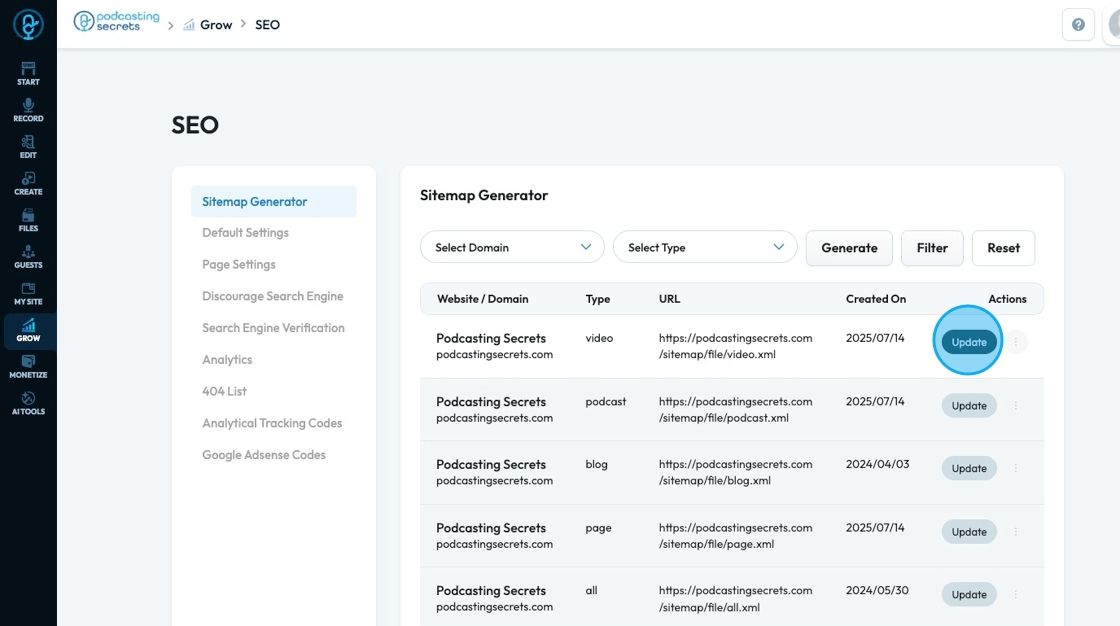
5. Click and select from the different types of content for which sitemap can be generated
- all: Generates a sitemap that includes all specified content types. This likely creates a sitemap index or a single sitemap with all URLs
- page: For standard web pages
- blog: For blog posts
- video: For video content
- podcast: Specifically for podcast episodes
6. Click "Generate" to initiate the sitemap creation process based on the selected domain and type

7. Click "Filter" to use the items that you entered as a way to search for a sitemap that you have already generated
- The filter item will be the only things that show up

8. Click "Reset " to reset all the features back to the original state display
9. The link under URL is clickable and can lead you to your sitemap

10. Click "Update" to manually update the sitemap which is important to do anytime you make changes to your website so that it is in the best condition
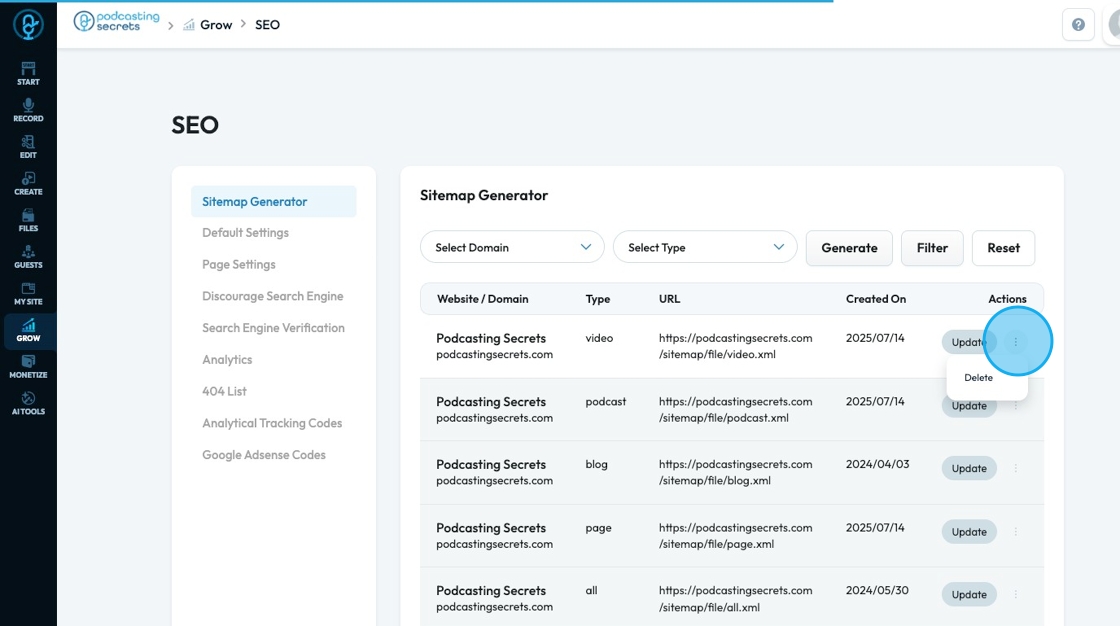
11. Click the 3 dots icon to delete the sitemap
- If you choose to delete the sitemap, a pop-up will appear asking for confirmation. If you still want to delete it click "OK"
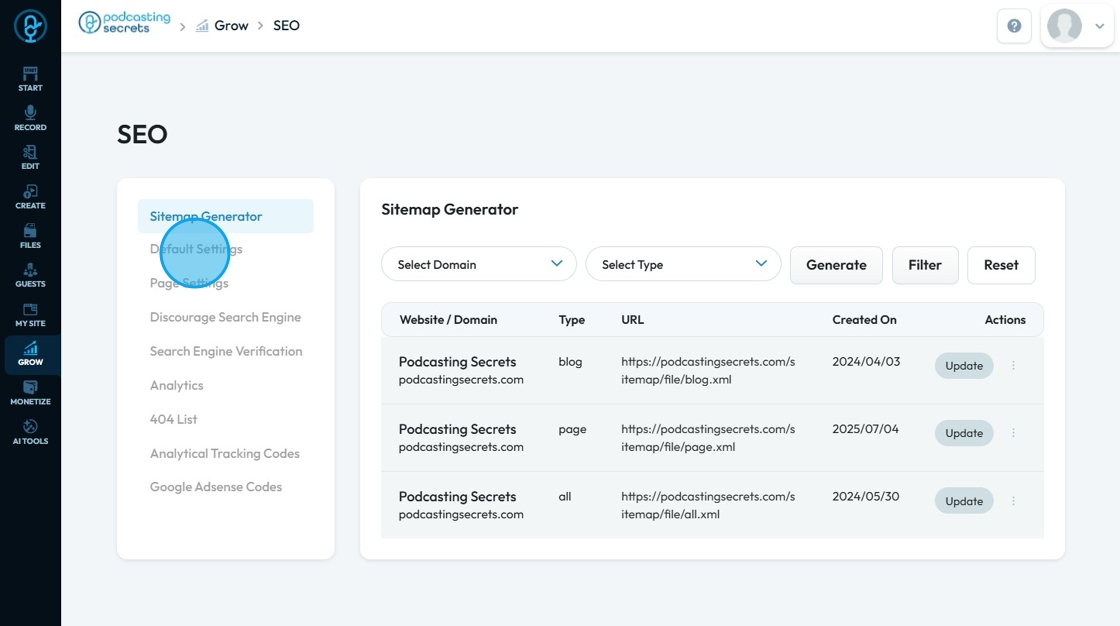
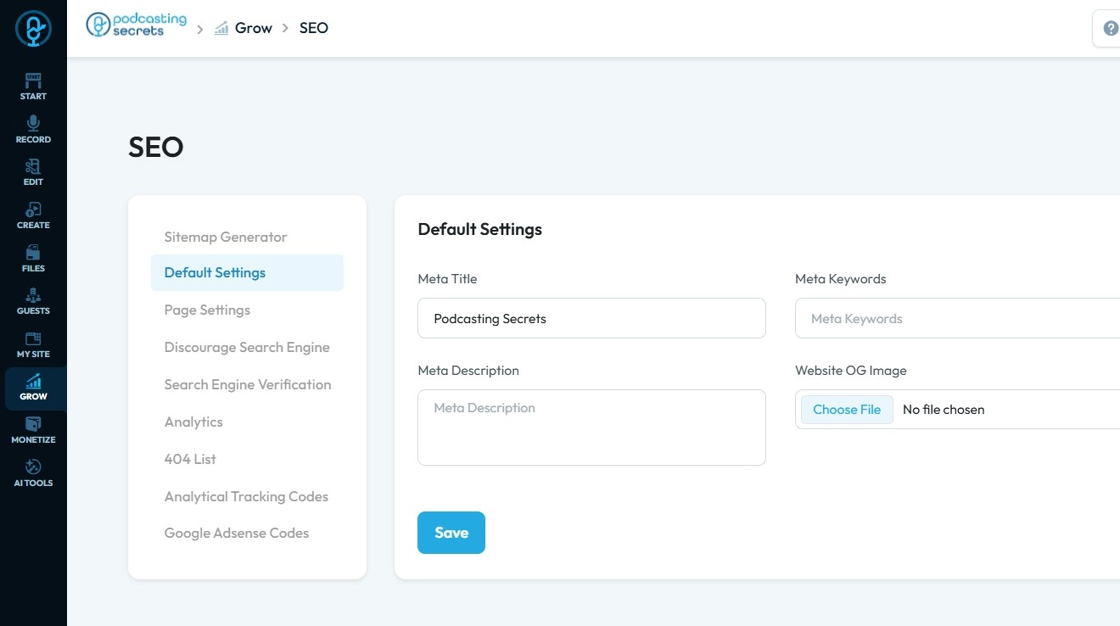
12. Click "Default Settings"
13. Click "Meta Title" and enter the
Meta Title: Often called a "title tag," a crucial HTML element that specifies the title of a webpage. For example, when someone opens your page in a web browser, the meta title is what appears in the browser tab or window title bar.
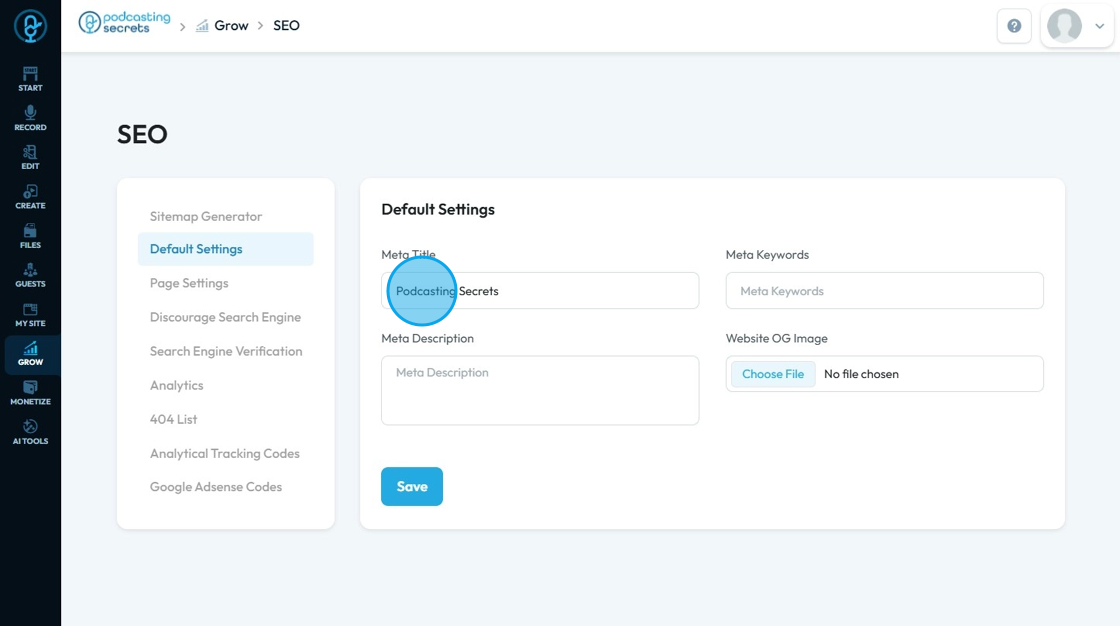
14. Click "Meta Keywords" and enter the keywords. Separate each keyword by a comma
Meta Keywords: HTML tag that used to let website owners list specific words or phrases they wanted search engines to recognize as important for a page.

15. Click "Meta Description" and enter the description
Meta Description: A short summary of a webpage's content, typically displayed in search engine results pages (SERPs) below the page title

16. Click "Website OG image" and choose the file from the menu
Website OG image: An Open Graph (OG) image is a specific image that represents a webpage when it's shared on social media platforms like Facebook, LinkedIn, and X (formerly Twitter). OG images enhance the way your website content appears when shared on social media. Instead of a generic link preview, a well-chosen OG image can grab attention, provide context, and encourage clicks
Click "Save" and continue
17. Click "Page Settings" to see and edit the setting for each page specifically
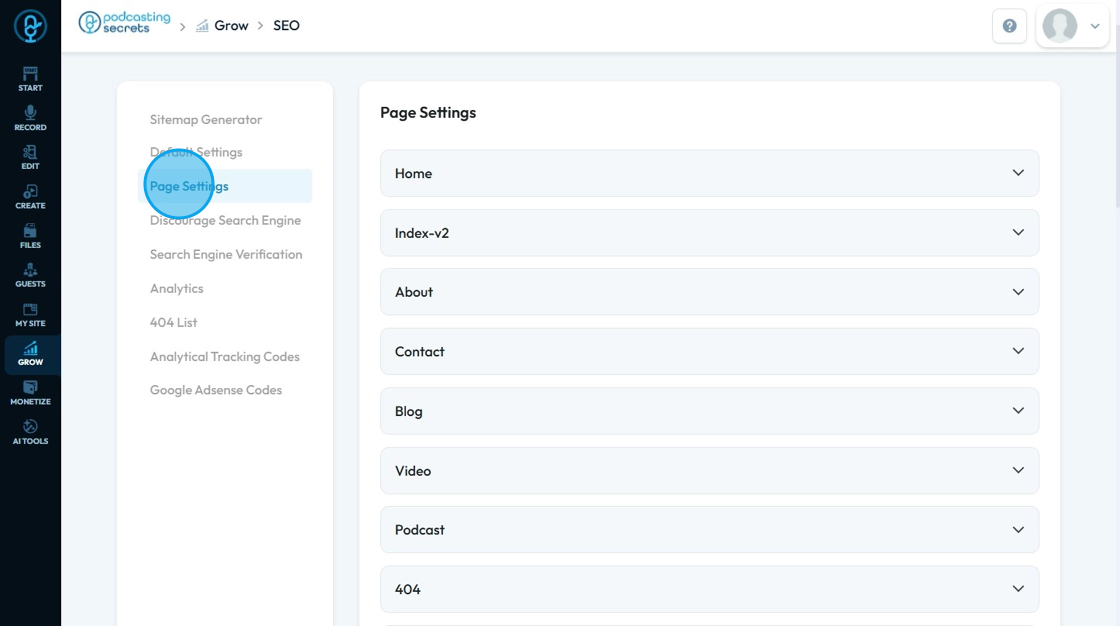
18. Click on the page you want to edit and the settings will appear. From here, you can enter Meta Title, Meta Keywords, OG Image, and Meta Description for this page specifically
Click "Save" to keep the informaiton that you added
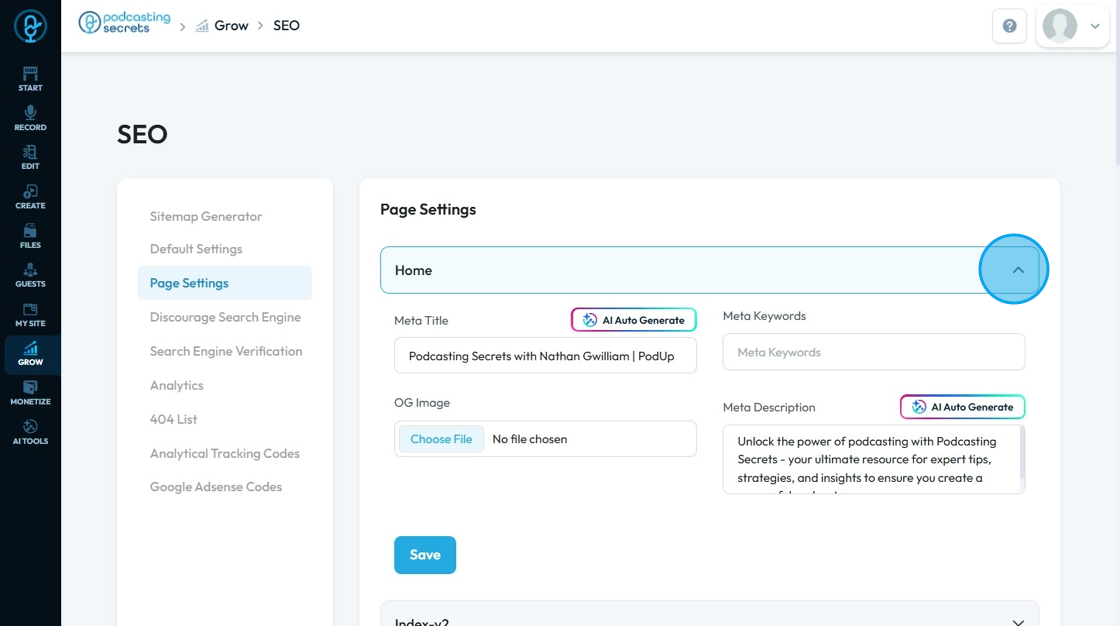
19. You can also us the AI tool to help you generate Meta Title and Meta Description
Click "AI Auto Generate" tool to generate Meta titles and Meta descriptions for your pages

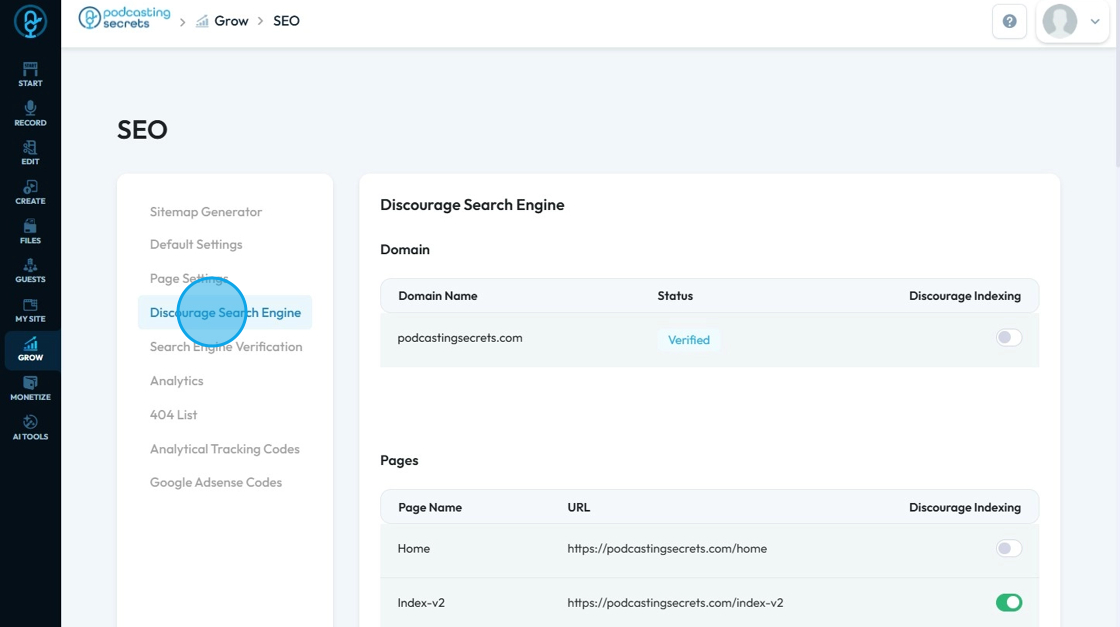
20. Click "Discourage Search Engine" which will show you your domain and pages
The link under URL is clickable and can lead you to that page on your website

21. Choose the page and toggle the switch for turning on the "Discourage Search Engine" feature for that page. This can be done for one or multiple pages as well as the whole site itself
Discourage Search Engine: A setting that allows you to tell search engines (like Google, Bing, etc.) not to crawl and index your website or specific pages. Essentially, it's a way to keep your site or certain content off of search results
- This is helpful for
- Thank you pages
- Private or internal pages
- Pages under construction
22. Click "Search Engine Verification"
Search Engine Verification: The process by which a website owner proves to a search engine (like Google or Bing) that they own or manage a particular website.
- This verification is crucial for accessing valuable data and tools within the search engine's platform, such as indexing information, organic visibility metrics, and insights into potential technical issues affecting ranking
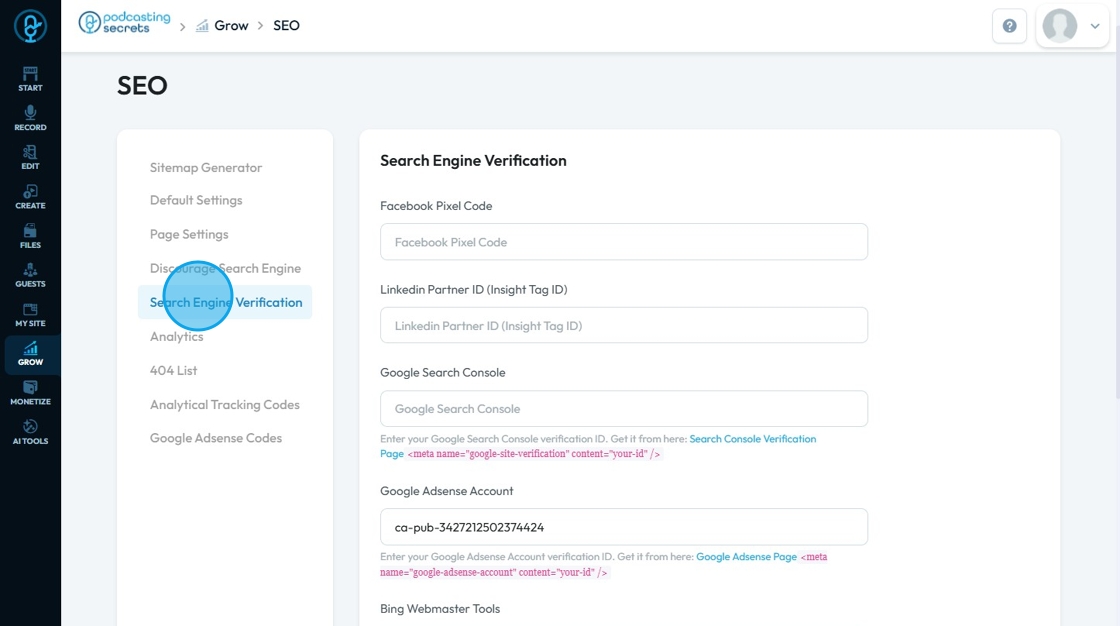
23. You can enter Search Engine Verification to 9 different platforms. The blue link under the text field will send you to the place where you can find this information
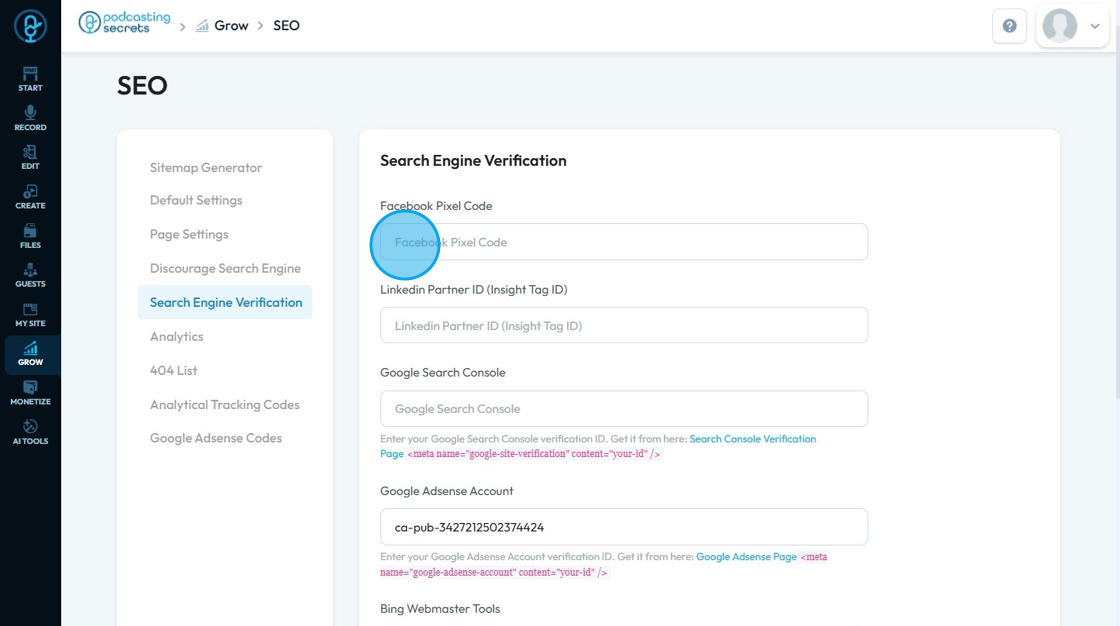
- Facebook Pixel Code
- A piece of code added to your website so Facebook can track what visitors do and connect that activity to your Facebook ads.
- LinkedIn Partner ID (Insight Tag ID)
- A tracking ID that connects your site to LinkedIn so you can track ad performance and visitor behavior from LinkedIn ads.
- Google Search Console
- A free tool from Google that helps you verify your website, monitor how it appears in search results, and fix any indexing issues.
- Google AdSense Account
- A way to place ads on your site and earn money; you need to verify your site to let Google know you own it before showing ads.
- Bing Webmaster Tools
- A tool like Google Search Console, but for Bing—it helps you verify your site, see how it's doing in Bing search, and fix problems.
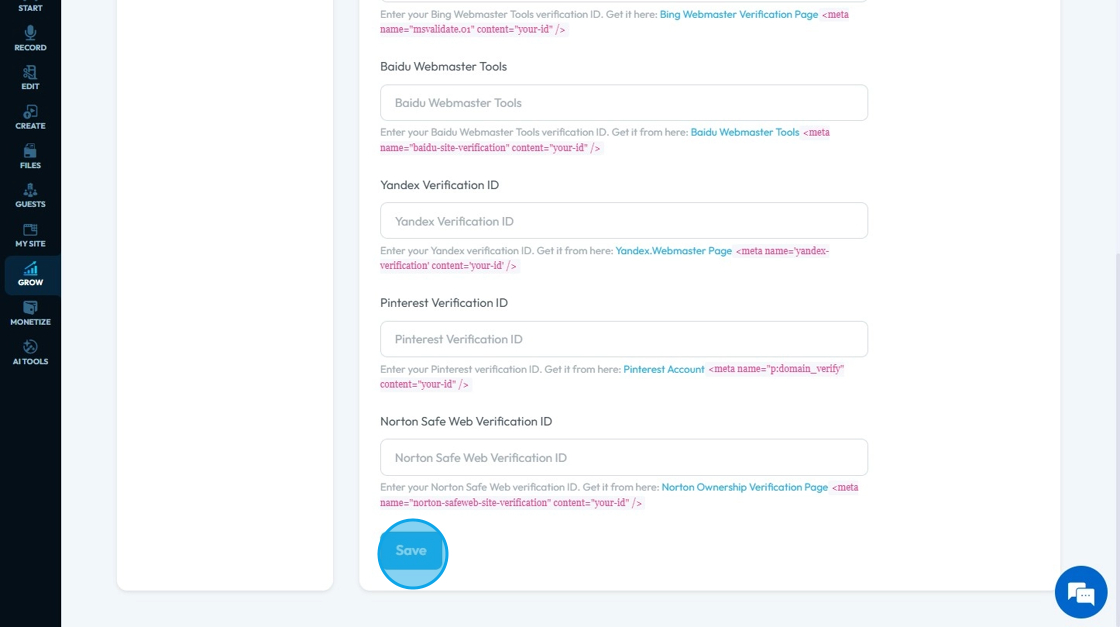
24. - Baidu Webmaster Tools
- A tool for verifying your website with Baidu (China's top search engine) so it can appear in Baidu search results and be tracked.
- Yandex Verification ID
- A code used to verify your site with Yandex (a popular Russian search engine) to monitor how your site performs in its search results.
- Pinterest Verification ID
- A code added to your site to confirm ownership with Pinterest so you can track content shared from your site and access analytics.
- Norton Safe Web Verification ID
- A code that verifies your site with Norton to help show it's safe and trustworthy, which can improve user trust and avoid warnings.
Click "Save"
25. Click "Analytics"
You will receive a message to "Please integrate Google Analytics from Integrations page"
Once you click "Integrations" you will be redirected to Integrations page
(Refer to Step 9 - 15 of "How to Connect Google Analytics Account to PodUp Analytics Using Integrations")

26. Once you complete the process, you will get the notification that it was successfully integrated

27. Click "404 List"
404 List: Refers to a feature that helps you identify and manage pages on your website that return a 404 "Not Found" HTTP status code. While a few 404 errors won't necessarily tank your SEO, a significant number of them, especially for pages that used to receive traffic or have backlinks, can negatively impact your website's performance in search results in several ways

28. Click "404 List"
404 List: Refers to a feature that helps you identify and manage pages on your website that return a 404 "Not Found" HTTP status code. While a few 404 errors won't necessarily tank your SEO, a significant number of them, especially for pages that used to receive traffic or have backlinks, can negatively impact your website's performance in search results in several ways

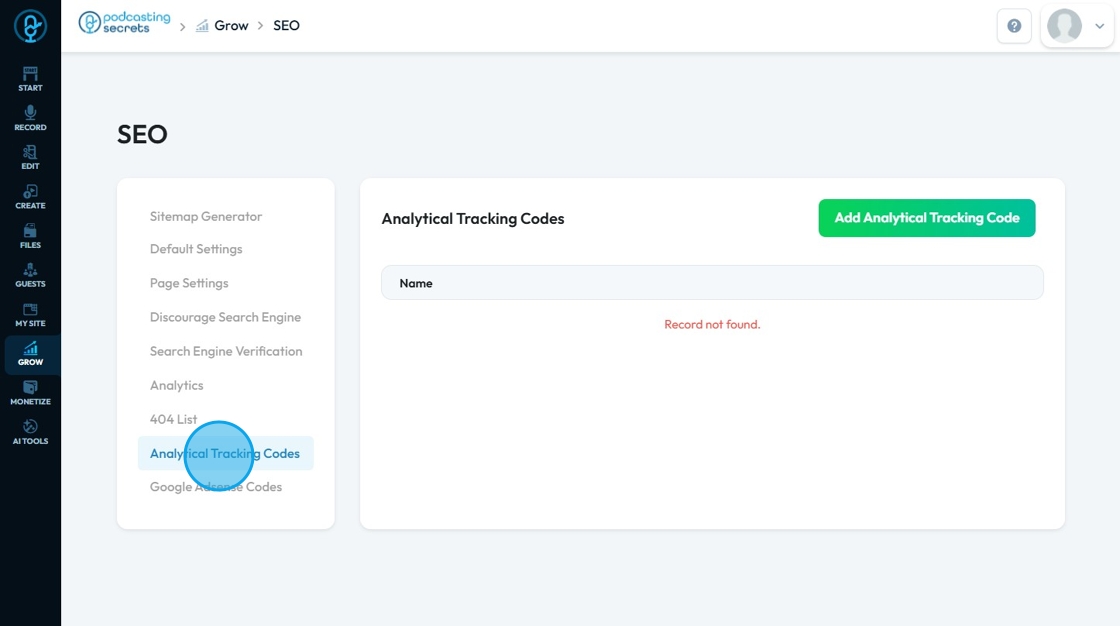
29. Click "Analytical Tracking Code"
Analytical Tracking Code: Refers to a small snippet of JavaScript code that you embed into your website. Its primary purpose is to collect data about how visitors interact with your website and then send that data to an external analytics service (like Google Analytics) for reporting and analysis
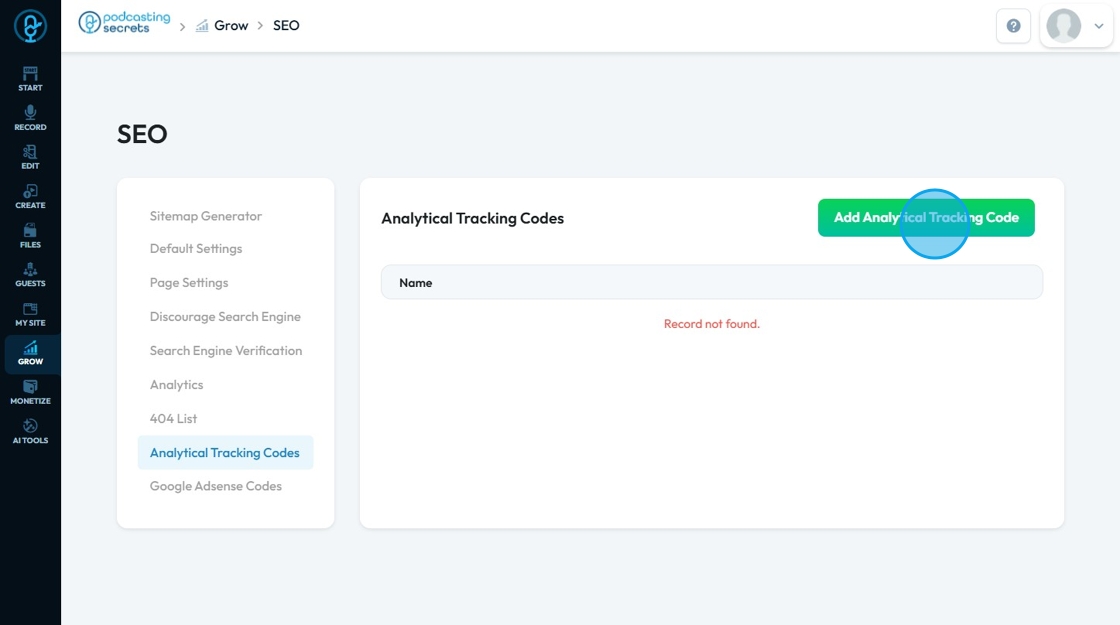
30. Click "Add Analytical Tracking Code"
31. Click "Analytical Tracking Code Name" to add the "name" of the analytical tracking code that often comes directly from the analytics platform you're using
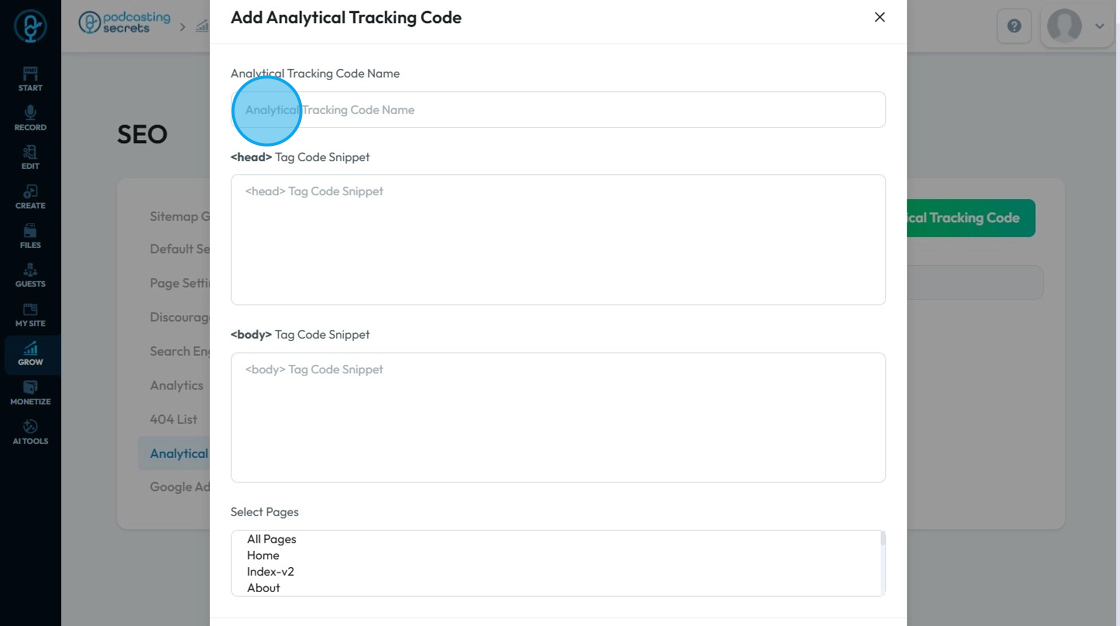
32. Click "<head> Tag Code Snippet" field to add the <head> Tag Code Snippet: Refers to the specific piece of code that needs to be placed within the <head> section of your website's HTML. This is a fundamental concept in web development and crucial for how analytics (and many other web services) function.
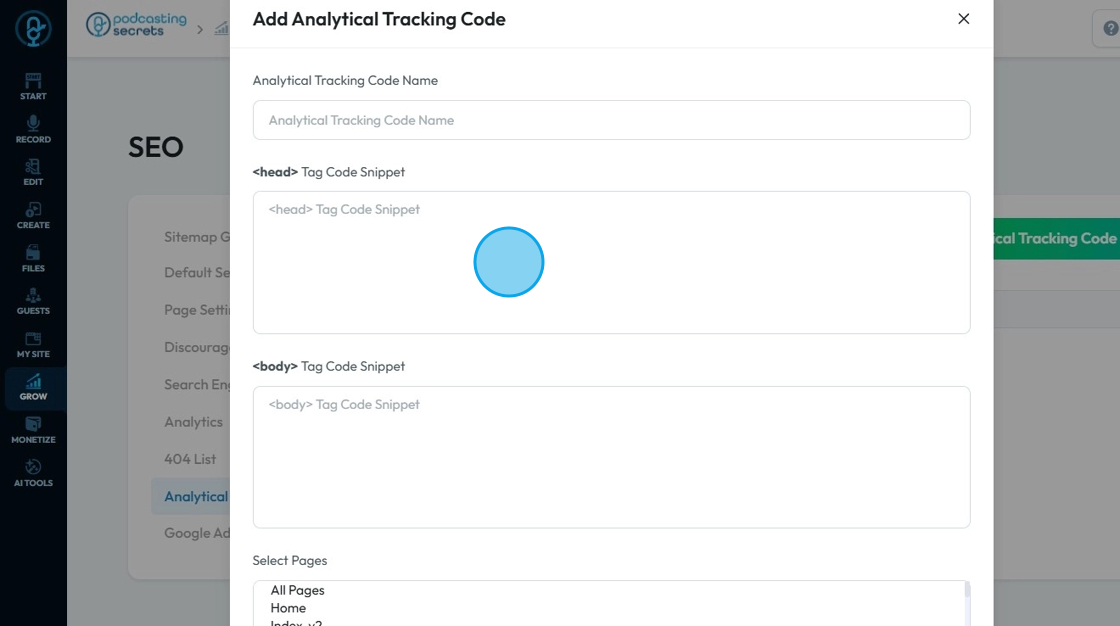
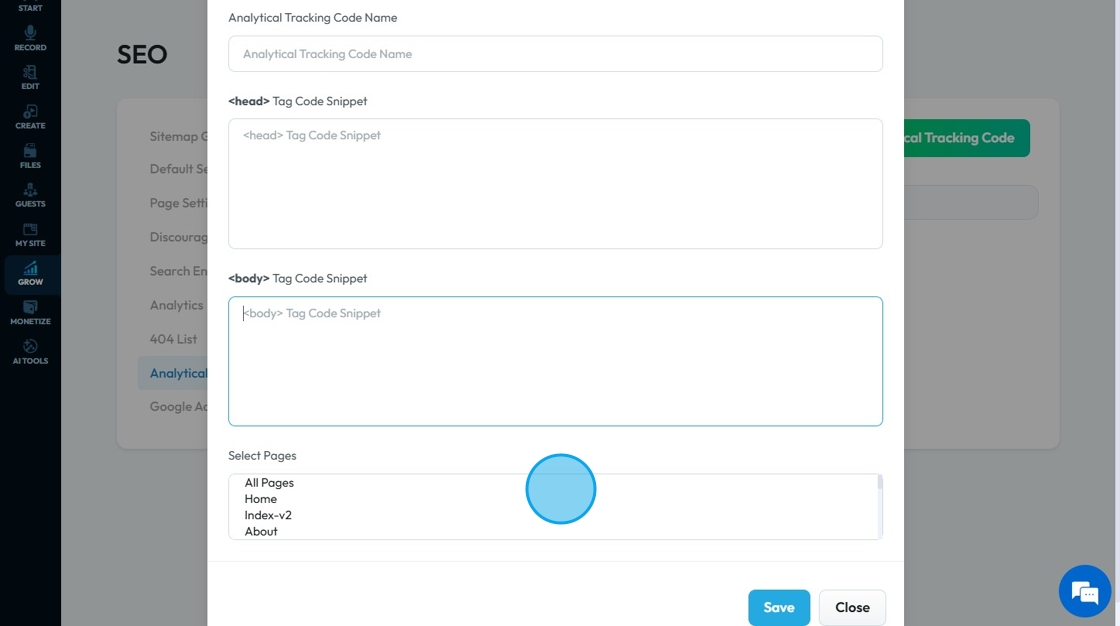
33. Click the "<body> Tag Code Snippet" field which refers to the specific piece of code that needs to be placed within the <body> section of your website's HTML. Similar to the head section, the body section of an HTML document also serves as a location for embedding tracking codes. However, the types of codes placed here and the reasons for their placement differ significantly
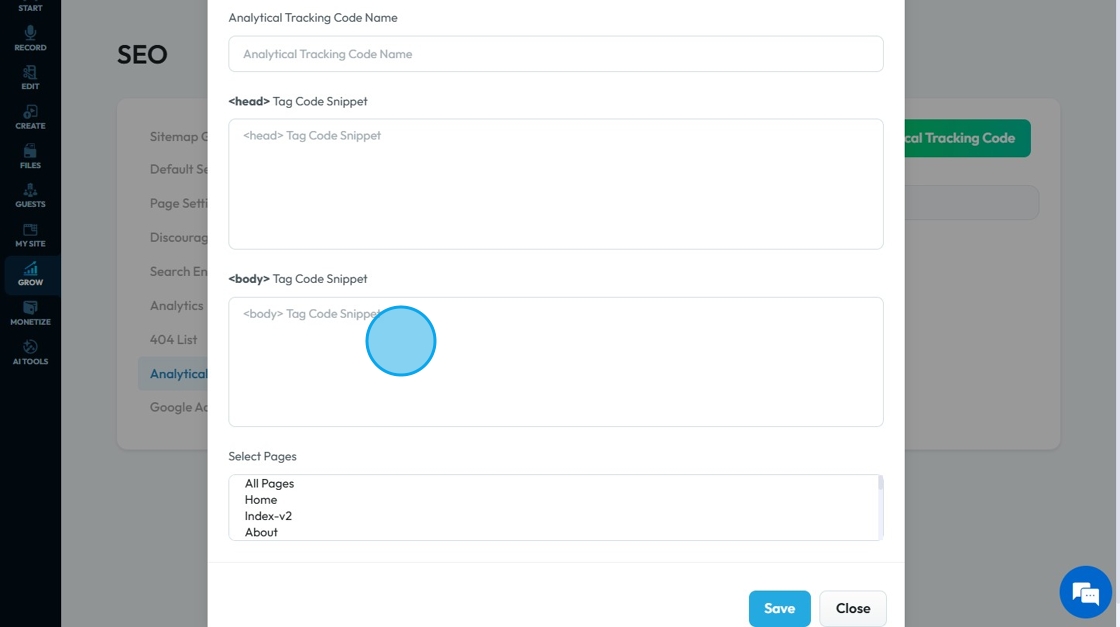
34. Click "Select Pages" to select the pages from your website that you want this aplies to then click "Save"
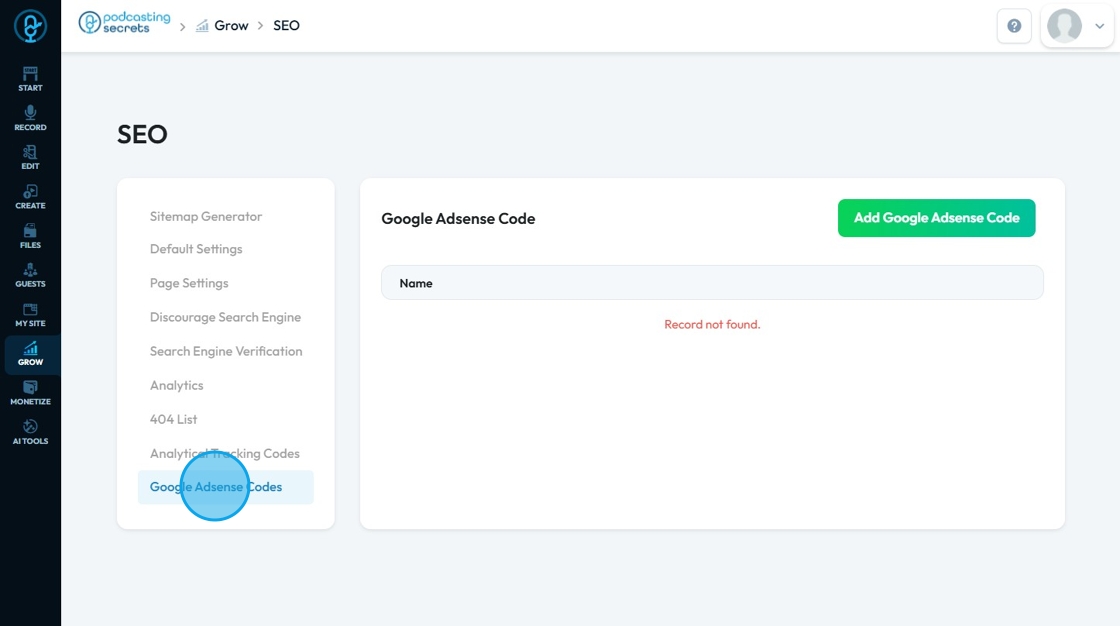
35. Click "Google Adsense Codes"
Google AdSense: It is a program run by Google that allows publishers (website owners, content creators) to earn money by displaying relevant advertisements on their websites. Google manages the advertising, meaning they connect advertisers with your ad space, and you get a percentage of the revenue generated from clicks or impressions on those ads
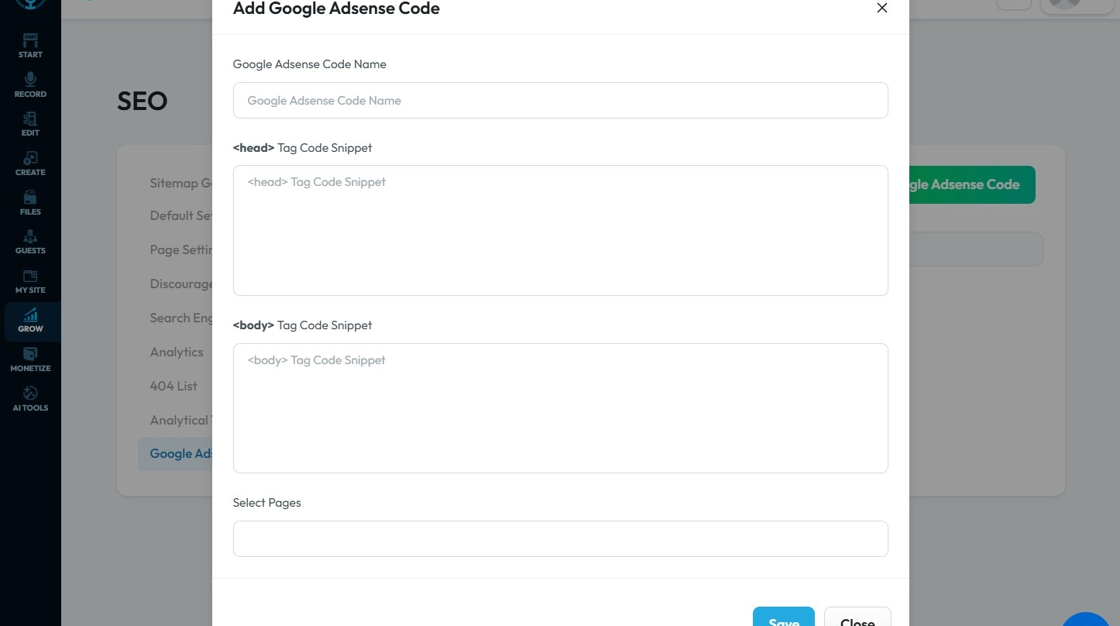
36. Click "Add Google Adsense Code"
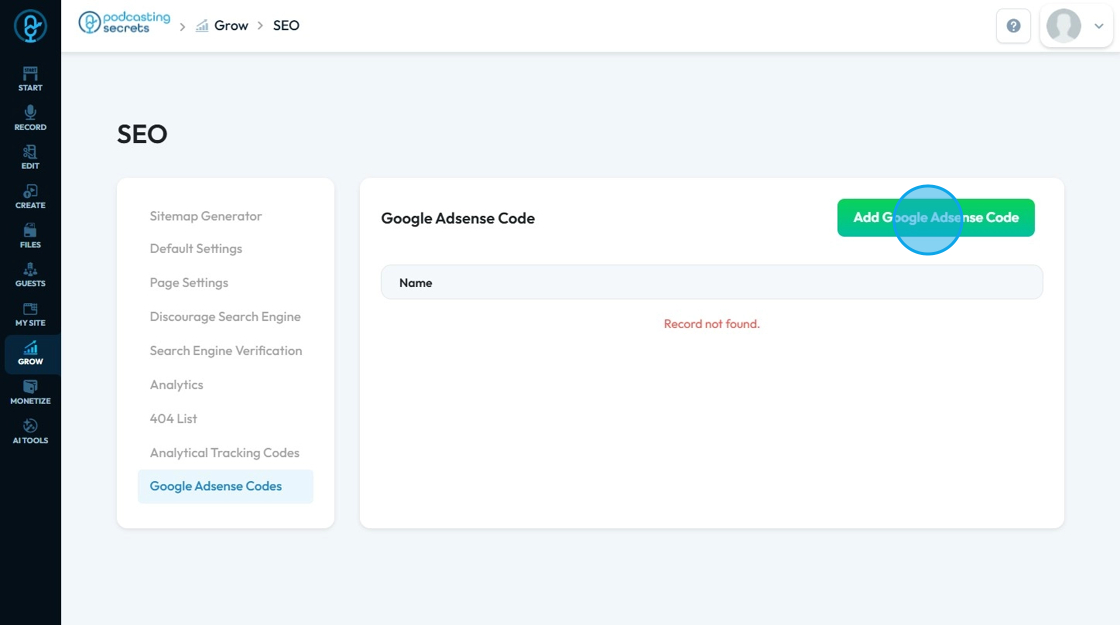
37. You will get a similar page to "Add Analytical Tracking Code"
(Refer 23 - 26 steps to fill up the details)
Click "Save"
Related Articles
How to Navigate Blogs (Detailed)
This guide provides a comprehensive overview to create blog posts on Podup, making it a valuable resource for anyone looking to enhance their blogging process. It outlines step-by-step instructions for both writing original content and generating ...How to Navigate Tags (Detailed)
This guide offers a straightforward approach to adding and managing tags in Podup, enhancing your content organization and discoverability. By following the step-by-step instructions, users can efficiently create, edit, and delete tags, ensuring ...How to Navigate Video Episodes (Detailed)
This guide shows you how to easily create and share amazing video posts on PodUp. You'll get simple, step-by-step instructions to get your videos online, make them easy to find (that's the "SEO" part!), and share them on different places, all while ...How To Navigate Podcast Episode (Detailed)
This guide offers a step-by-step approach to creating and publishing a podcast episode on Podup, making it accessible even for beginners. It emphasizes the importance of SEO and categorization to enhance discoverability and engagement. By following ...How To Navigate Episode Manager (Detailed)
This guide provides a step-by-step process for adding an episode in PodUp, making it an invaluable resource for podcasters looking to streamline their workflow. It covers everything from entering episode details to uploading images and sharing links, ...