How to Navigate My Domain (Detailed)
This guide offers a step-by-step approach to linking your custom domain on PodUp, making it easy to set up your podcast website. It simplifies the process by explaining key concepts like DNS and provides helpful tips for managing search engine visibility. Whether you're starting from scratch or transitioning an existing site, this guide ensures you navigate domain setup efficiently and effectively. Viewing it will empower you to create a professional online presence for your podcast.

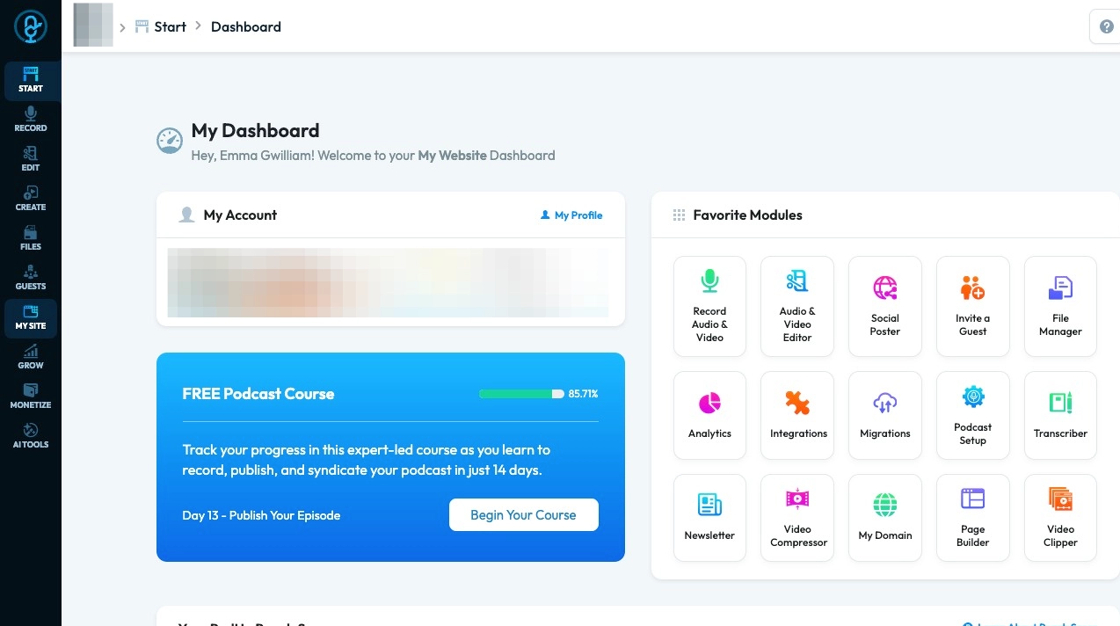
1. Navigate to https://app.podup.com/home
2. Click "My Site"

3. Click "My Domain"
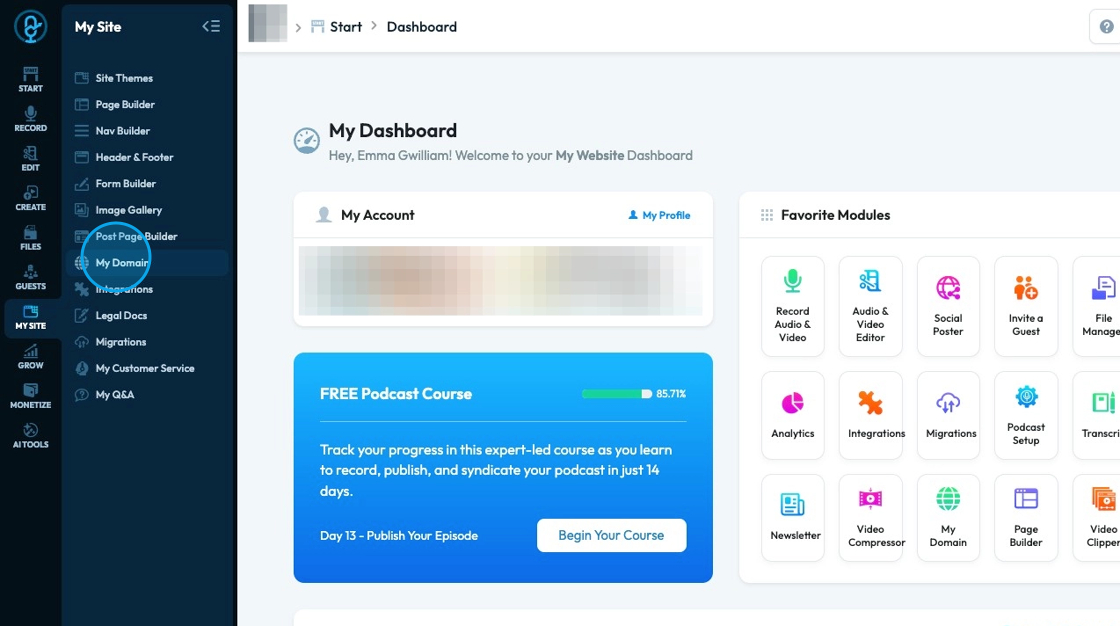
Tip: Tip! A domain ".podup.com" is provided for you in your PodUp subscription
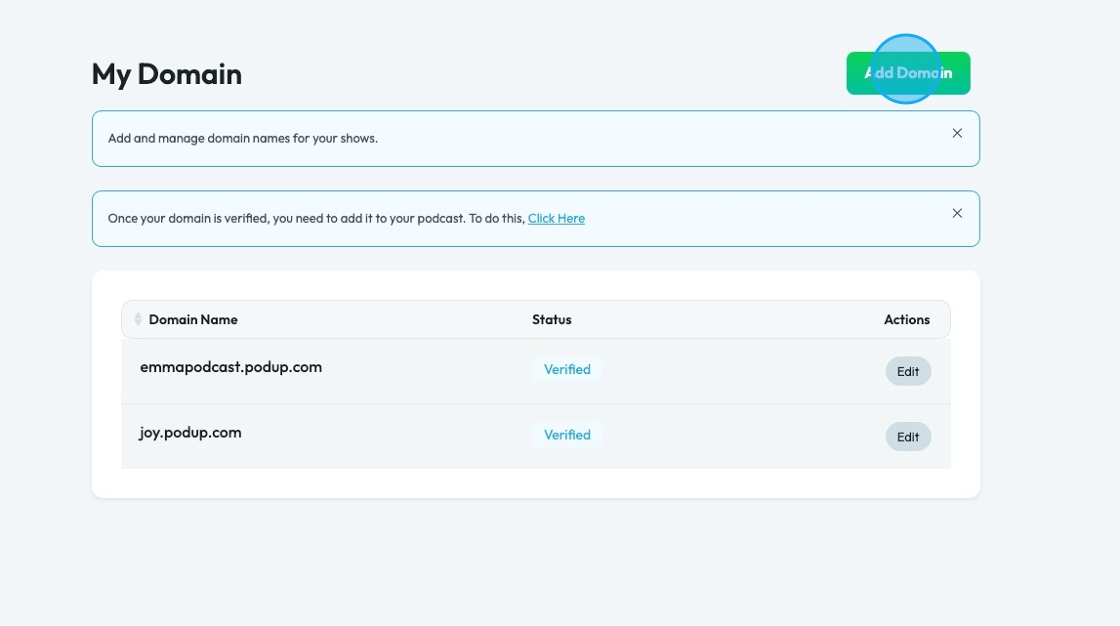
4. Click "Add Domain"
5. Click the "Domain Name" field and enter the name of your podcast

6. Click "Discourage search engines from indexing this site" to ensure that search engines like Google won't go searching your site.
- This is helpful when you are building a website and don't want people to check it out
- Once you have finished building your site, uncheck this box
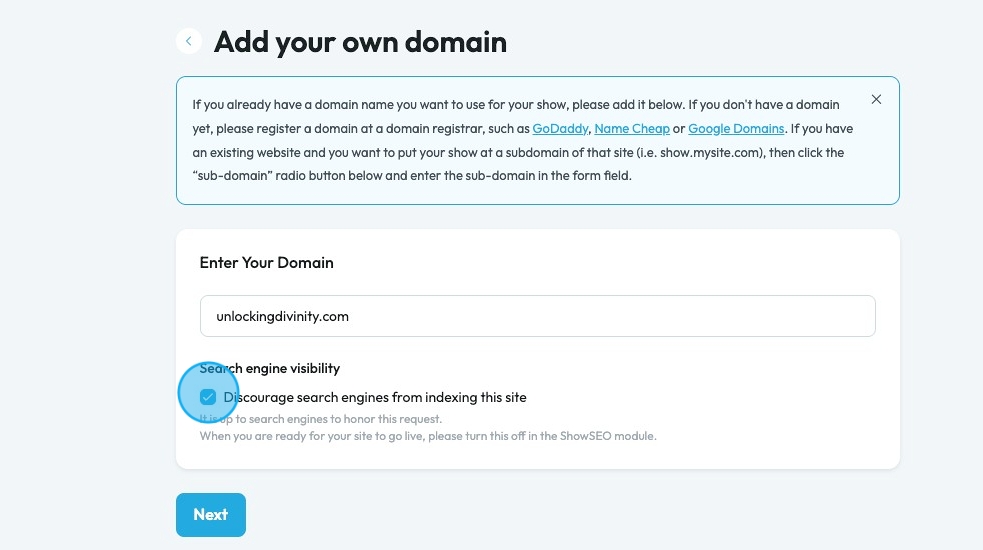
7. Click "Next"

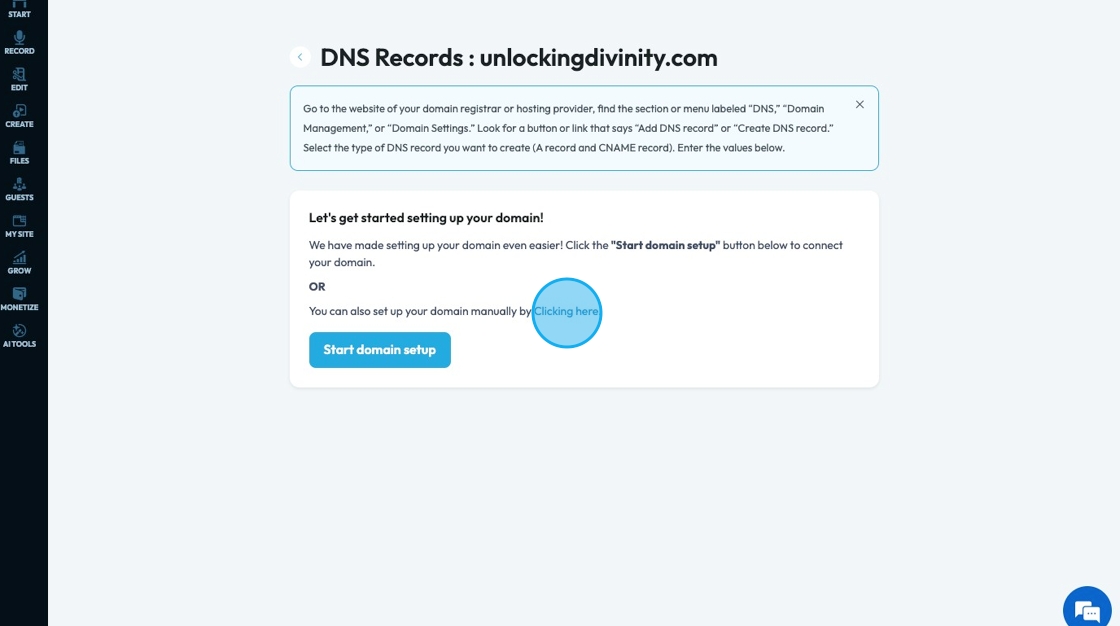
8. There are 2 different ways to set up your domain
- Click "Start domain setup"

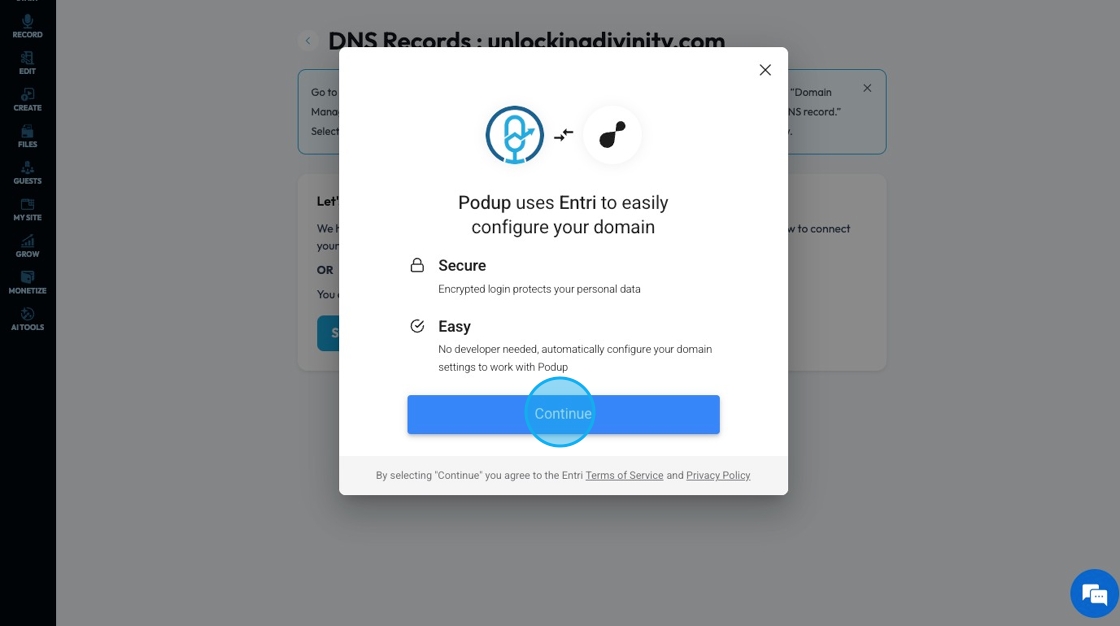
9. A pop-up will appear to inform you that PodUp uses Entri to configure the domain. Click "Continue"
10. Entri will start to run an analysis of your domain.
- This make take a few minutes
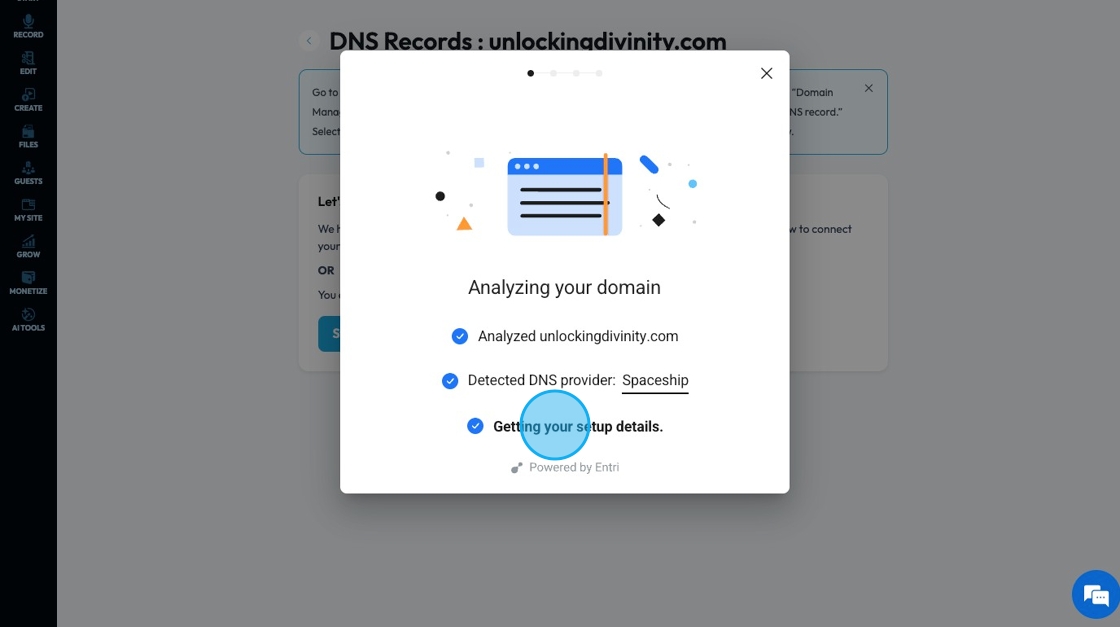
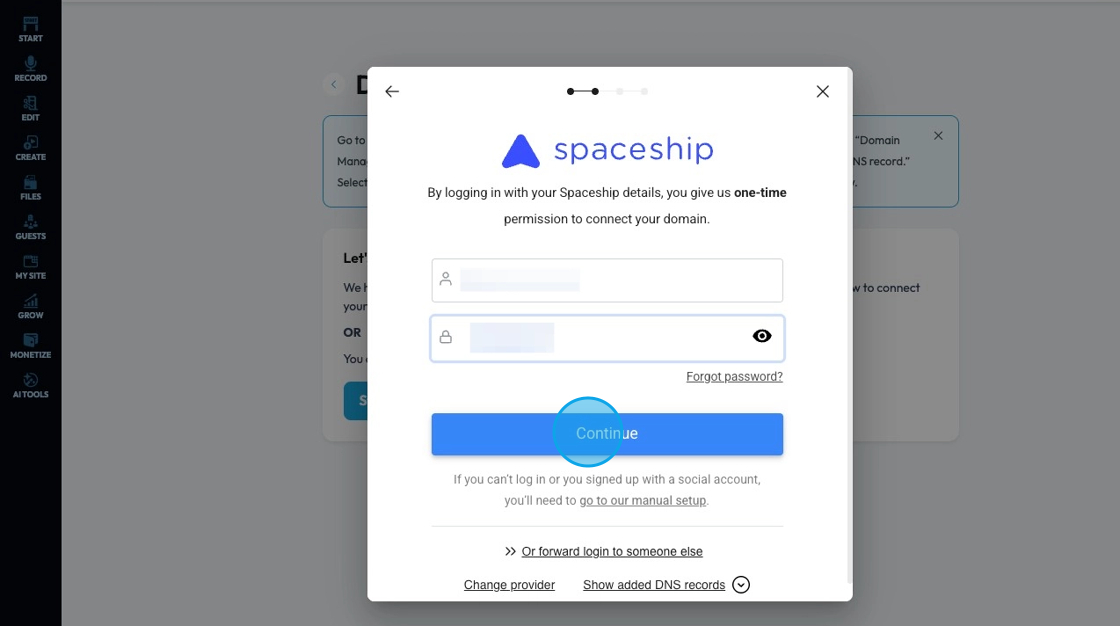
11. Entri will detect the DNS provider and provide the login portal
- For this example the DNS provide Spaceship i sused but ther are many different DNS Providers

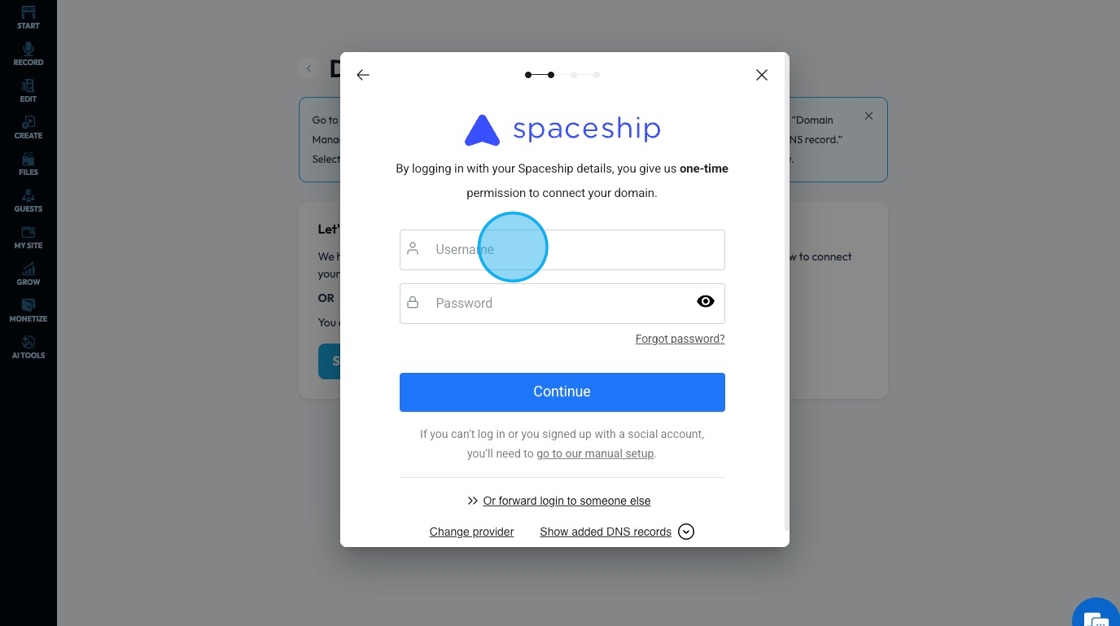
12. Login to your DNS provider as if you were entering their website.
- Enter your username into the Username field
13. Click the "Password" field and enter the password of your DNS provider account
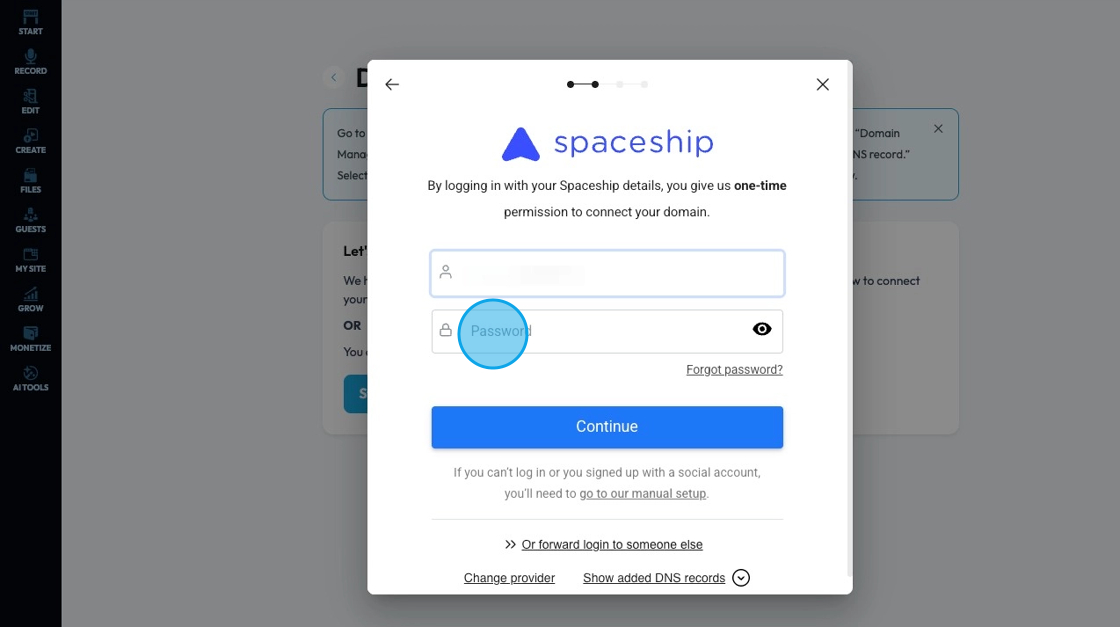
14. Click "Continue"
15. A verification code will be sent to your email. Click the "Enter code" field and enter the code then click "Continue"

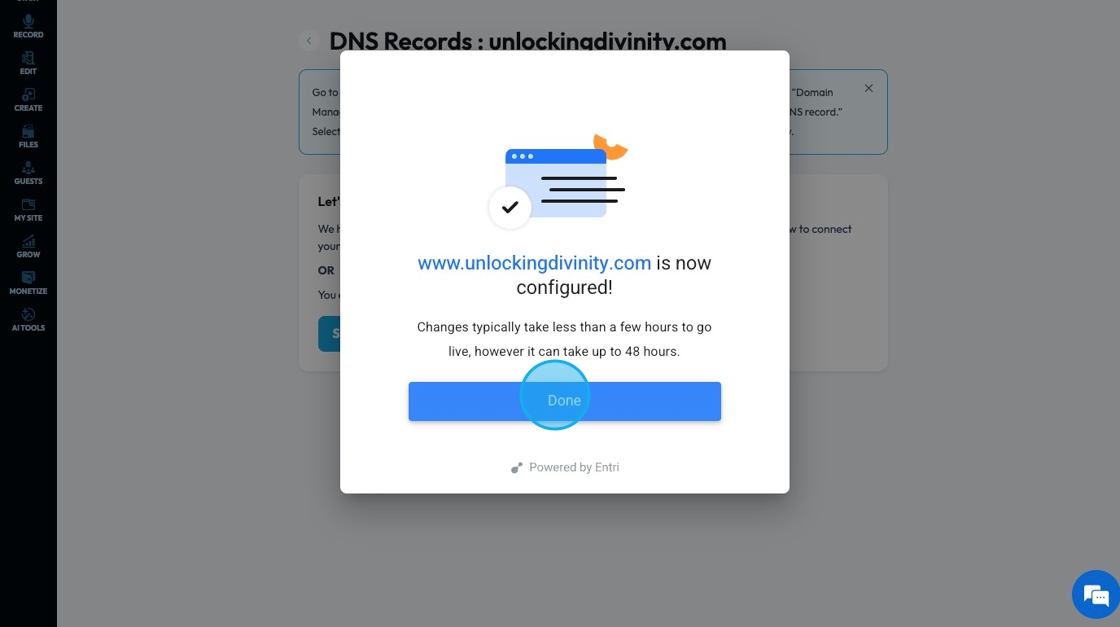
16. The popup will then appear with a confirmation that the domain has been configured. Click "Done" to dismiss the popup
17. 2. Click "Clicking here" to manually set up your domain
18. Log into your DNS provider and find the DNS records. Insert them into their respective lines here.

19. Click "Next" to continue on to the next page

20. A confirmation page will appear, click "Next" to move to the next page

21. Click "SELECT..." to access a drop-down menu of show options which will start the connection of your show to this domain name
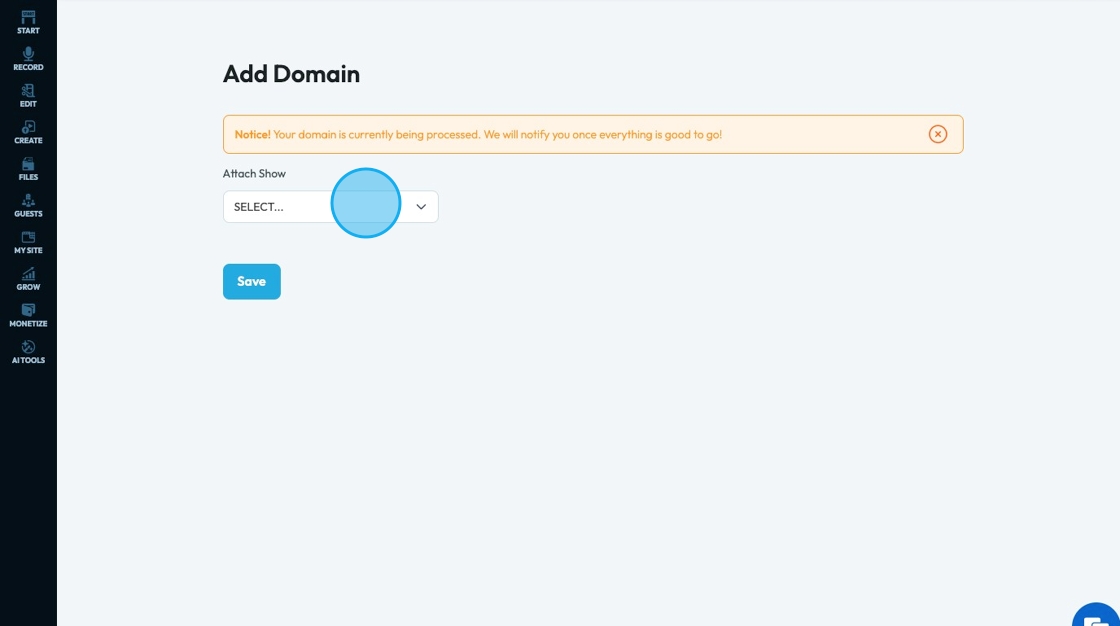
Tip: Tip! Add here the scribe to change shows
22. Click "Save" to keep the added show

23. The domain will then be listed with your other domains

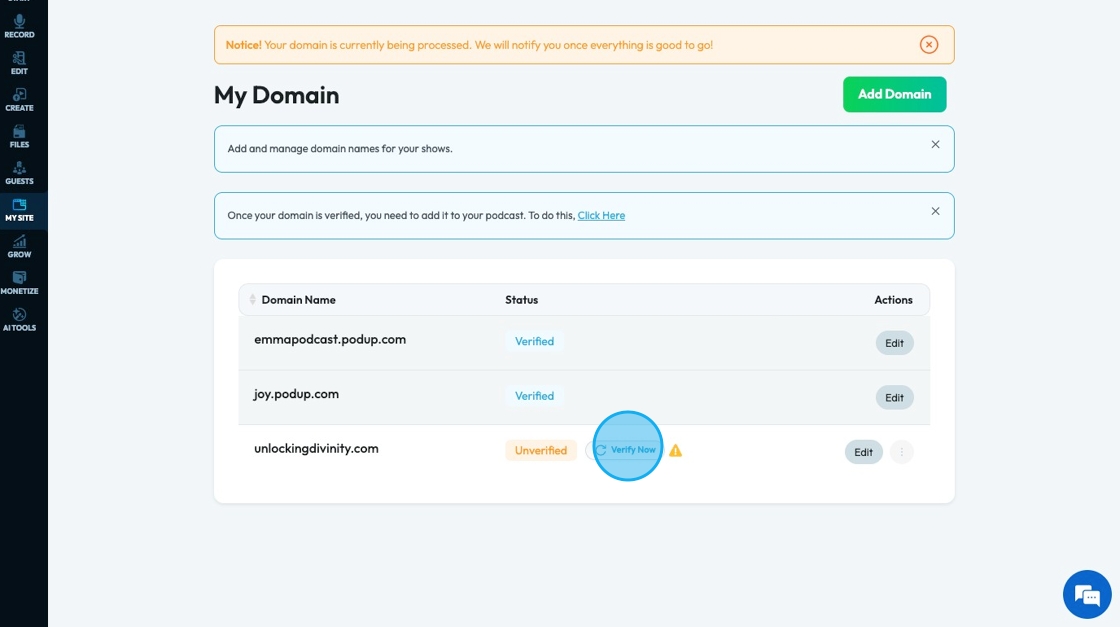
24. The domain will be listed as "Unverified" while it is being process

25. The verification process may take up to 24 hours. If it has not been verified after 24 hours, click "Verify Now"
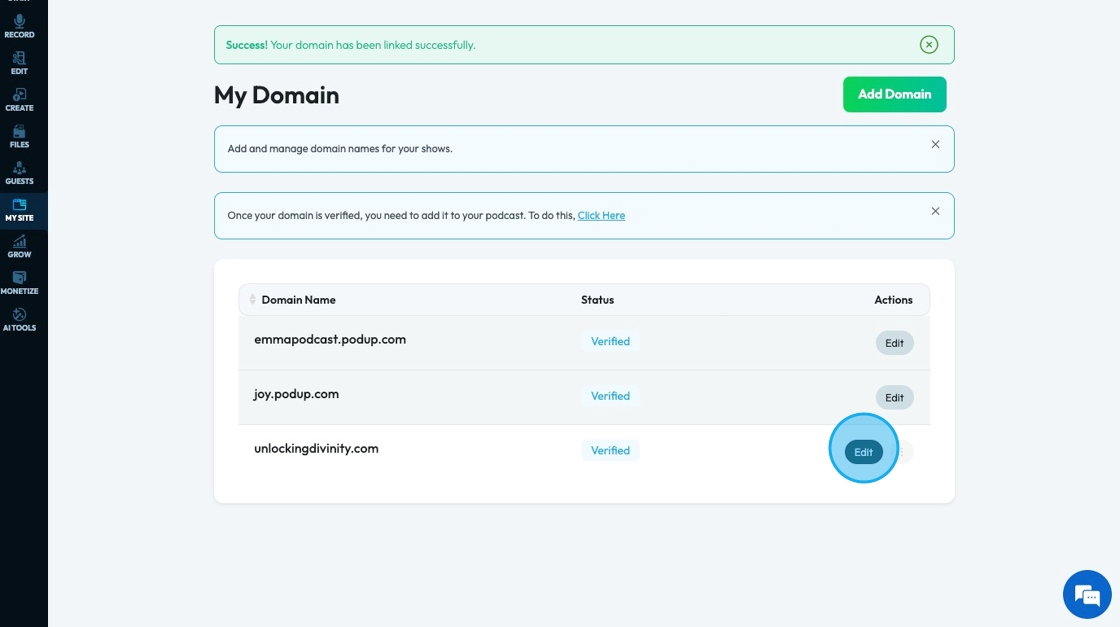
26. Click "Edit" to return to the original page, where you can edit the domain name and the DNS provider
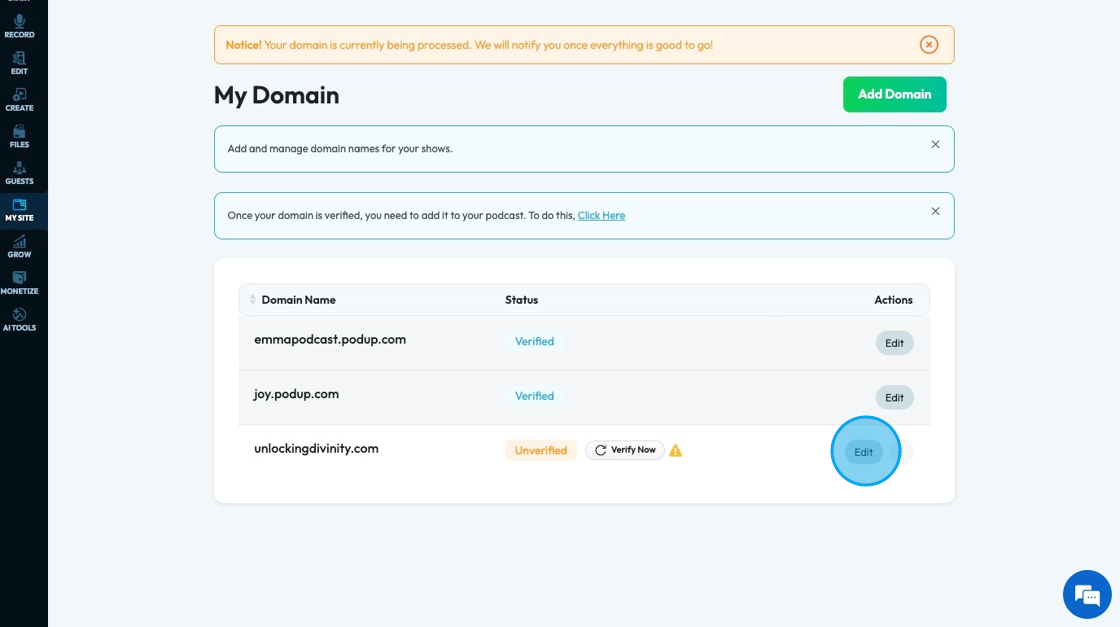
27. This page will open, and you can edit your domain here. Click the back arrow to return to the My Domain main page

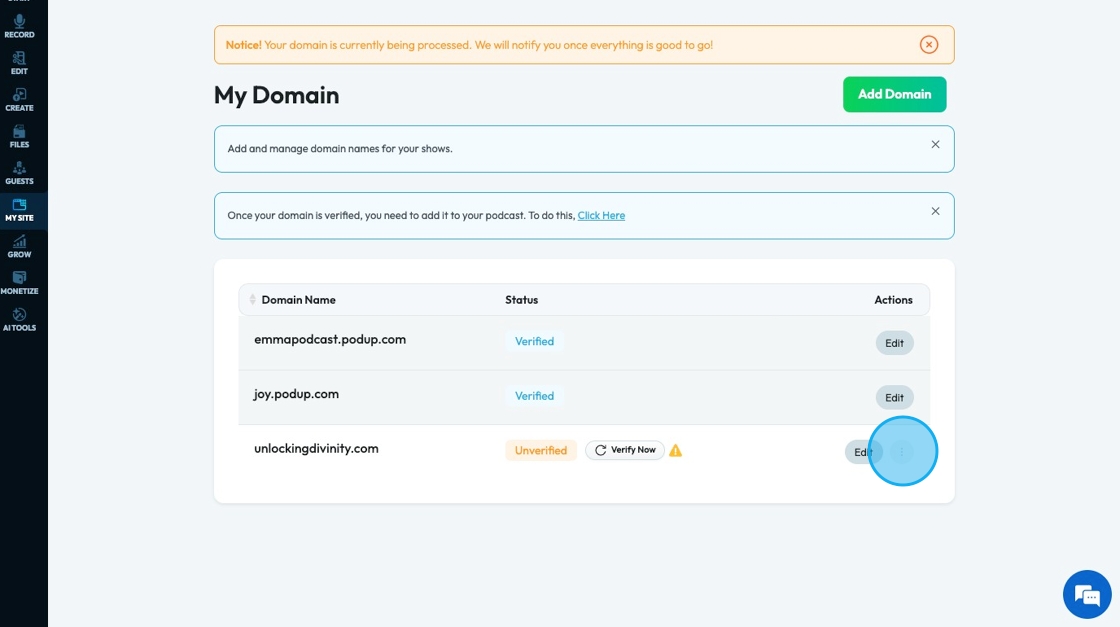
28. Click the 3 dots icon to view the possible action
29. Click "DNS records" to view or change the DNS records of the domain

30. Click this icon.
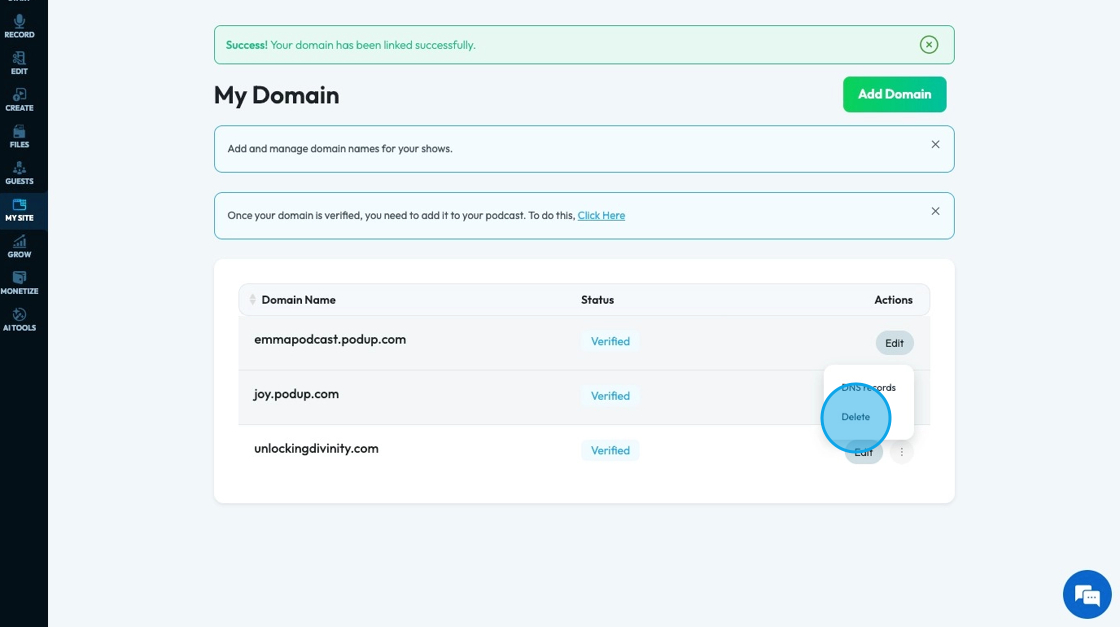
31. Click "Edit"
Related Articles
How To Navigate the PodUp Dashboard (Detailed)
This guide is essential for anyone looking to navigate the PodUp dashboard efficiently. It offers a step-by-step approach to accessing vital account information, tracking your podcast reach across platforms, and utilizing helpful tools. Additionally, ...How to Navigate Page Builder (Detailed)
This guide provides a straightforward method for creating and customizing website pages using PodUp's Page Builder, making it ideal for users of all skill levels. It outlines each step in the process, from accessing the page builder to editing ...How to Navigate SEO (Detailed)
This guide offers a comprehensive approach to optimizing your podcast website for SEO, crucial for increasing visibility and attracting more listeners. It details essential steps, such as generating sitemaps, crafting effective meta titles and ...How to Navigate Analytics (Detailed)
This guide offers a comprehensive overview of accessing and understanding podcast analytics through PodUp Analytics, making it essential for podcasters aiming to optimize their content reach. By breaking down key metrics and providing step-by-step ...How to Navigate Image Generator (Detailed)
This guide offers a straightforward process for generating AI images tailored for podcast studio setups, making it ideal for podcasters and content creators. By following the step-by-step instructions, users can easily visualize their podcast ...