How To Navigate Categories (Detailed)
This guide offers a straightforward approach to adding and updating categories on your Podup website, making it essential for users looking to enhance their site’s organization and appearance. It provides step-by-step instructions that are easy to follow, ensuring you can efficiently manage your content. By mastering these processes, you can effectively customize your site to meet your needs, resulting in a more engaging user experience. Don't miss out on optimizing your website's category management!
1. To edit or add new "Categories" on website
2. Navigate to https://app.podup.com/home
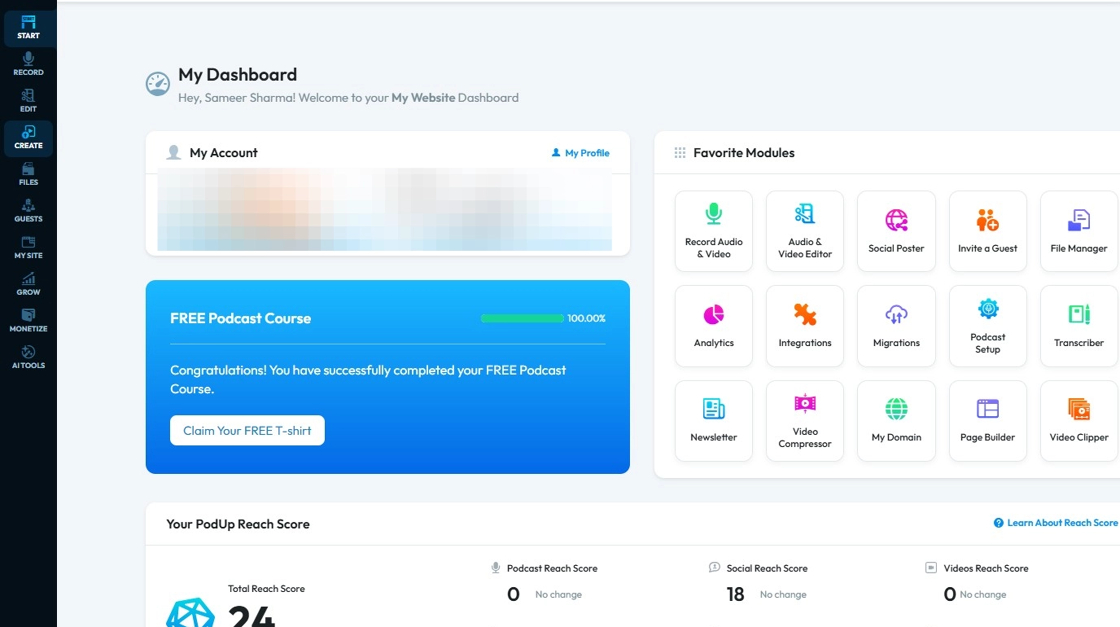
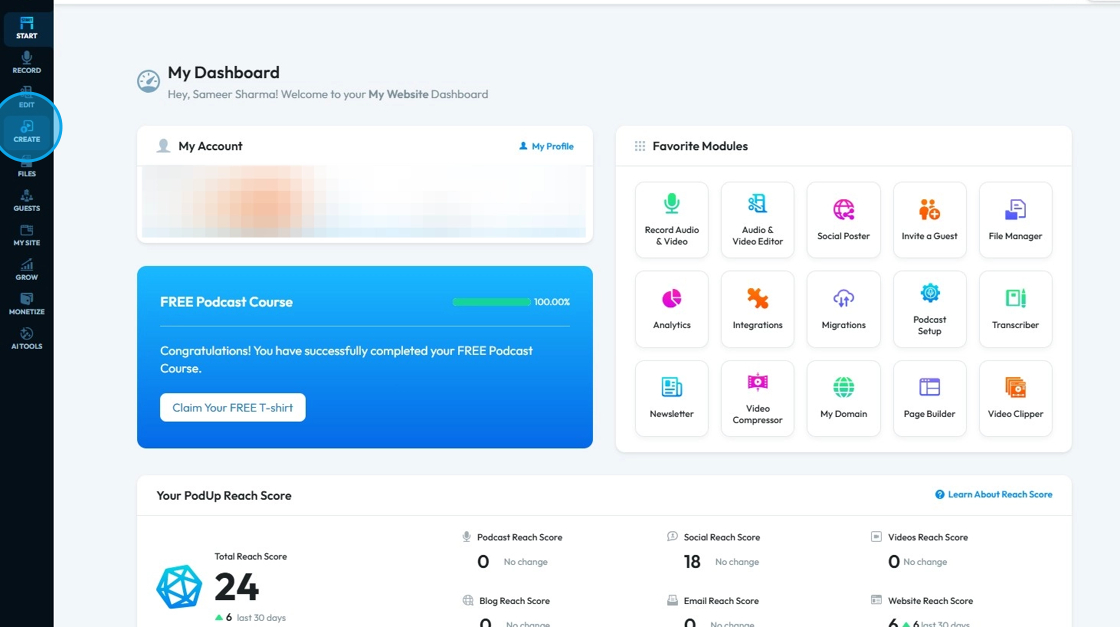
3. Click "Create"
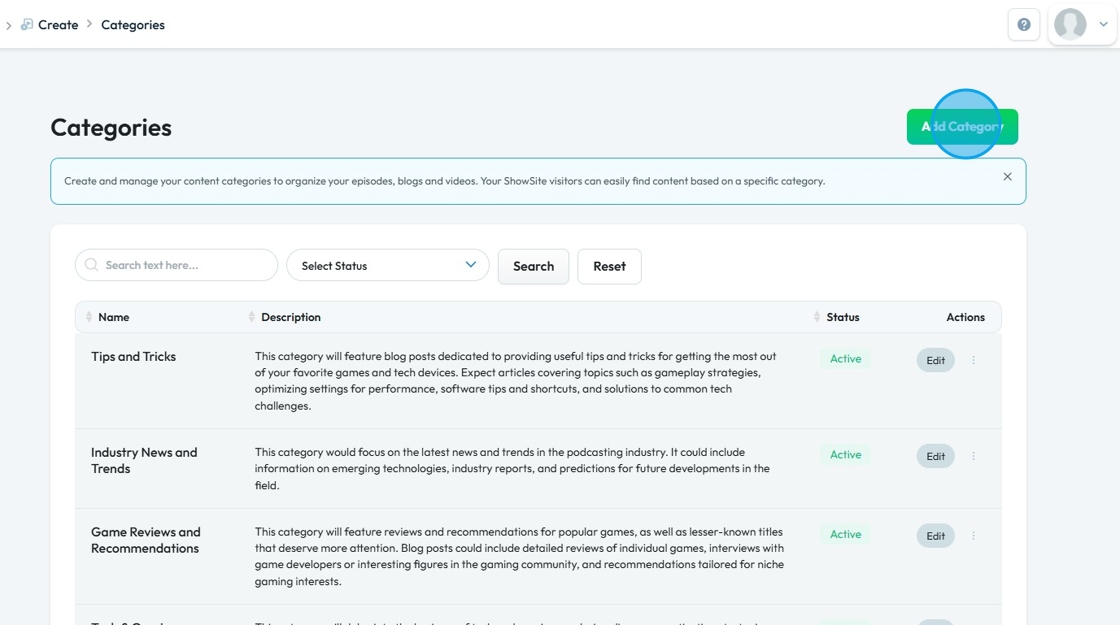
4. Select "Categories"

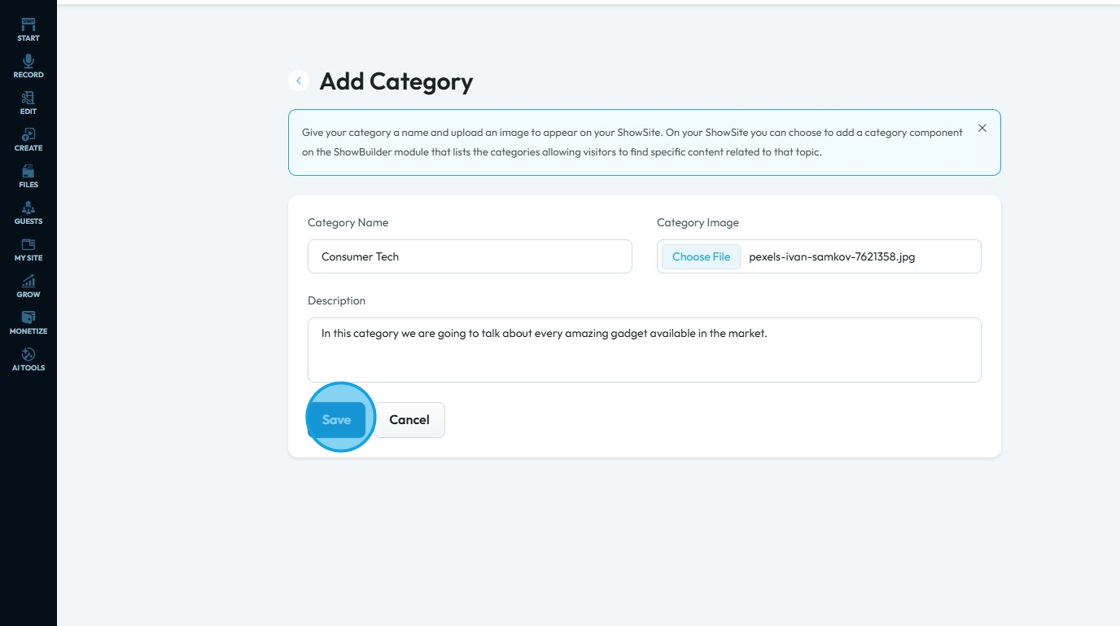
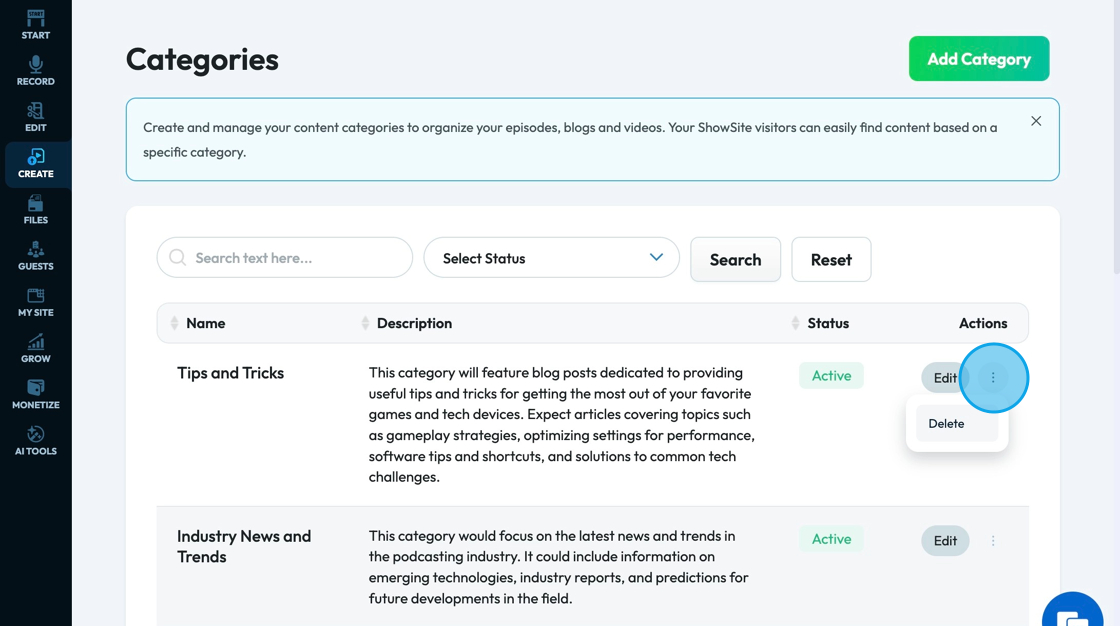
5. Click "Add Category" if want to add a New Category
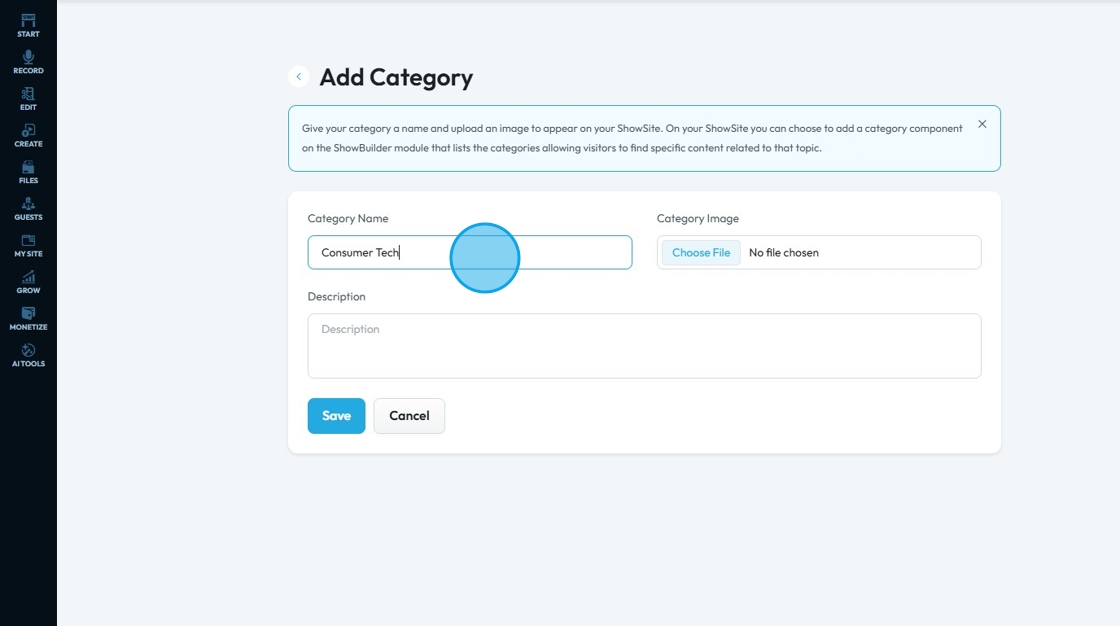
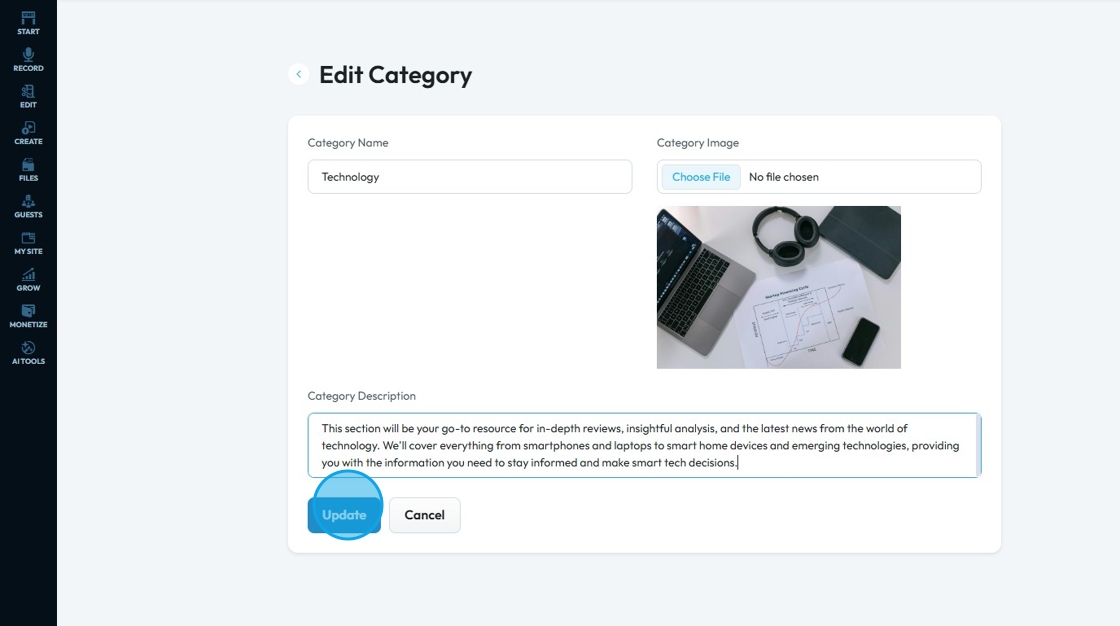
6. Click the "Category Name" field and enter the Category Name
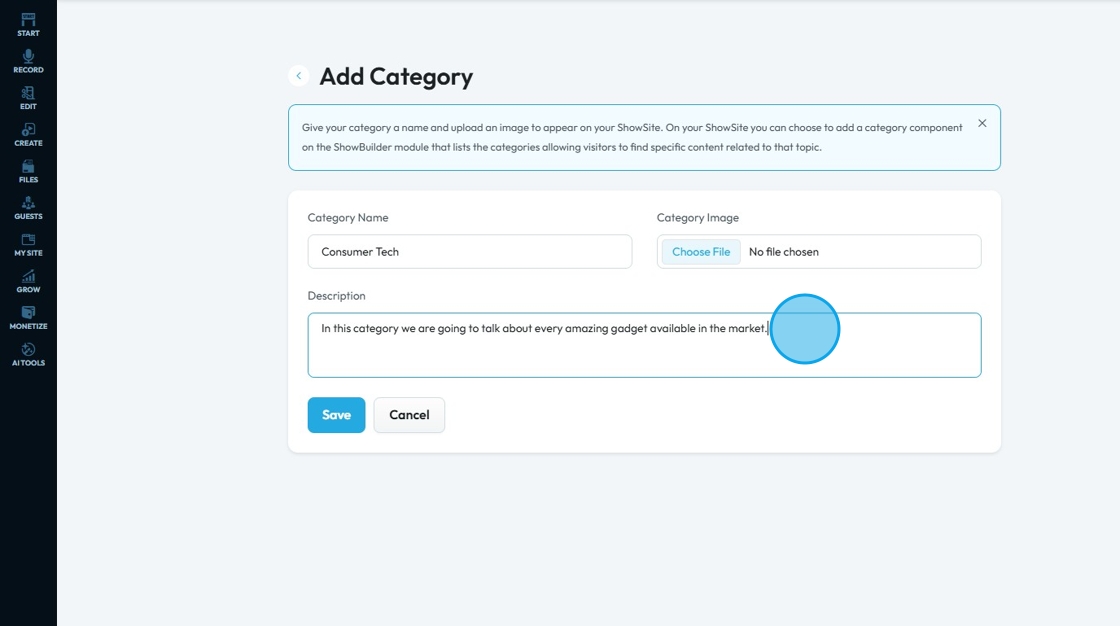
7. Click the "Description" field to enter the description for the category
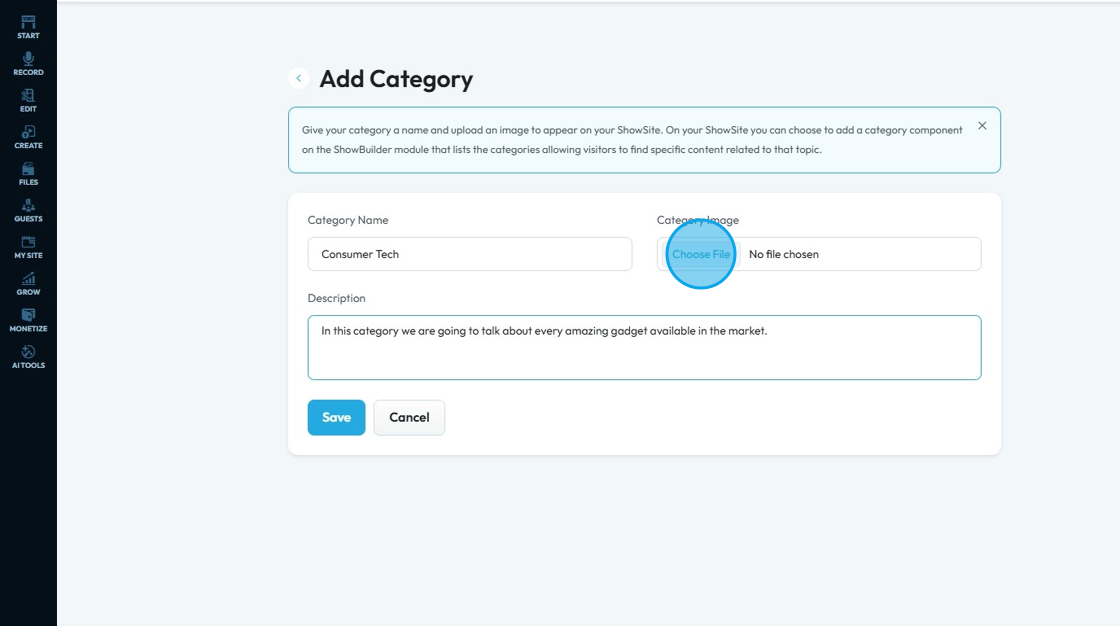
8. Click "Choose File" to add an image for the category
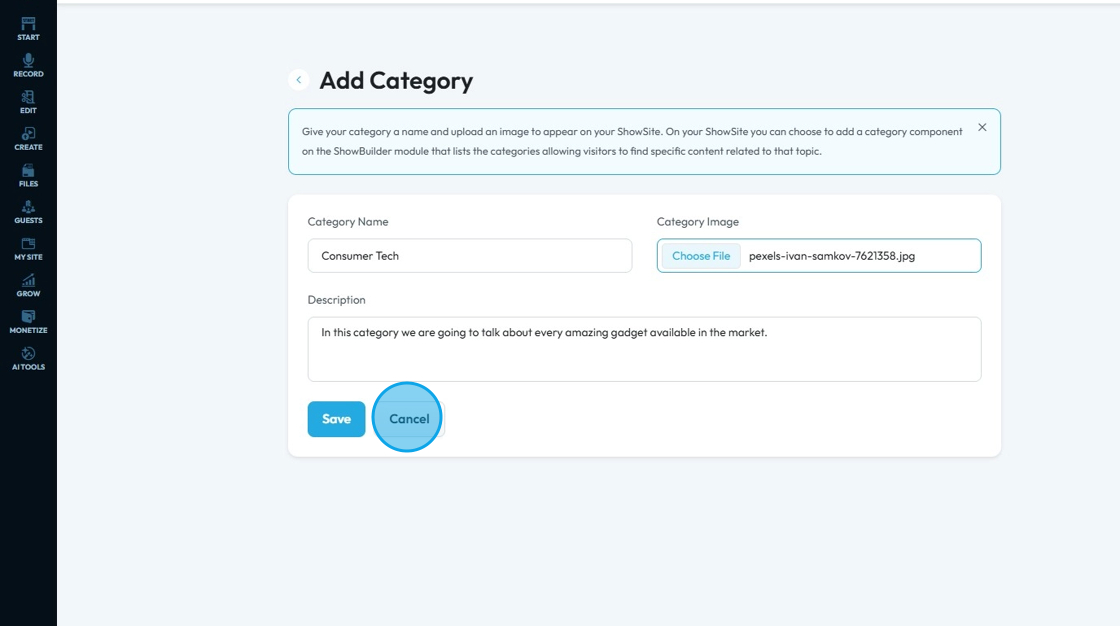
9. Click "Cancel" to discard the changes.
10. Click "Save" to add the category on the website
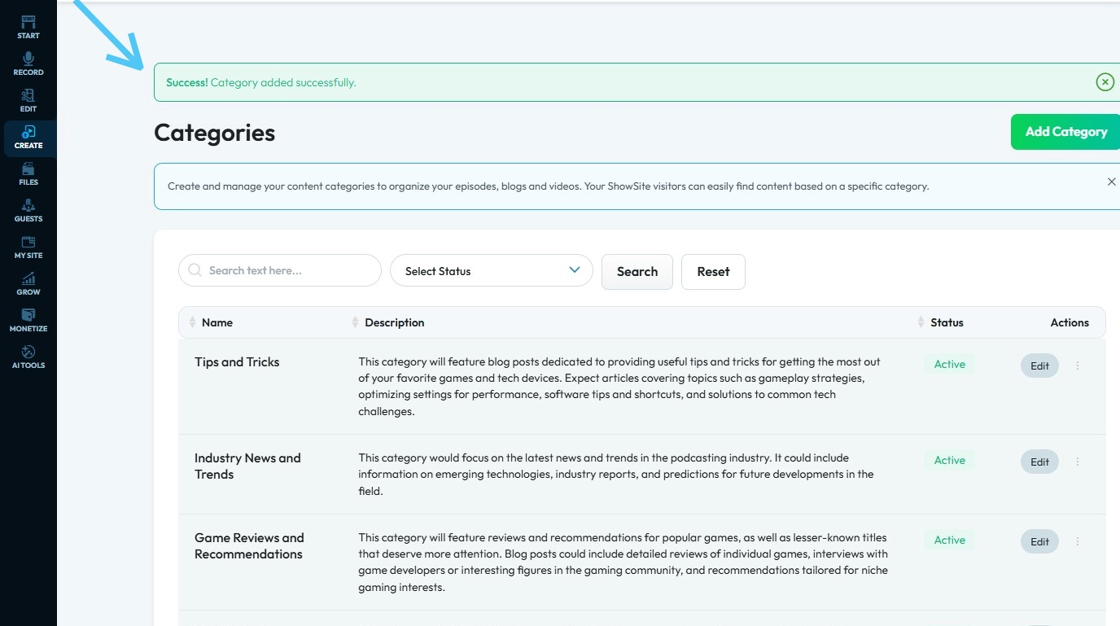
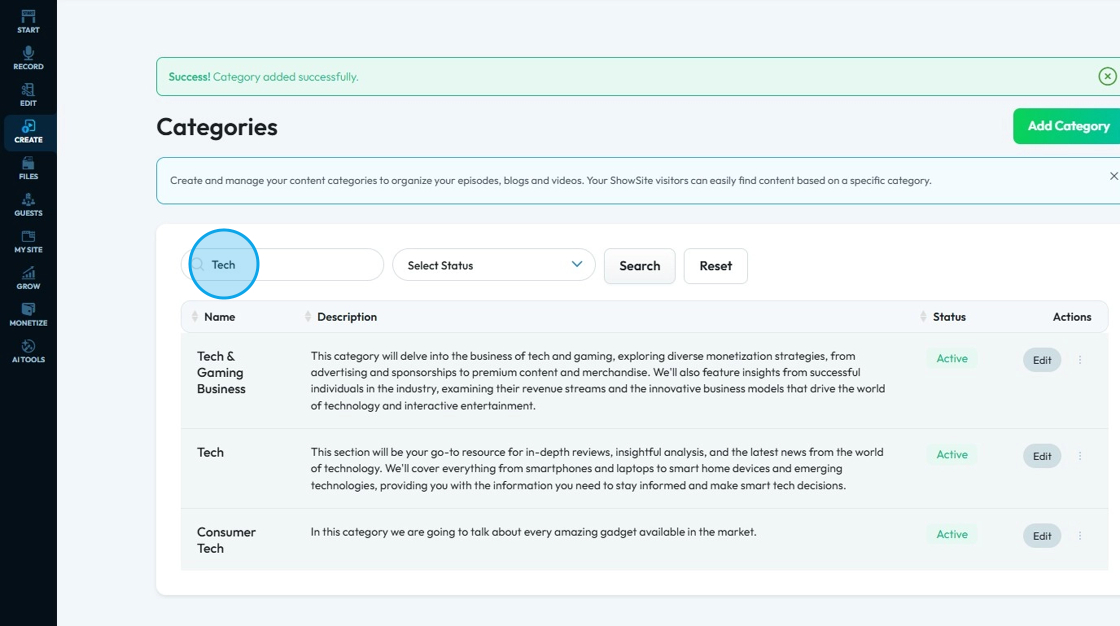
11. Finally you will see this message "Success! Category added successfully." to know that this was successful
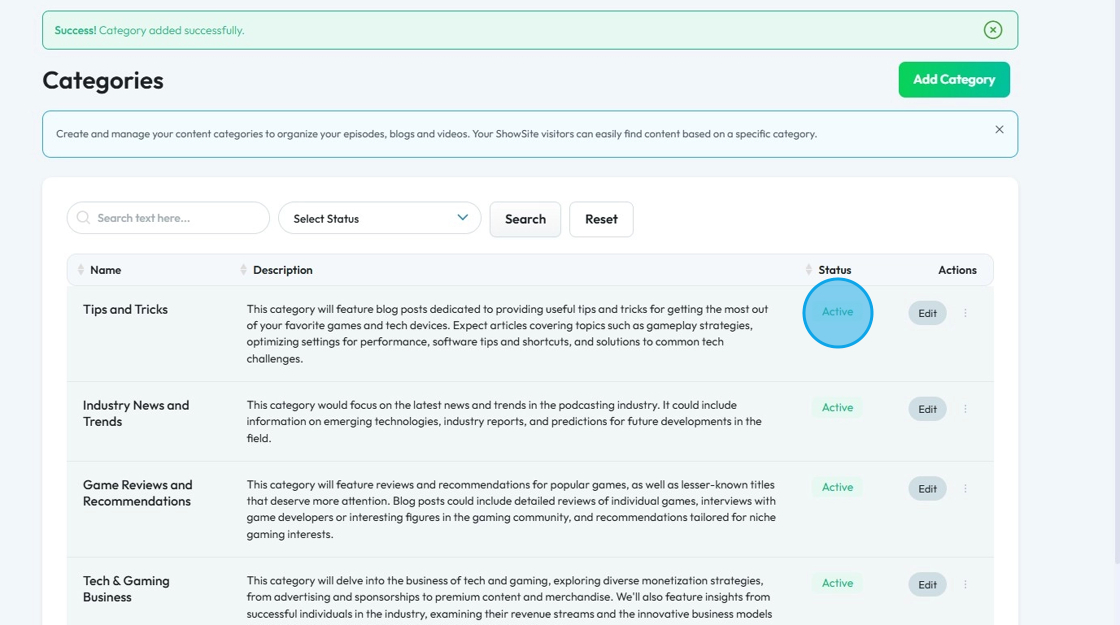
12. To "Active" to change the status. Click "Active" to change it to "Inactive" or click "Inactive" to change it to "Active"
- Active: Shows that the category will appear on the website
- Inactive: The category still exists but will not appear on the website
13. To "Edit" an existing category, you need to select "Edit"
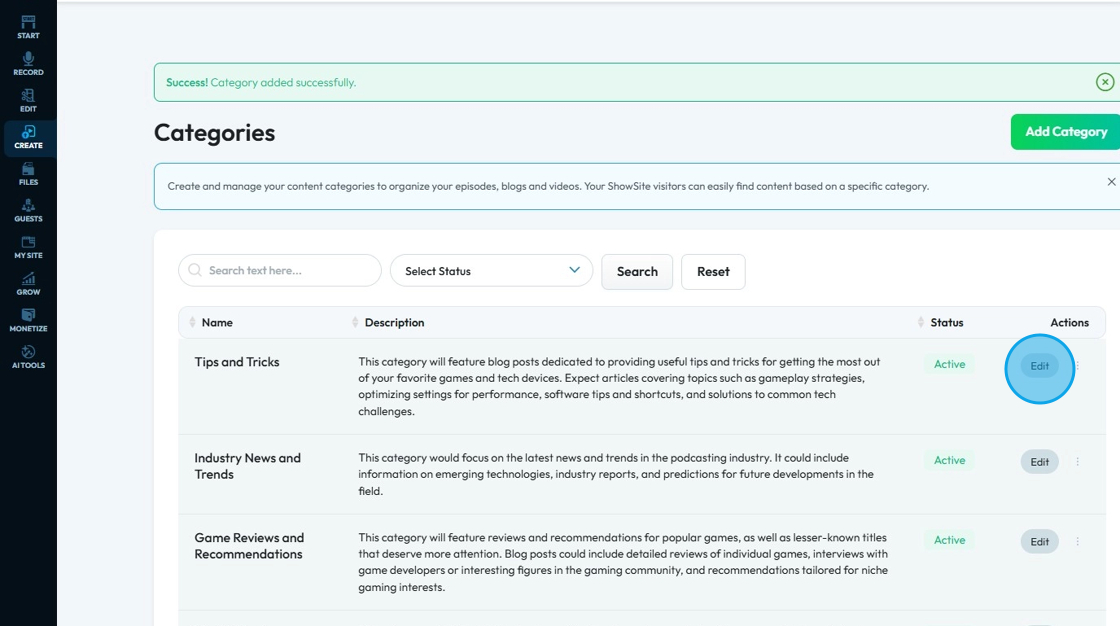
14. Edit the category and click "Update" to save the changes
15. Click "Delete" to delete the category
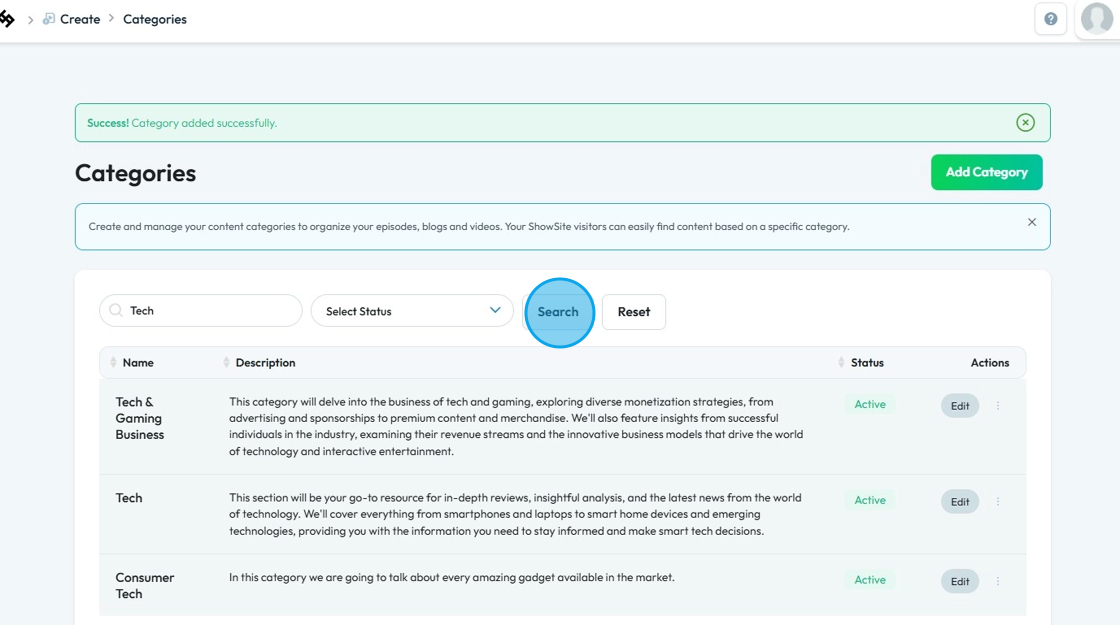
16. To search for a specific category, type in the name of the "Category" you want to edit, then click "Search"
17. Click the drop-down menu to select a specific status to search for
- Active: Shows that the category will appear on the website
- Inactive: The category still exists but will not appear on the website
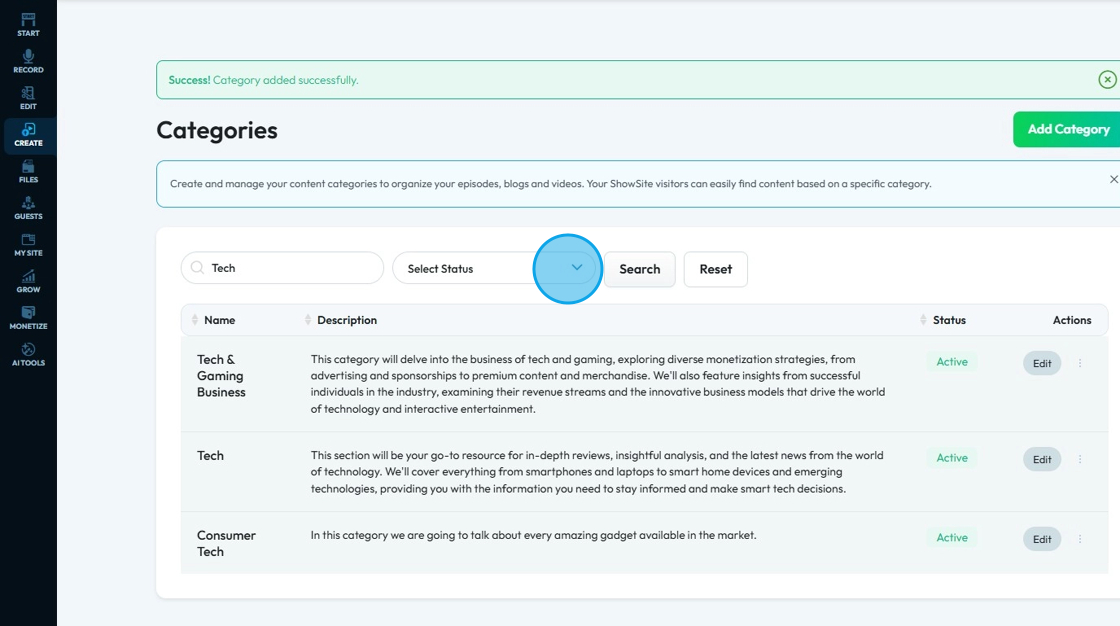
18. Select "Search" to run the search
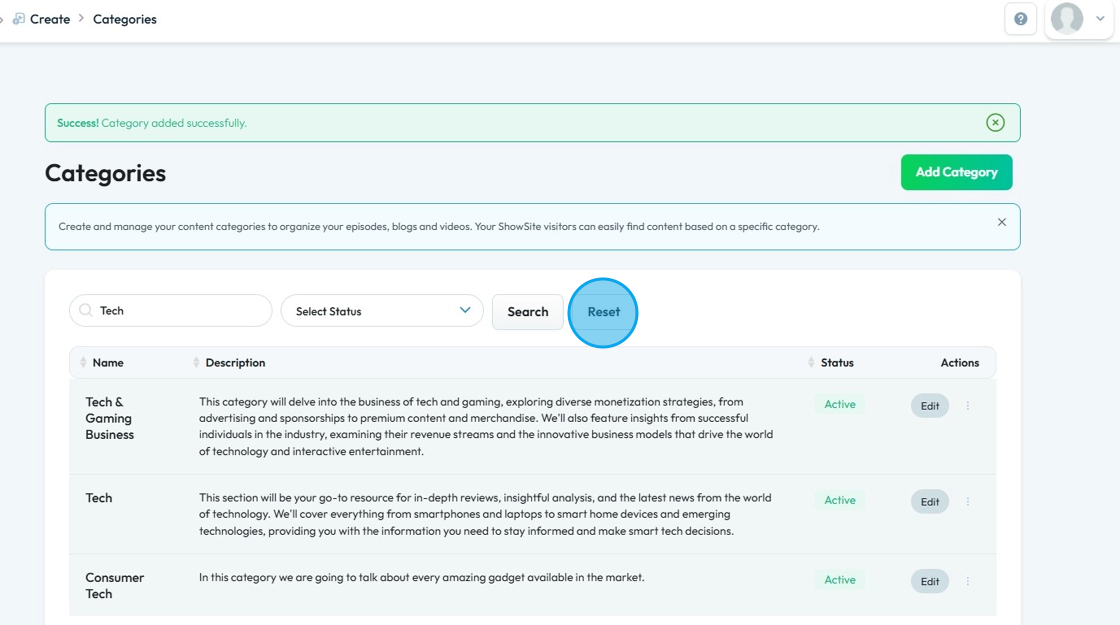
19. Select "Reset" to reset the options to the original settings
20. We have Successfully Changed the Categories on our Website.

Related Articles
How to Navigate Analytics (Detailed)
This guide offers a comprehensive overview of accessing and understanding podcast analytics through PodUp Analytics, making it essential for podcasters aiming to optimize their content reach. By breaking down key metrics and providing step-by-step ...How to Navigate Nav Builder (Detailed)
This guide provides a step-by-step approach to creating a navigation menu in PodUp, essential for enhancing user experience on your website. It simplifies the process of organizing and managing your site's links, making it easier for visitors to ...How To Navigate the PodUp Dashboard (Detailed)
This guide is essential for anyone looking to navigate the PodUp dashboard efficiently. It offers a step-by-step approach to accessing vital account information, tracking your podcast reach across platforms, and utilizing helpful tools. Additionally, ...How To Navigate Episode Manager (Detailed)
This guide provides a step-by-step process for adding an episode in PodUp, making it an invaluable resource for podcasters looking to streamline their workflow. It covers everything from entering episode details to uploading images and sharing links, ...How to Navigate File Manager (Detailed)
This guide offers essential insights into effectively managing your podcast files within PodUp. It covers everything from accessing the File Manager to organizing, uploading, and sharing files, ensuring a streamlined workflow. With tips on sorting, ...