How To Navigate AI Blog Generator on PodUp
This guide walks you through using PodUp’s AI Blog Generator to quickly create SEO-friendly blog content. It covers title ideas, keyword use, and tone selection to help you write faster and reach your audience more effectively.
1. Navigate to https://app.podup.com/content-manager/ai-blog/create
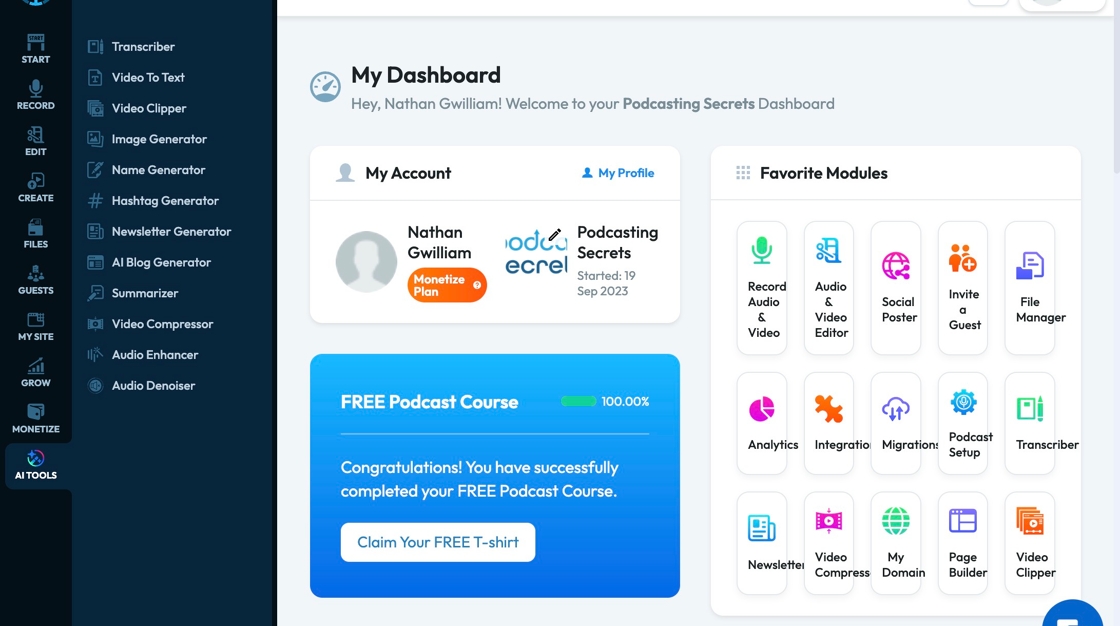
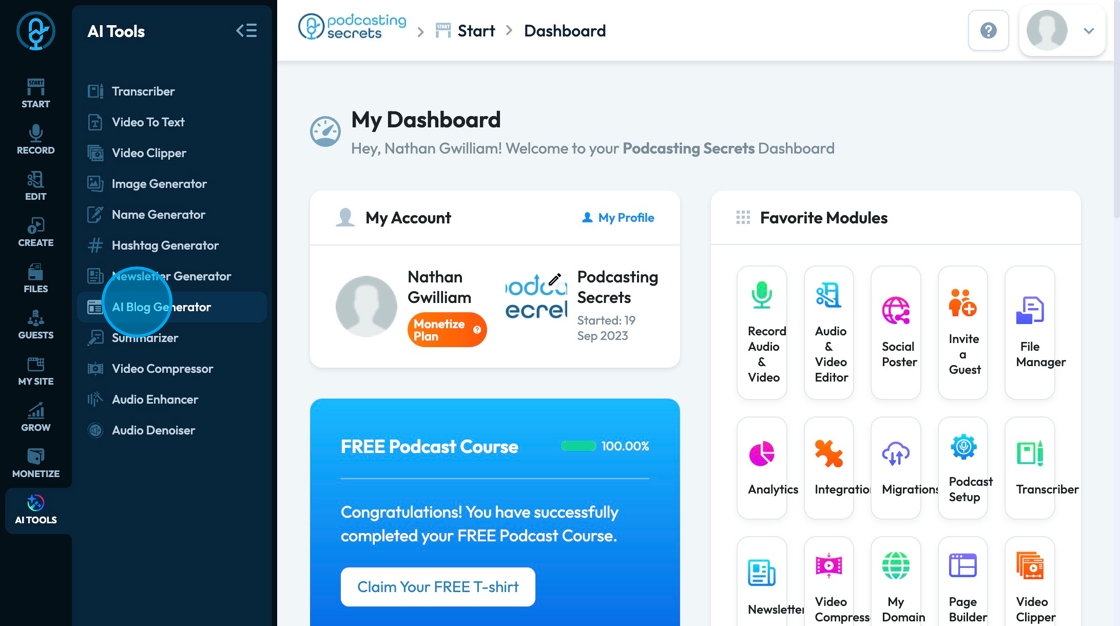
2. Click "AI Tools"

3. Click "AI Blog Generator"
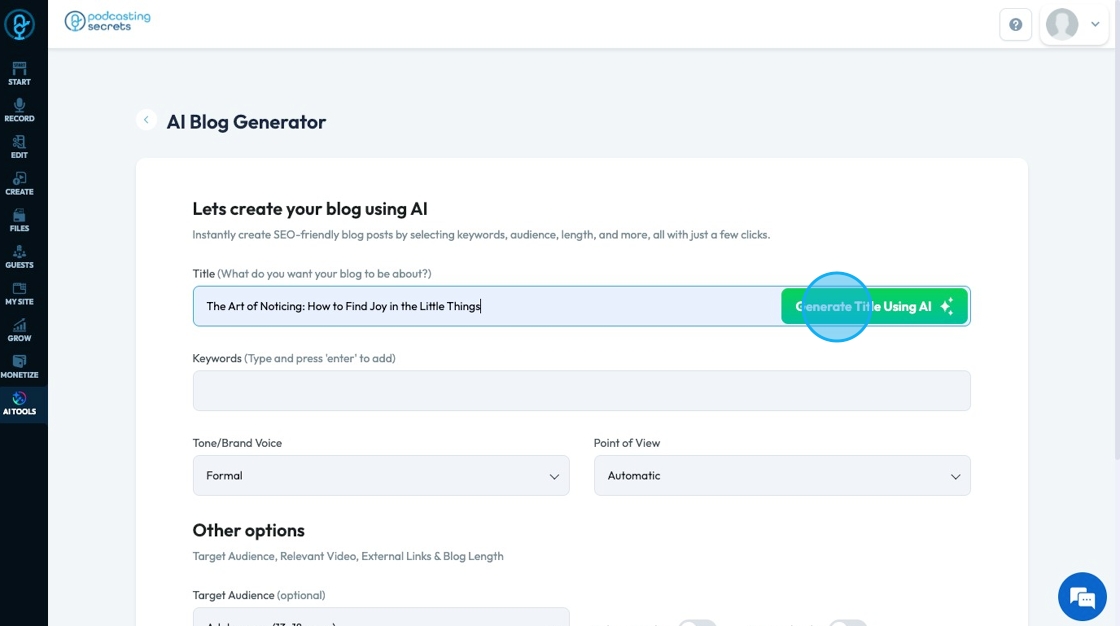
4. Click the "Title" field to write your blog title

5. If you want to have AI generate some title options for you, click "Generate Title Using AI"
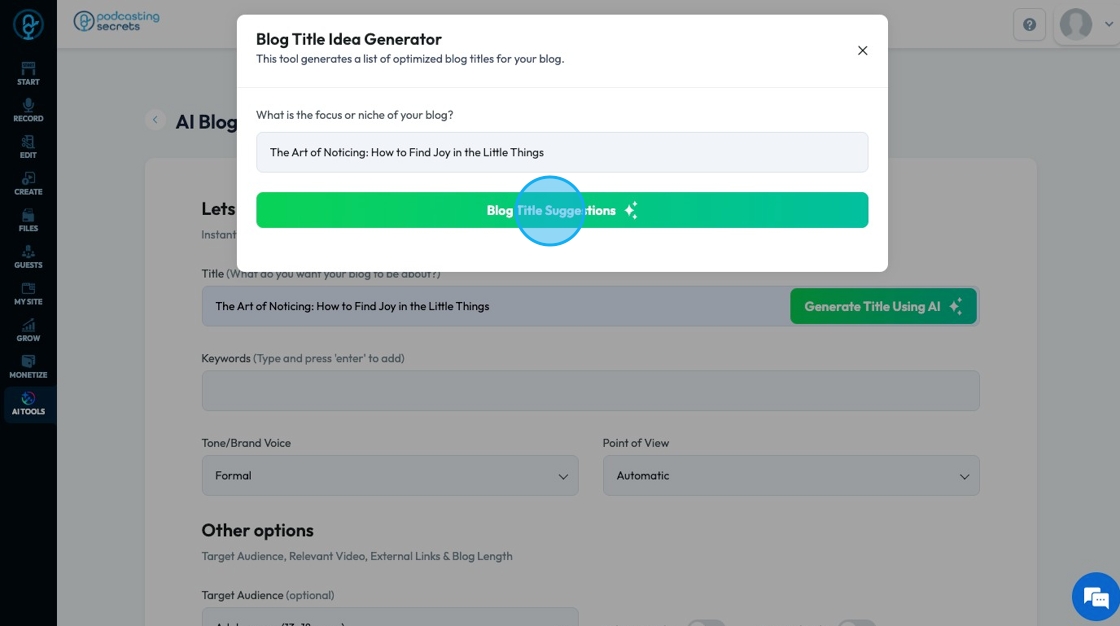
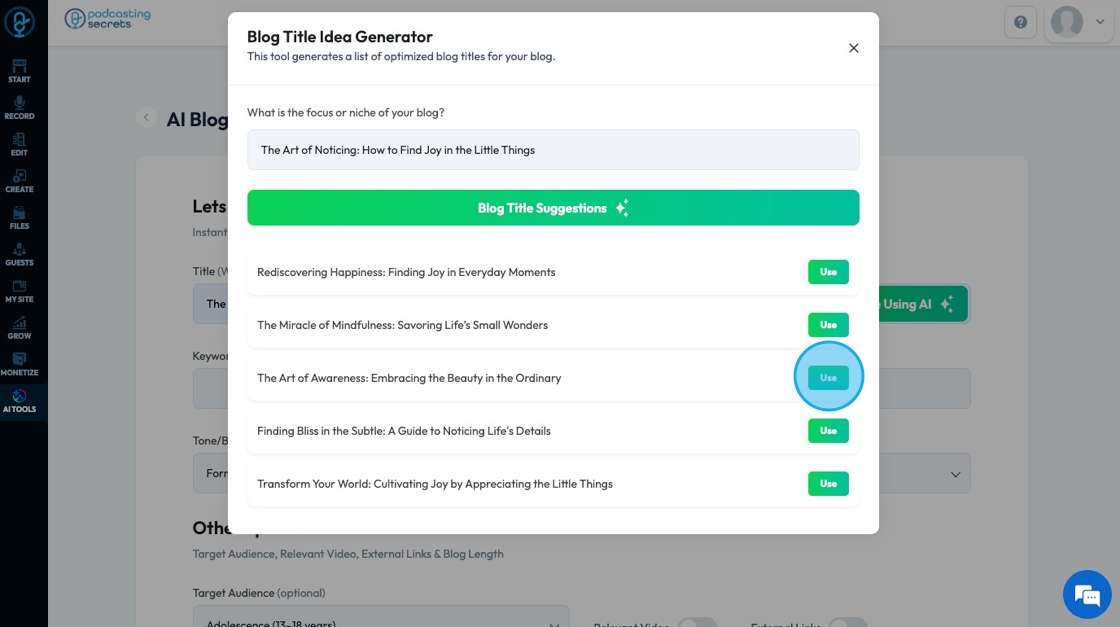
6. If you select AI to generate a title, a popup will appear asking the focus of your blog. Insert your focus and click "Blog Title Suggestions"
- Niche: A specific, focused area or group with unique needs and characteristics
7. The "Blog Title Idea Generator" will give you a list of possible title options. Select "Use" to indicate that you want to use that title.
- If you don't like any of the titles, regenerate new titles by clicking the "Blog Title Suggestions" button again
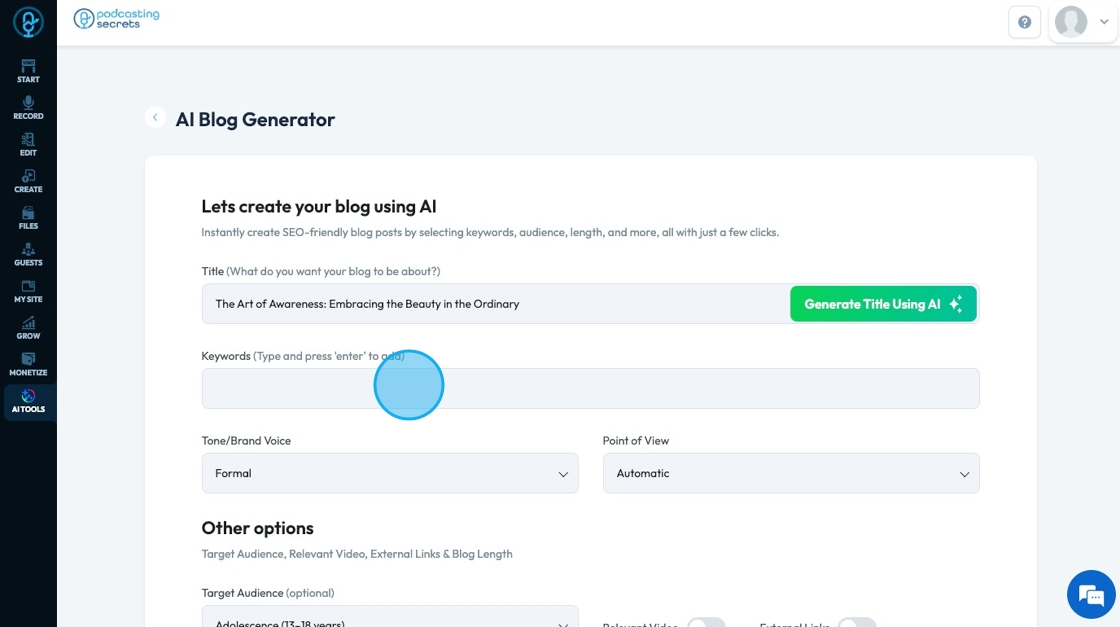
8. Click "Keywords" to indicate important words and themes to include in the blog. You can add a word or phrase by typing it and clicking enter
- Keywords: Words that help people find, understand, and connect with your content
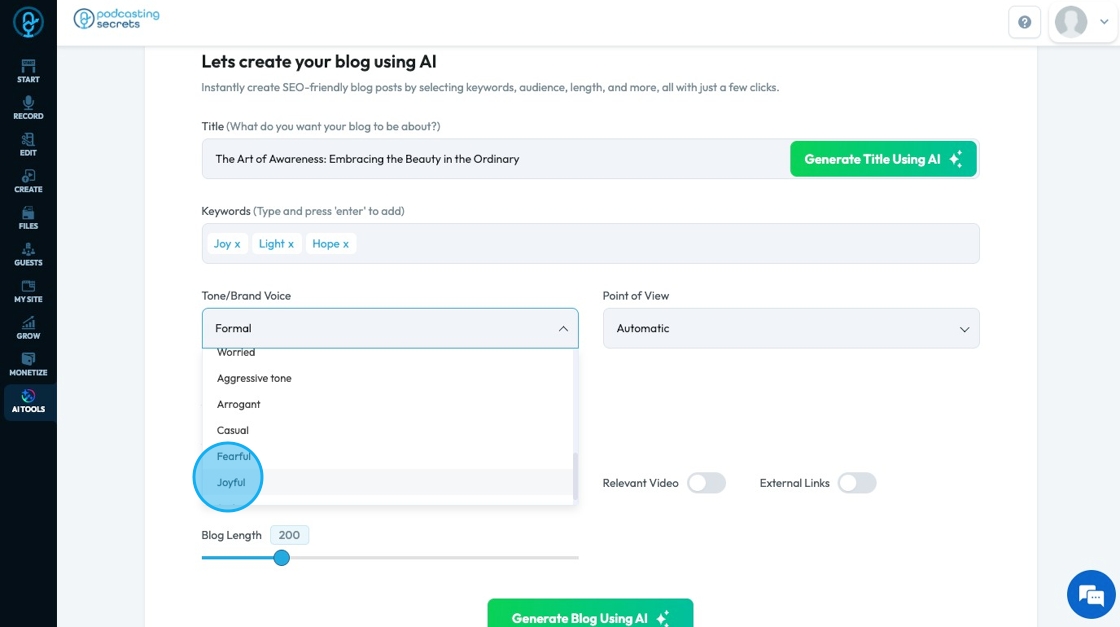
9. Click "Tone/Brand Voice" to choose one of 20 different voices for the blog
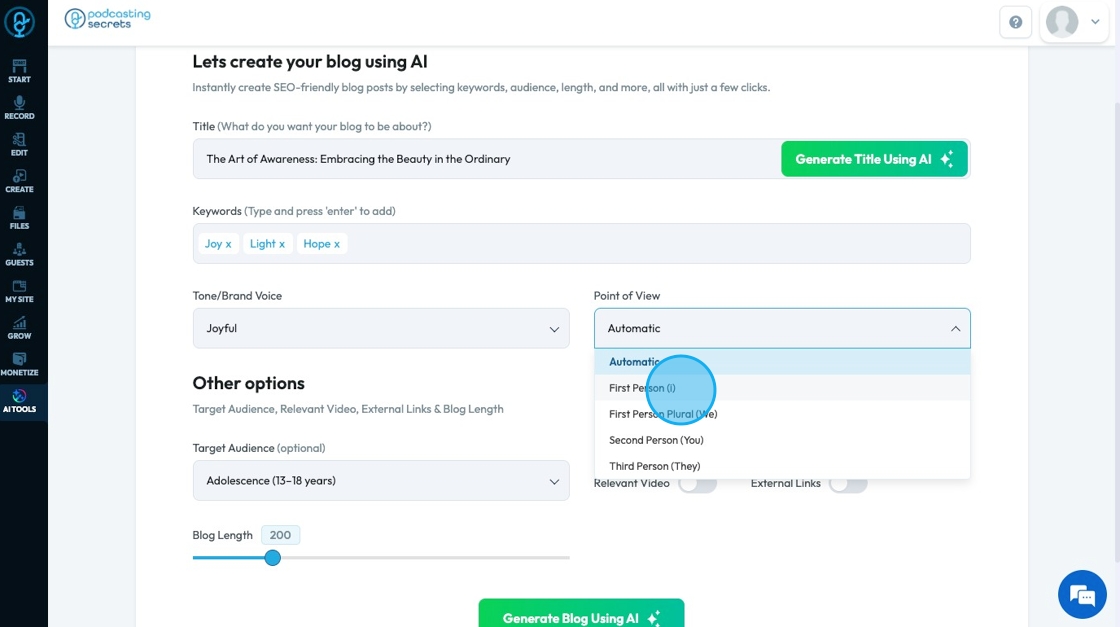
10. Click "Point of view" to change the blog's written prespective
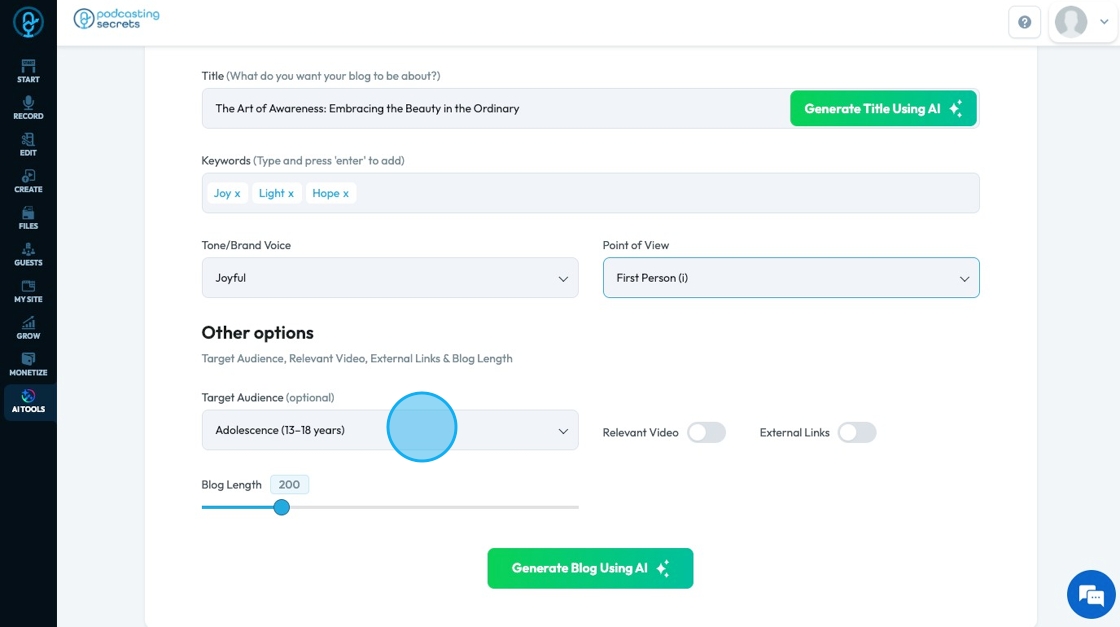
11. Click "Target Audience" to change the group of people that your content is made for
- There are 3 different audience groups available
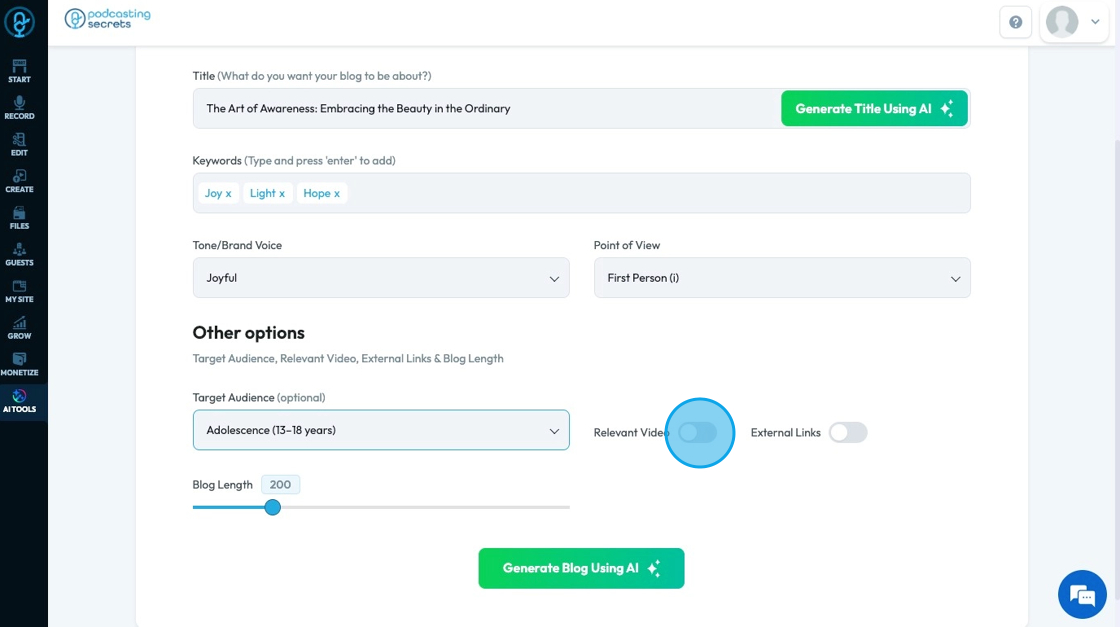
12. Toggle "Relevant Video" to permit AI to pull in a relevant video to the blog article
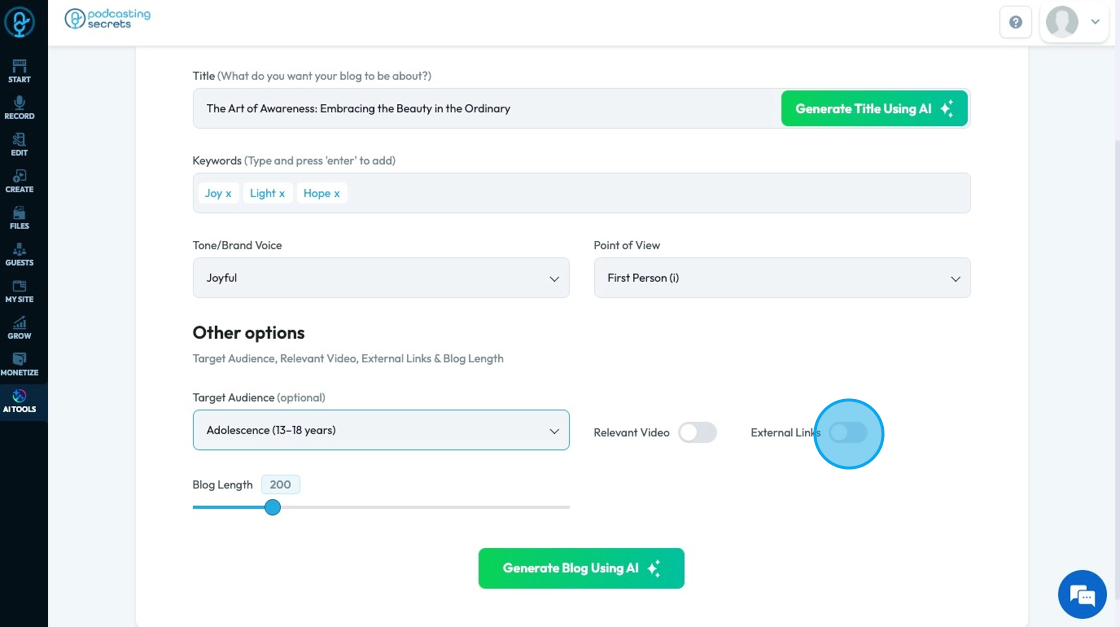
13. Toggle "External Links" to permit AI to put links leading to other websites in the blog article
14. Click "Generate Blog Using AI" to generate the blog

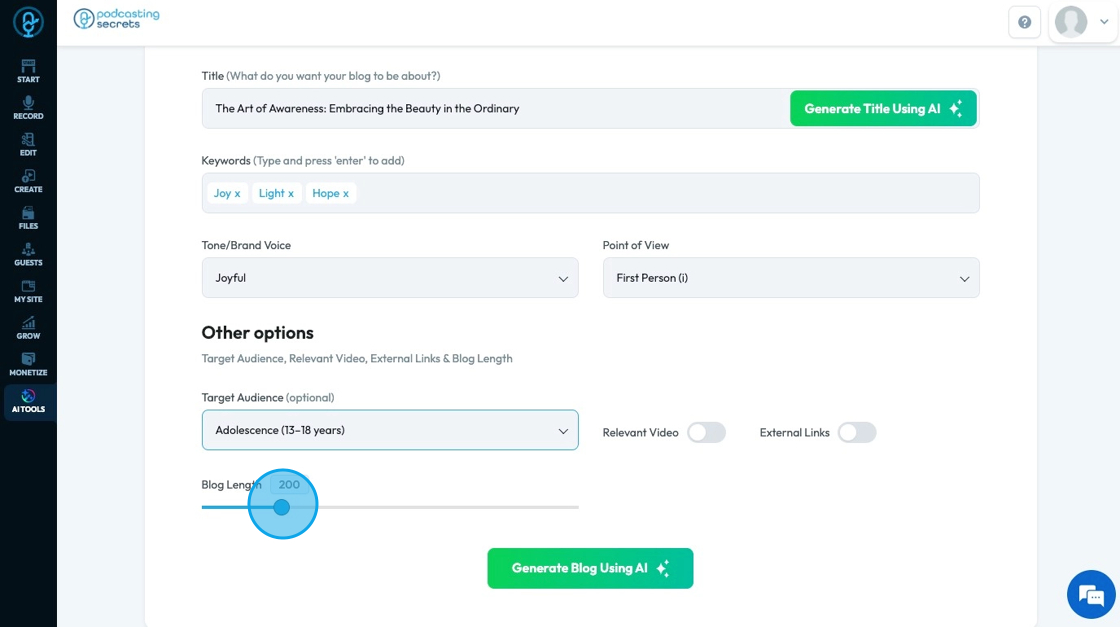
15. Adjust the length of the blog using the slider
- Your blog must be at least 50 words and no greater than 1000 words
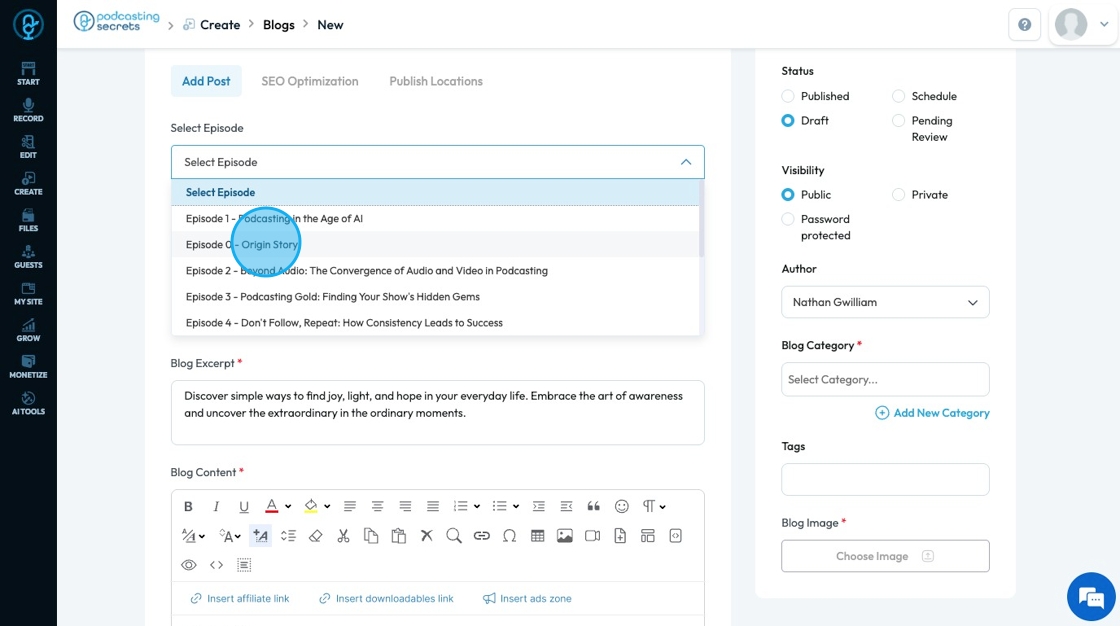
16. "Select Episode" will give you a dropdown menu where you can select the episode associated with the blog
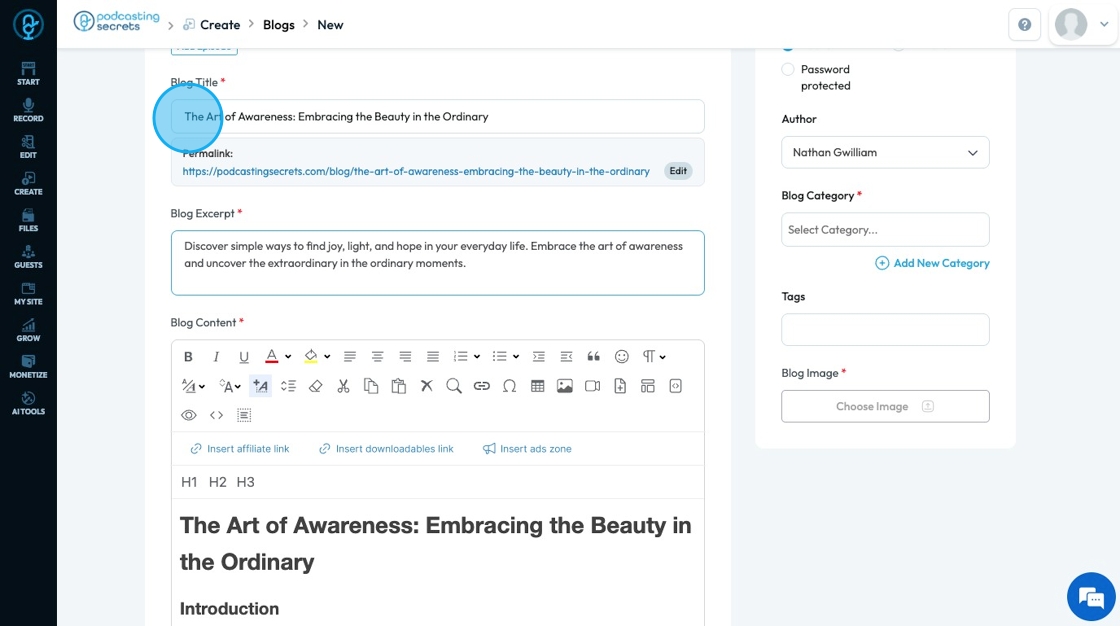
17. Blog Title, Excerpt, and Content will have the AI-generated material that you can then edit
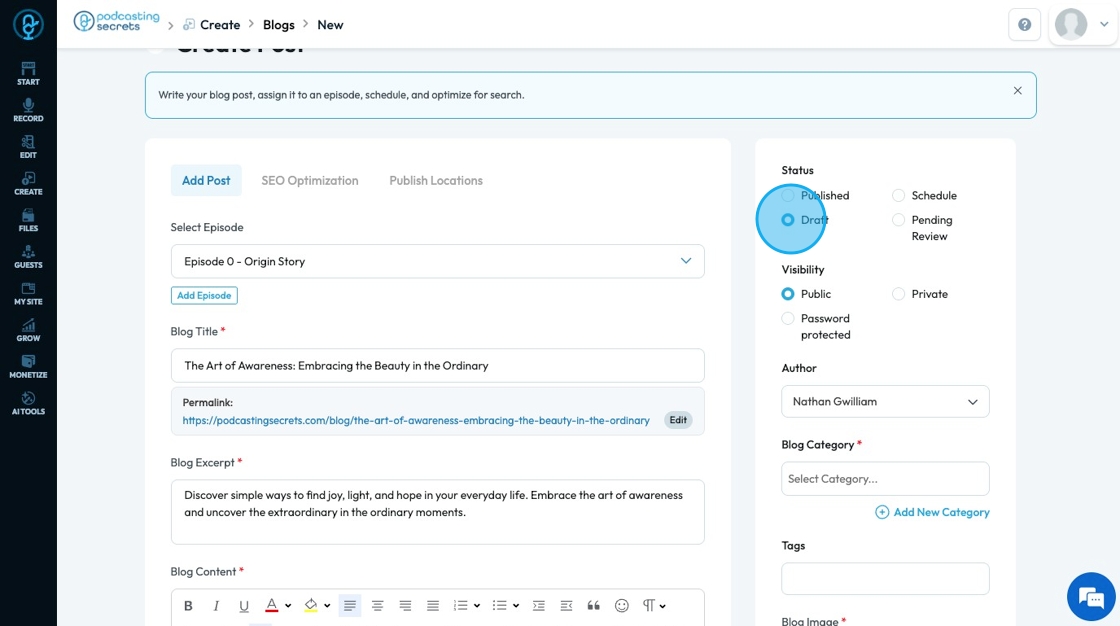
18. Select an option under "Status" to state the current stage of publication
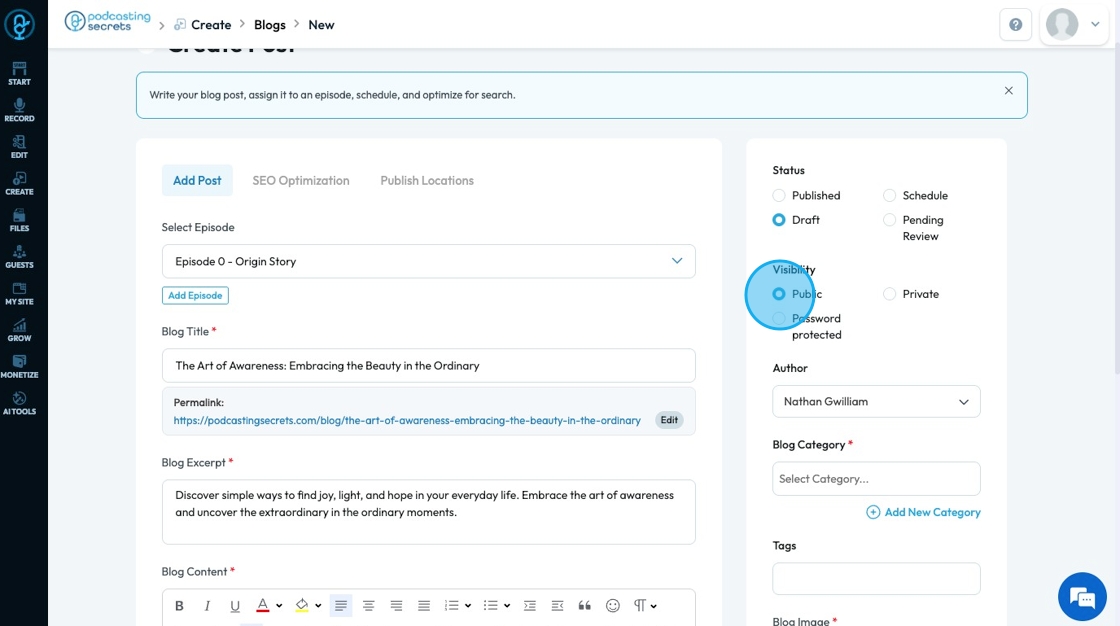
19. Click an option under "Visibility" to change who can see the blog post
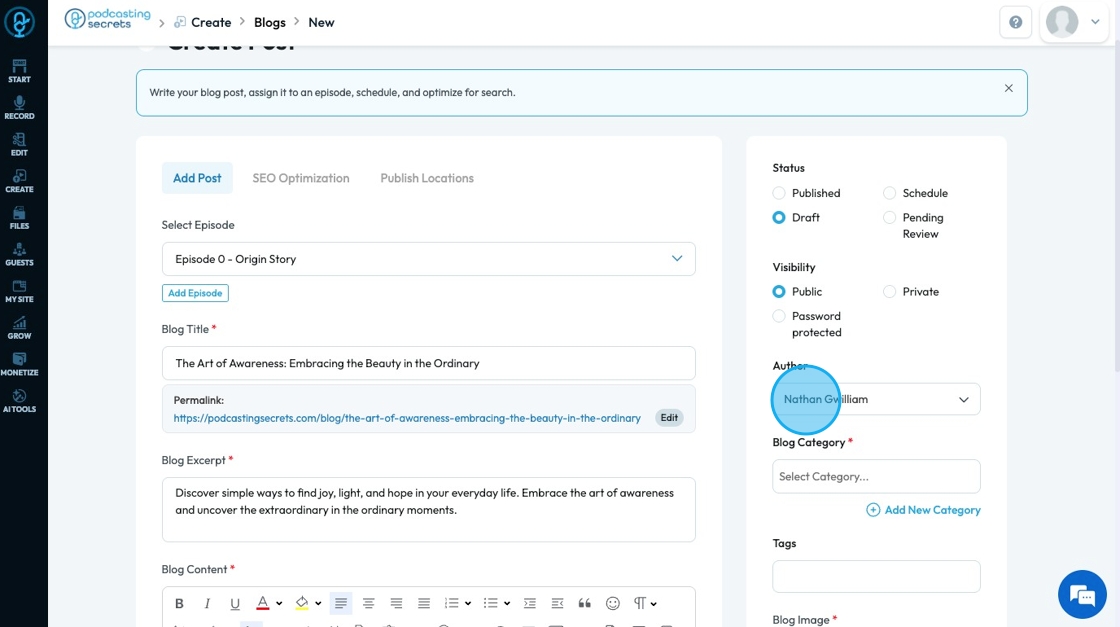
20. Click "Author" to see a dropdown list of authors
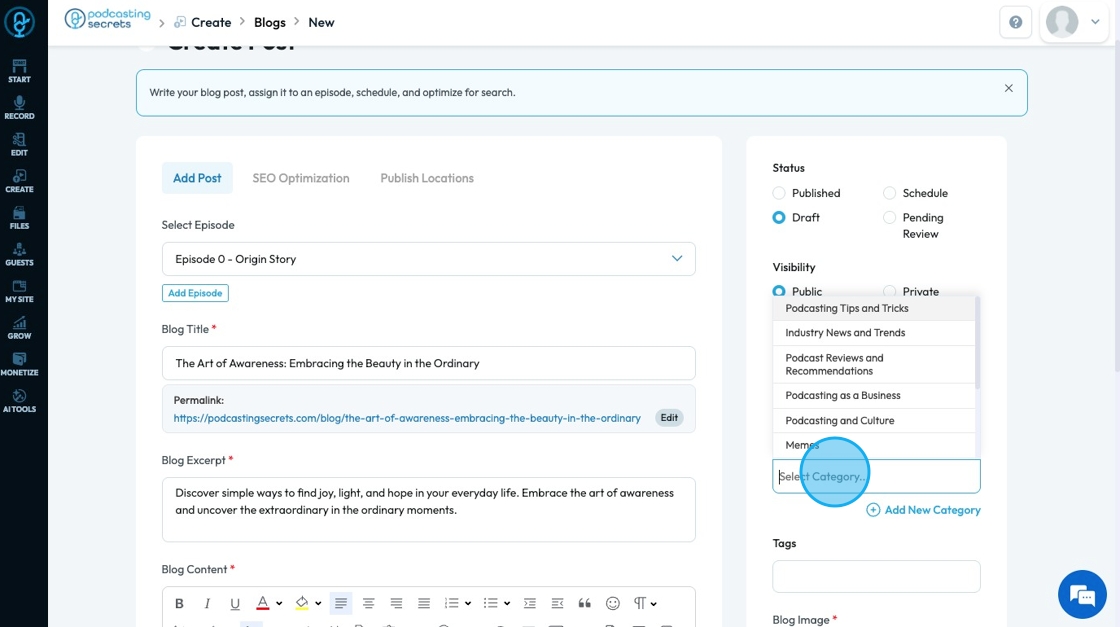
21. Click the "Select Category" to choose the group that will hold your blog
22. Click "Tags" to add a tag to your blog post
- A keyword or phrase used to classify and organize a blog post based on it specific topics
- Helps with Search Engine Optimization (SEO) - meaning that people can be able to find you
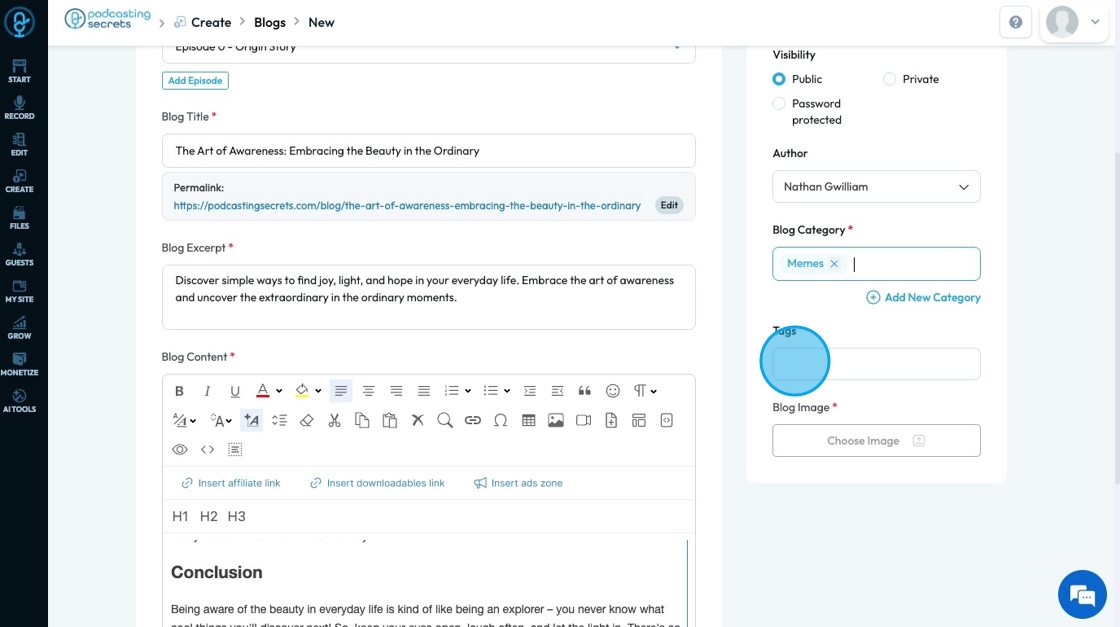
23. Click "Choose Image" to add an image to your blog

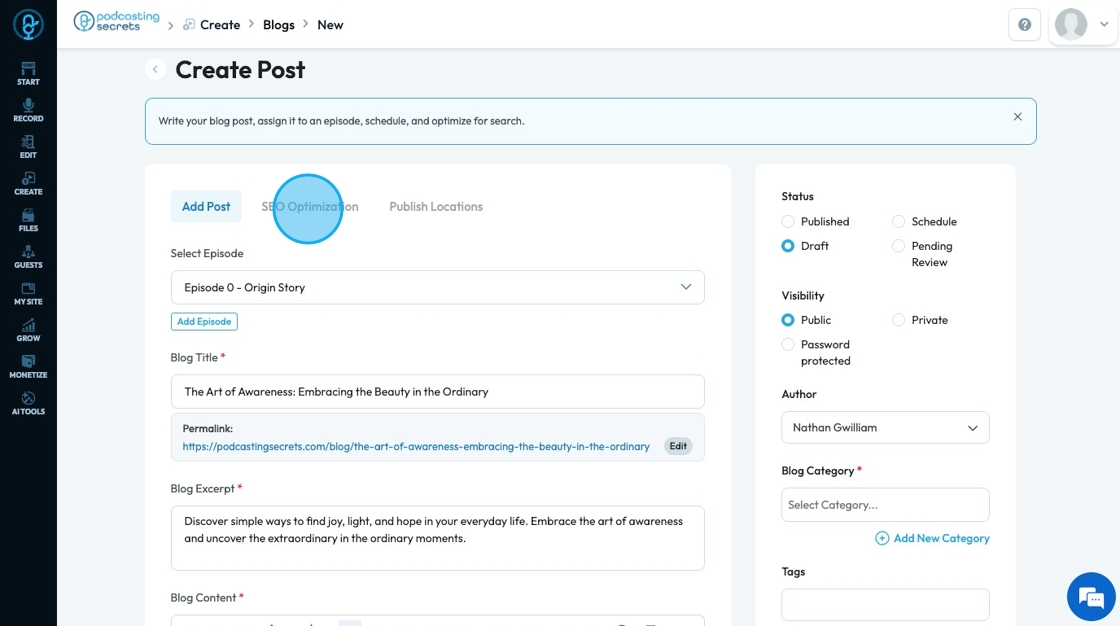
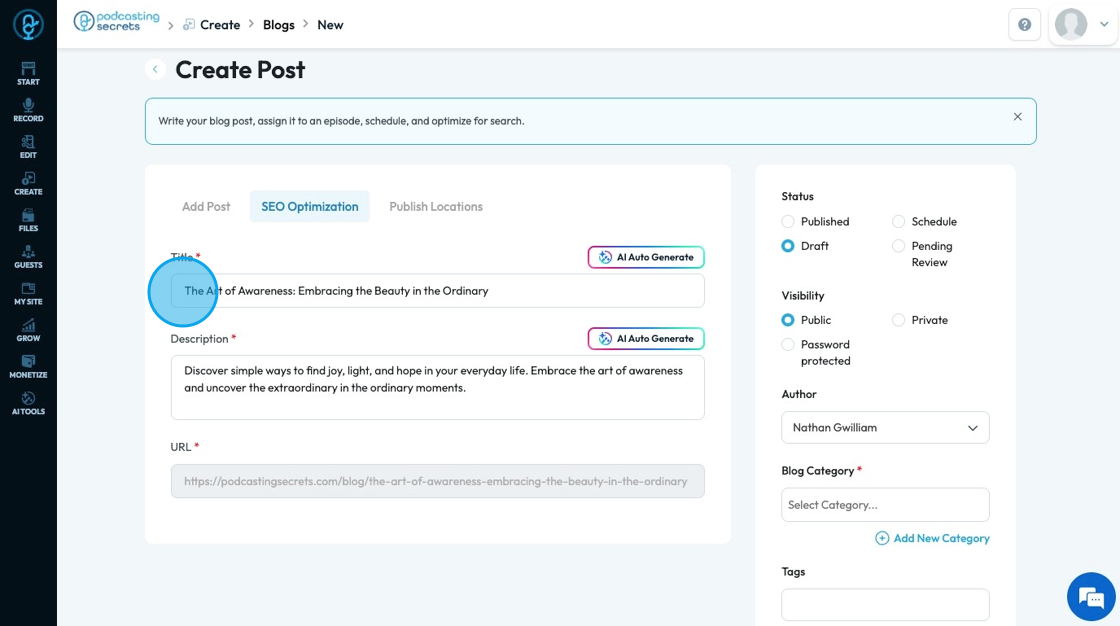
24. Click "SEO Optimization" to adjust what people see when they search for your show
- SEO: Search Engine Optimization - the process of making your content easier to find on search engines
25. Click the "Title", "Description", and "URL" to view the title, description and URL
- If you want to edit them, you can change it here
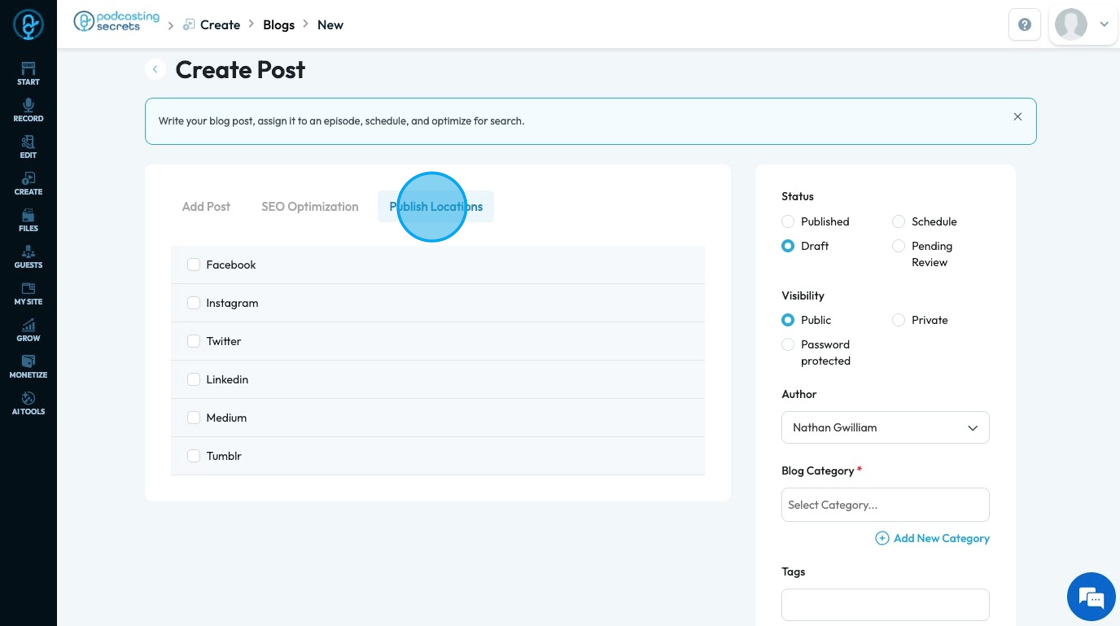
26. Click "Publish Locations" to see a list of integrated social media platforms. You can select which platform you want to publish to and a menu will open for you to edit what will be published to that platform
- Medium
- Tumblr
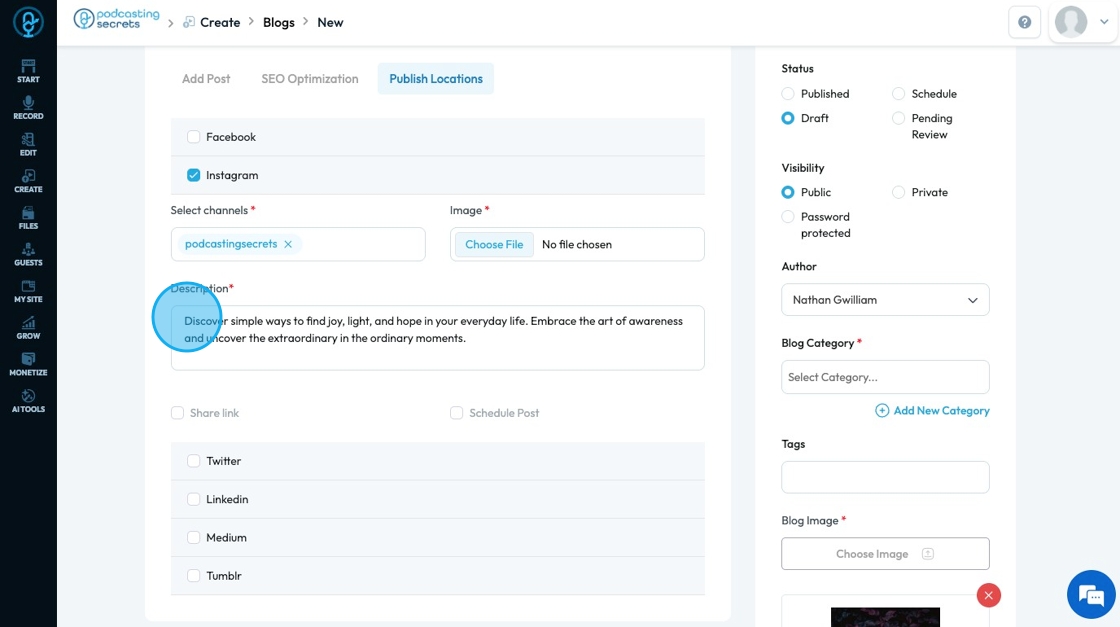
27. Fill in the needed information for each of the selected social media platforms
- Each social media platform has different requirements but all will give an option for
- "Description" to add a caption for the post
- "Share Link" to easily share the link
- "Schedule Post" to schedule a detailed time to publish the post
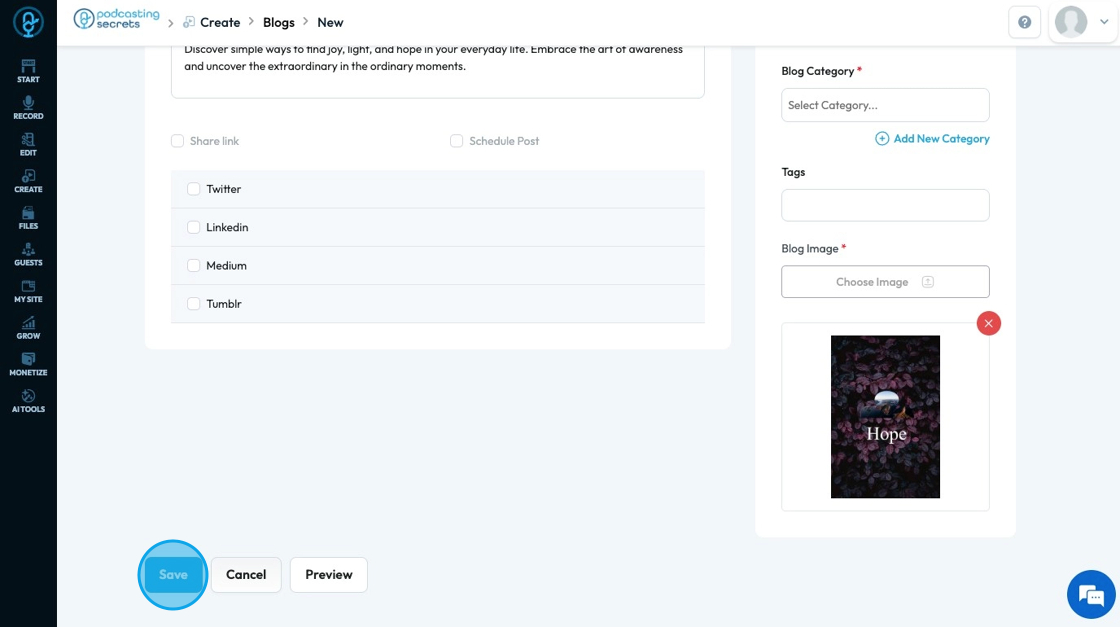
28. Click "Save" to keep the blog post
29. The generated episode will appear first on your list where you can then change the status, edit, or delete it
Related Articles
How To Navigate Newsletter Generator (Detailed)
This guide provides a comprehensive walkthrough on generating AI newsletters specifically tailored for podcast monetization. It simplifies the newsletter creation process, allowing users to effectively incorporate keywords, blogs, videos, and ...How to Navigate Blogs (Detailed)
This guide provides a comprehensive overview to create blog posts on Podup, making it a valuable resource for anyone looking to enhance their blogging process. It outlines step-by-step instructions for both writing original content and generating ...How to Navigate SEO (Detailed)
This guide offers a comprehensive approach to optimizing your podcast website for SEO, crucial for increasing visibility and attracting more listeners. It details essential steps, such as generating sitemaps, crafting effective meta titles and ...How to Use AI to Generate A Blog
This guide shows you how to use AI to create blog posts faster. It covers generating titles, optimizing for SEO, and adjusting tone and audience to make your content more effective. 1. Click "Create" 2. Click "Blogs" 3. Click "Generate Blog Using AI" ...How To Navigate Name Generator (Detailed)
This guide provides a straightforward process for generating unique podcast show names using PodUp's AI tools, making it an essential resource for creators looking to stand out. It outlines how to customize names based on keywords and show styles, ...