How To Format Text and Adding Links in PodUp Text Boxes (Detailed)

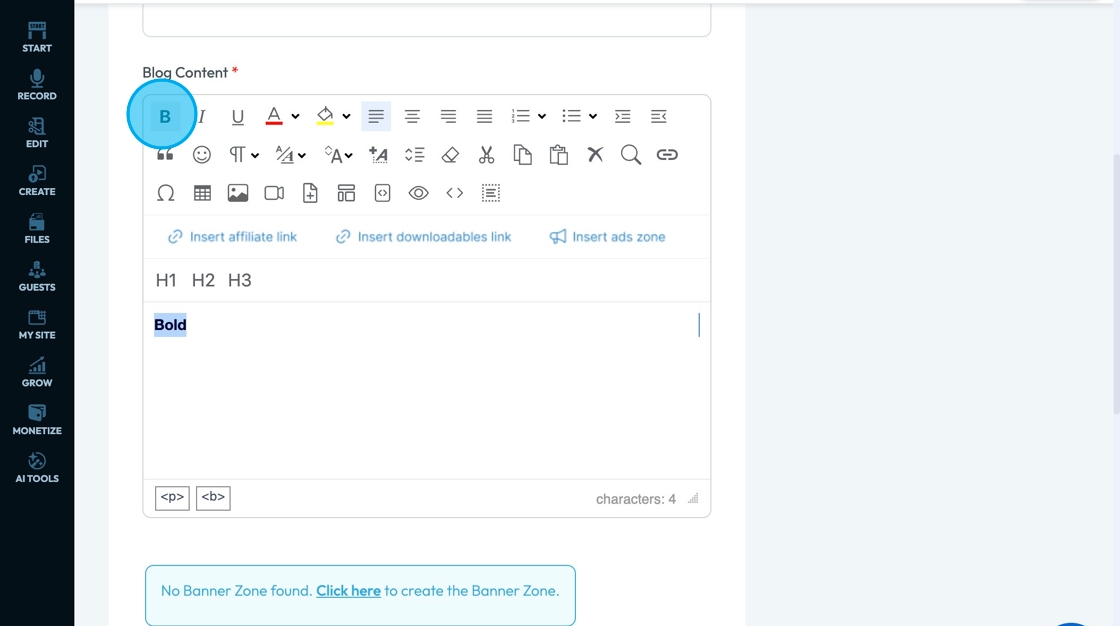
1. Click "B" to bold the text which means to make the selected characters darker and thicker
- The line thickness is called the weight of the text - the thicker the text the heavier the weight
2. Click "I" to italicize the text which means to slant the text

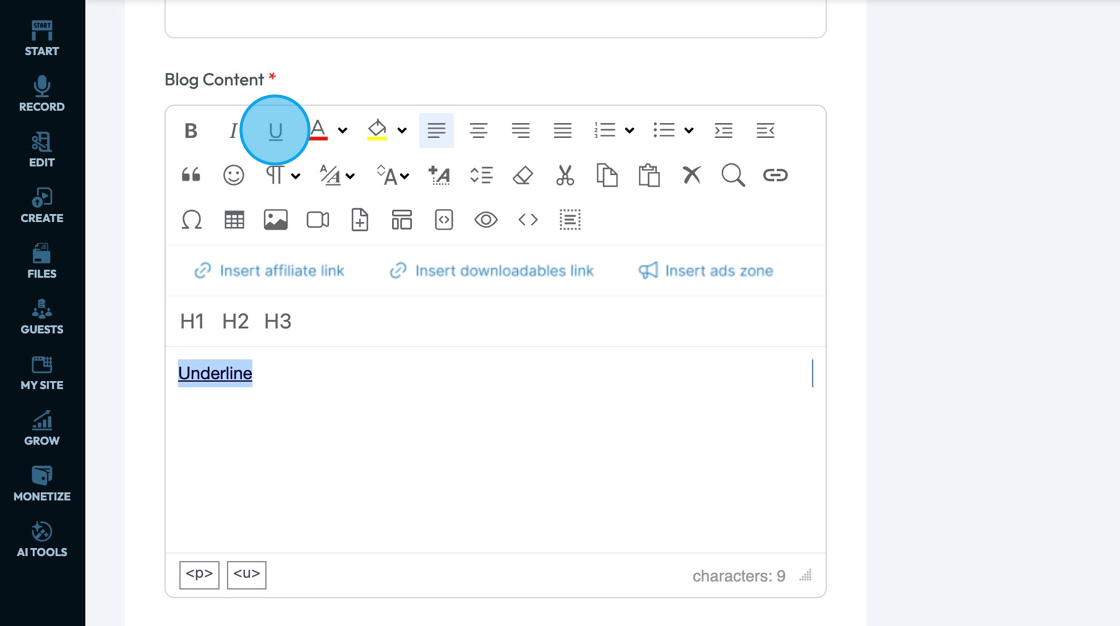
3. Click "U" to underline the text which means to put a line underneath the text
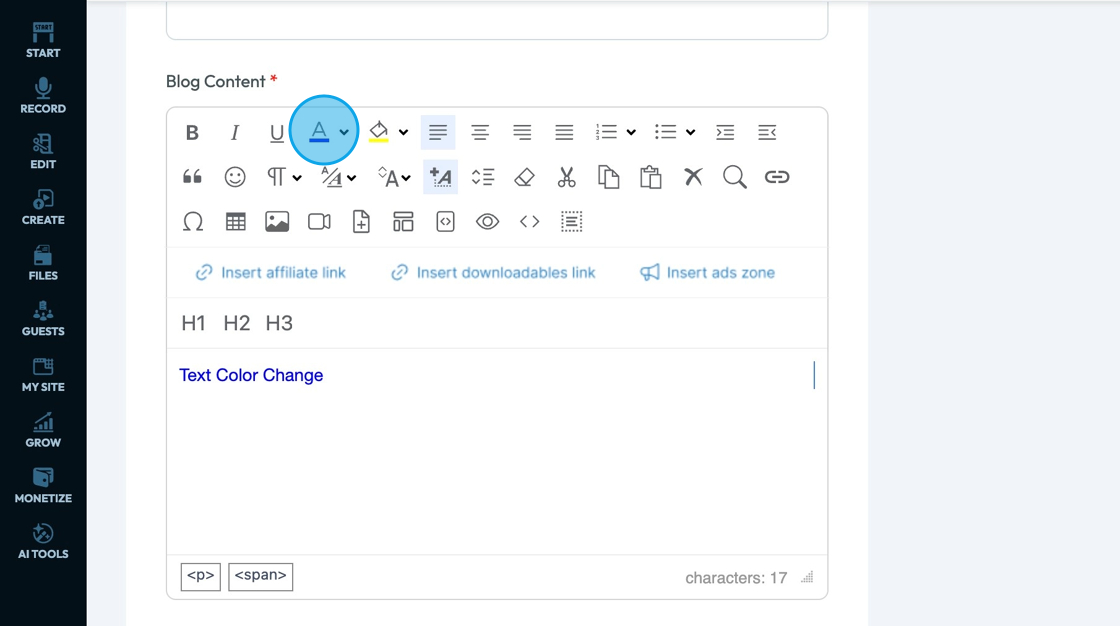
4. Click "A" with a colored line under it to change the color of the text. The font will change to the color underneath the "A"
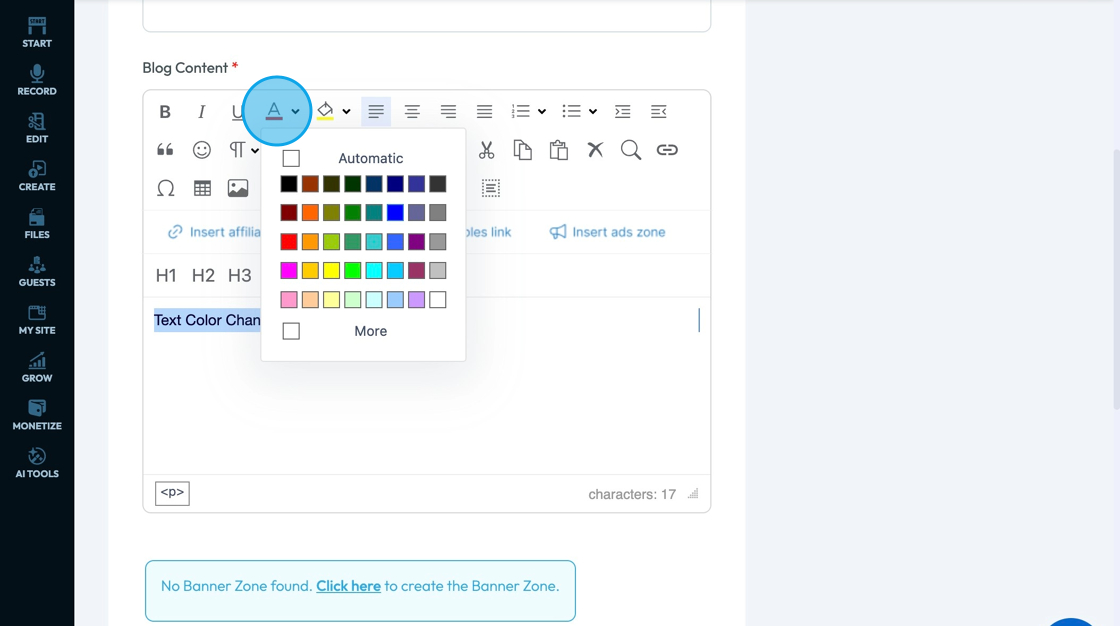
5. Click the drop-down arrow to change the color of the font underneath the A
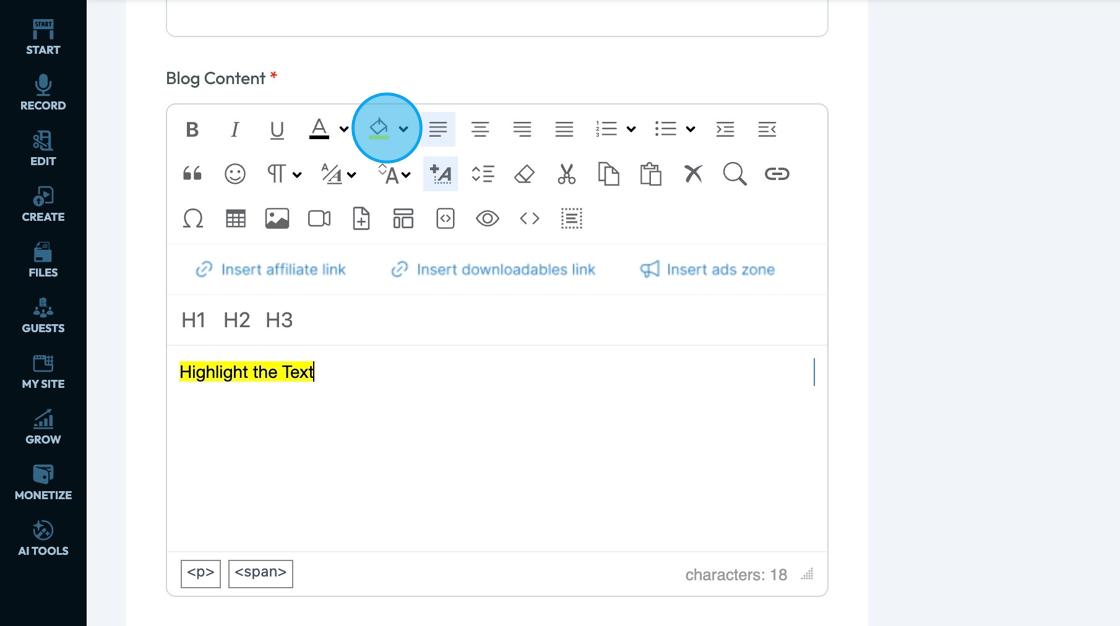
6. Click "Highlight the Text" to add a background color for the text
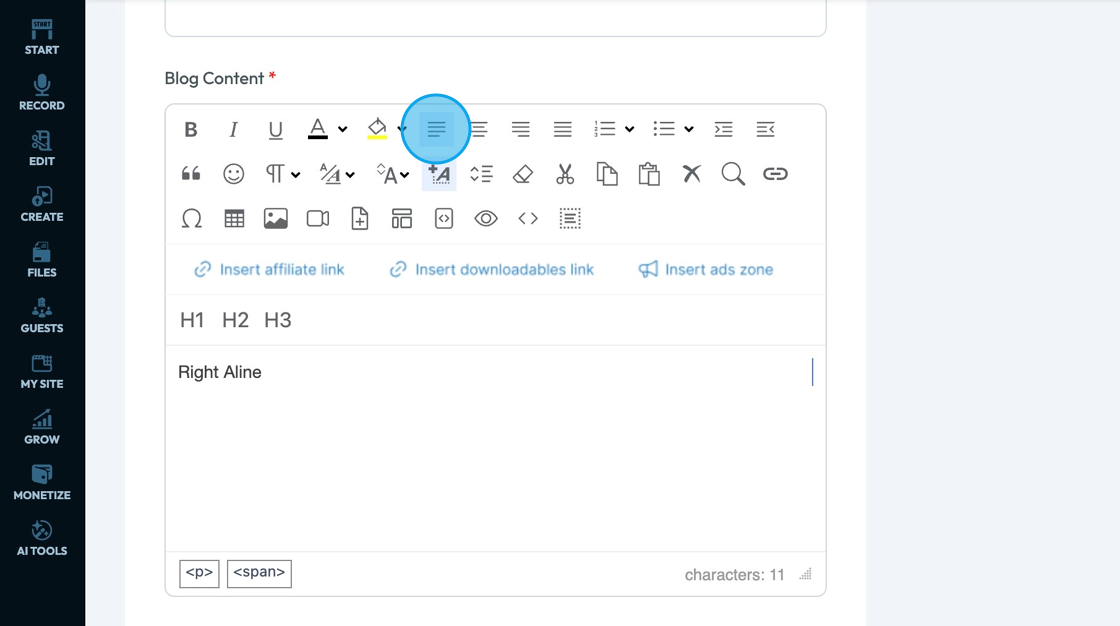
7. Click "Right Justify" - the lines pressed on the right-hand side - to have the text line up on the right hand side
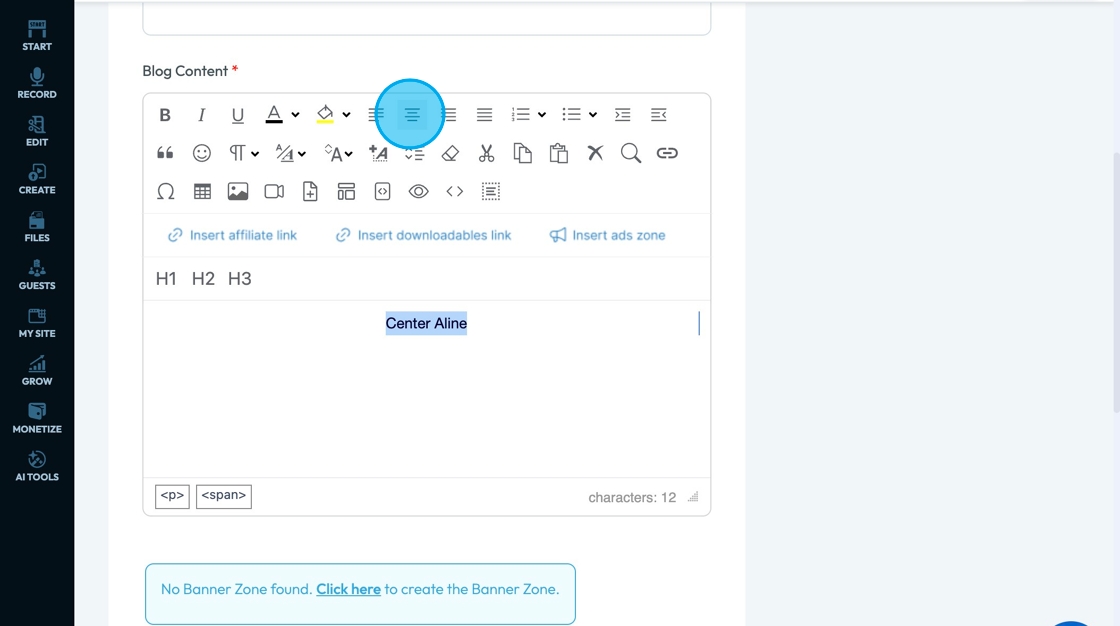
8. Click "Justify Center" - the lines stacked in the middle of the screen - to center the selected information
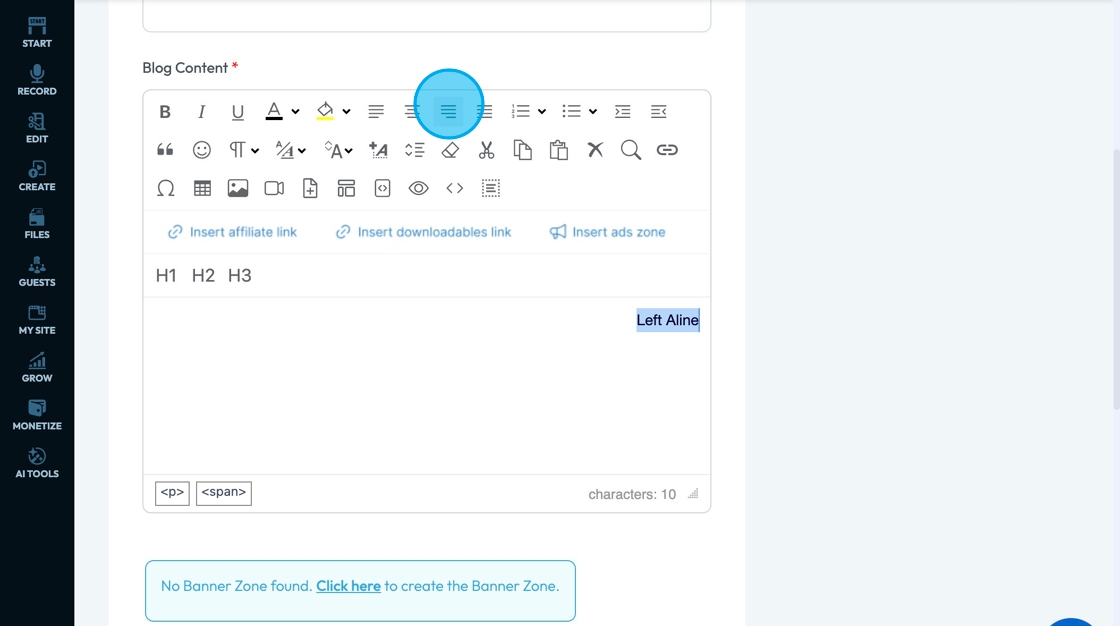
9. Click "Justify Left" - the lines pressed on the left-hand side - to have the text line up on the left- hand side
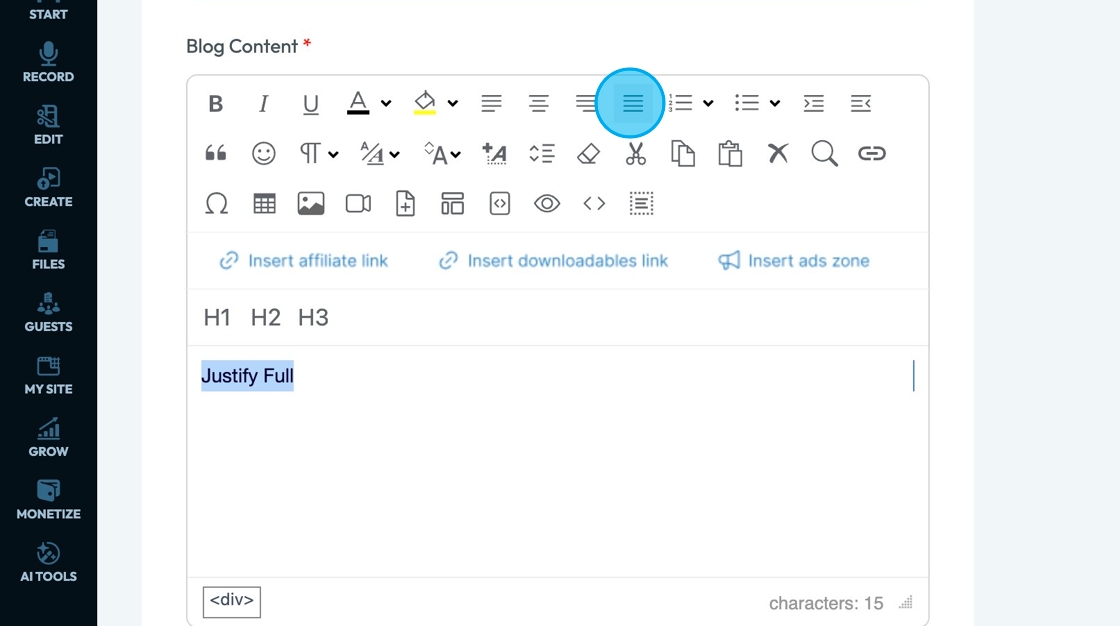
10. Click "Justify Full" - all lines are the same length - to make every line fit the space. This will add more spacing between words or letters on certain lines to make them fit
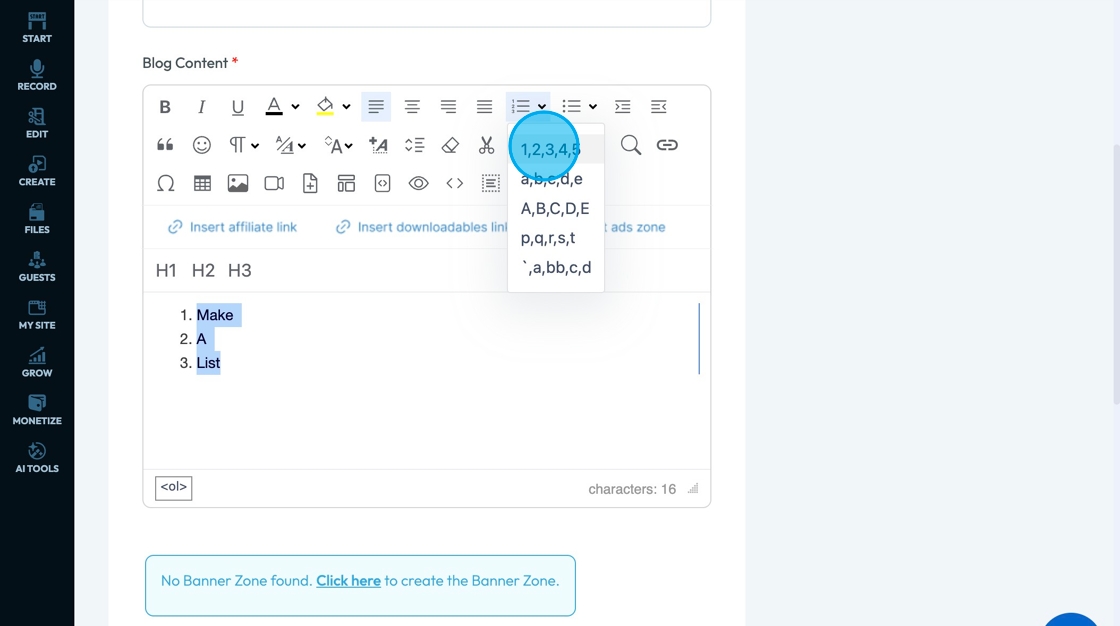
11. Click "Ordered List" - the lines with numbers in front of them - to make a sequential list (1,2,3 or a.b,c)
- Every time you create a new line, the next number or letter will appear
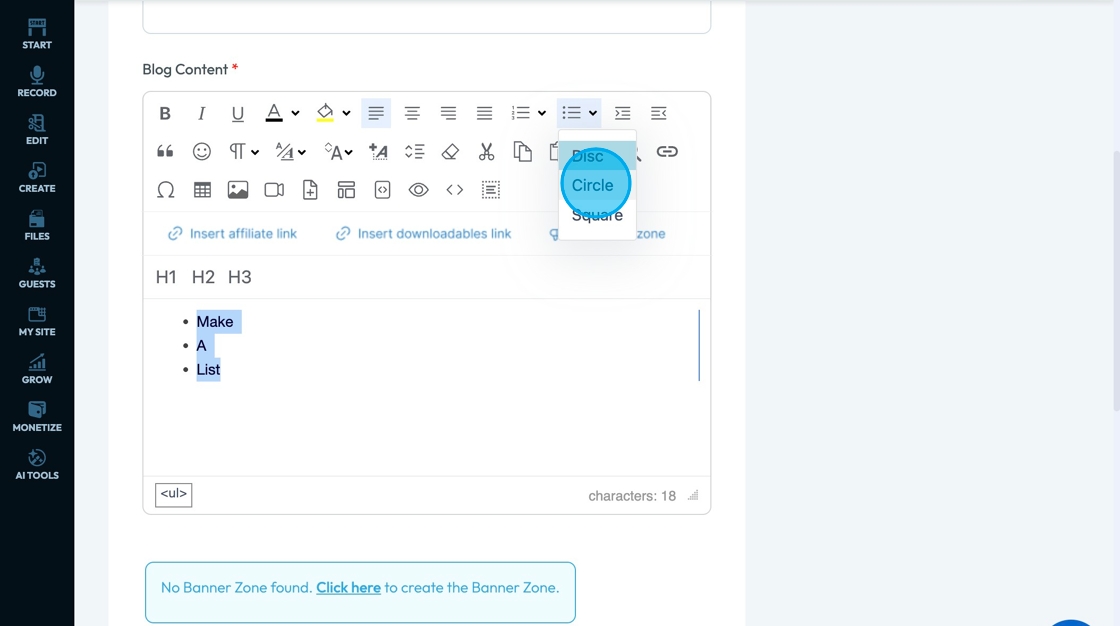
12. Click "Unordered List" - the bulleted list - to make a list that doesn't indicate a priority
- You can change the design element of the point to be
- Disk: Closed circle
- Circle: Open cirlce
- Square: A small square
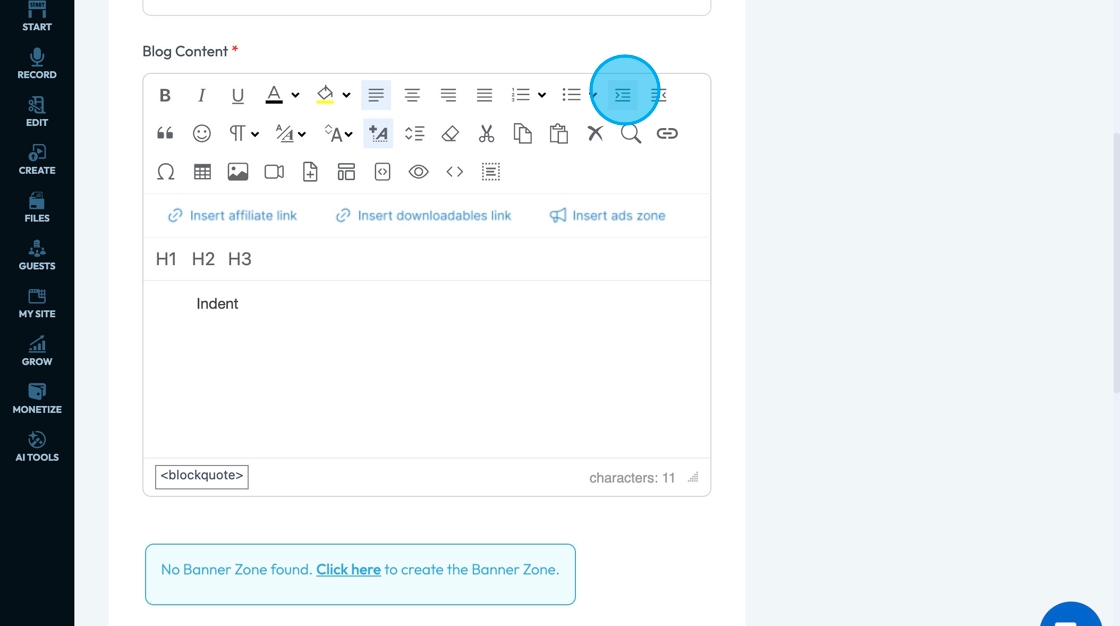
13. Click "Indent" - lines with an arrow on the left side - to move the selected text a little to the right
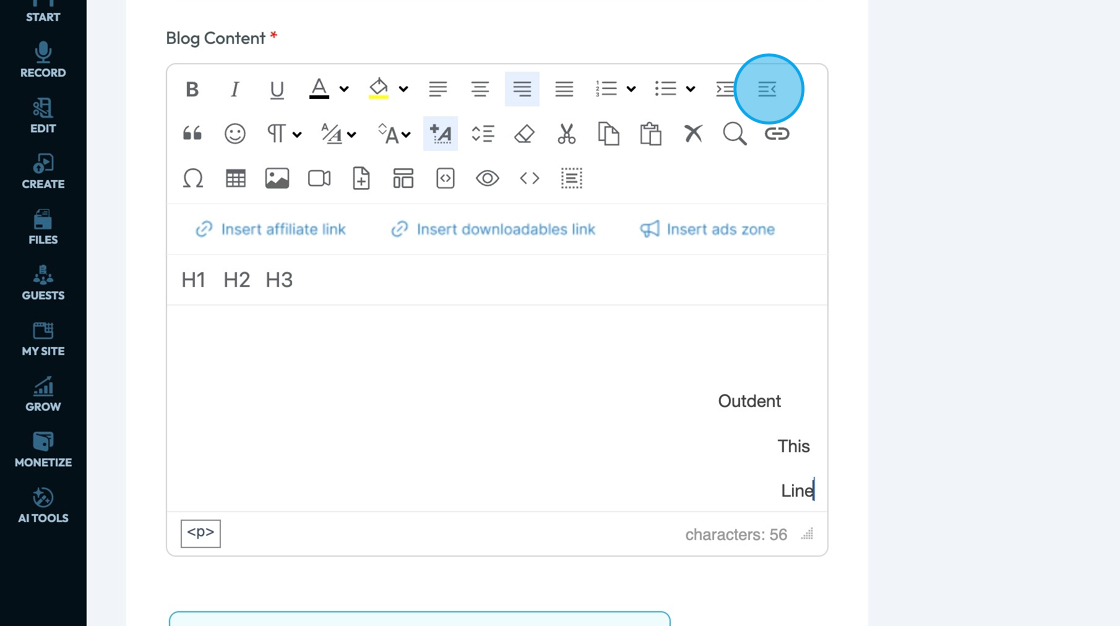
14. Click "Outdent" - the lines with an arrow on the right side - to move the selected line more to the left
The Outdent feature works only after using the Indent option.If the content hasn't been indented first, clicking Outdent has no effect — which is expected behavior.
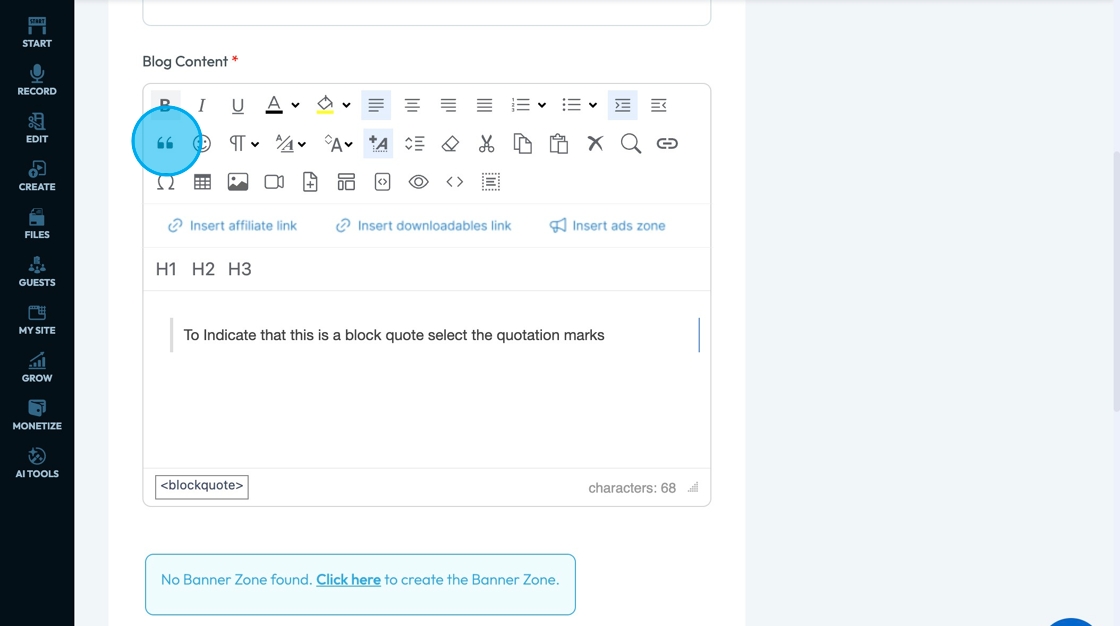
15. Click "Block Quote" - the quotation marks - to change the format of the text to indicate that it is a block quote
- Block Quote: a way to visually separate a large chunk of quoted text from the rest of your content. It’s used to highlight long quotations, usually from a person, article, book, or source.
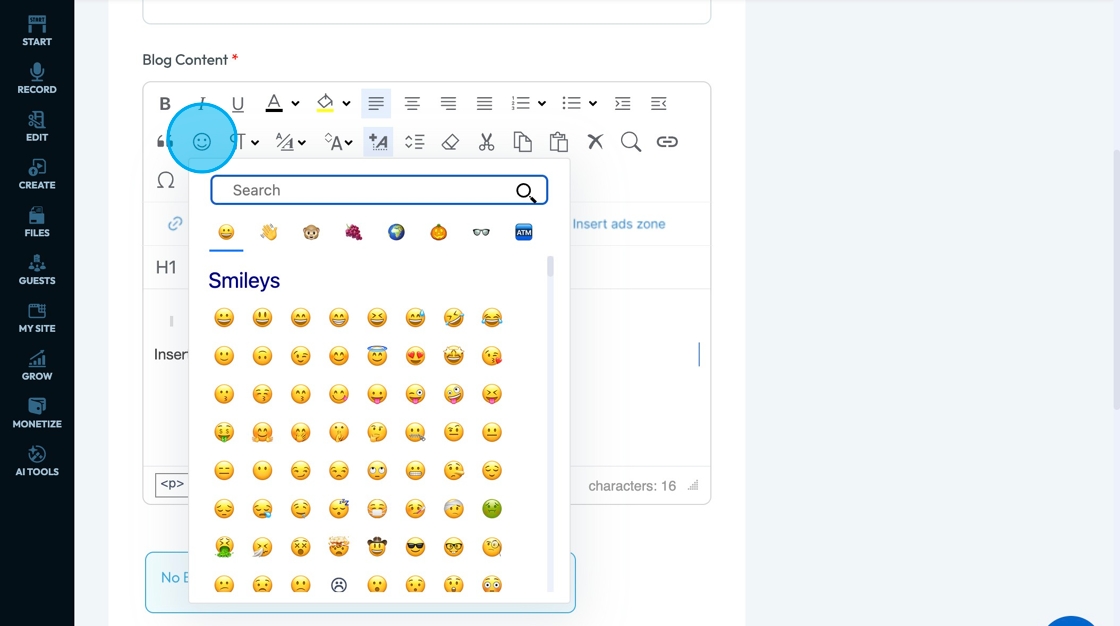
16. Click "Emojis" - the smiley face - to insert and emoji to add character to your text box
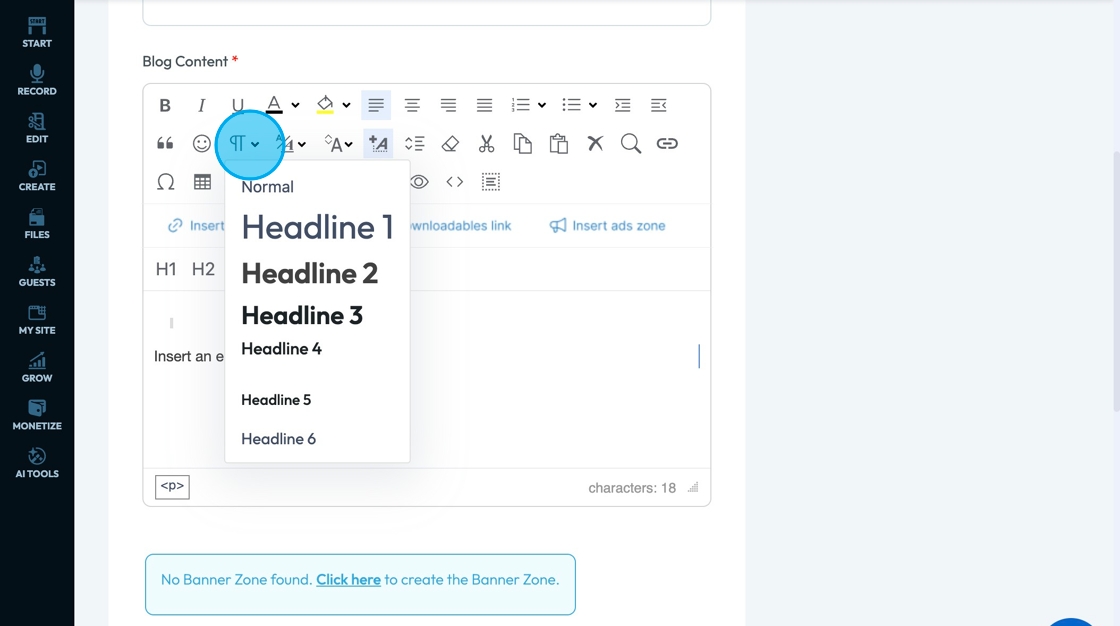
17. Click "Paragraph" to adjust the standard writing format
- Normal - Your standard text size, thickness, and line spacing
- Each of the headings can be stacked under each other with each heading getting progressively smaller (1 is the biggest and 6 is the smallest)
18. Click "Font" - the 2 As stacked on top of each other - to
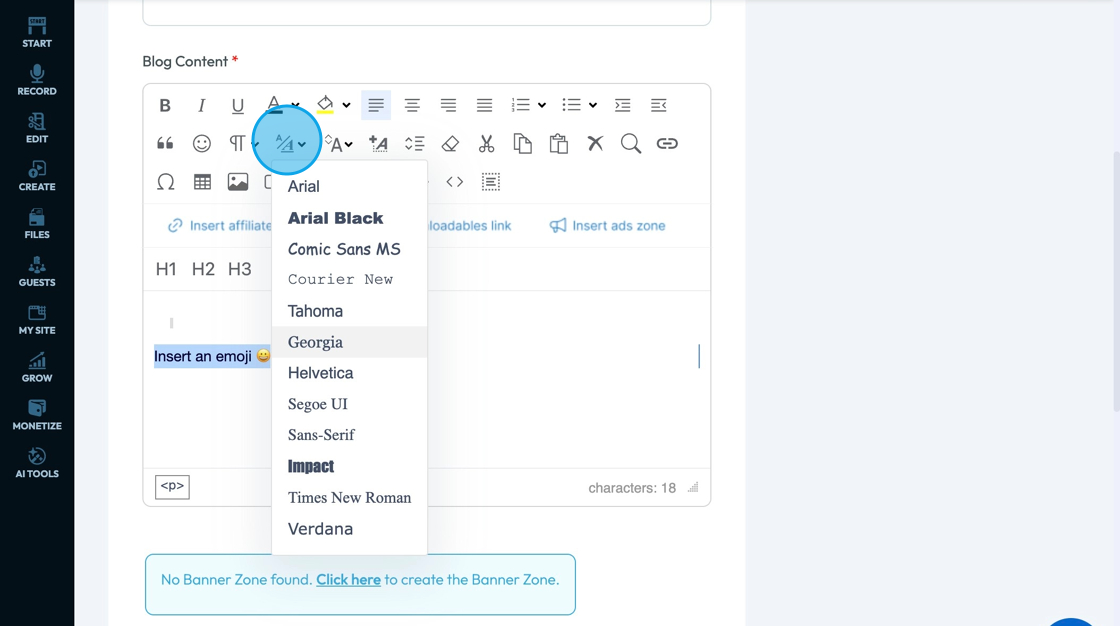
19. Click "Change the Size" - the A with 2 arrows pointing up and down - to change the size of the text
- The smaller the number the smaller the text
- Average text size is around 11-12

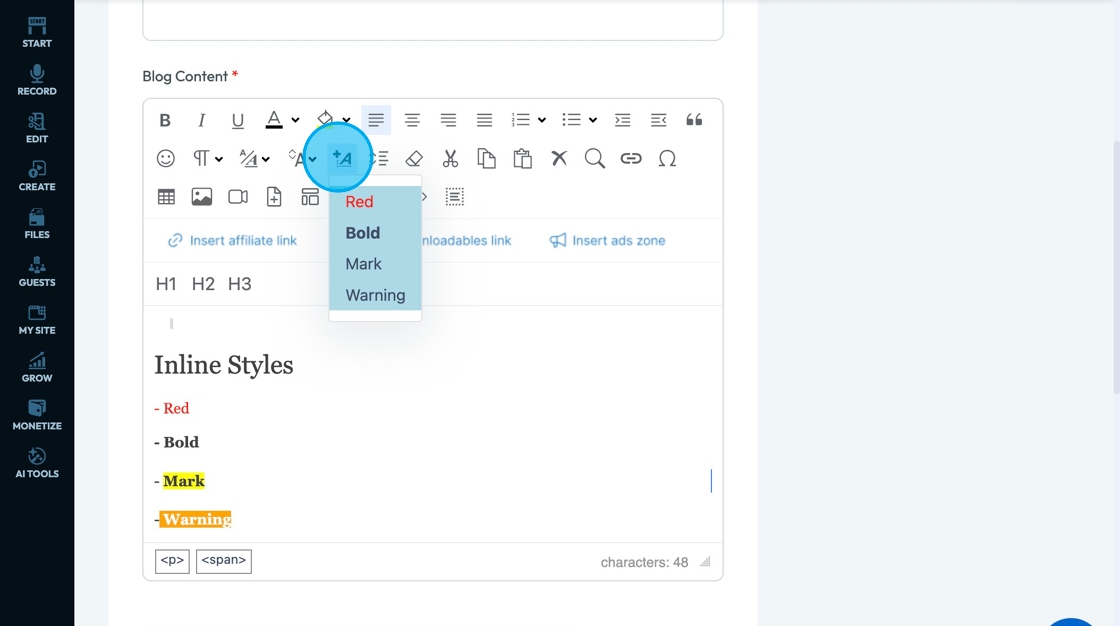
20. Click "Inline styles" - the A with a plus sign - to change the format of the text to align with preprogrammed formats to convey a specific tone.
- Red: Changes the text color to red; appears as red-colored text; used to draw attention, flag errors, or signal urgency.
- Bold: Increases text weight; appears as bold text; used to emphasize keywords or headings.
- Mark: Highlights text with a background color (usually yellow); appears as highlighted text; used to draw attention to specific sections or temporary notes.
- Warning: Combines bold and red styling; appears as bold red text; used to indicate danger, errors, or important cautions.
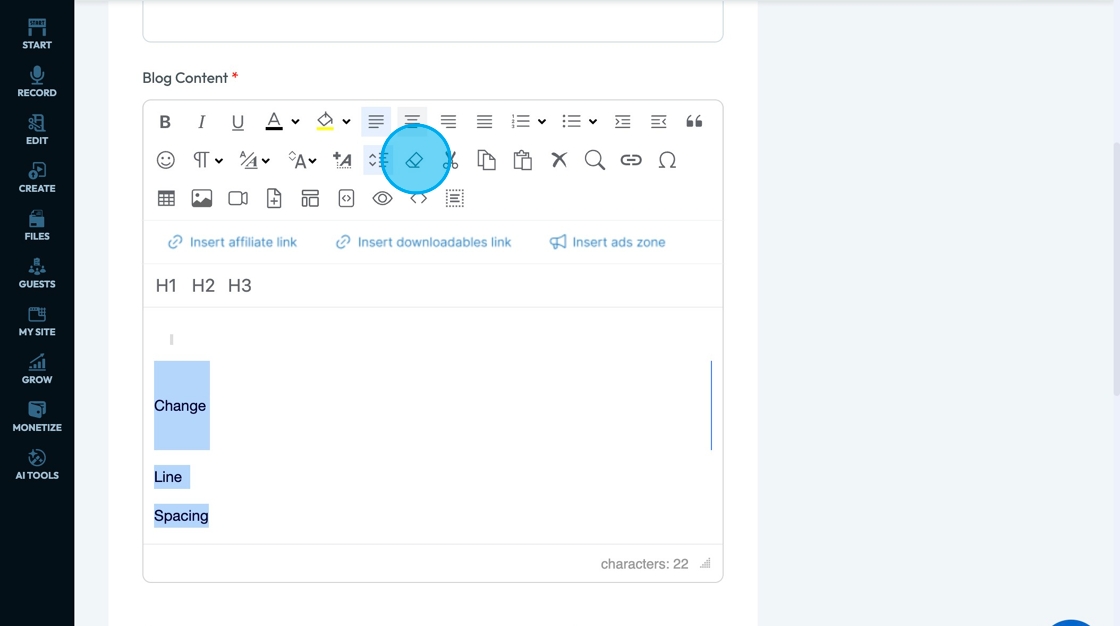
21. Click "Line Height" - the lines with 2 arrows to the left of them - to change the line spacing
- The higher the percentage, the more space will be between the lines
- 100% is the average amount of space between the lines
- Greater space between the lines can help readers follow the text better

22. Click "Remove Format" - the eraser - to remove the format of the selected text (like bold or justify center)
- This does not remove the text just the specific formating
- It will change the text back to the setting for the normal text
Tip: Clipboard: A temporary holding space on your device that stores things you cut or copy — like text, images, or files — so you can paste them somewhere else.
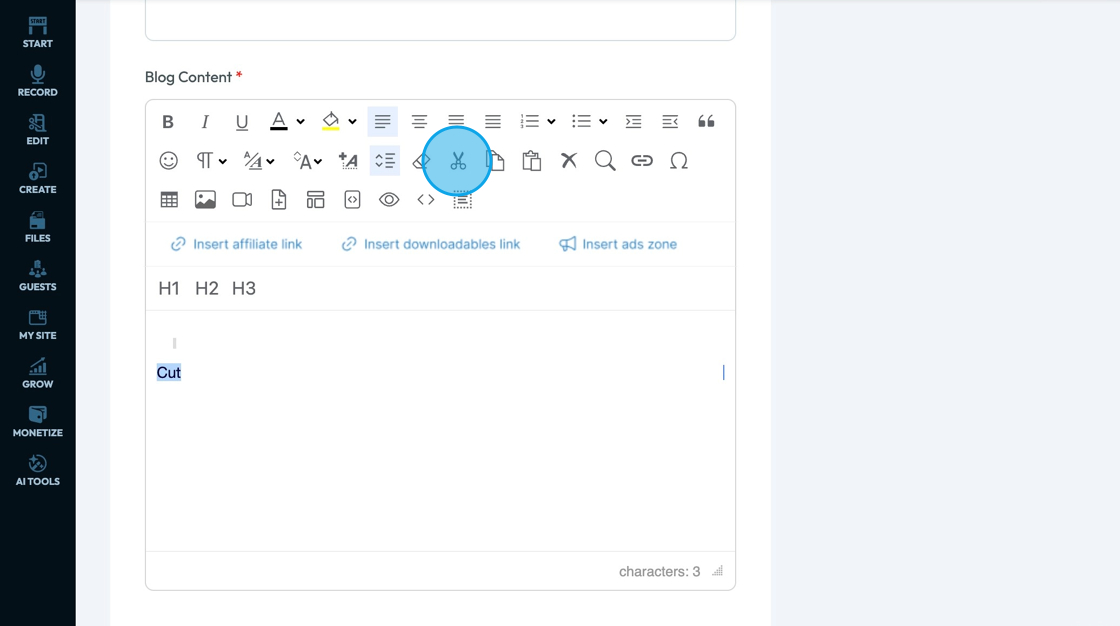
23. Click "Cut" - the scissors - to remove the selected text, image, or element and temporarily store it so you can paste it somewhere else
- When you cut the text, the selected text won't be there any more
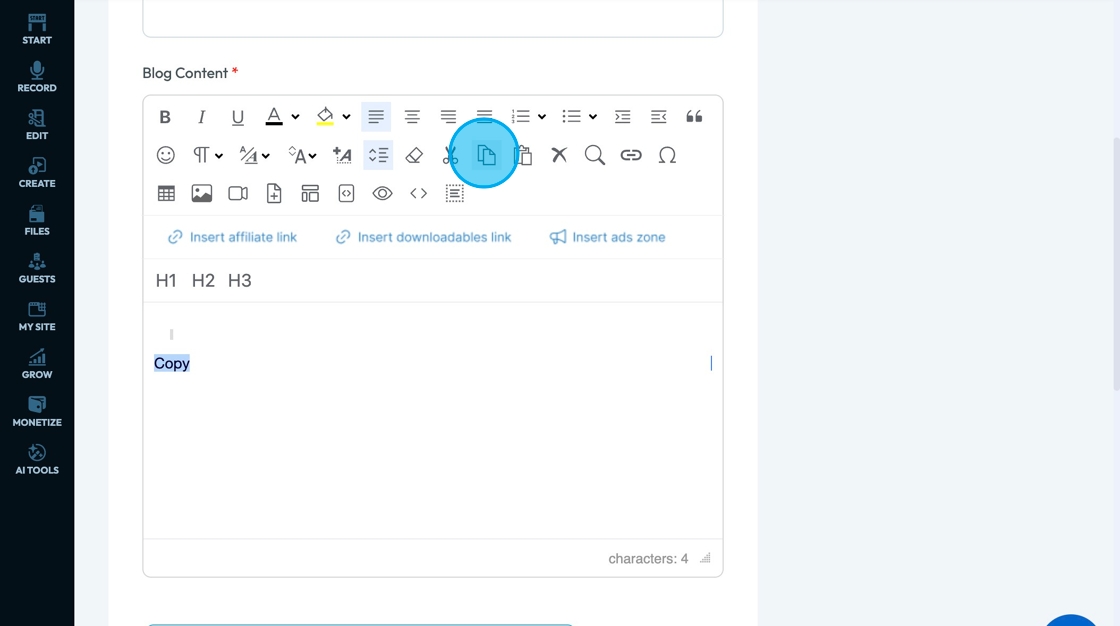
24. Click "Copy" - the icon with 2 pieces of paper - to make a duplicate of the selected text, image, or element and temporarily stores it so you can paste it somewhere else — without removing it from the original spot.
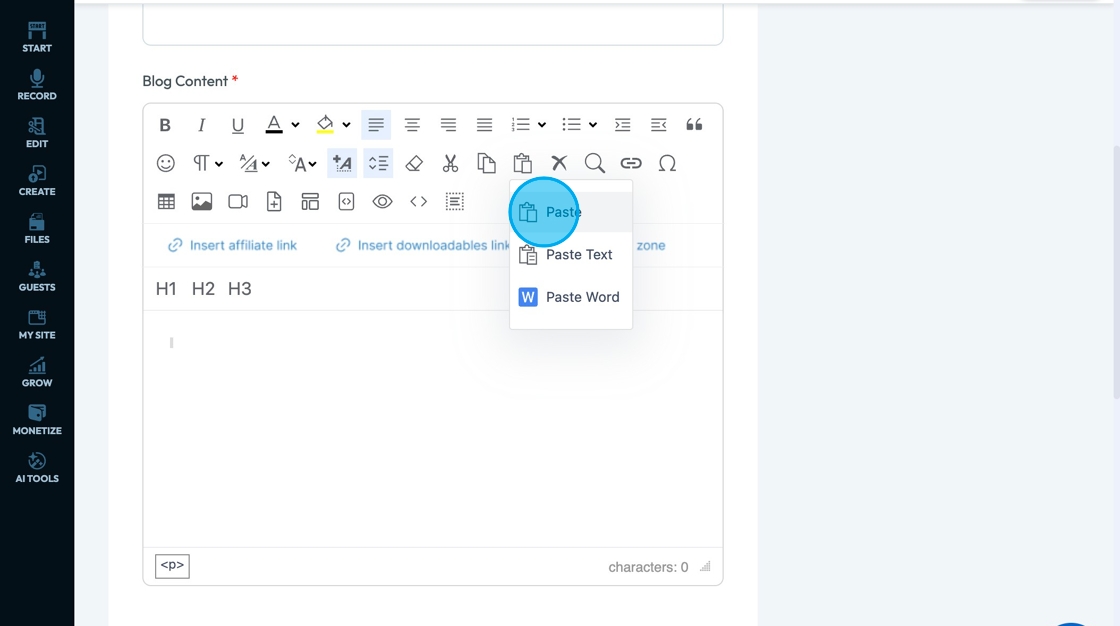
25. Click "Paste" - the clipboard and piece of paper - to place the text, image, or element you cut or copied into a new spot. This will only work for the text, image, or element that you copied most recently
- Paste: A popup will appear with instructions for you to paste the text into a text box, where it will then be cleaned before being inserted - the format will be kept
- Paste Text: The last text you copied will be placed in the textbox without any specific formatting changes
- Paste Word: Designed for pasting content directly from Microsoft Word to keep the same format
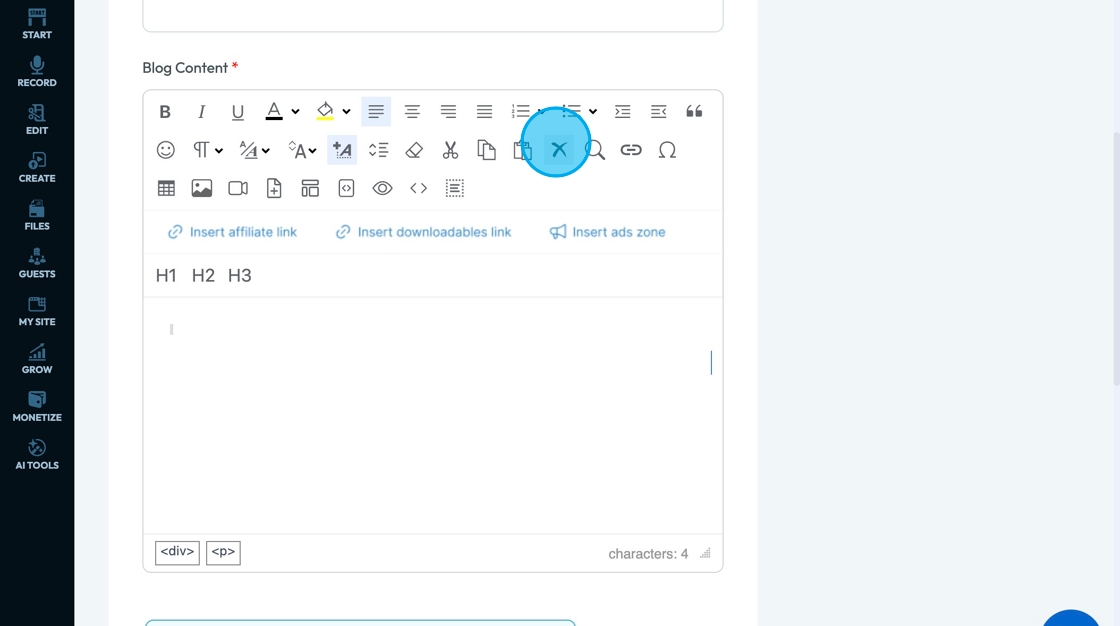
26. Click "Delete" - the X icon - to delete the selected text
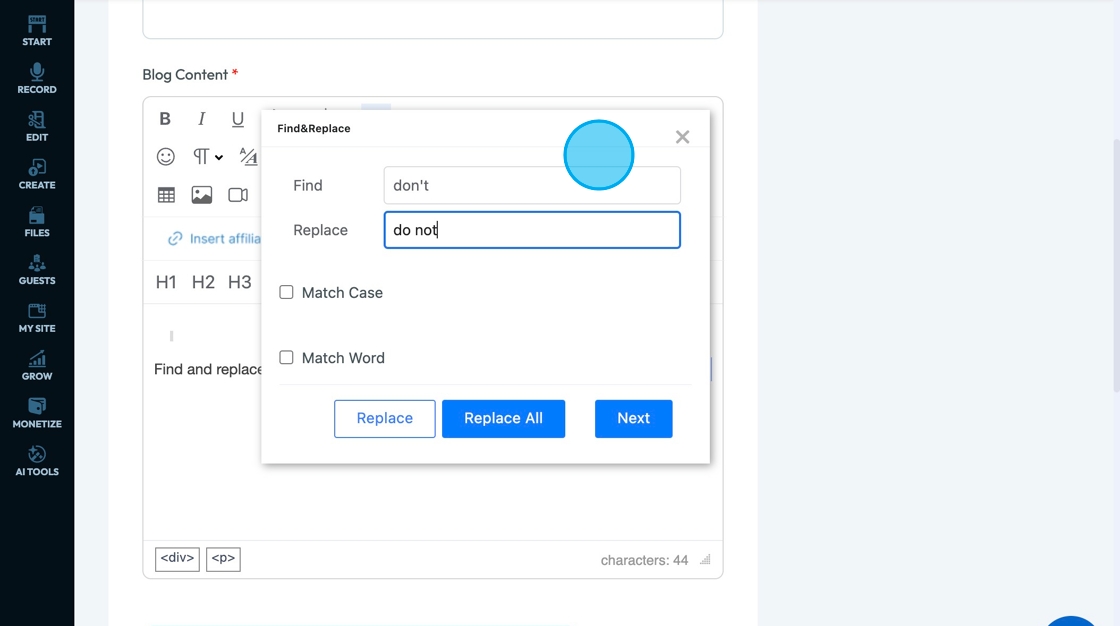
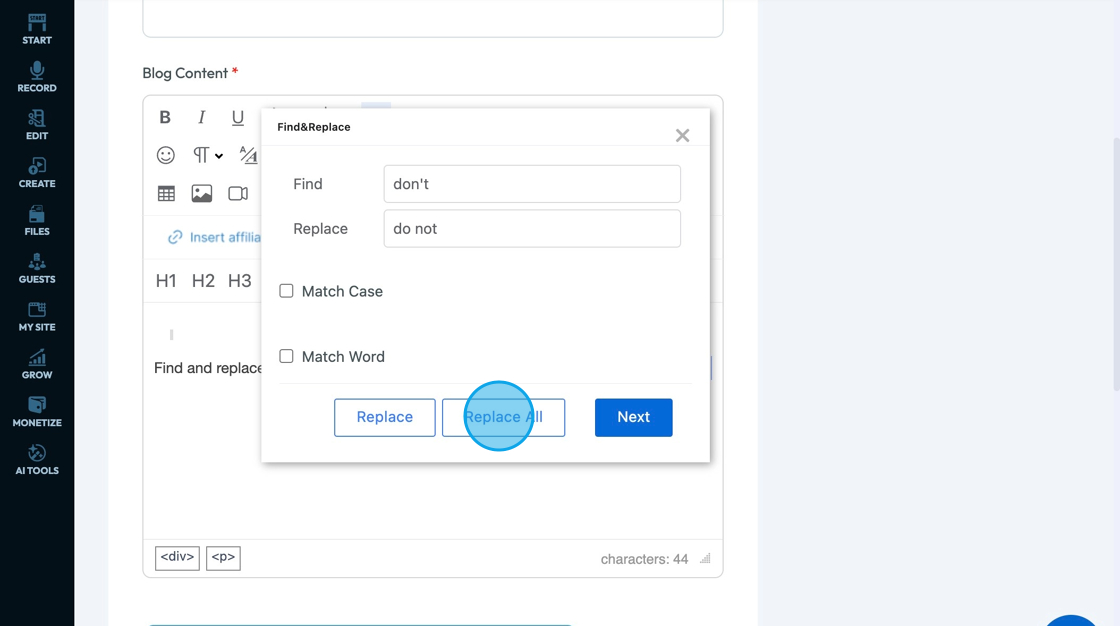
27. Click "Find & Search" - the magnifying glass - to run a search for words that you want to change or replace
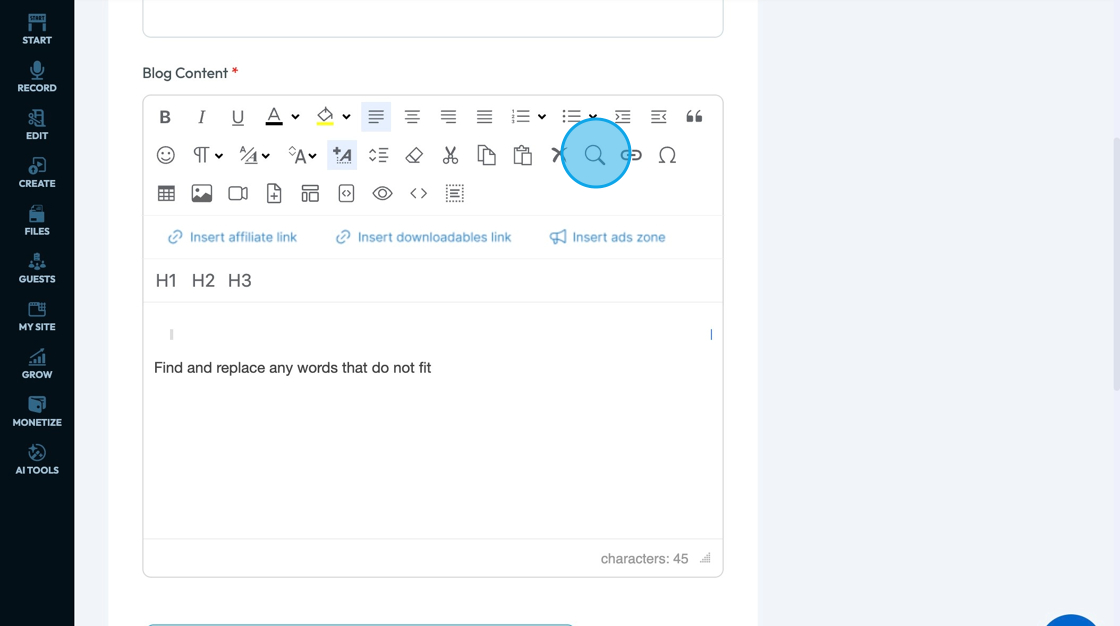
28. A pop-up will appear, allowing you to search for a specific word, letter, number or character in the "Find" field and replace it with a word, letter, number or character in the "Replace" field
- This will run a search for all versions of this word and any cases where that word is a part of another word
- For example finding "Pod" will give results like pod, POD, podcast, podcasting, ect.
- This popup can be moved so that you can see your text
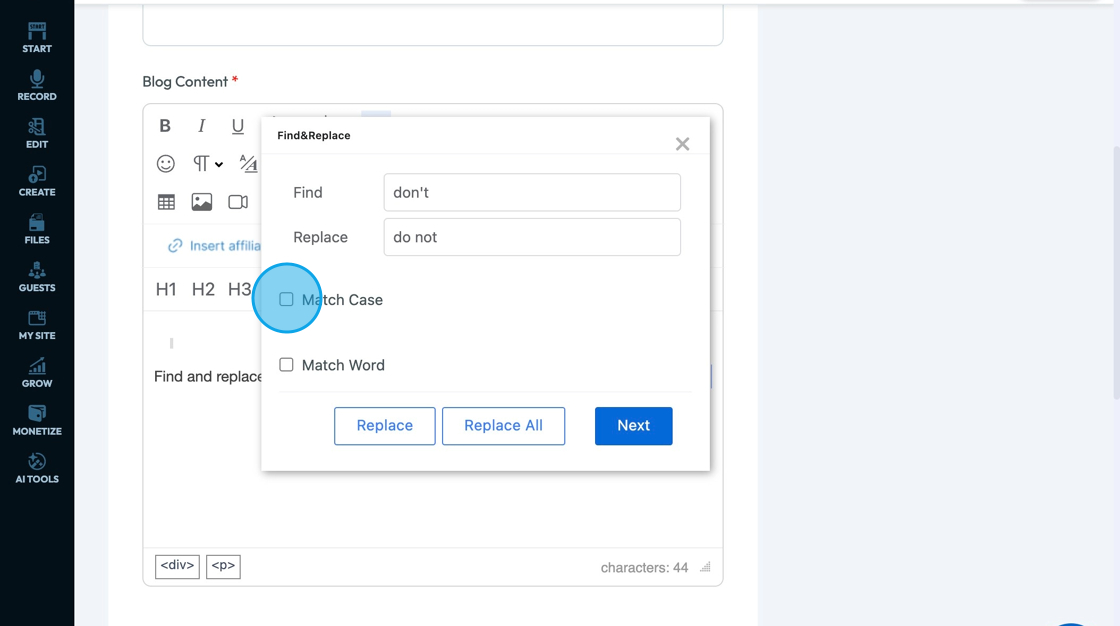
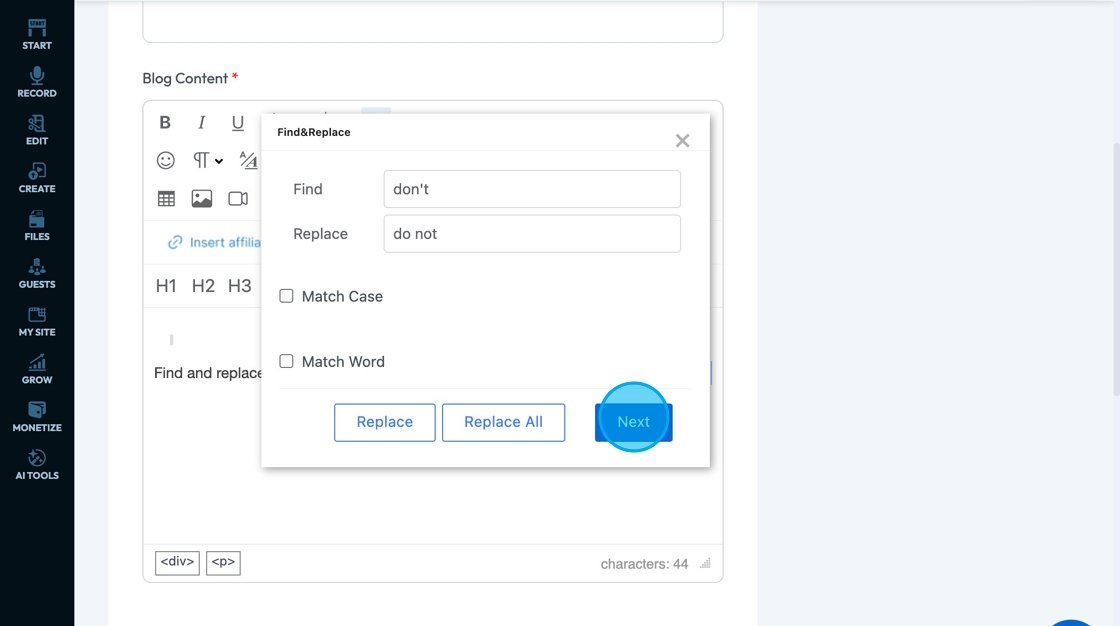
29. Select "Match Case" if you only want what is in the find field to be searched with no variation
- For example, if you search "Pod" it will only show you "Pod" with a capital "P" not any options that include a lower case "P"
- If you select "Match Case" the check box will turn blue
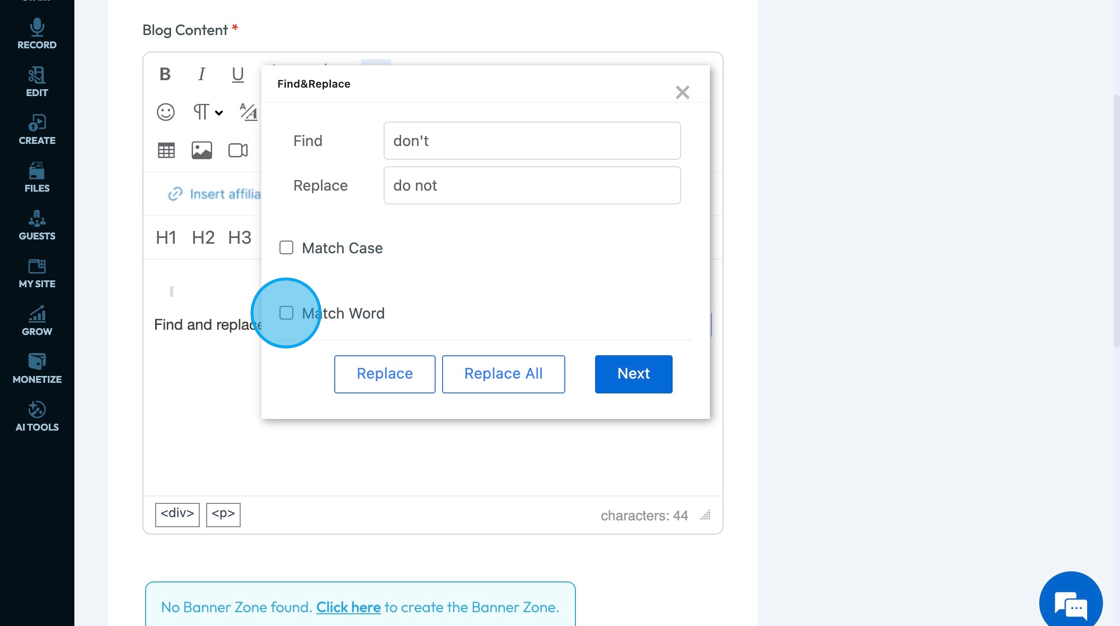
30. Select "Match Word" if you only want what is in the find field to be searched as the complete word itself with not as part of another word
- For example, if you search "Pod" it will only show you "Pod" not "Podcasting" or "Podcast"
- If you select "Match Word" the check box will turn blue
31. Click "Replace" to replace the current selected word
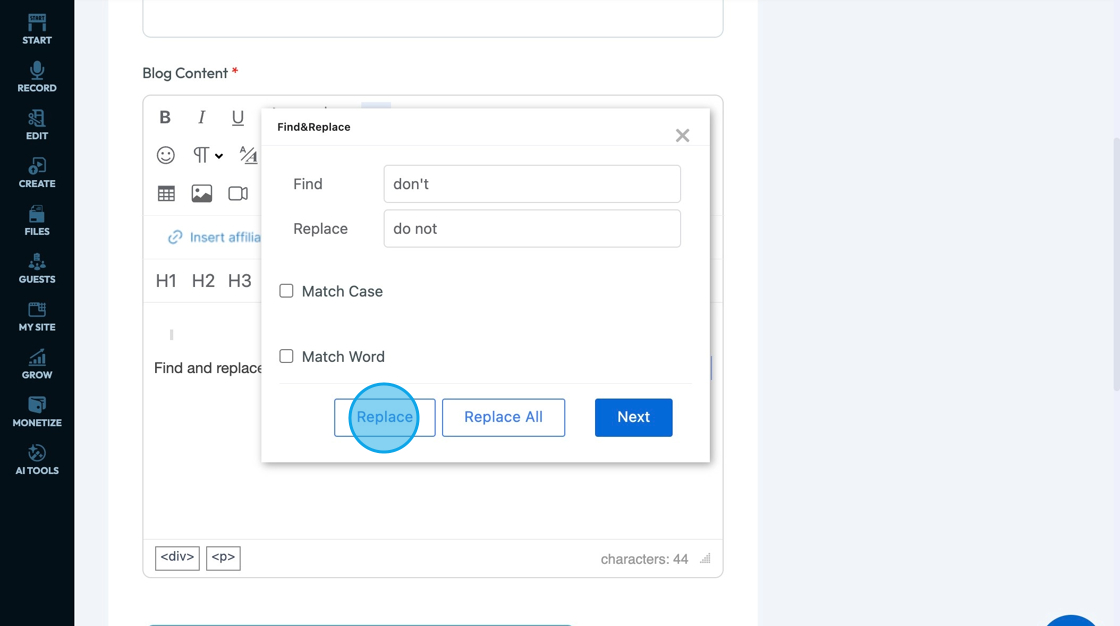
32. Click "Replace All" to replace all of the words found by the "Find and Replace Tool"
33. Click "Next" to navigate through the found words
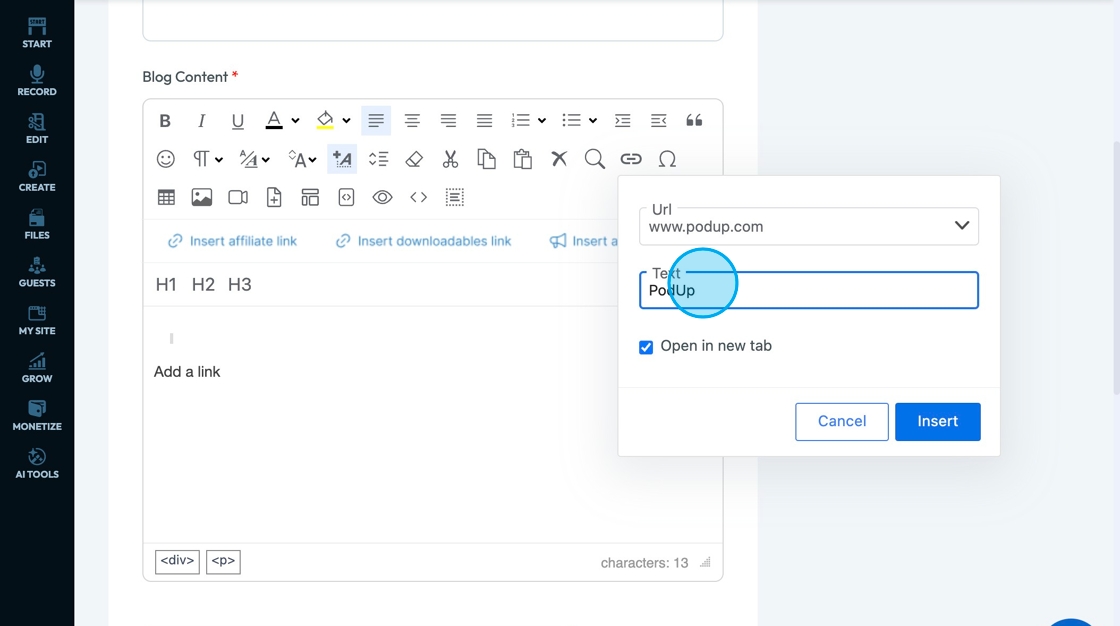
34. Click "Inset Link" - the paperclip looking icon - to add a new link.
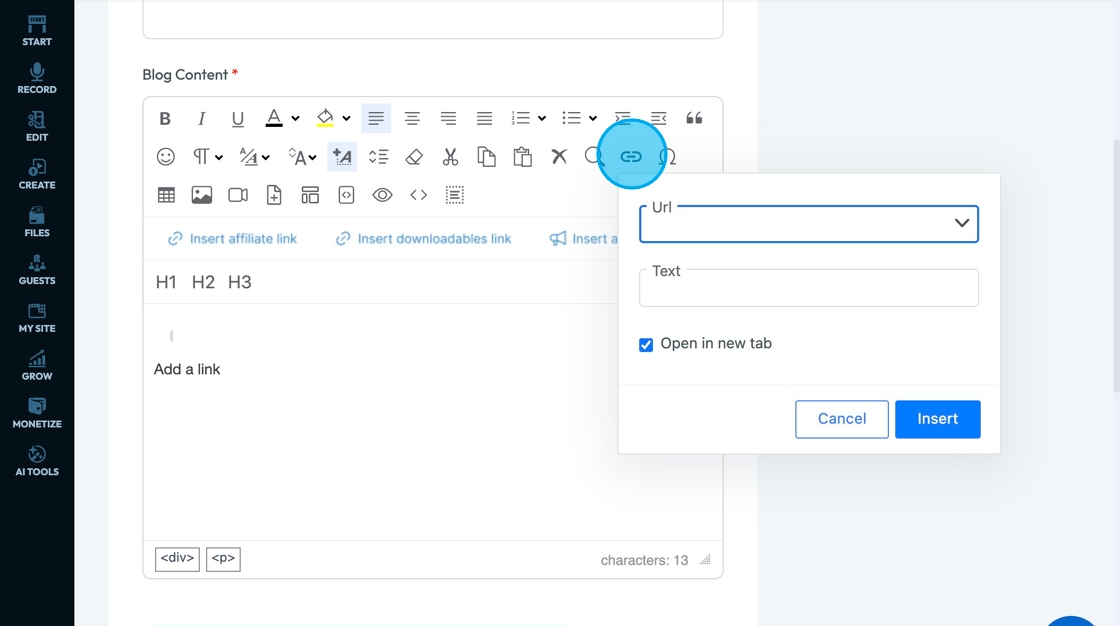
Tip: URL: The link that takes you to something on the internet, like a website, video, or document.
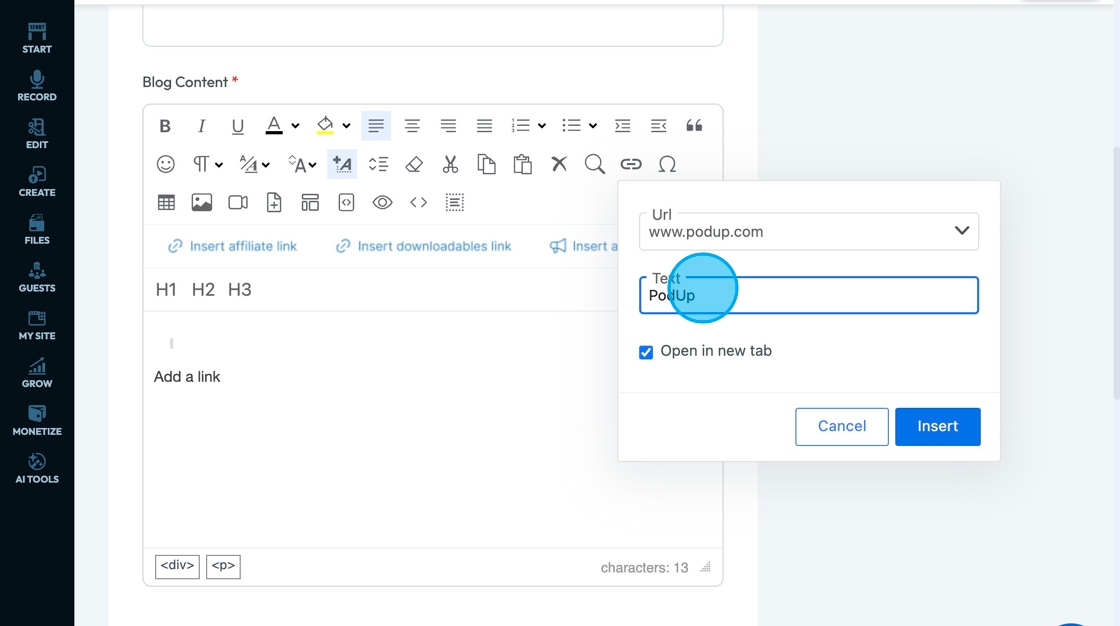
35. - Insert the link into the URL field
- The URL won't appear as a URL; rather, it will appear as text that can be selected to lead them to the URL. Put the text into the "Text" field
36. - Select "Open in a new tab" to direct the person to a new window
- Unselect "Open in a new tab" if you want the website to open on their current screen and replace the content they are currently viewing
- If it is selected, a blue check mark will appear
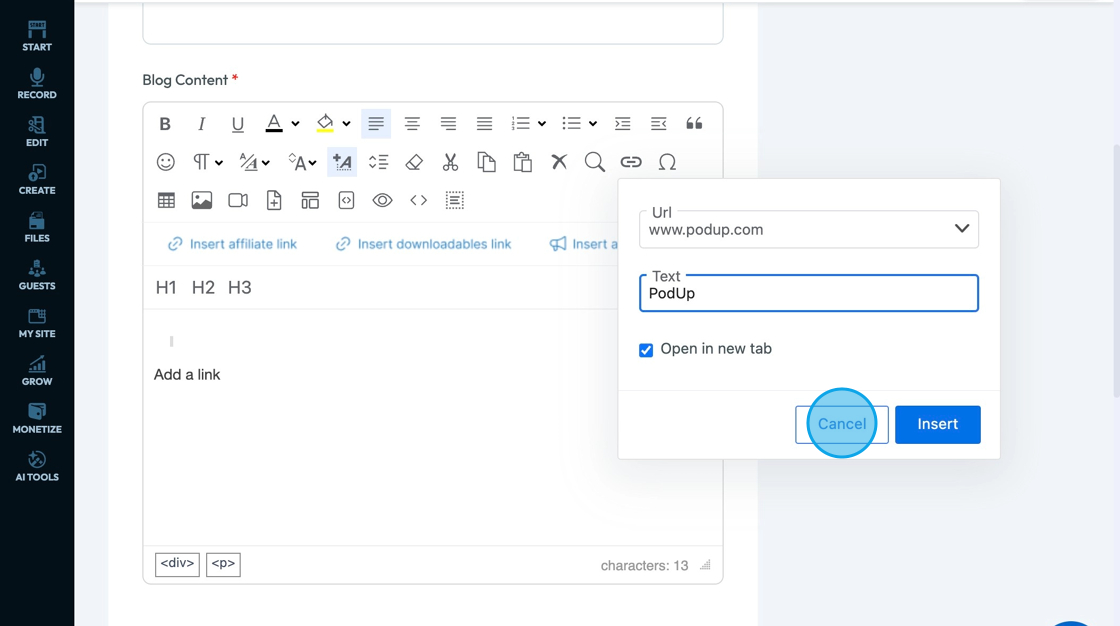
37. Click "Cancel" to not add the URL
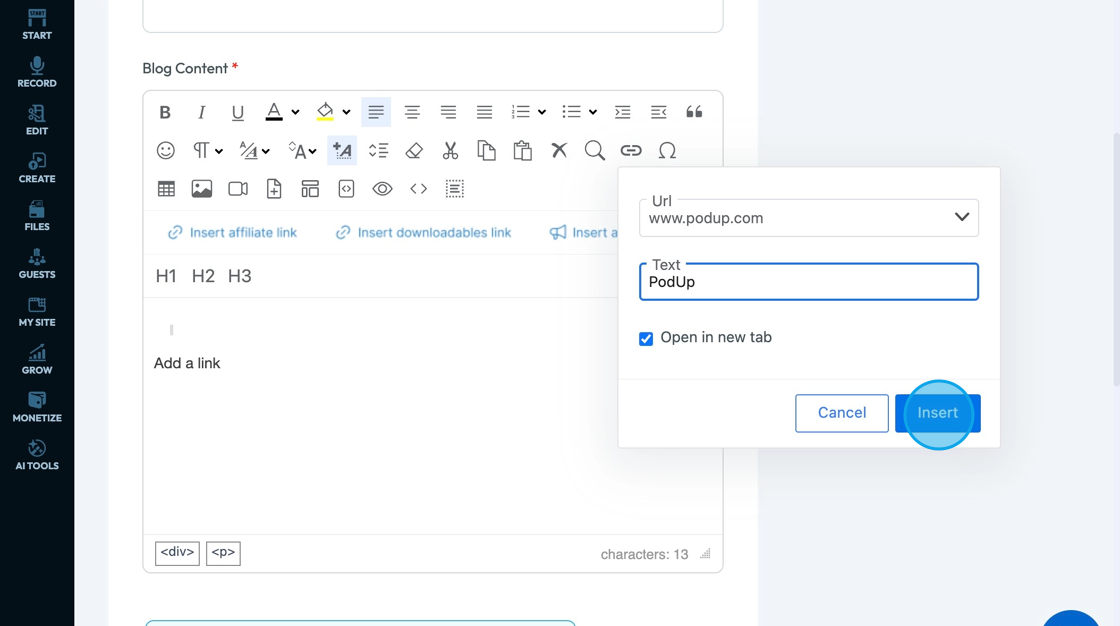
38. Click "Insert" to add the URl to the text
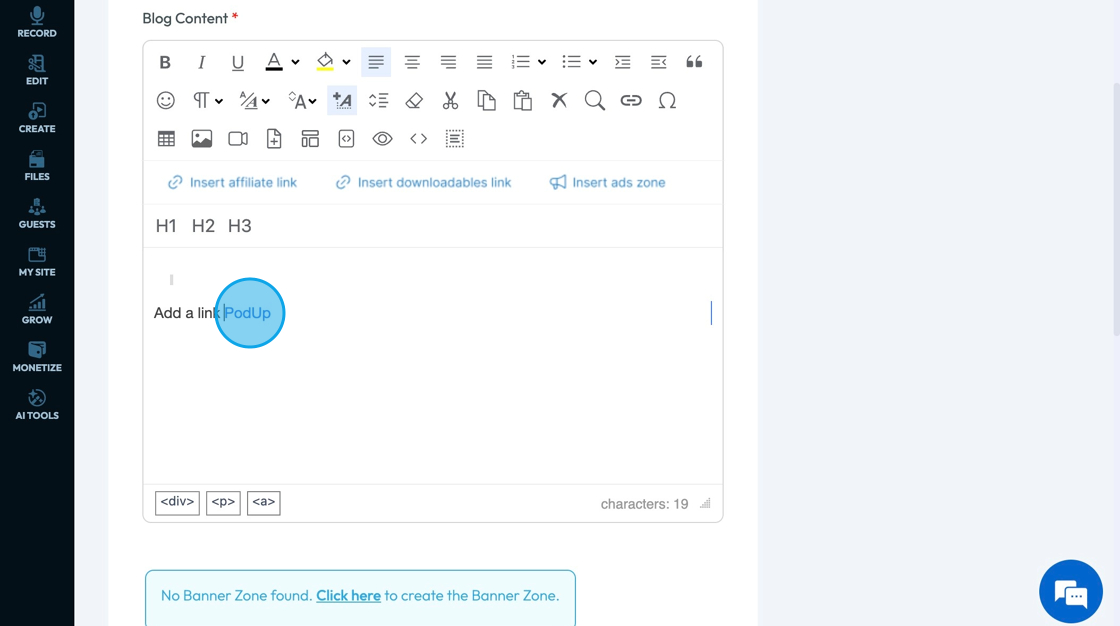
39. The URl will appear as the text that was entered into the text field.
The hyperlinked text will appear in blue indicating that the text can be selected to lead to another web page
40. Click "Special Characters" - the horseshoe-looking icon - to access characters that are not available in a standard keyboard that help you communicate clearly specifically in other languages or when adding visual elements
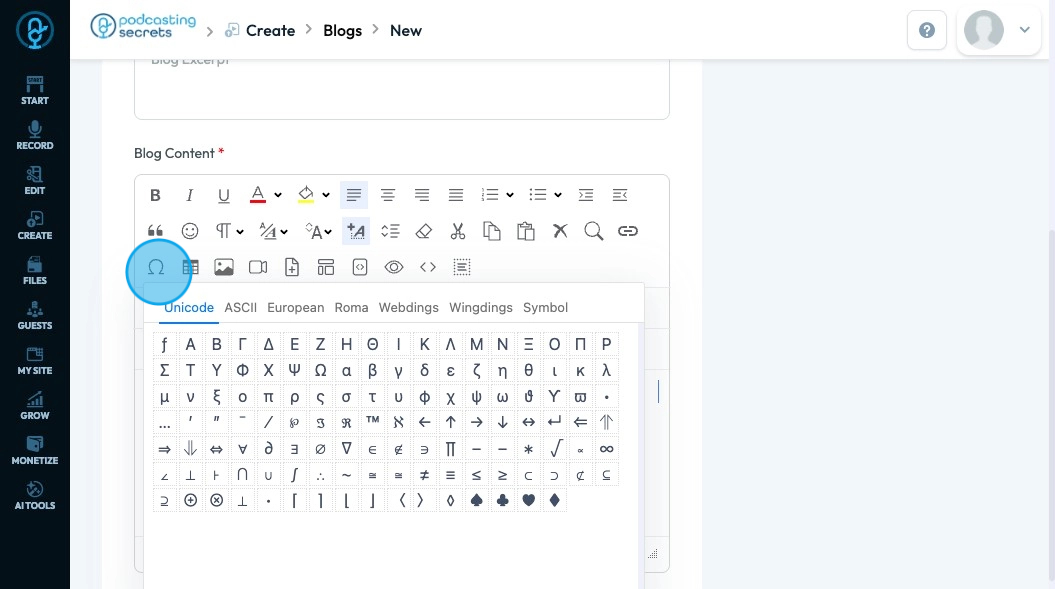
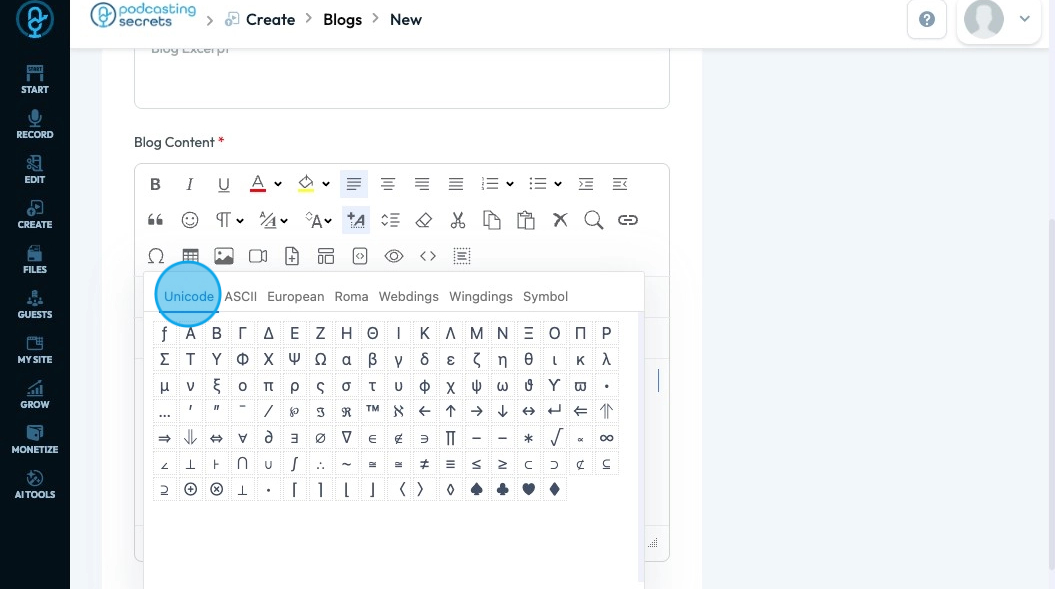
41. Click "Unicode" which is a universal character set that includes symbols, letters, and scripts from almost every language, plus emojis and math symbols.
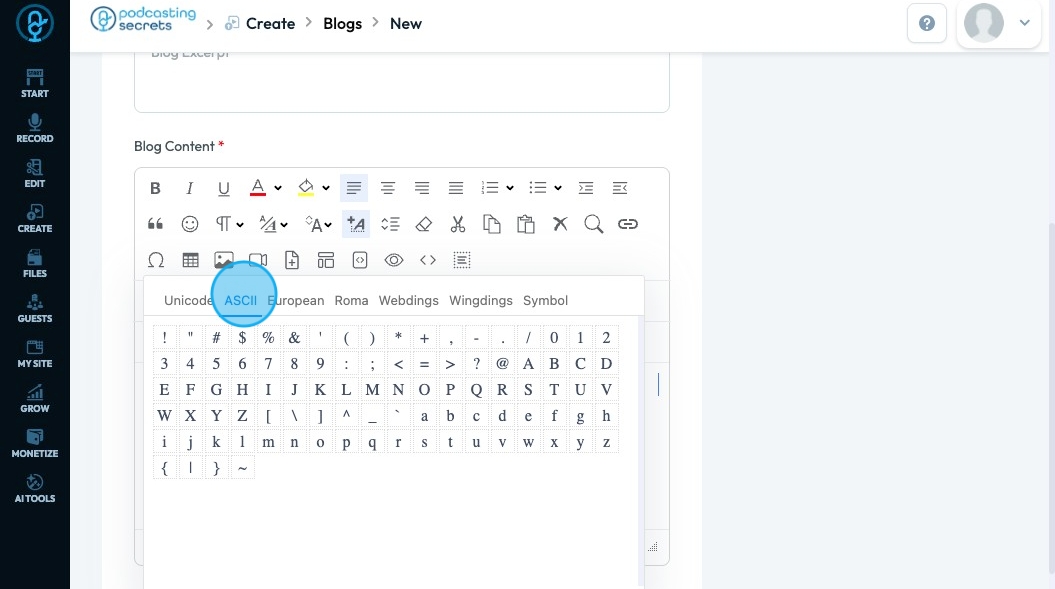
42. Click "ASCII" which is a basic English character set that includes letters, numbers, punctuation, and control codes
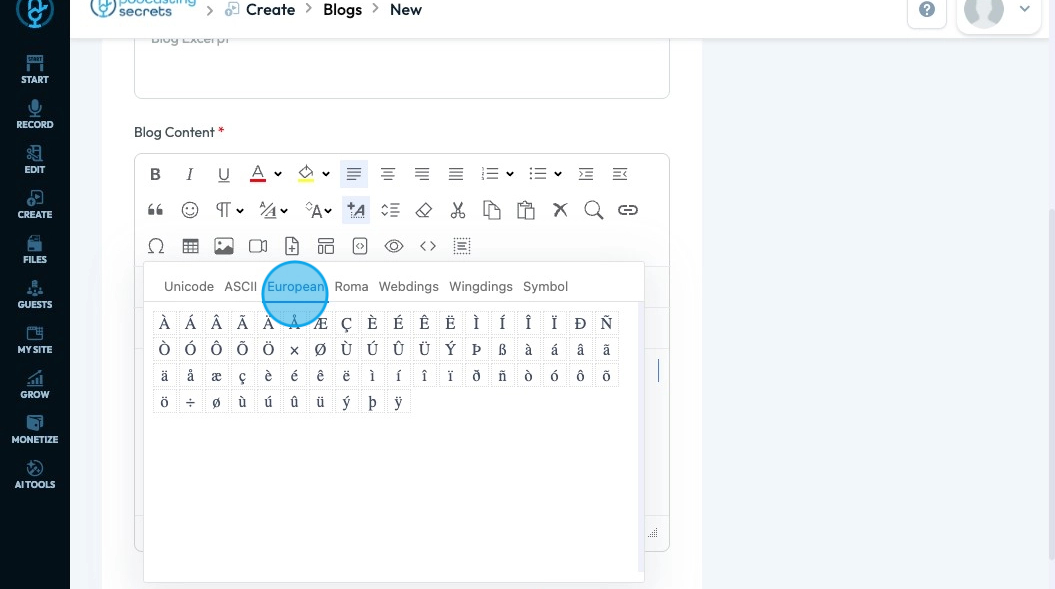
43. Click "European" which is accented and special characters used in European languages like é, ñ, ü, and ß.
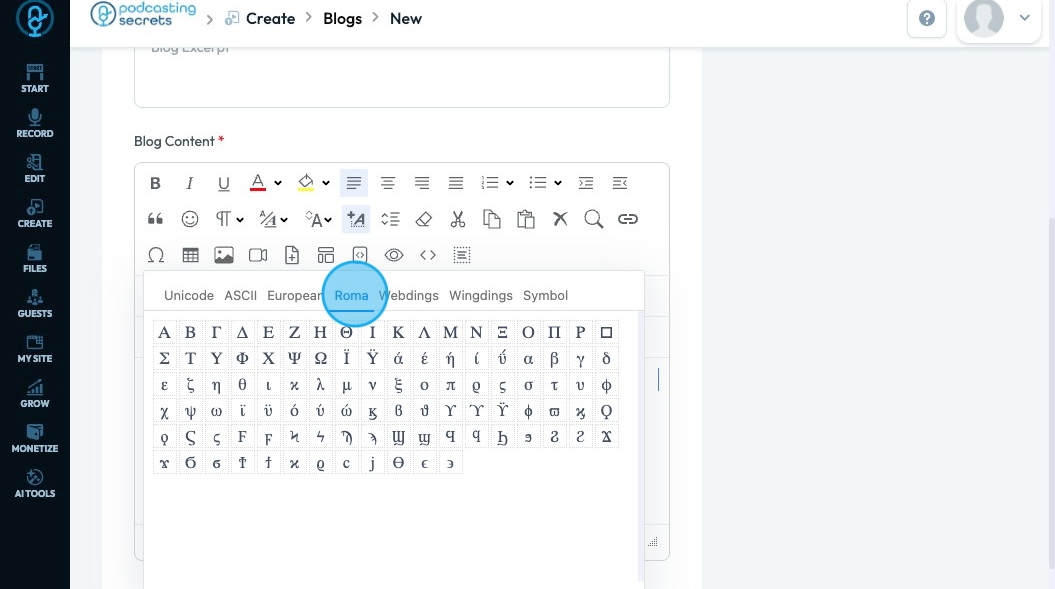
44. Click "Roman" which is also known as Latin script, includes standard English alphabet letters A–Z (uppercase and lowercase) used in many Western languages.
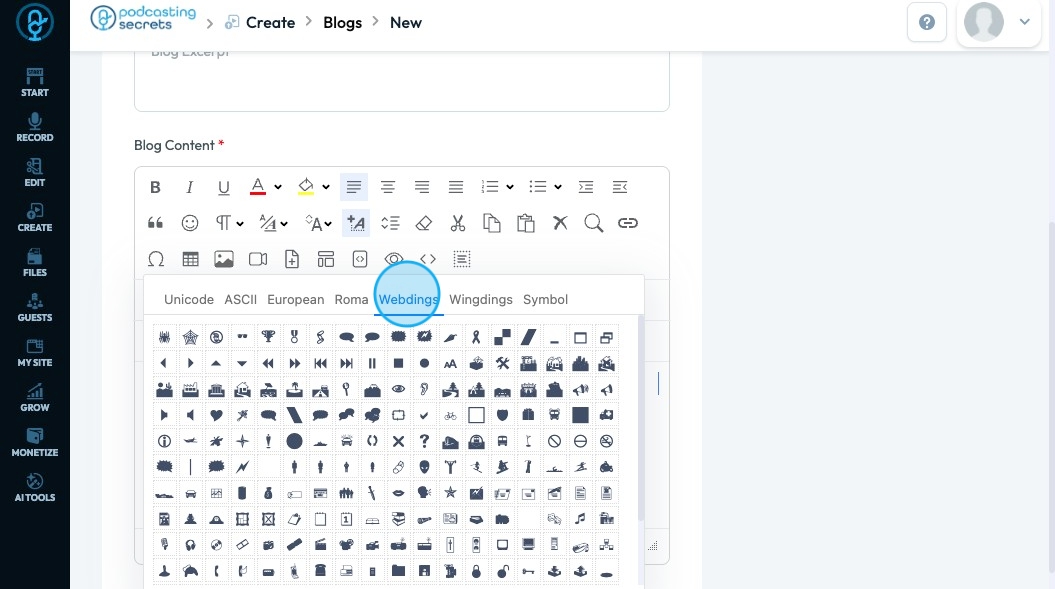
45. Click "Webdings" which is a decorative font that turns letters and numbers into icons like envelopes, clocks, and arrows; used in creative design.
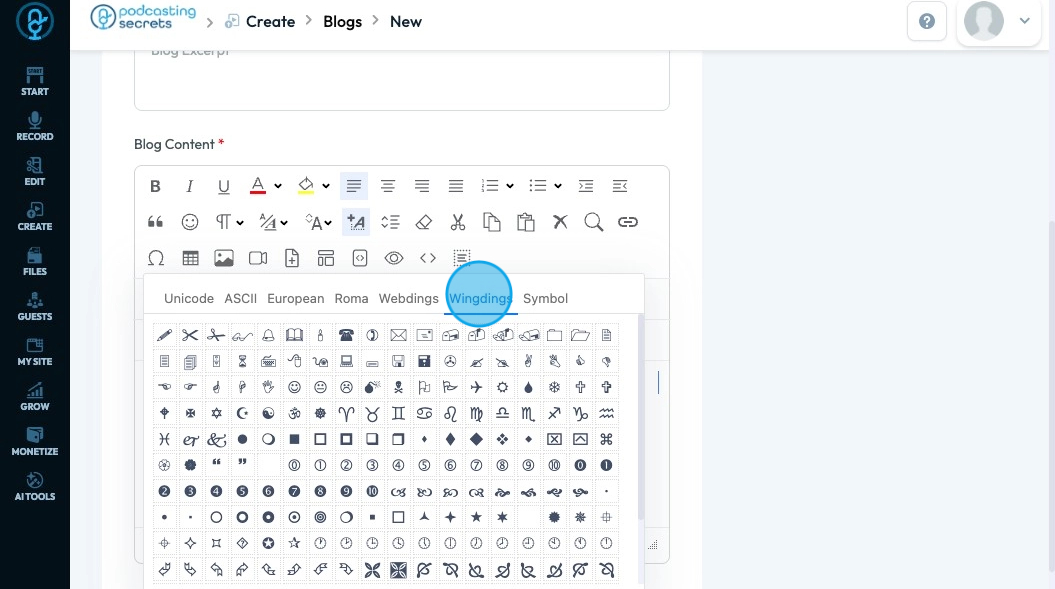
46. Click "Wingdings" which is an icon font similar to Webdings that displays symbols like checkmarks, hands, and stars instead of letters.
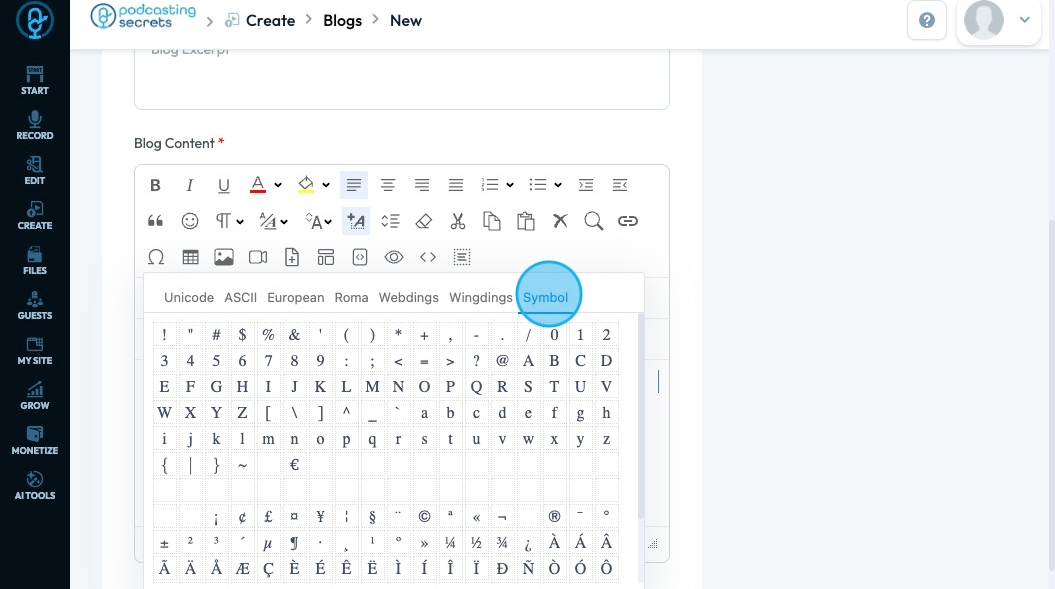
47. Click "Symbol" which is a font that maps normal letters to Greek letters and math symbols like π, √, and ∑, often used in equations or technical text.
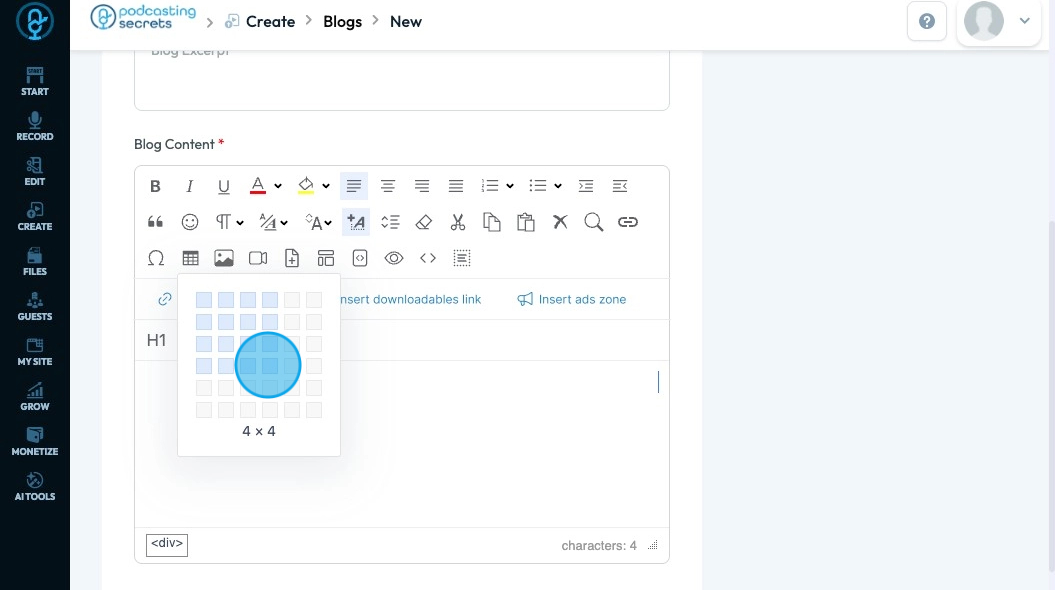
48. Click "Insert Table" to create a table in your text
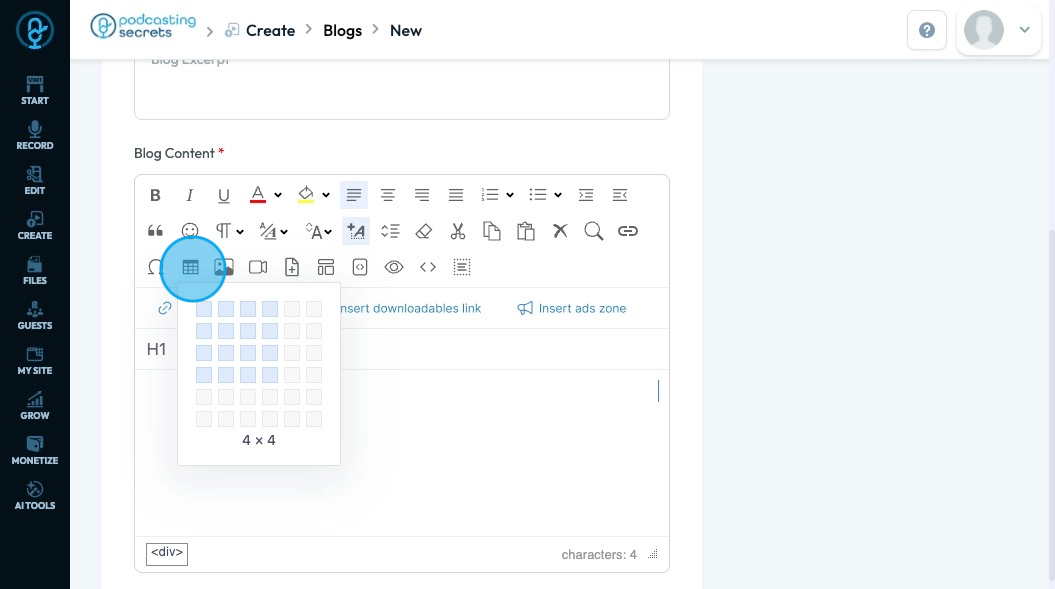
49. Drag the cursor over the boxes to show how big you want your table to be. The number under the table indicates how many cells (boxes) are in the graph
- The first number lists how many rows there will be
- The second number lists how many columns there will be
- The highlighted portion on the graph will show you what the graph will look like as far as the number of cells
- The graph will fit the page horizontally so a 4x4 graph as selected here would look more like a rectangle than a square
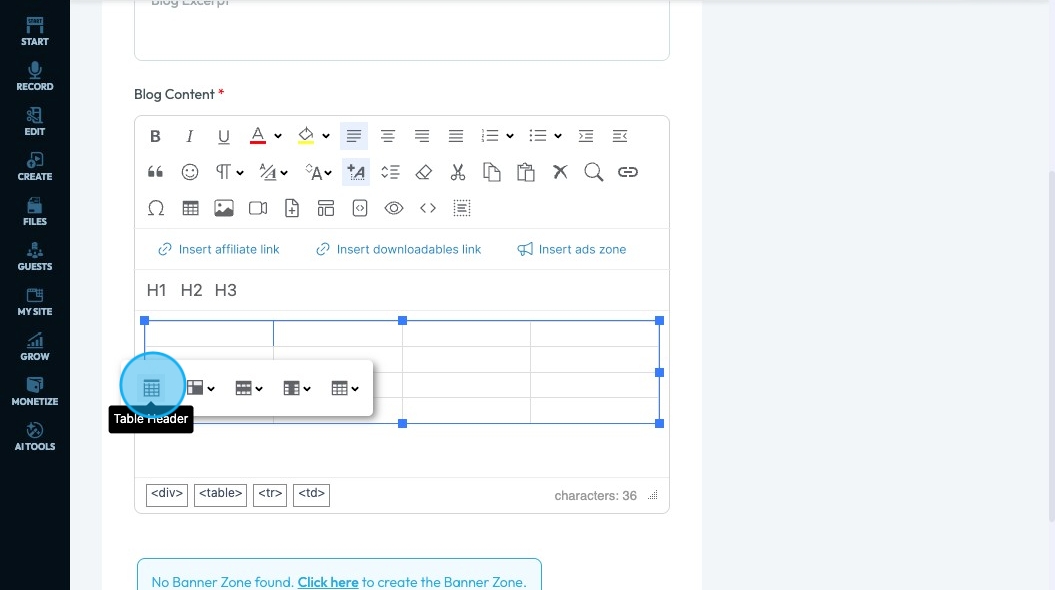
50. Once your table has been created you can select the table to have a menu of actions to take to change the table
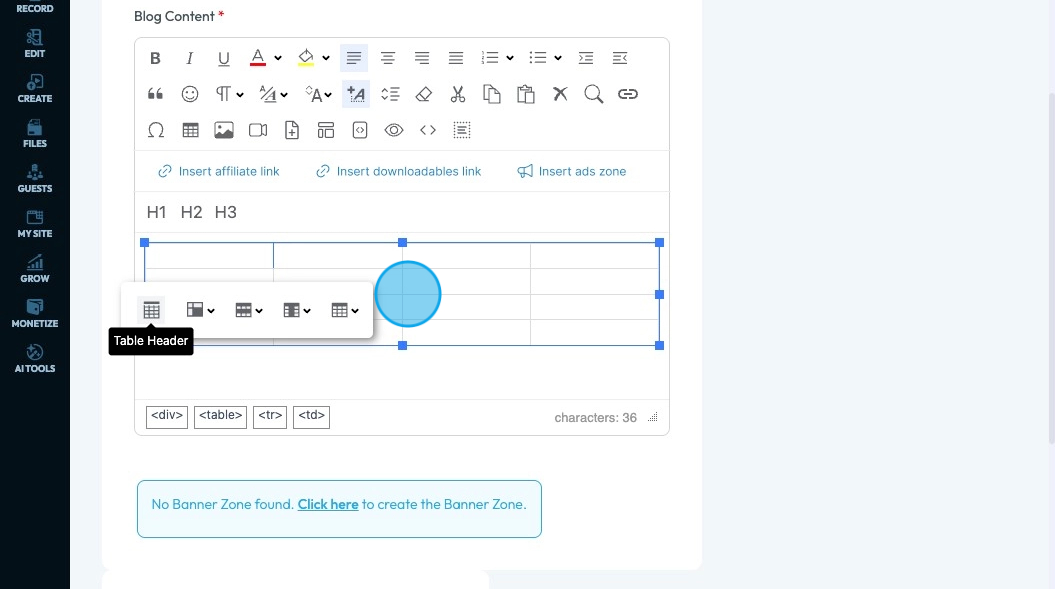
51. Once your table has been created you can select the table to have a menu of actions to take to change the tableadd a table header - a top row of the table that will tell you what each column is about - by selecting "Table Header"
- The color of the top row will change to indicate that it is now a header
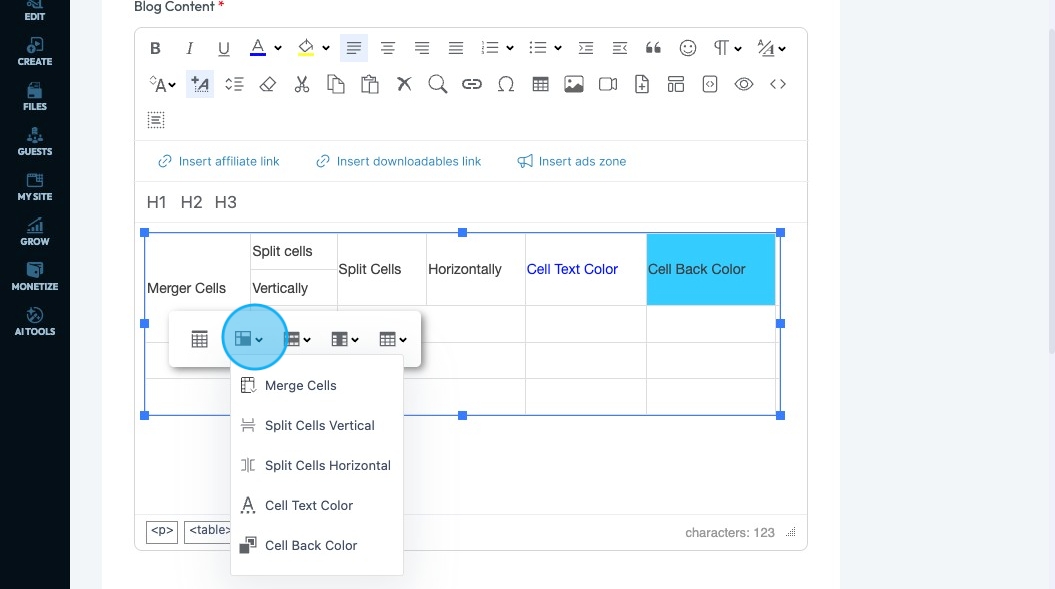
52. Click "Table Cell" to change the layout of the currently selected cell
- "Merge Cells"
- Combine the selected cells into one cell
- "Split Cells Vertically"
- Divide the current cell so that it is now 2 different vertical cells rather than 1 - It will look like you added an extra row in that cell
- "Split Cells Horizontally"
- Divide the current cell so that it is now 2 different horizontal cells rather than 1 - It will look like you added an extra column in that cell
- "Cell Text Color"
- Change the color of the text
- Select a color from a wide selection of colors, a basic palette, or through a hex code
- "Cell Back Color"
- Change the color of the cell
- The font color will not be changed
53. Click "Table Row" to adjust how many rows are shown in your table
- "Insert Row Above"
- Add one row on top of the currently selected cell
- "Insert Row Below"
- Add one row on the bottom of the currently selected cell
- "Delete Row"
- Completely remove the selected row

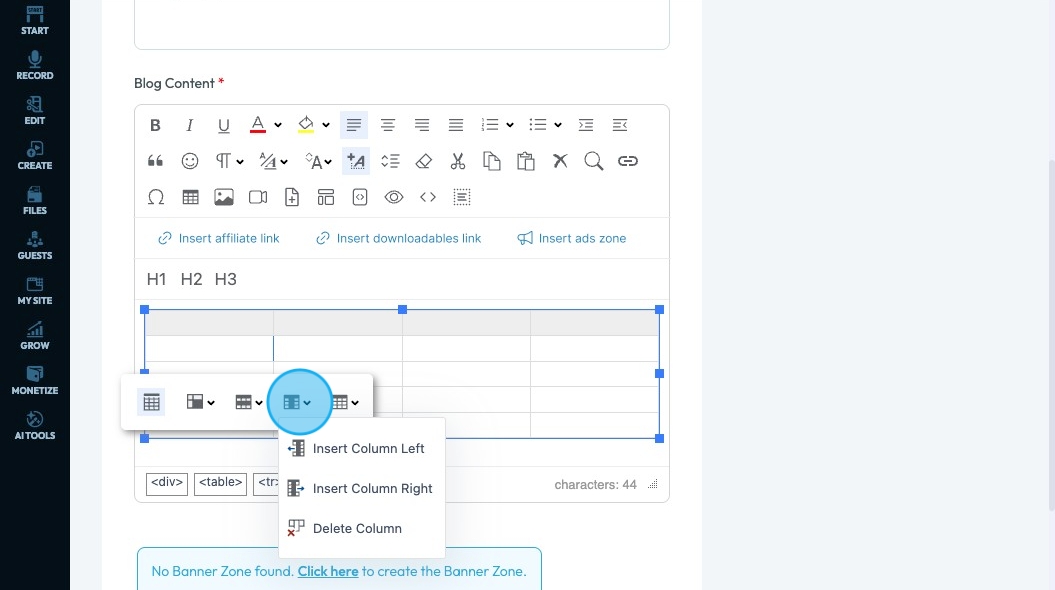
54. Click "Table Column" to adjust how many rows are shown in your table
- "Insert Column Left"
- Add one column to the left of the currently selected cell, which will shift your column to the right
- "Insert Column Right"
- Add one column to the right of the currently selected cell, which will shift your column to the left
- "Delete Column"
- Completely remove the selected column
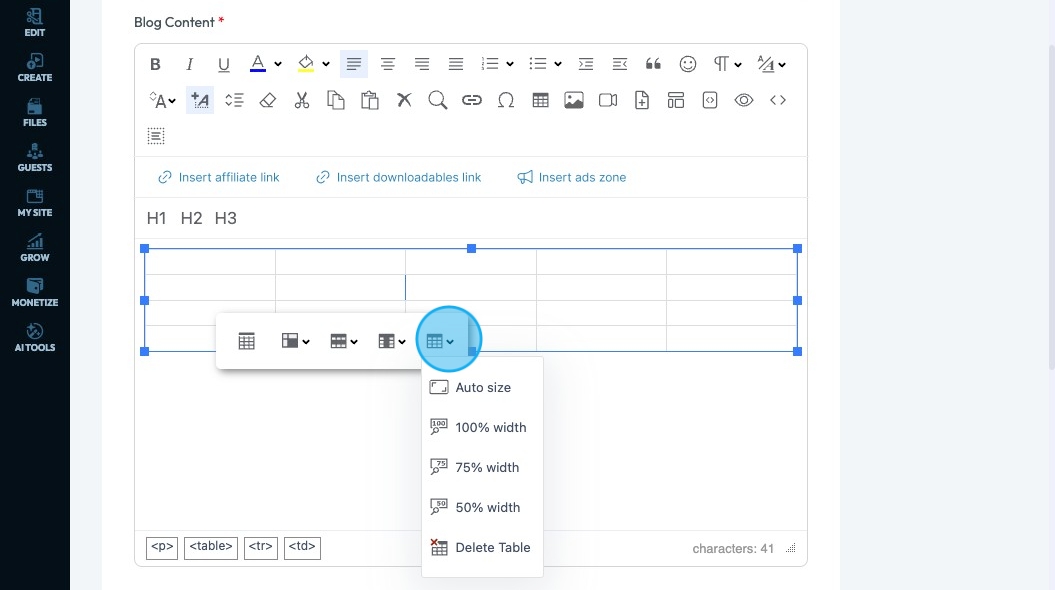
55. Click "Table" to adjust the size of the table as a whole on the page
- "Auto size"
- The graph will fit the content within the graph
- Ex. If the graph is empty, it will be a very small graph
- "100% width"
- The graph will fit the page
- "75% width"
- The graph with fit 75% of the page
- "50% width"
- The graph will fit 50% of the page
- "Delete table"
- The whole table will be deleted
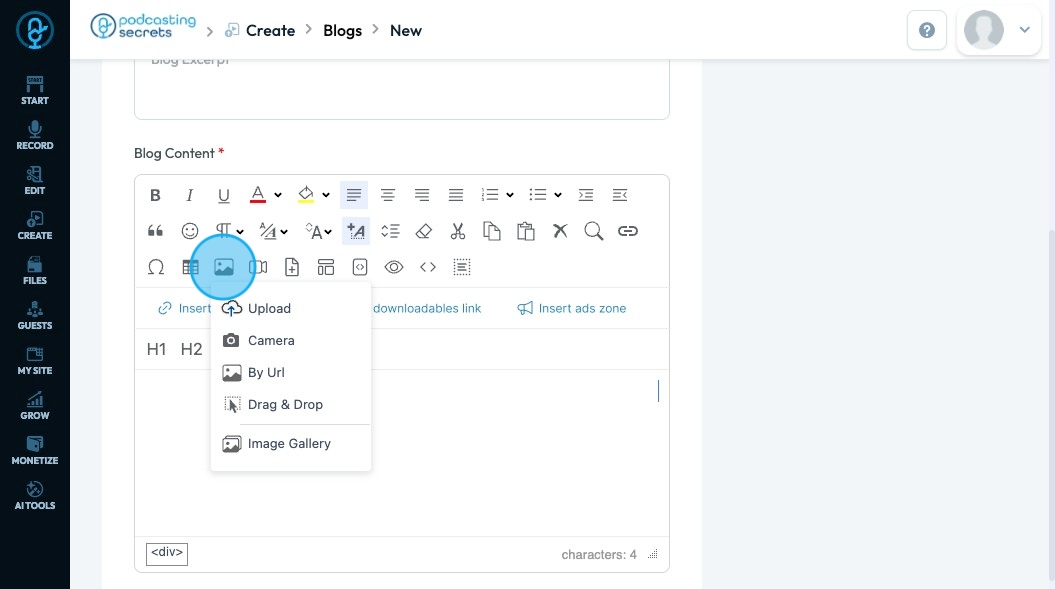
56. Click "Insert Photo" - the picture icon - to add a photo
- "Upload": Choose a photo saved on your computer to add.
- "Camera": Take a new photo using your device’s camera.
- "By URL": Paste a link to an image from the internet to add it.
- "Drag and Drop": Click and drag a photo from your computer directly into the box.
- "Image Gallery": Pick a photo from a collection that’s already available in your account or the platform.
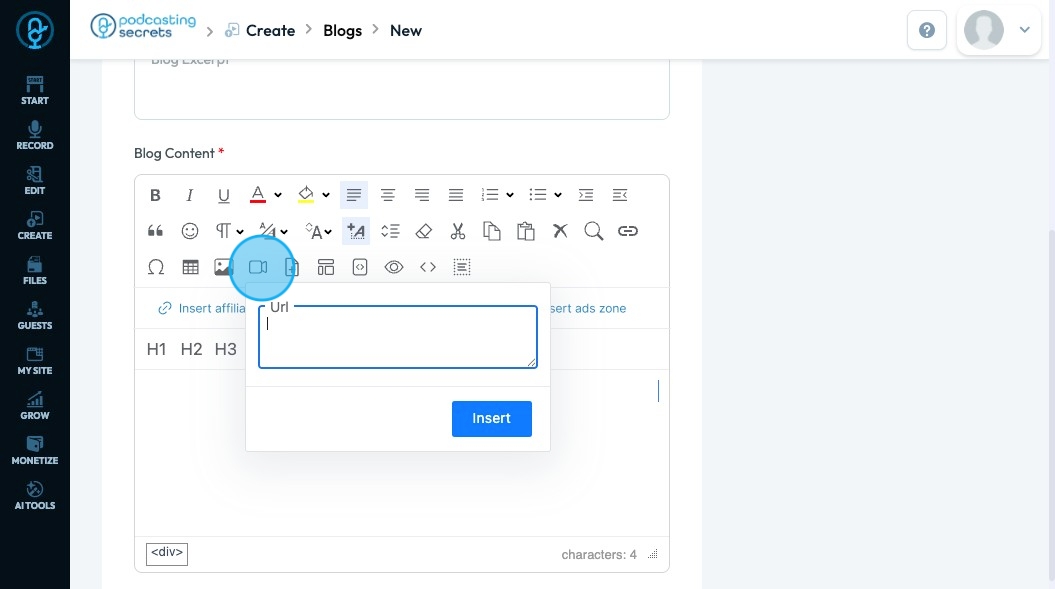
57. Click "Insert Video" to embed a video into your text
- Add the URL of your video in the URL box and select insert
- The thumbnail (the image that gives a preview of the video) will appear in the text
- The video can be played from the actual published text or article but you can't play the video while drafting the text
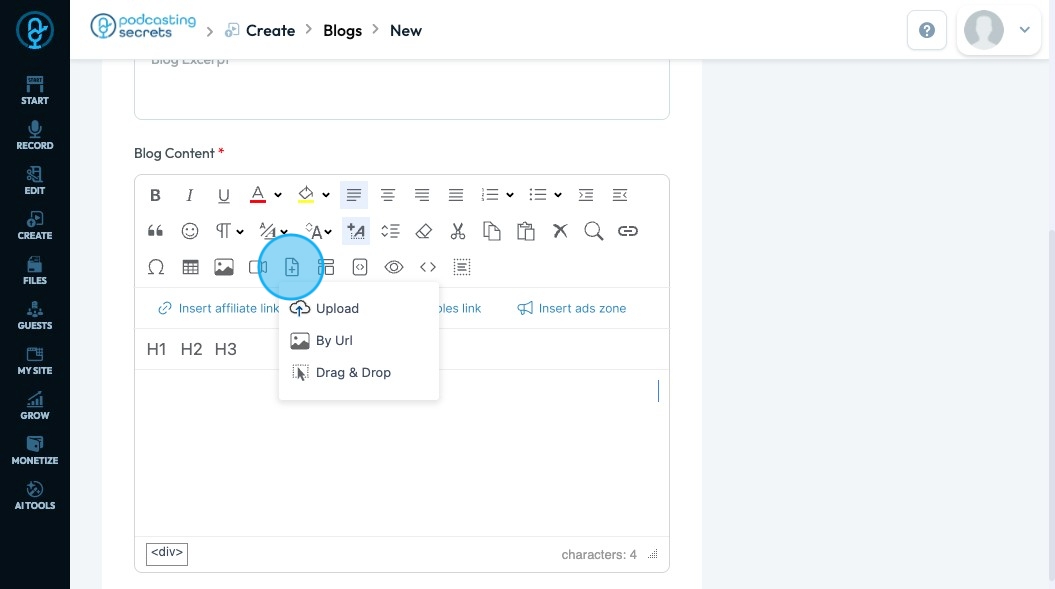
58. Click "Insert Document" to add a new document to your text
- "Upload": Choose a document saved on your computer to add.
- "By URL": Paste a link to a document from the internet to add it.
- "Drag and Drop": Click and drag a document from your computer directly into the box.
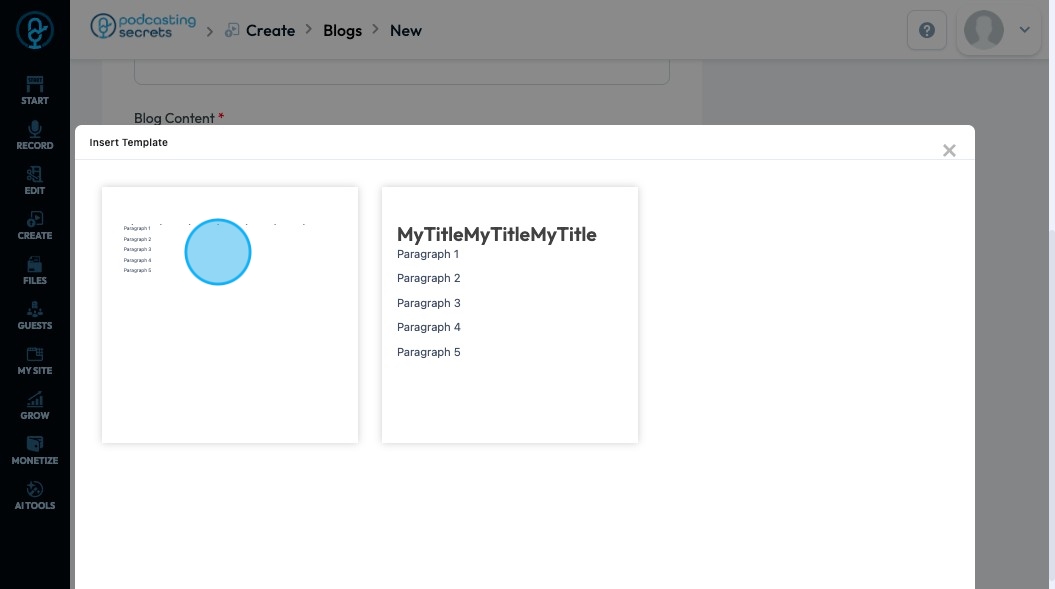
59. Click "Insert Template" to format your text
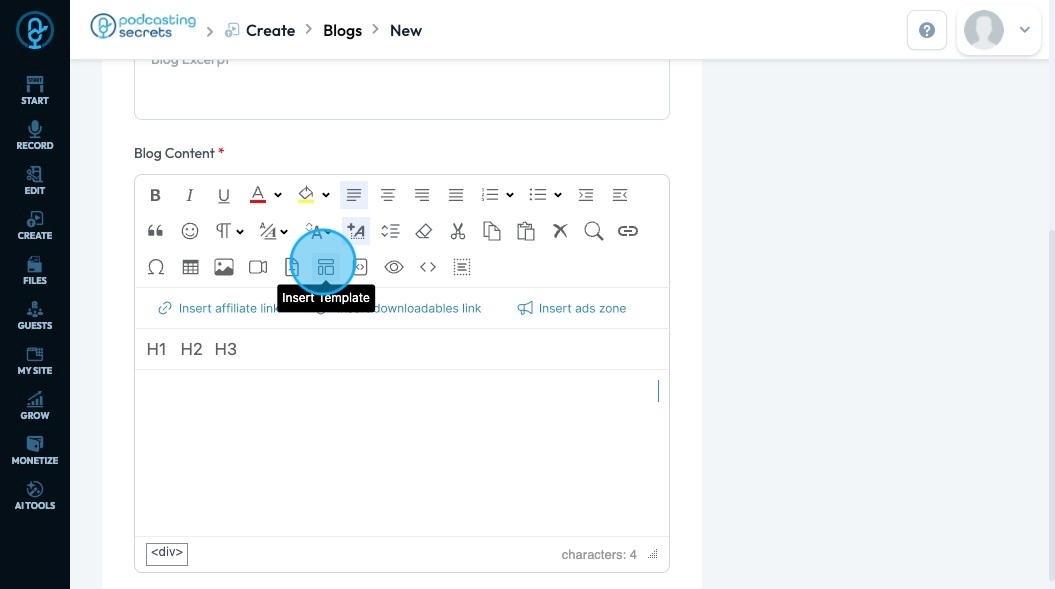
60. A popup will appear allowing you to select the style of template that you want to use
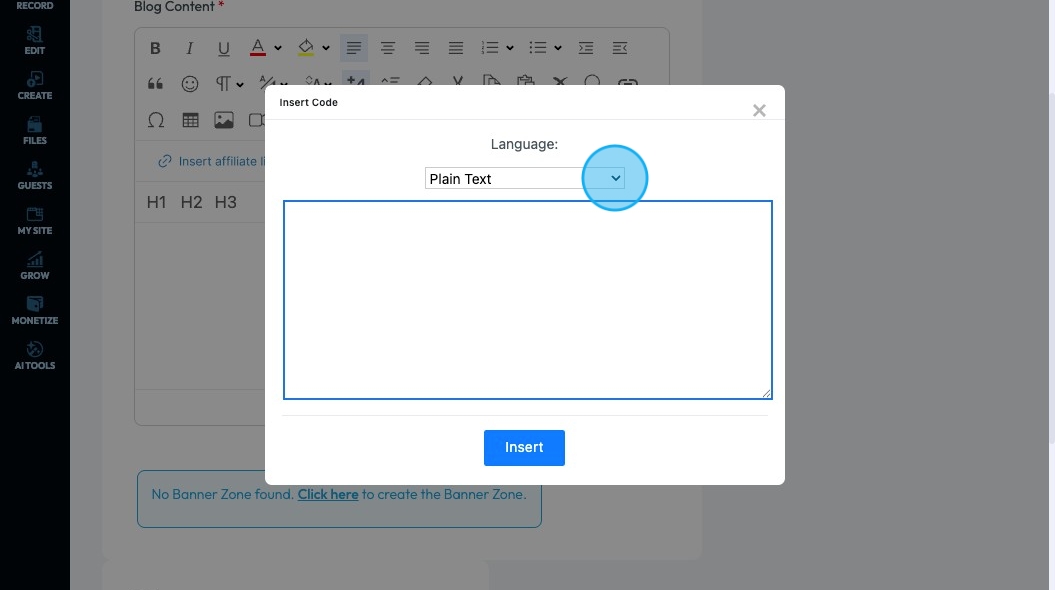
61. Click "Insert Code" to add code to your text to keep the coding format clean

62. A popup will appear allowing you to choose between 12 different coding options
- Plain Text
- js, jscript, javascript
- java
- cpp, c, c++
- c#, c-sharp, csharp
- css
- php
- py, python
- xml, xhtml, xslt, html, xhtml
- vb, vb.net
- ruby, rails, ror
- sql
Select "Insert" to add the code to the page
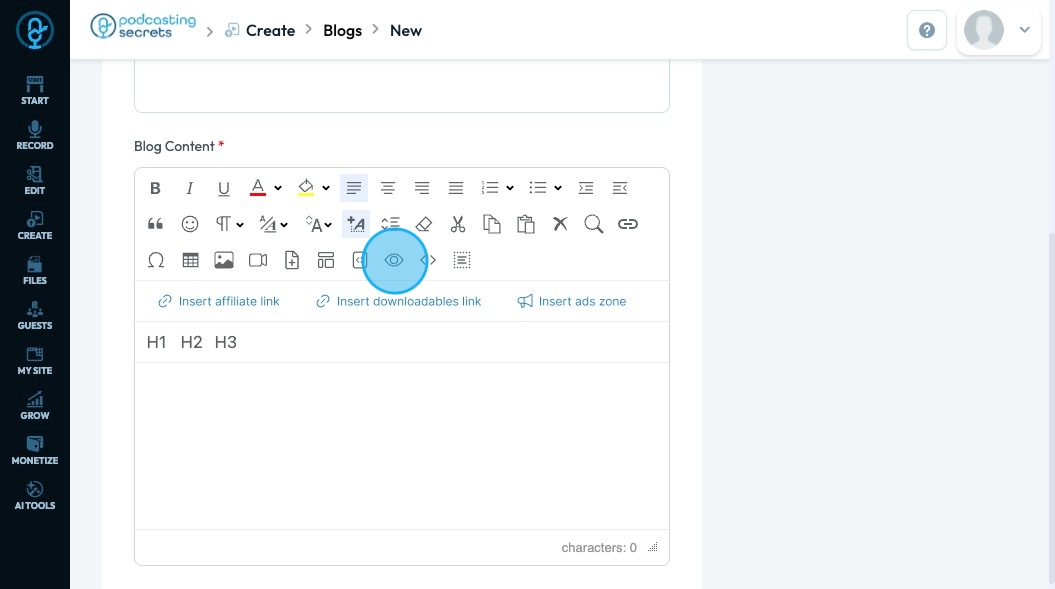
63. Click "Preview" - the eye icon - to see what the page will look like published
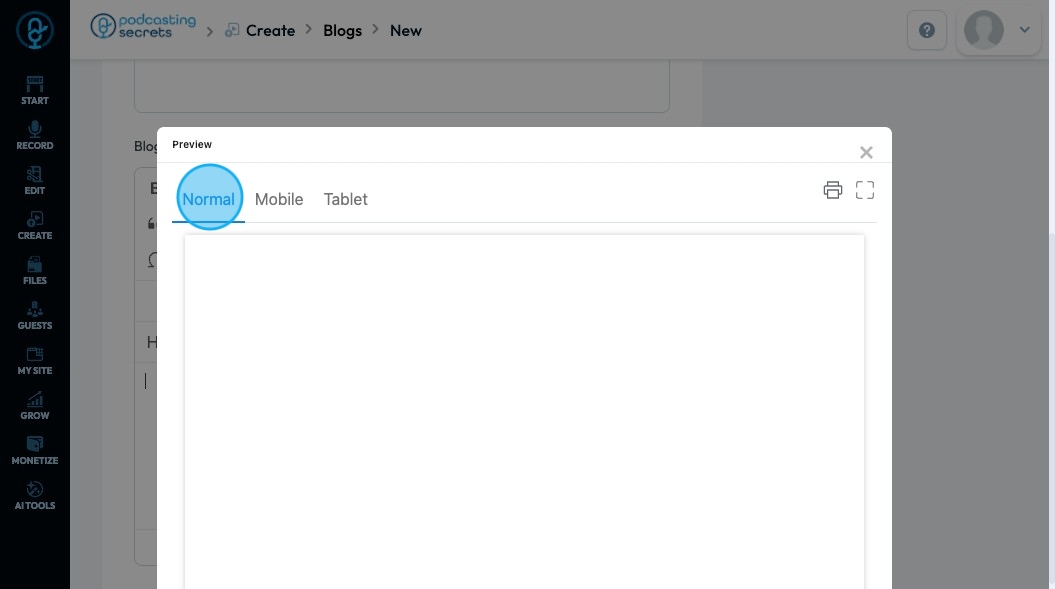
64. A popup will appear allowing you see a preview of the page in normal, mobile, and tablet
- "Normal": The preview will appear as it does on a computer
- "Mobile": The preview will appear as it does on a phone
- "Tablet": The preview will appear as it does on a tablet
Note - You can all print the preview by selecting the printer icon in the top right corner or you can put it in full screen by selecting the icon with 4 corners in the top right corner
Close the preview by selecting "X"
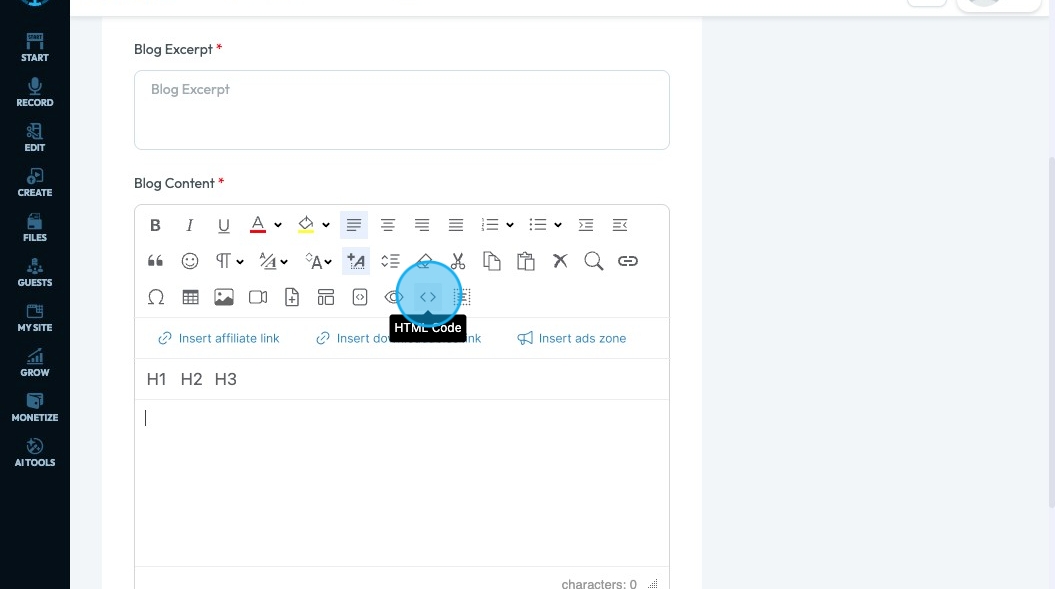
65. Click "HTML Code" to write a code in your text box
- Note: This option will remove many available editing features because they are not allowed in HTML
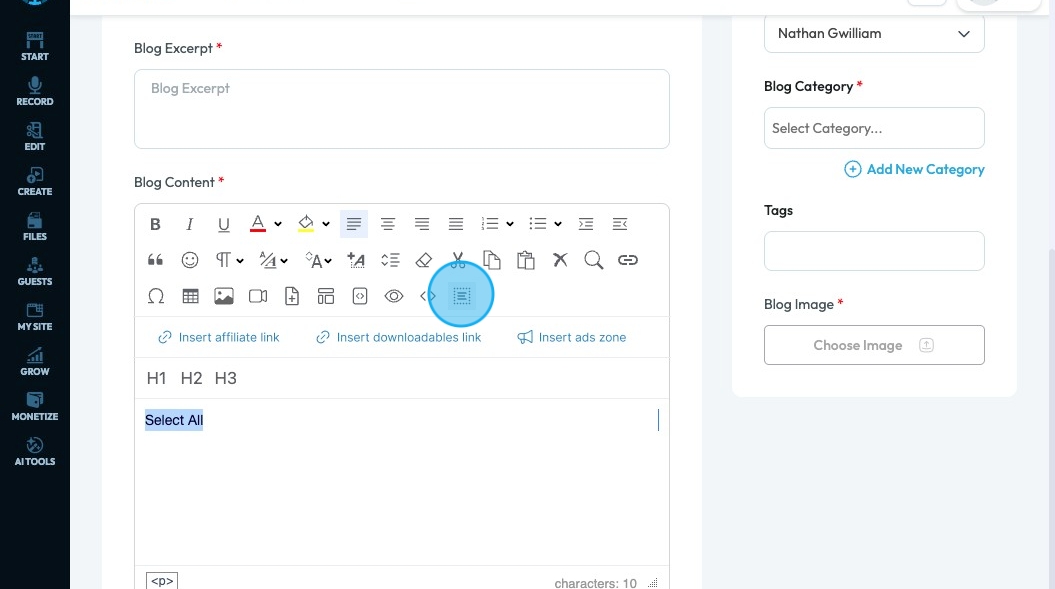
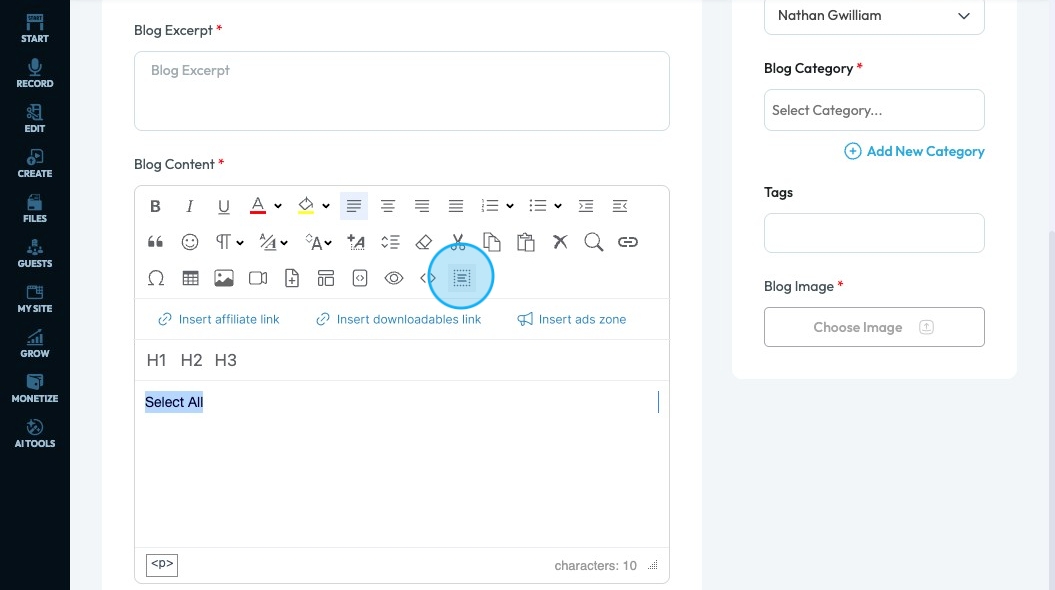
66. Click "Select All" to select all the text
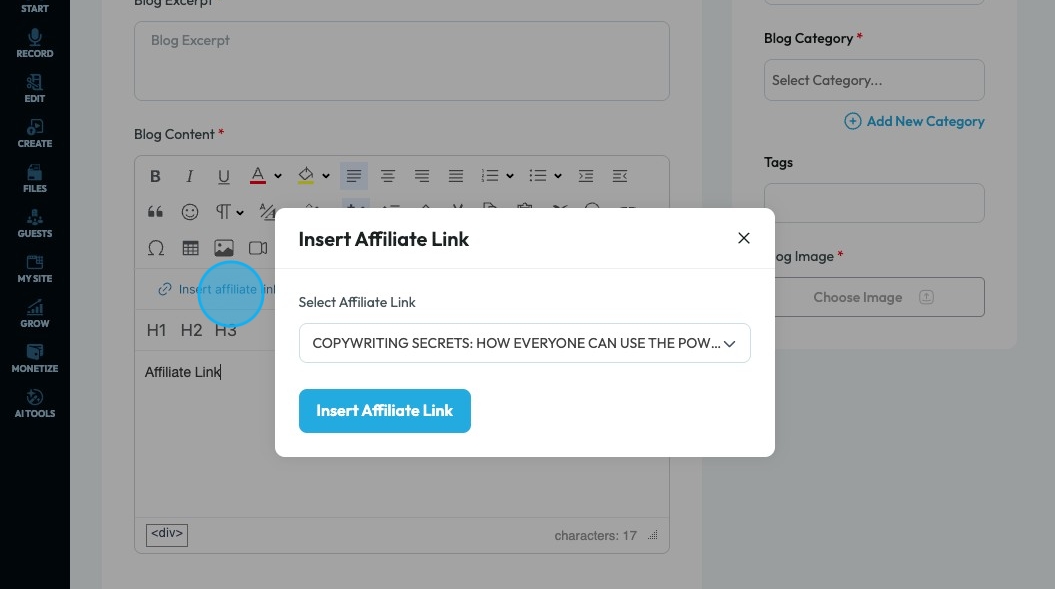
67. Click "Insert Affiliate Link" to add an affiliate link to you text
Affiliate link: A special URL that tracks when someone clicks it and makes a purchase. It’s used by people who promote products, so they can earn a small commission when someone buys through their link—at no extra cost to the buyer.
68. Select the affiliate link from a dropdown menu and select "Insert Affiliate Link" to put the link in the text
An affiliate link here would link to a product you have selected that your readers might want to purchase, like a podcasting book for a podcast on podcasting.
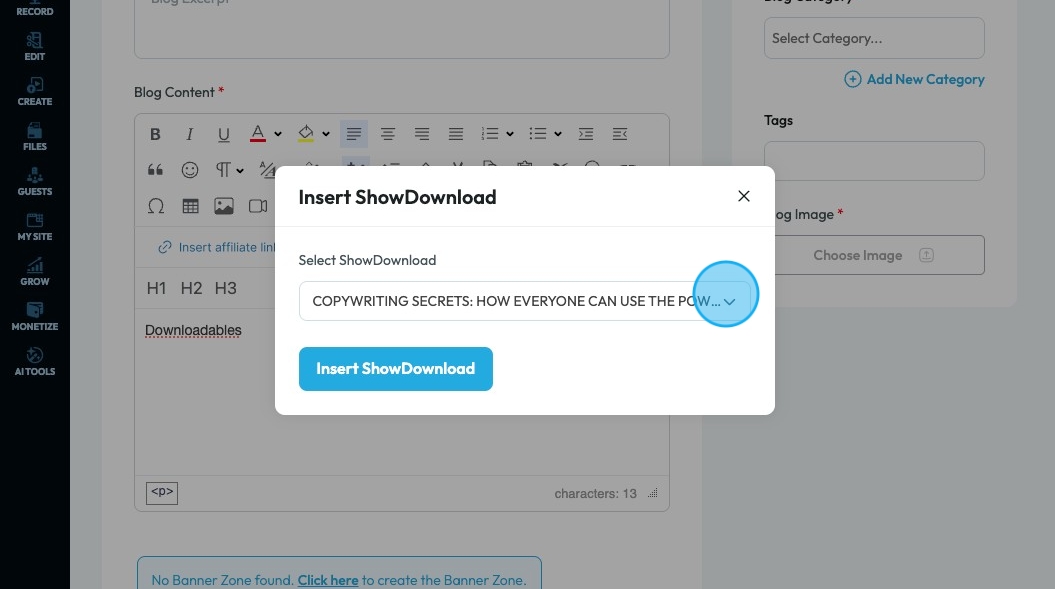
69. Click "Insert Downloadables Link" to add a downloadable to your file
Downloadable: Something you can save to your device, like a file, image, video, or document, so you can access it even when you're offline.
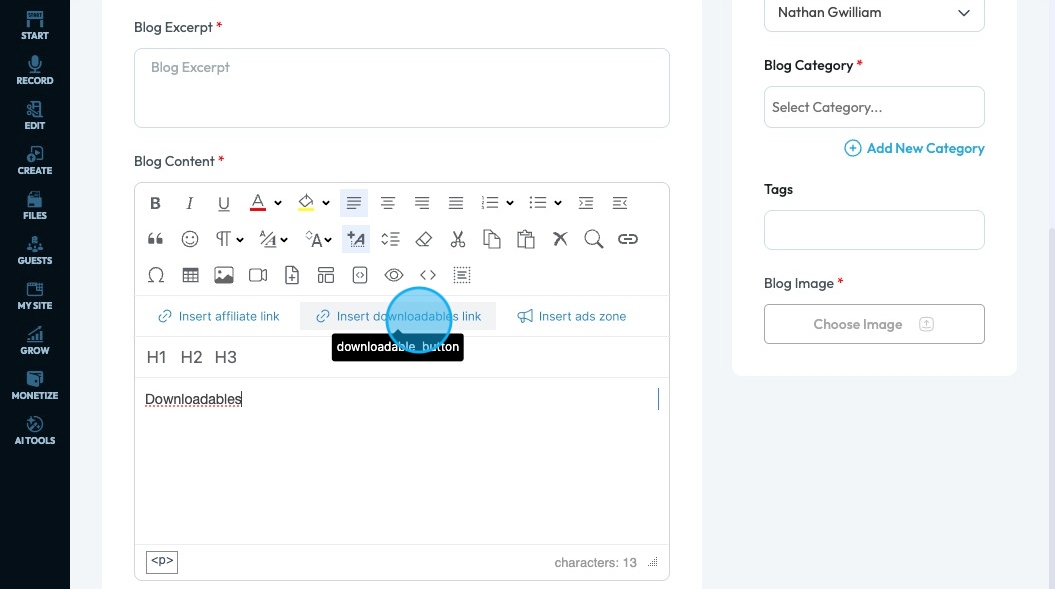
70. Select the ShowDownload from a dropdown menu and select "Insert ShowDownload" to put the link in the text
71. Click "Insert ads zone" to add a space in your article for an advertisement

Related Articles
How To Navigate Affiliate Links On PodUp (Detailed)
This guide shows you how to add affiliate links on PodUp to monetize your content. Learn to organize links with titles, categories, and descriptions that boost clicks and earnings. 1. Click "Monetize" 2. Click "Affiliate Links" 3. Click "Add Link" to ...How to Navigate Post Page Builder (Detailed)
This guide offers a straightforward approach to creating and customizing post pages using PodUp's Post Page Builder, making it ideal for bloggers, video creators, and podcasters. It provides step-by-step instructions for adding and enhancing post ...How to Navigate Page Builder (Detailed)
This guide provides a straightforward method for creating and customizing website pages using PodUp's Page Builder, making it ideal for users of all skill levels. It outlines each step in the process, from accessing the page builder to editing ...How to Customize "Text" Quick Add in PodUp Page Builder (Detailed)
This guide offers a comprehensive and friendly approach to customizing the "Text" Quick Add feature in PodUp's Page Builder. It provides step-by-step instructions on enhancing your website's text elements, including formatting options, color choices, ...How to Navigate Video to Text (Detailed)
This guide provides a comprehensive walkthrough for utilizing Podup's Video to Text feature, making it ideal for anyone needing accurate transcriptions of audio or video content. Users will learn how to efficiently convert files, customize speaker ...