How to Create and Send a Campaign in PodUp
This guide shows you how to create and send email campaigns in PodUp. It covers each step—from setup to testing and tracking—so you can send effective, well-timed newsletters with ease. Great for both beginners and experienced marketers.

Tip: An email campaign is a series of emails sent to a group of people with a specific goal—like promoting a product, sharing news, or building a relationship.
The point is to:
Reach your audience directly in their inbox
Promote your brand, product, or content
Drive actions like clicks, sign-ups, or purchases
Build trust and engagement over time
It’s a key part of marketing because it’s personal, measurable, and cost-effective.
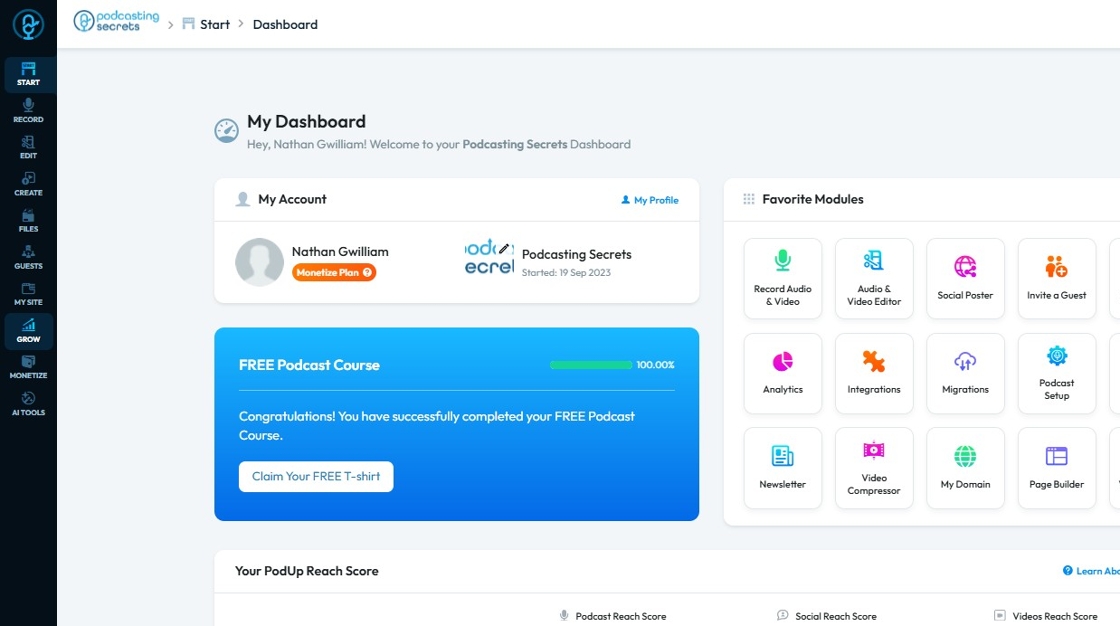
1. Navigate to https://app.podup.com/home
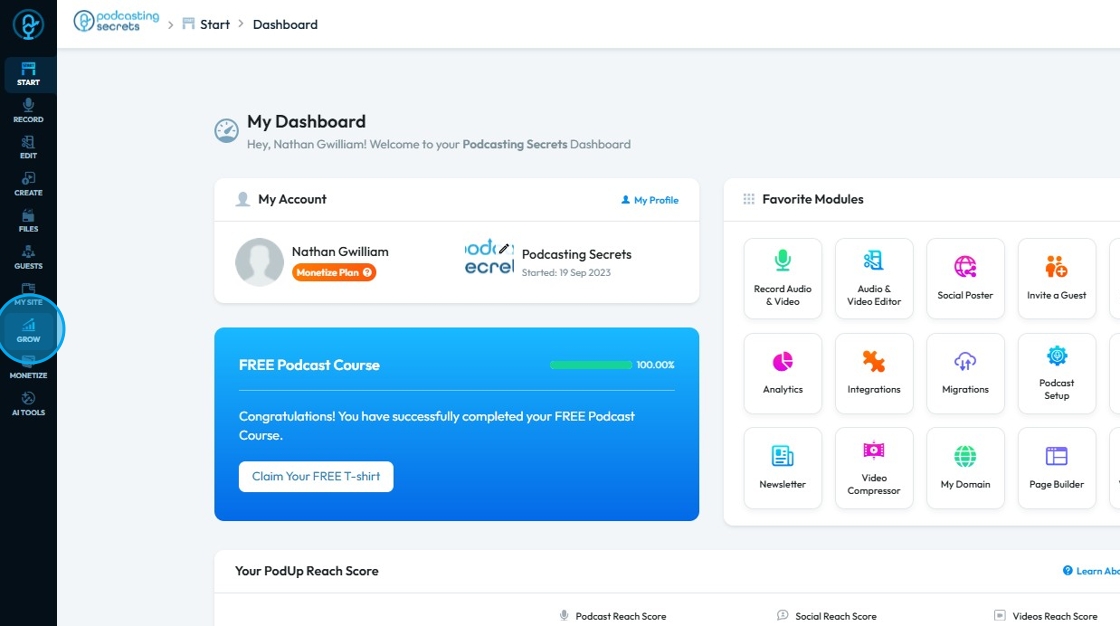
2. Click "Grow".
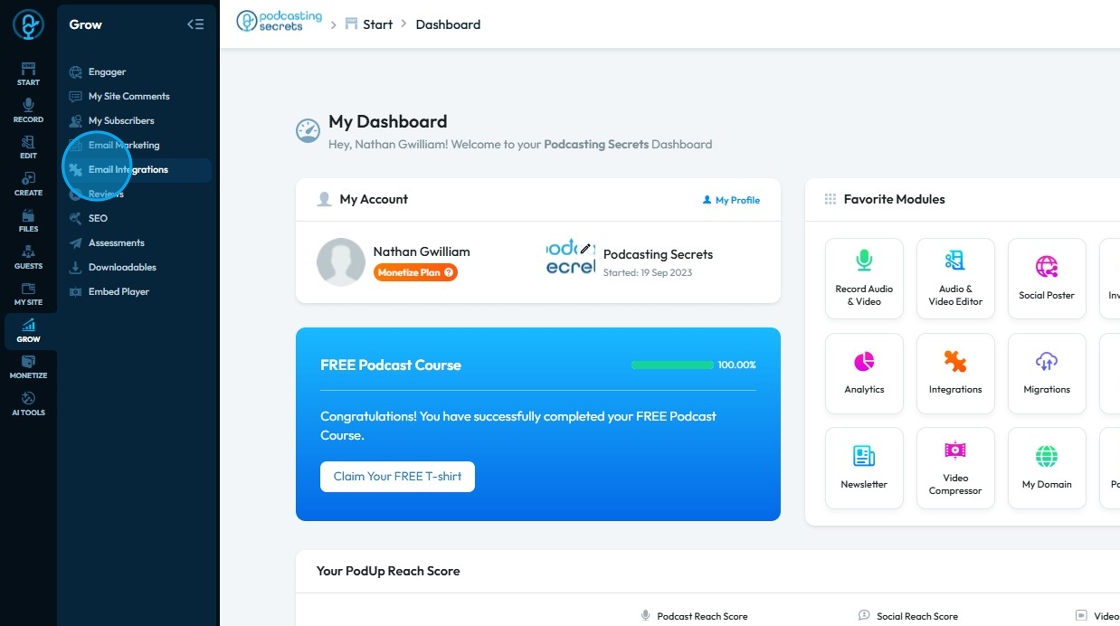
3. Click "Email Integrations"
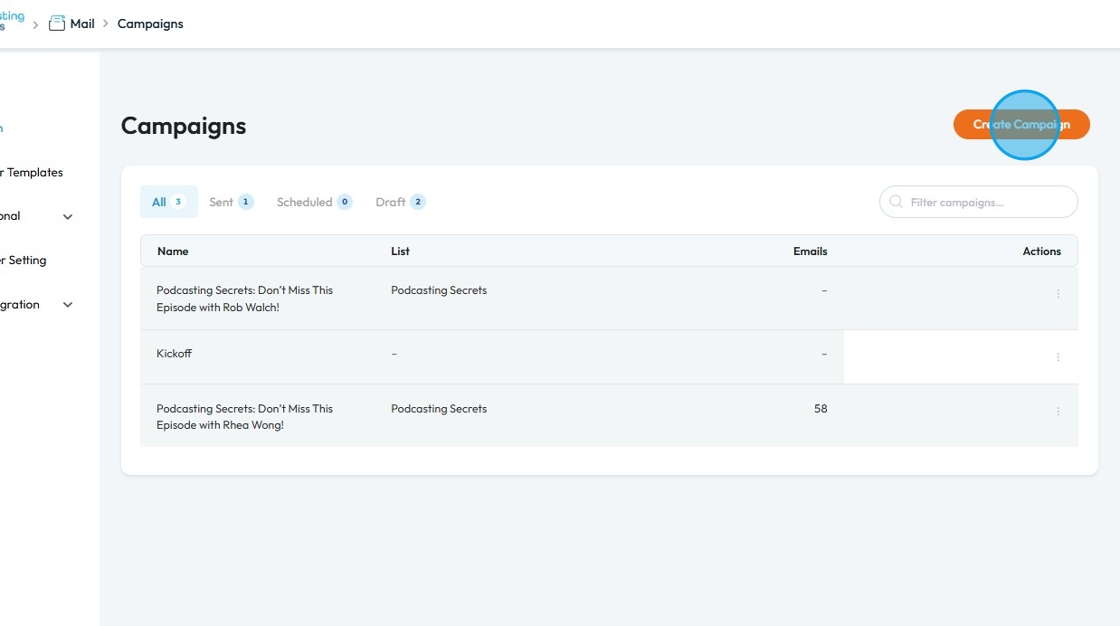
4. This will be the "Campaigns" page.
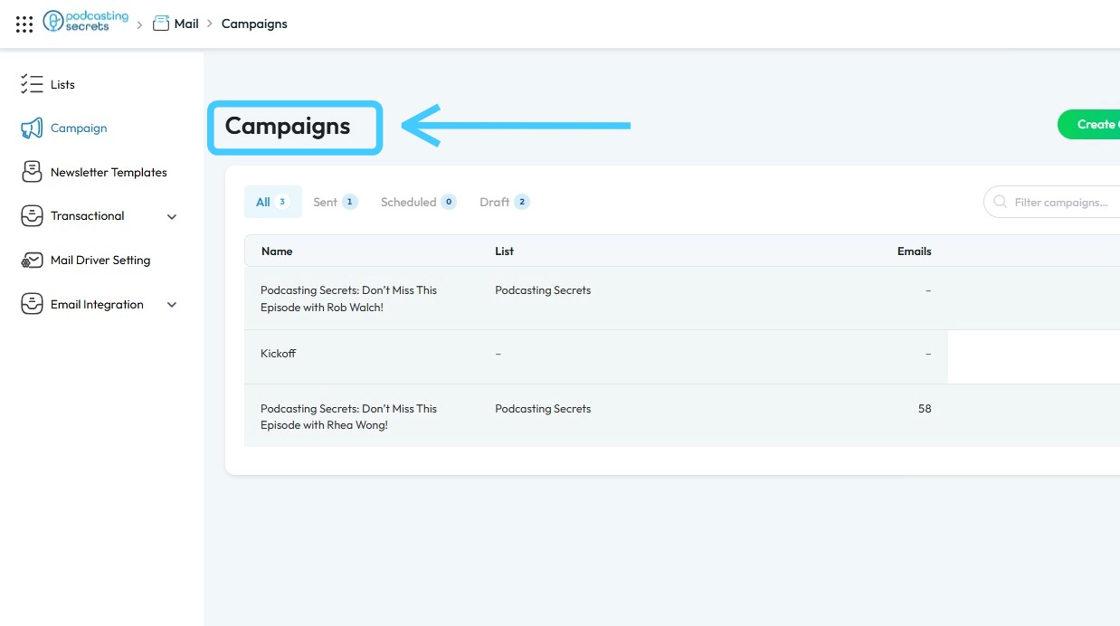
5. To create a new "Campaign" click "Create Campaign"
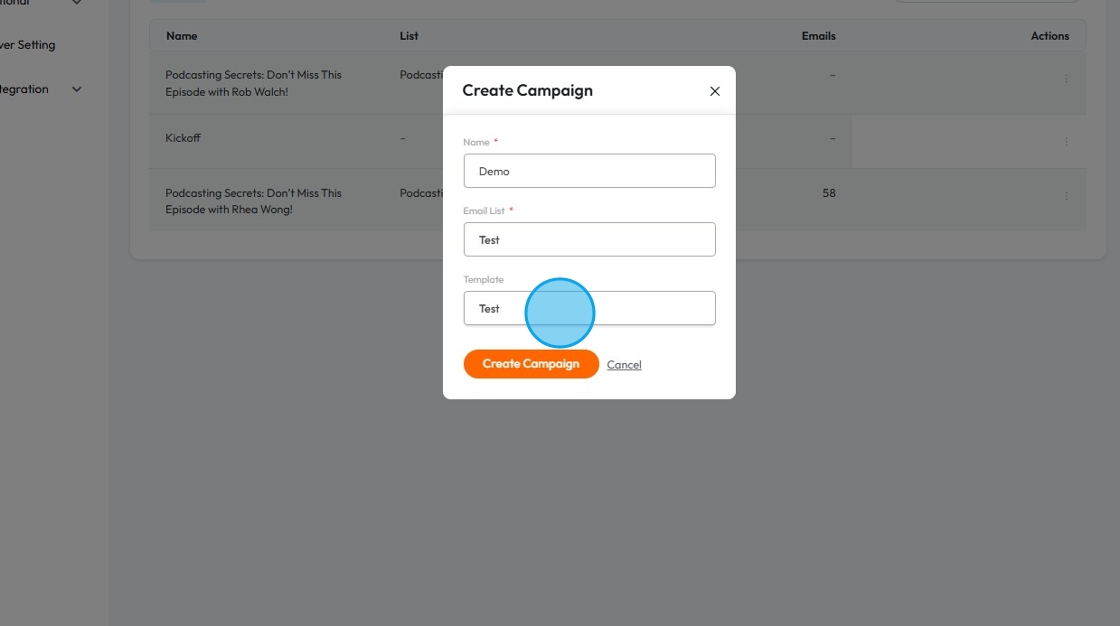
6. "Create Campaign" pop-up window will open up.

7. Click the "Name" field and enter the name for the "Campaign"

8. Click "Email List" dropdown menu to choose a specific list to receive this campaign

9. Click "Template" dropdown list to choose a specific newsletter template.

10. Select the "Test" option.
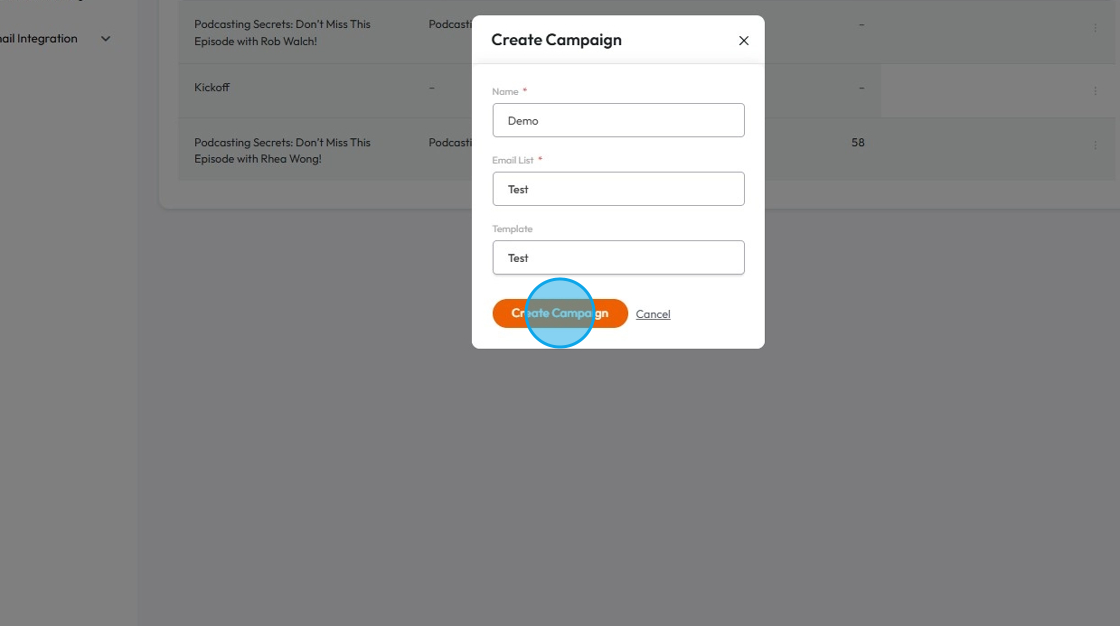
11. Click "Create Campaign"
12. Once the "Campaign" is created successfully you will see "Campaign (Name) was created" in the green box.

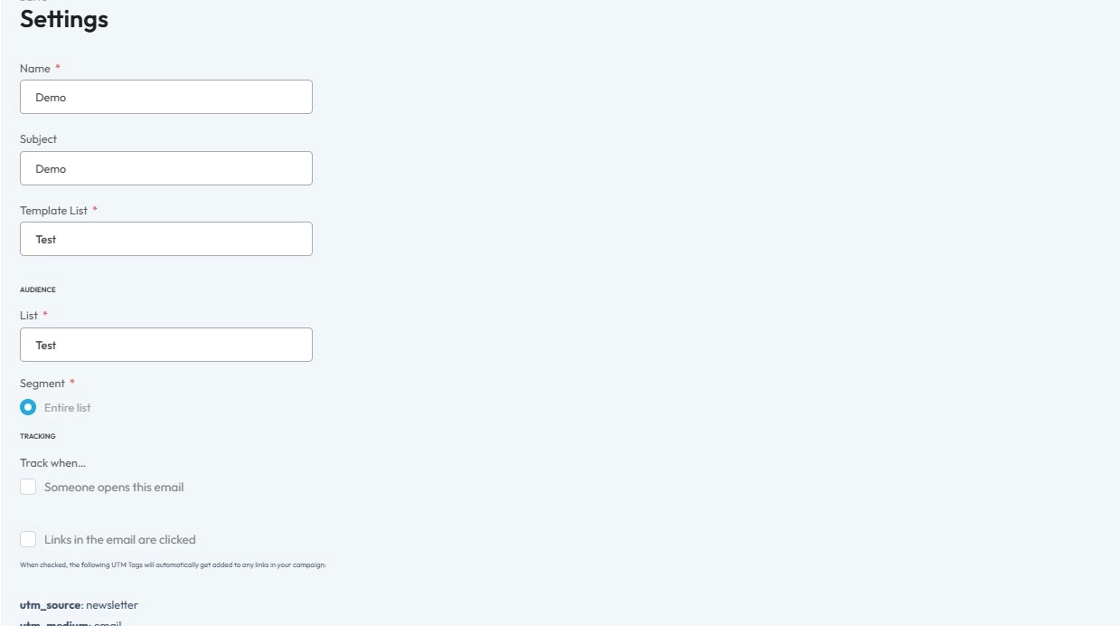
13. "Settings" page will save all the Details we filled while creating the "Campaign".
You can change the details if you want. If there is a red star by the question, an answer to that question is required
You can also turn on "Tracking when" to give you the statistics for when
- Someone opens the email.
- Links in the email are clicked.
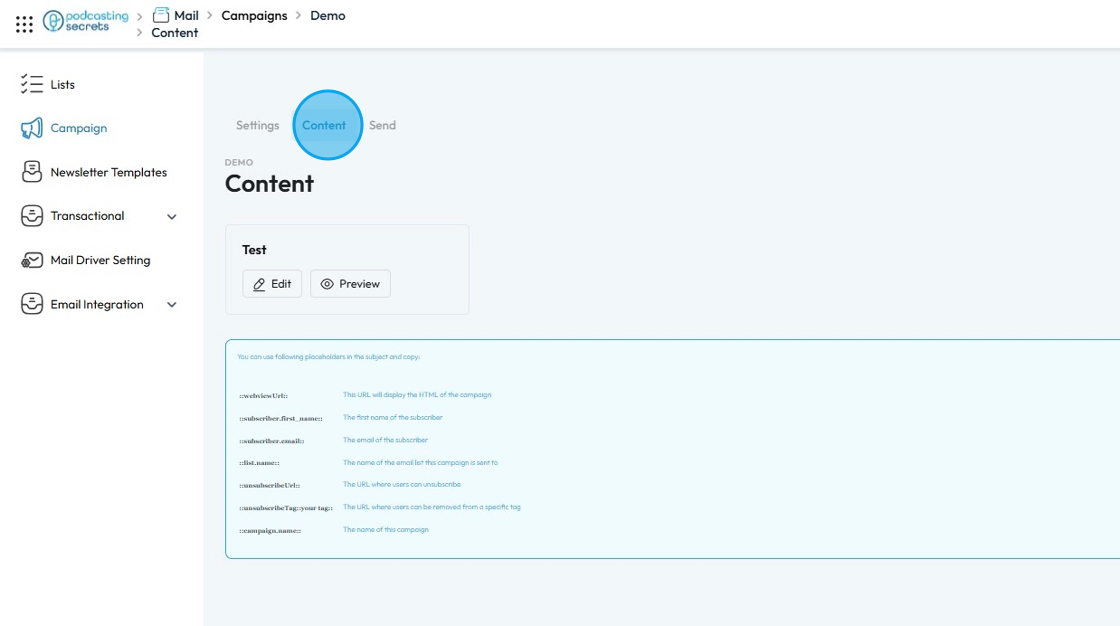
14. Click "Content" tab. Here you will have option to "Edit" and "Preview" content of the Newsletter you selected for this Campaign.
15. Click "Send" tab.
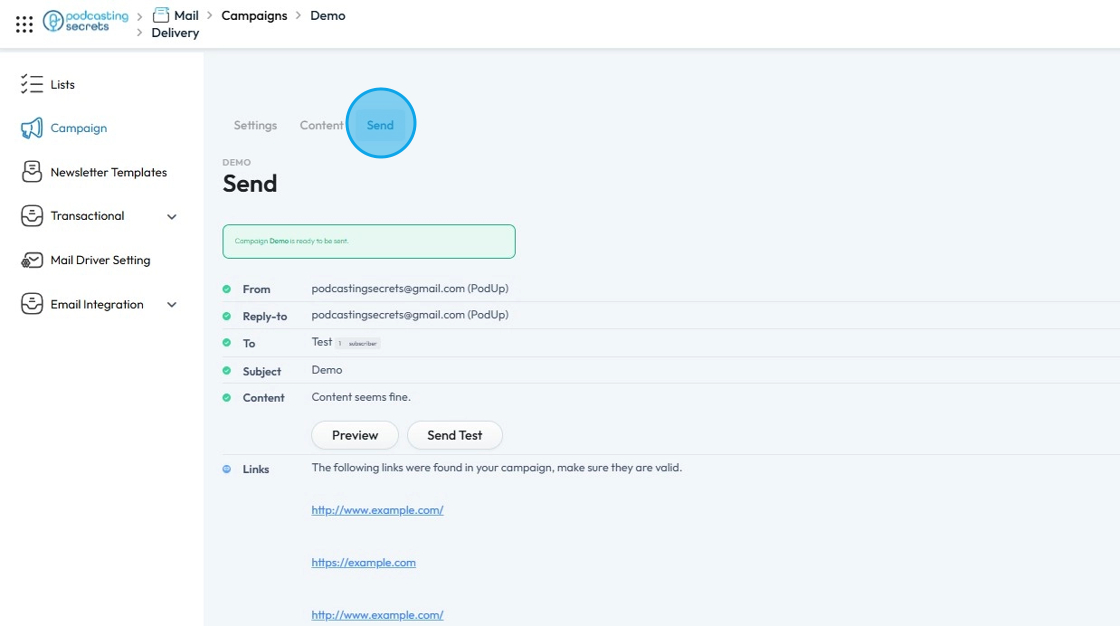
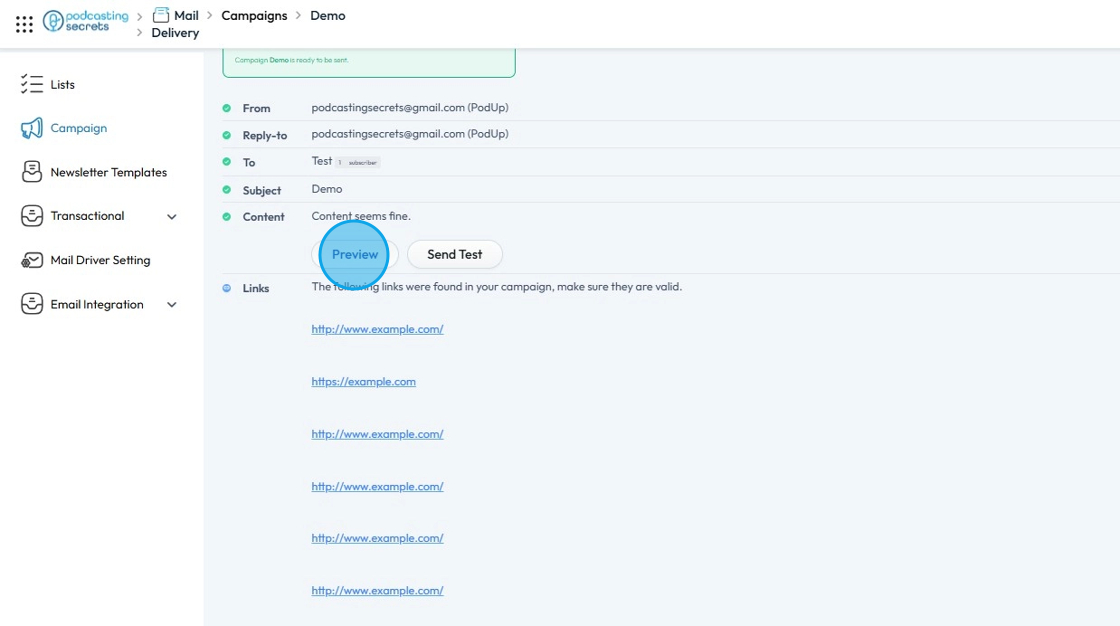
16. To see what the content will look like click "Preview"
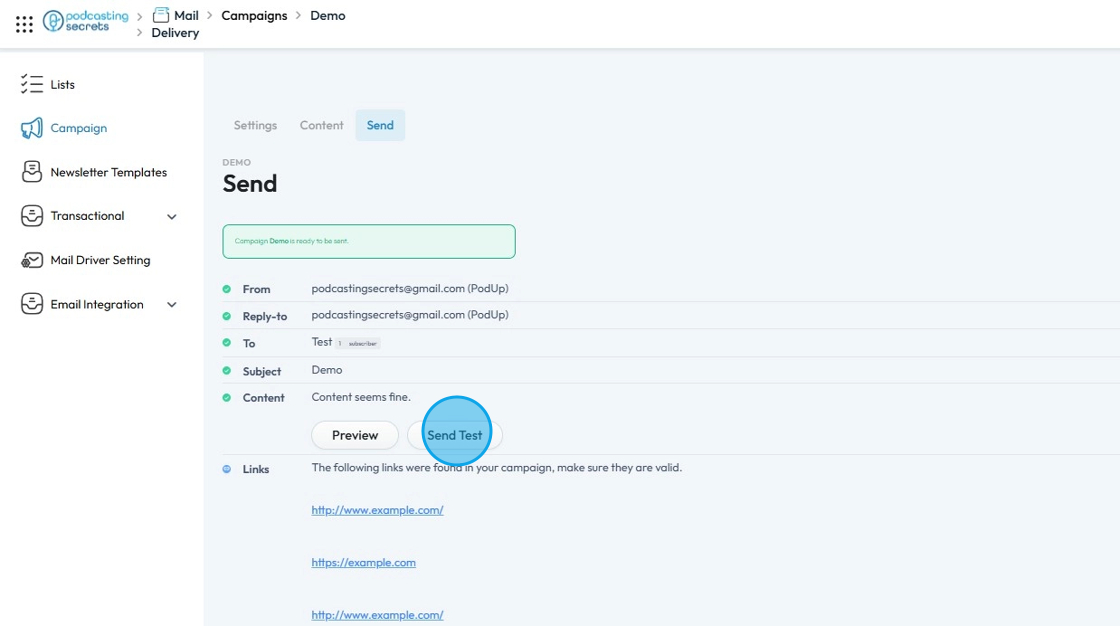
17. You can click "Send Test" for a trial run of the campaign. This allows you to send a sample of your campaign to a designated email address.
18. Click "Send Now" button at the bottom to send the "Newsletter" to the email list.

19. A confirmation window will open up, click "Yes, send now!"
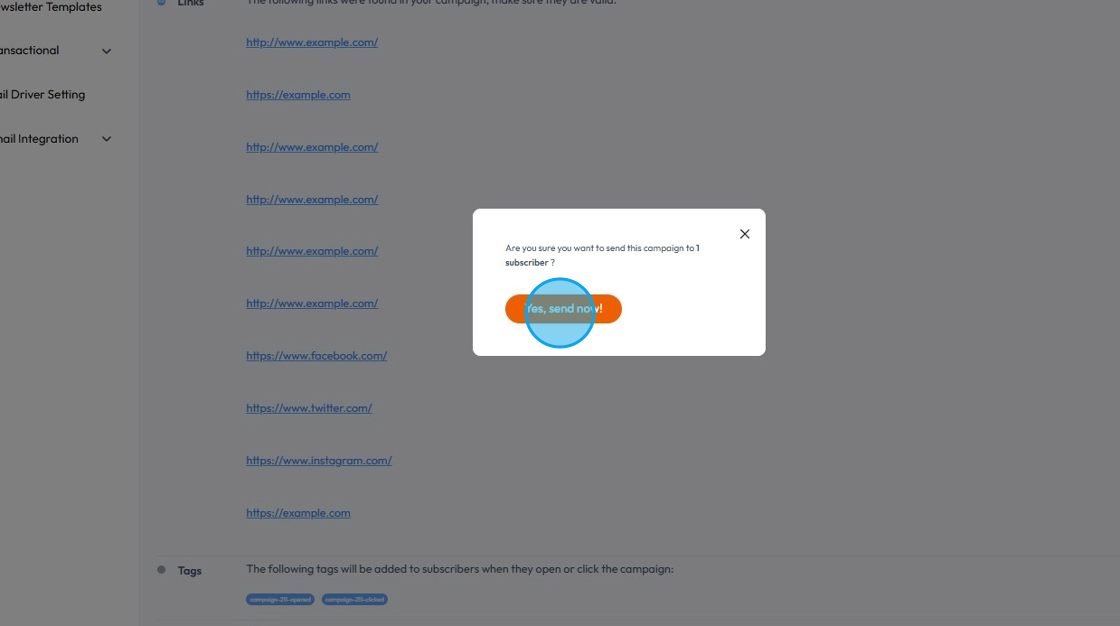
20. You will see "Campaign (Name) is being sent" message in the "Green Box".

21. Click on the "3 Dot" button of the Campaign.
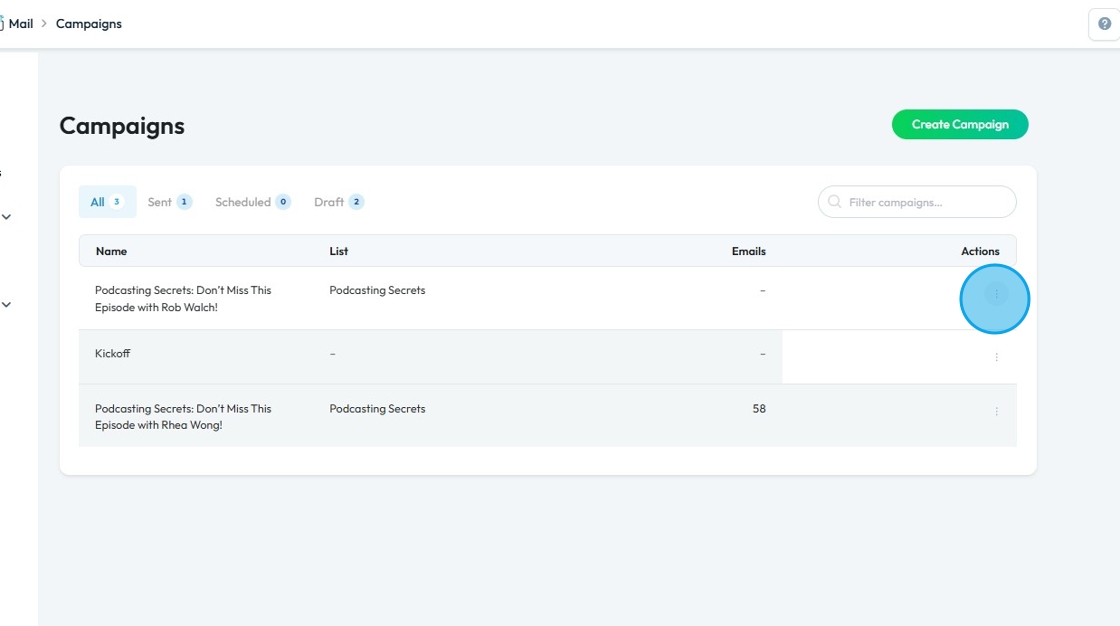
22. Here you will have two actions:
Clone: This allows you to create an exact copy of the selected campaign. It's useful if you want to reuse a successful campaign as a template or make minor variations without starting from scratch.
Delete: This will permanently remove the selected campaign from your list. Use with caution, as this action is usually irreversible.

Related Articles
How to Create a Newsletter List and Segment in PodUp
This guide shows you how to create and manage a newsletter list in PodUp. Learn how to customize lists, segment subscribers, and track results to improve targeting and boost engagement. 1. Navigate to https://app.podup.com/home 2. Click "Grow" 3. ...How Create a Newsletter in PodUp
This guide shows you how to create a professional newsletter in PodUp using 40+ templates and easy design tools. You'll learn how to customize layout, text, and components for a clean look on any device. It’s a simple way to create and share engaging ...Create a Custom Newsletter Template in Podup
By following this guide, you can easily create a custom newsletter template in PodUp that reflects your brand and enhances audience engagement. 1. Navigate to https://app.podup.com/home 2. Click "Grow" 3. Select "Email Marketing" 4. Click "Create ...How to Create a New Project in Podup Editor
By following this guide, you can easily create a new project in PodUp Editor and begin your video editing workflow smoothly and efficiently. 1. Navigate to https://editor.podup.com/ 2. Click "Projects". 3. Select "New project" 4. A new project will ...How to create a New Subcategory in Podup Shop?
This guide provides a straightforward process for creating a new subcategory in Podup, making it easy for users to enhance their product organization. By following the clear steps outlined, users can efficiently manage their inventory and improve the ...