How to Create an Image Gallery on PodUp
This guide shows you how to create and manage image galleries in PodUp. It walks you through the steps to showcase images with a clean, professional look and interactive features—great for boosting engagement on your site.
1. Click "My Site"

2. Click "Image Gallery"
Image gallery in a website builder is a dedicated section or module that allows you to display a collection of images in an organized and visually appealing way on your website. Instead of just showing one image at a time or having a chaotic arrangement, a gallery presents multiple images together, often with interactive features.

3. To create a new gallery click "Create Gallery"

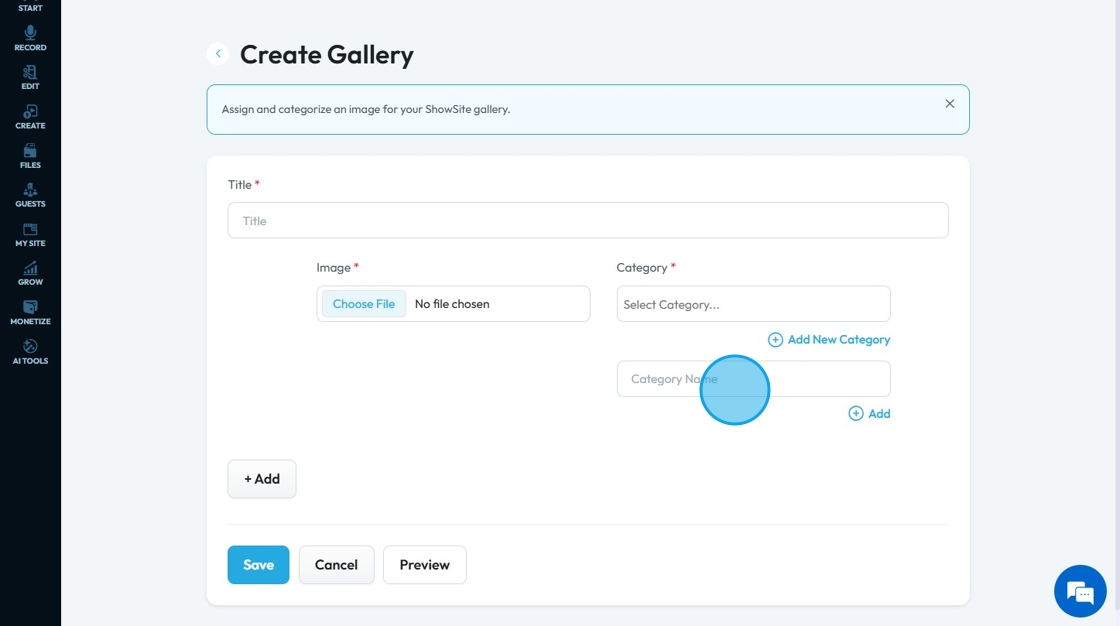
4. Create Gallery page opens up
Click the "Title" field and enter the name of the image

5. Click "Choose File" and select the images from your computer to upload the image

6. Click and select the "Category" under which you want to classify the image

7. Click "Add New Category" to add a new category

8. Click the "Category Name" field and enter the name
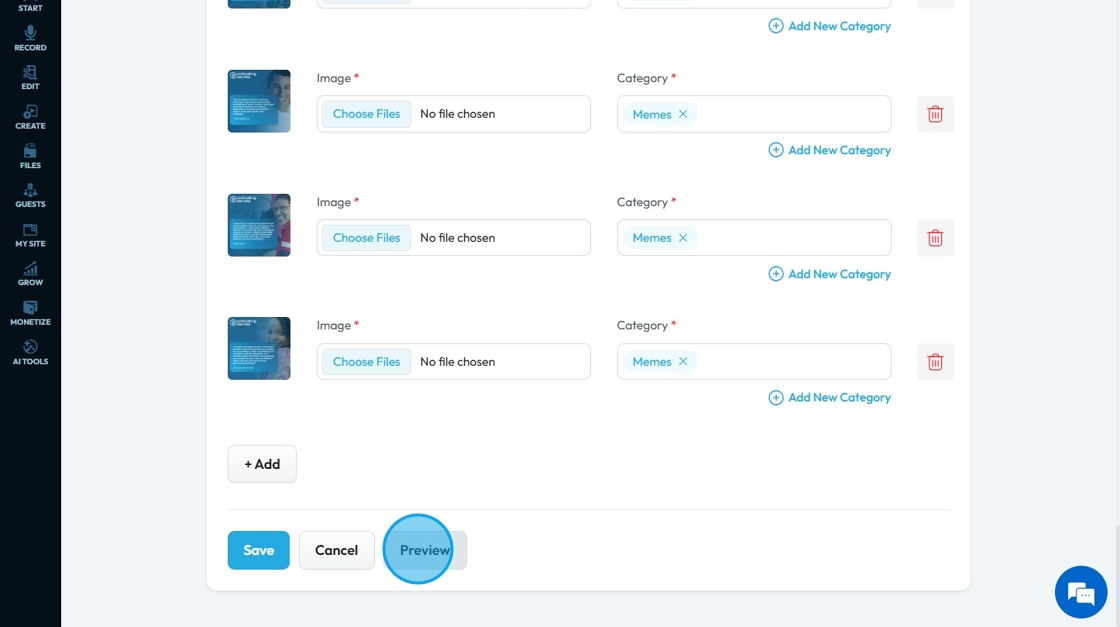
9. Click "+Add" to add more images
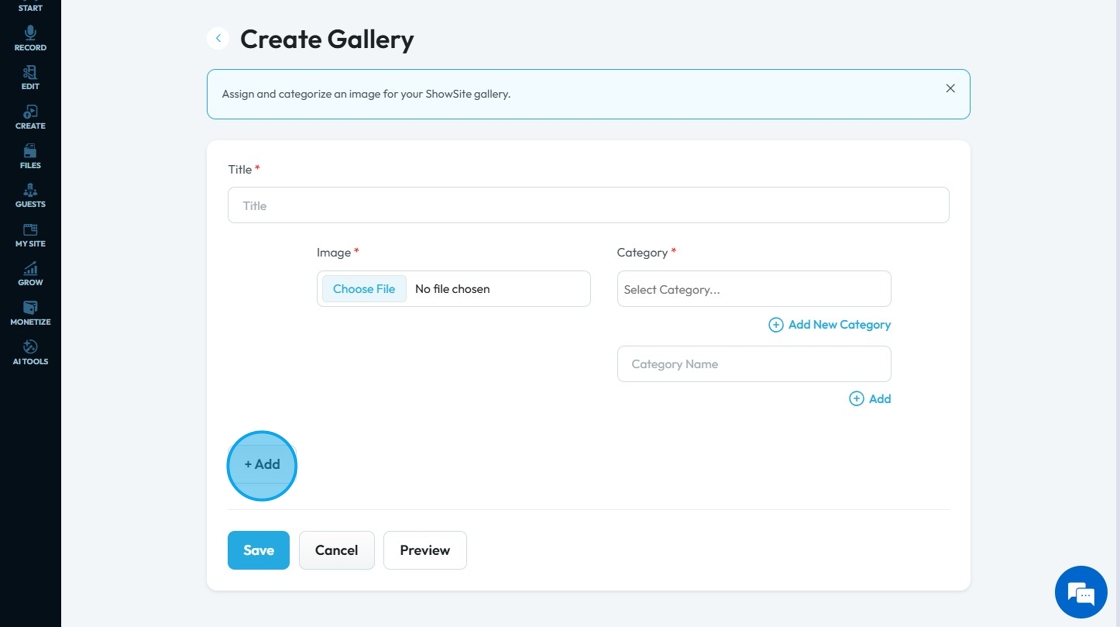
10. Similarly select the image and add the category for the second image

11. Click the three dots

12. Click "Delete" to delete a gallery
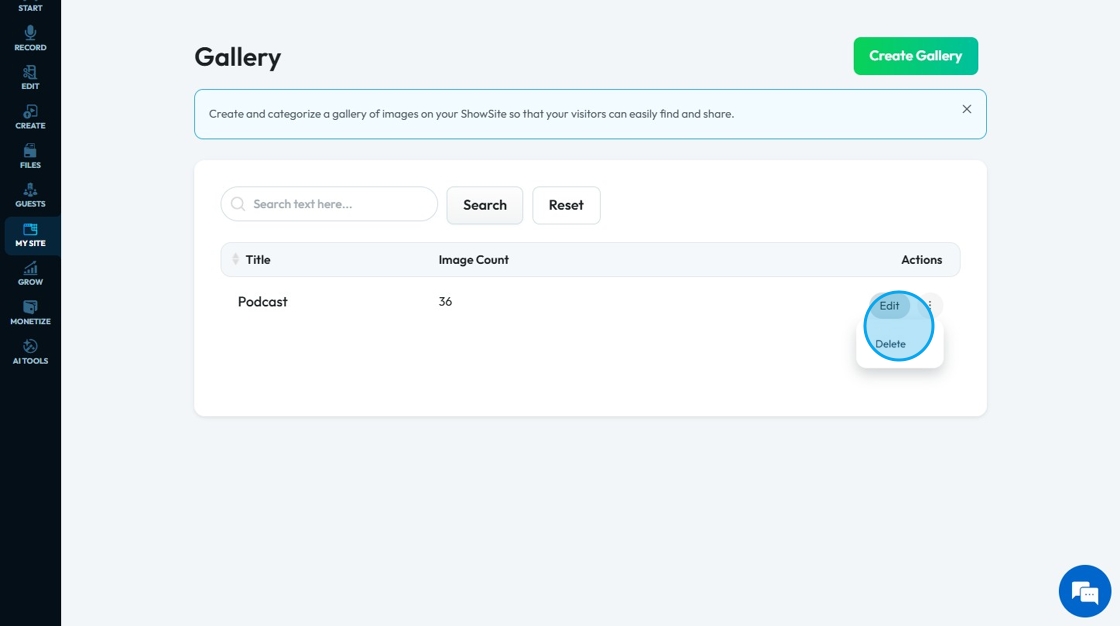
13. Click "Edit" to make modifications to an existing gallery including adding new photos

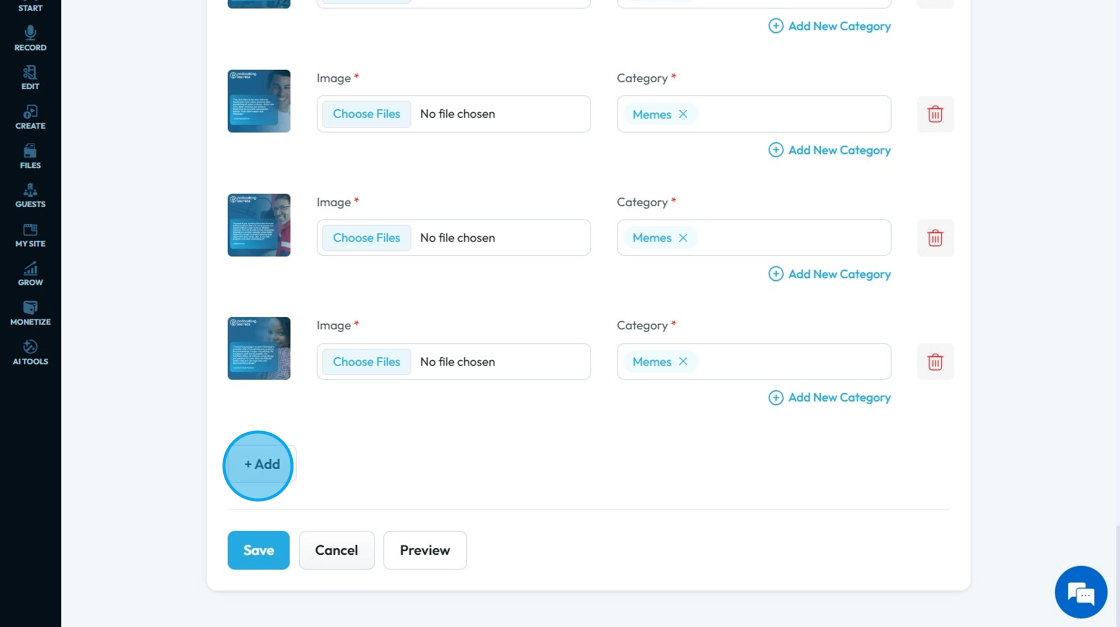
14. All the images will appear in form of a list

15. Click "+Add" to include more images
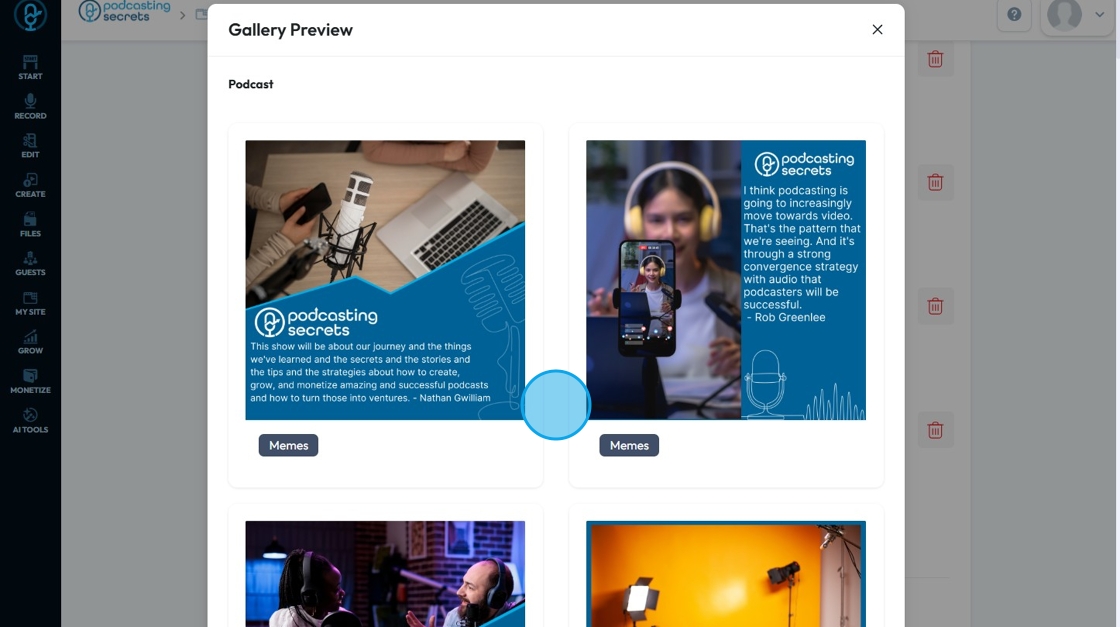
16. Click "Preview" to view the images in the gallery
17. A pop up window opens up "Gallery Preview"
18. Click "Save" to keep the changes that were made to the gallery or "Cancel" to delete the changes

Related Articles
How Create a Newsletter in PodUp
This guide shows you how to create a professional newsletter in PodUp using 40+ templates and easy design tools. You'll learn how to customize layout, text, and components for a clean look on any device. It’s a simple way to create and share engaging ...How to Navigate Image Generator (Detailed)
This guide offers a straightforward process for generating AI images tailored for podcast studio setups, making it ideal for podcasters and content creators. By following the step-by-step instructions, users can easily visualize their podcast ...How to Navigate Image Generator (Detailed)
This guide offers a straightforward process for generating AI images tailored for podcast studio setups, making it ideal for podcasters and content creators. By following the step-by-step instructions, users can easily visualize their podcast ...How to Add an Image from a URL to PodUp Page Builder using Quick Add (Detailed)
This guide offers a straightforward approach to adding images from URLs in PodUp Page Builder, making it ideal for users looking to enhance their website visually and interactively. It provides detailed steps for customizing images, managing styles, ...How to Add an Image from PodUp or Your Computer to PodUp Page Builder using Quick Add (Detailed)
This guide offers a straightforward approach to adding small images to your PodUp Page Builder, making it ideal for users looking to enhance their website's visual appeal with ease. It provides step-by-step instructions for both beginners and ...