How to Create a Newsletter List and Segment in PodUp
This guide shows you how to create and manage a newsletter list in PodUp. Learn how to customize lists, segment subscribers, and track results to improve targeting and boost engagement.
1. Navigate to https://app.podup.com/home
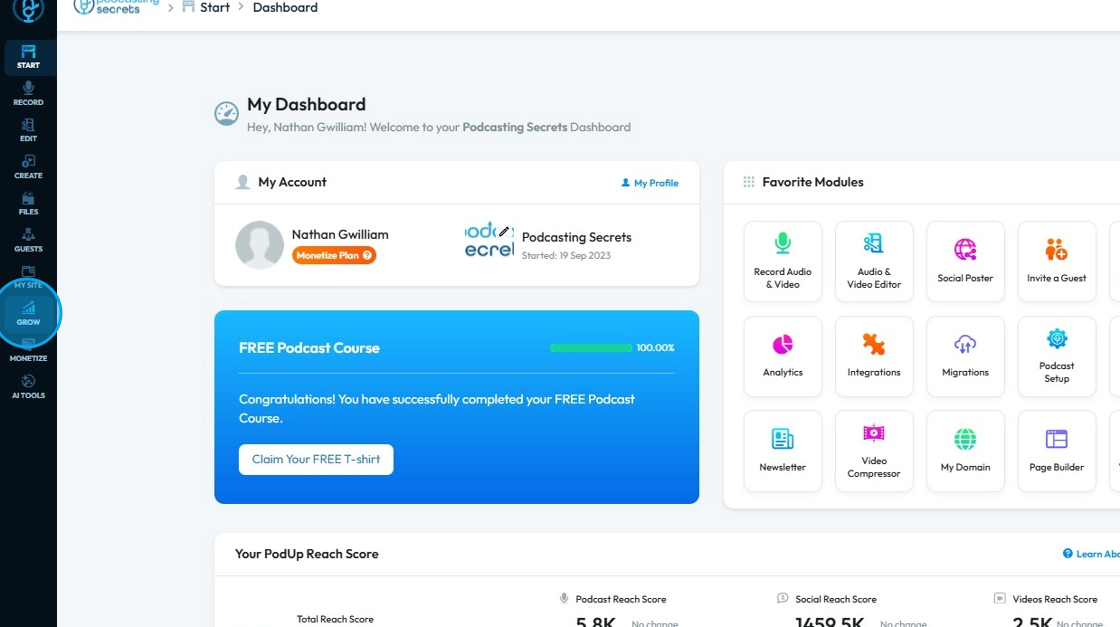
2. Click "Grow"
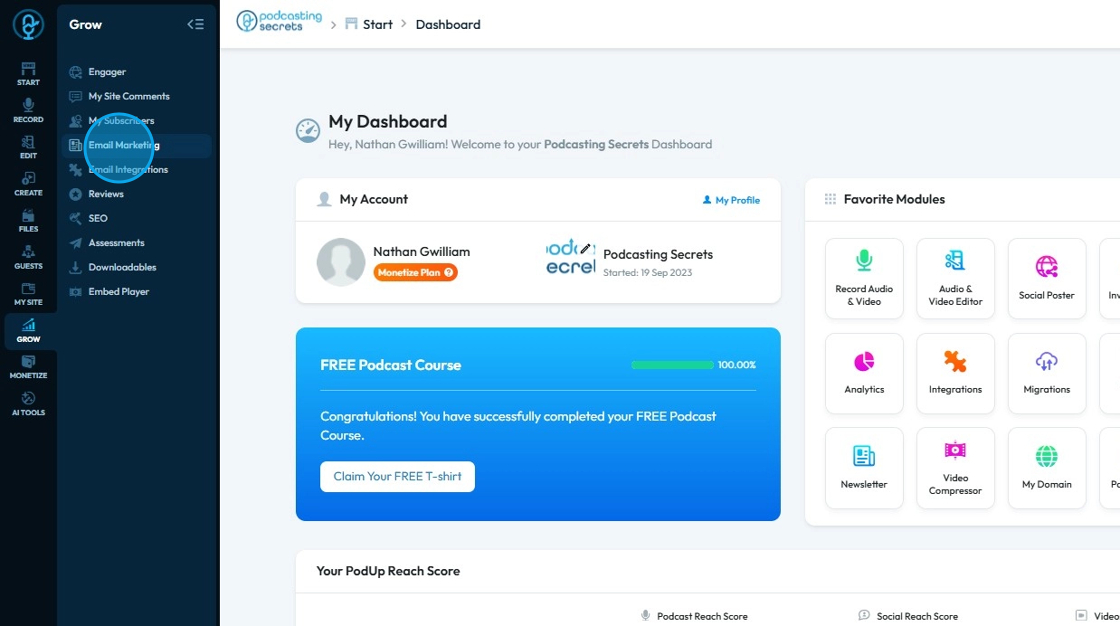
3. Click "Email Marketing"
4. You will land on "Select a Newsletter Template" page.

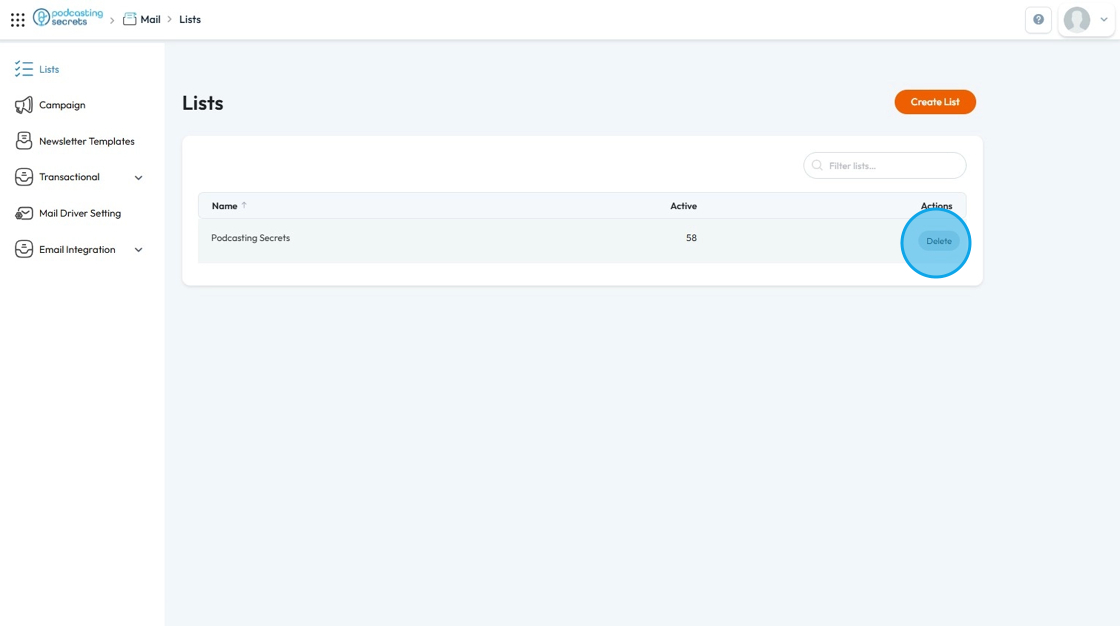
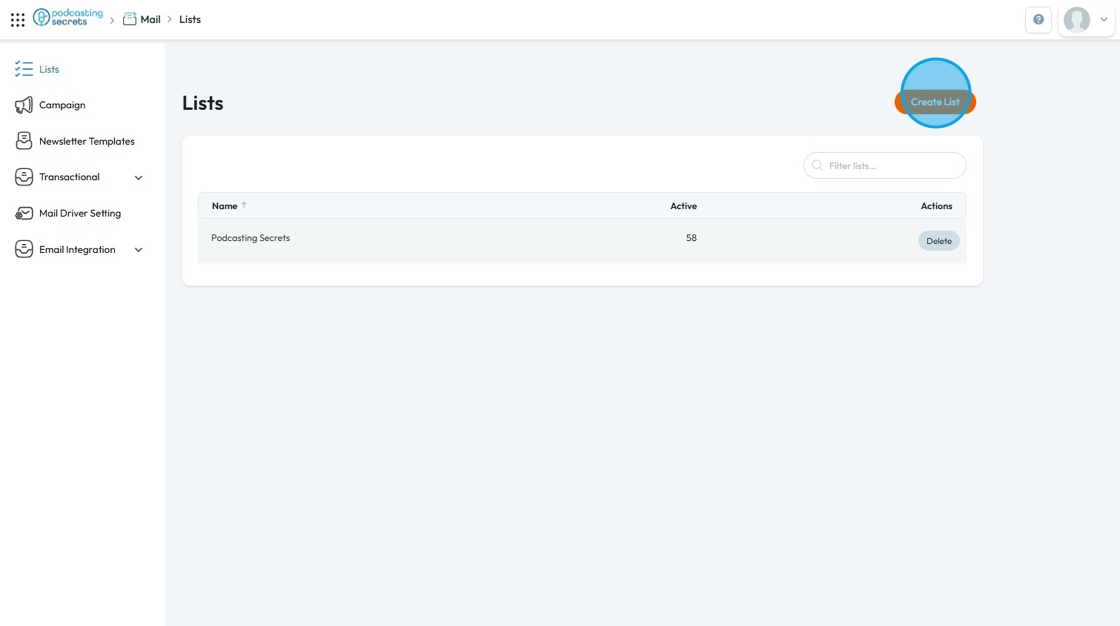
5. Click "Lists" to open list page.

6. If you want to delete a preexisting list, click "Delete" button right next to the list name.
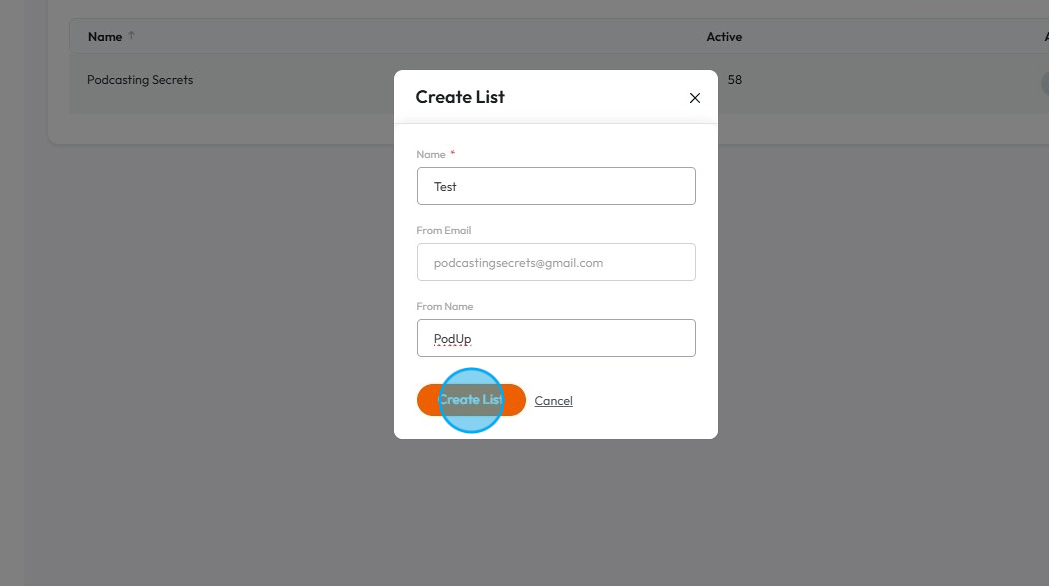
7. Click "Create List" to make a new list.
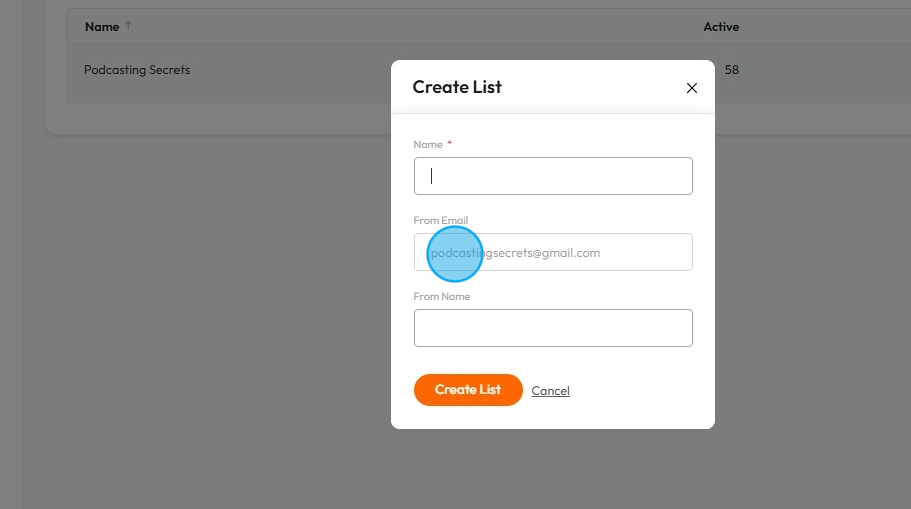
8. Click the "Name" field to name the list.
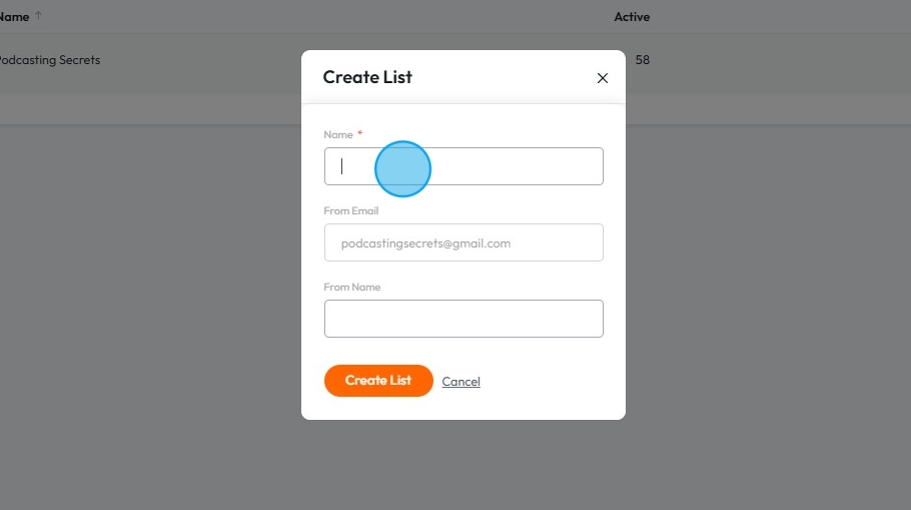
9. The email here will be the email already linked to your account
10. Click the "From Name" field and enter the Sender's Name.
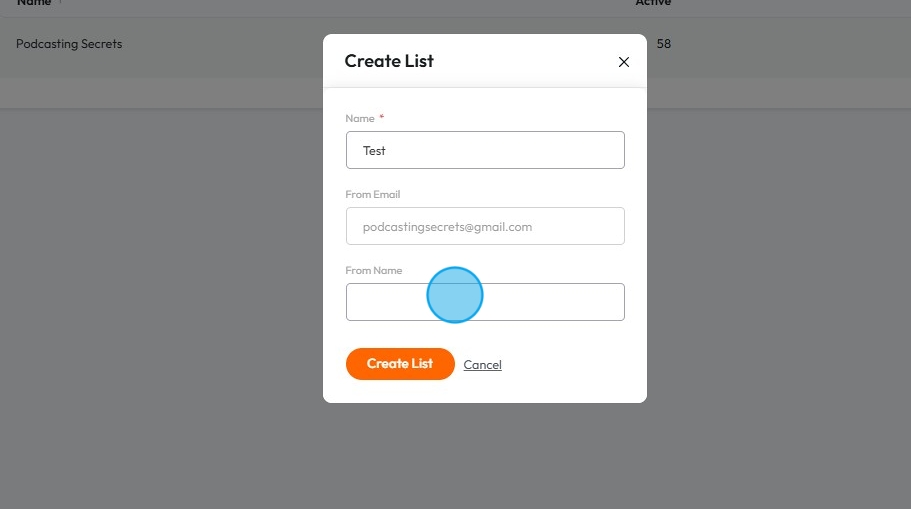
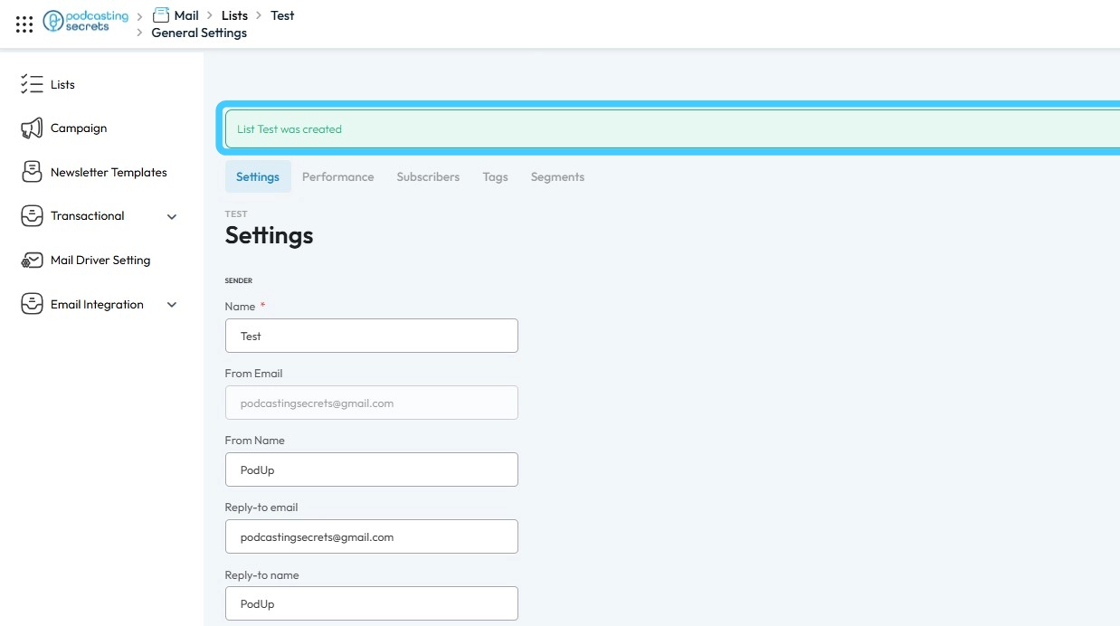
11. Click "Create List"
12. Once the list is created successfully, you will see a "List was created" message.
13. Once the newsletter list is created, you'll have multiple details/information you can tweak:
- Name: This is the internal name for your newsletter list, helping you identify it easily within your system.
- From Email: This is the email address that appears as the sender of your newsletters.
- From Name: This is the name that appears as the sender of your newsletters (e.g., "Your Company Marketing").
- Reply-to Email: This is the email address where replies to your newsletters will be sent.
- Reply-to Name: This is the name associated with the reply-to email address.
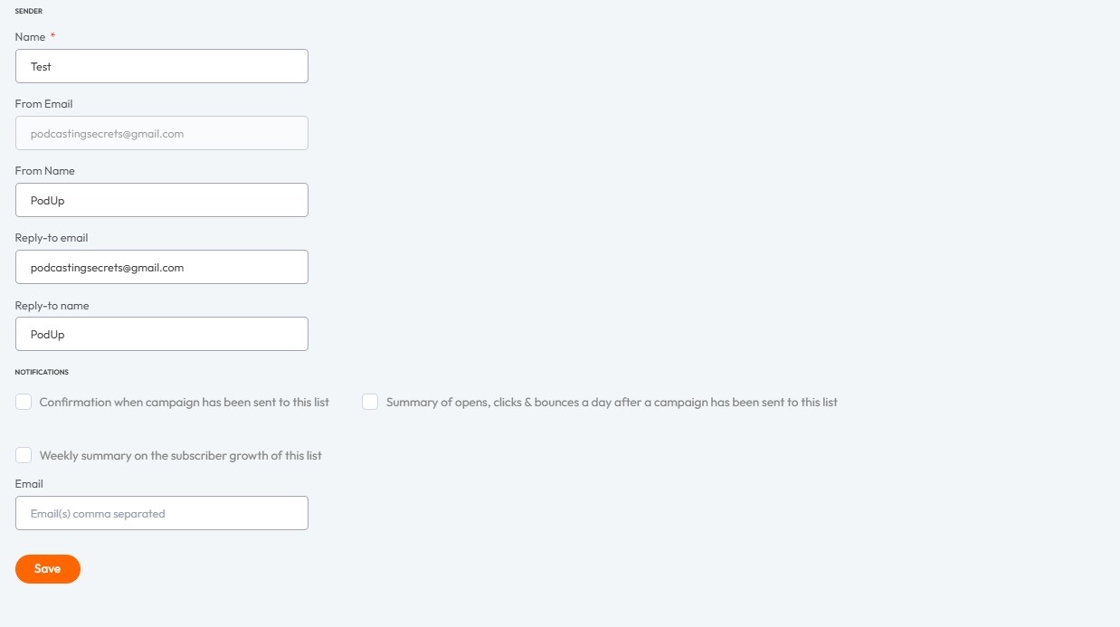
- Notifications: This section allows you to configure email alerts for activities related to your newsletter list.
- Confirmation when campaign has been sent to this list means that you will get a notification anytime an email is sent using this list
- Summary of opens, clicks & bounces a day after a campaign has been sent to this list will give you a list of how people are interacting with your emial
- Weekly summary on the subscriber growth of this list will give you a weekly update about how many people have joined this list
- Email: In this field, you can add emails you want to send the newsletter to.
Click Save to keep any changes that were made
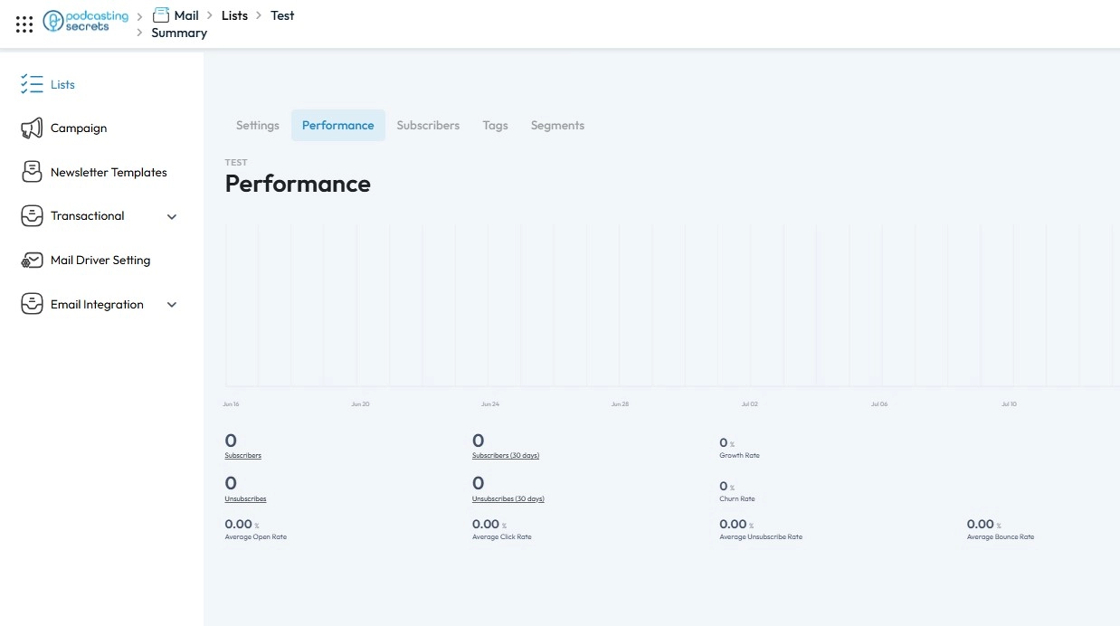
14. Click "Performance"
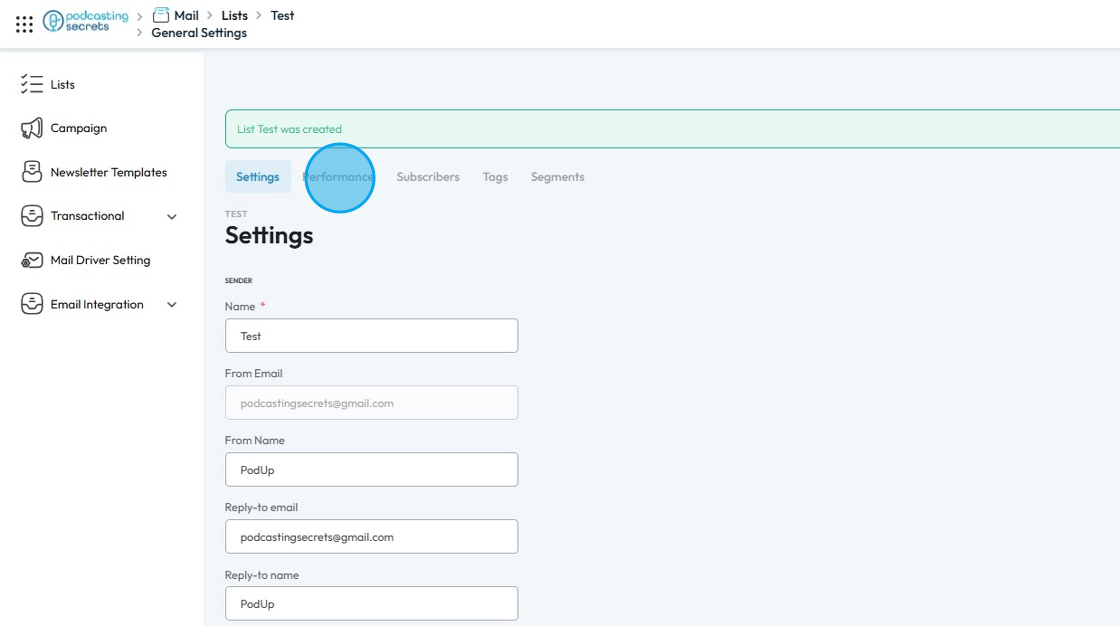
15. The "Performance" page will show you the key metrics and data that indicate how well the list is performing over a specific period.
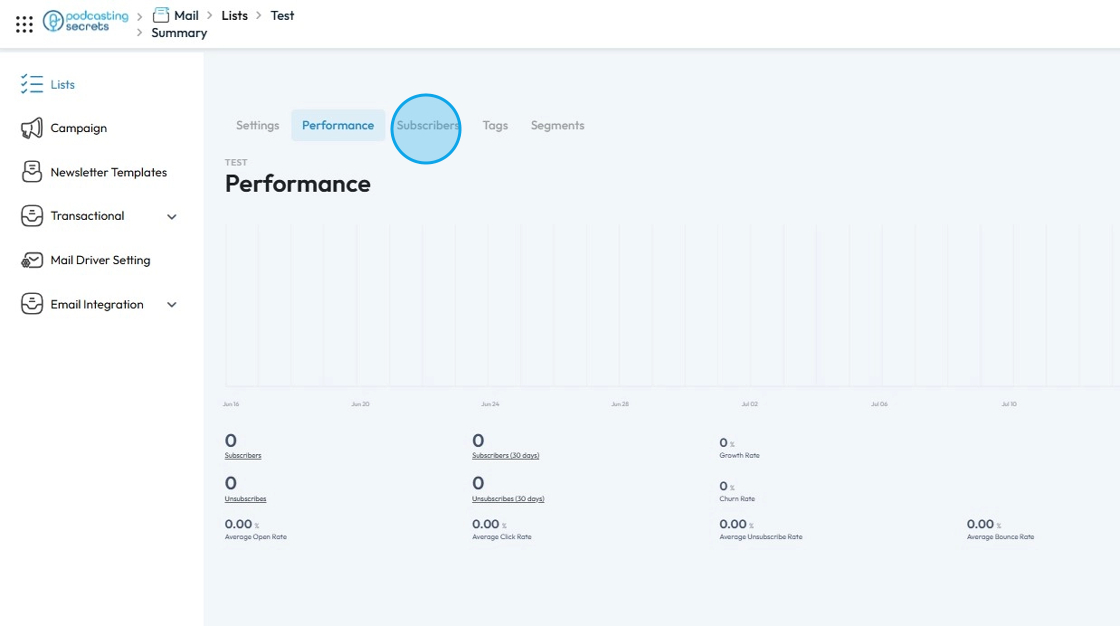
16. Click "Subscribers"
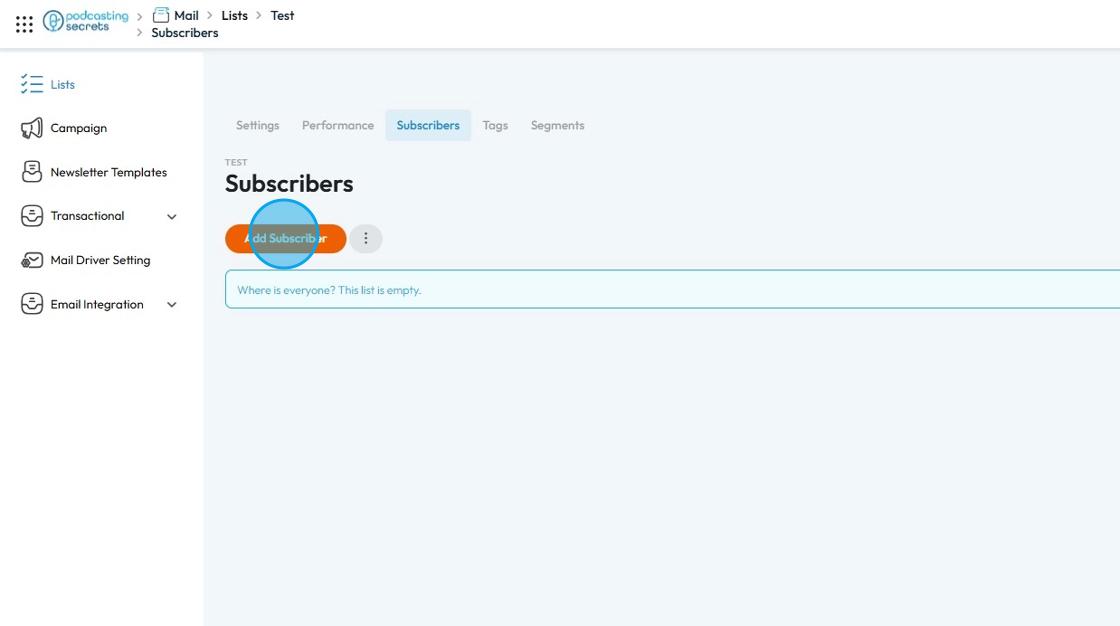
17. You can add subscribers to your list by clicking "Add Subscriber"
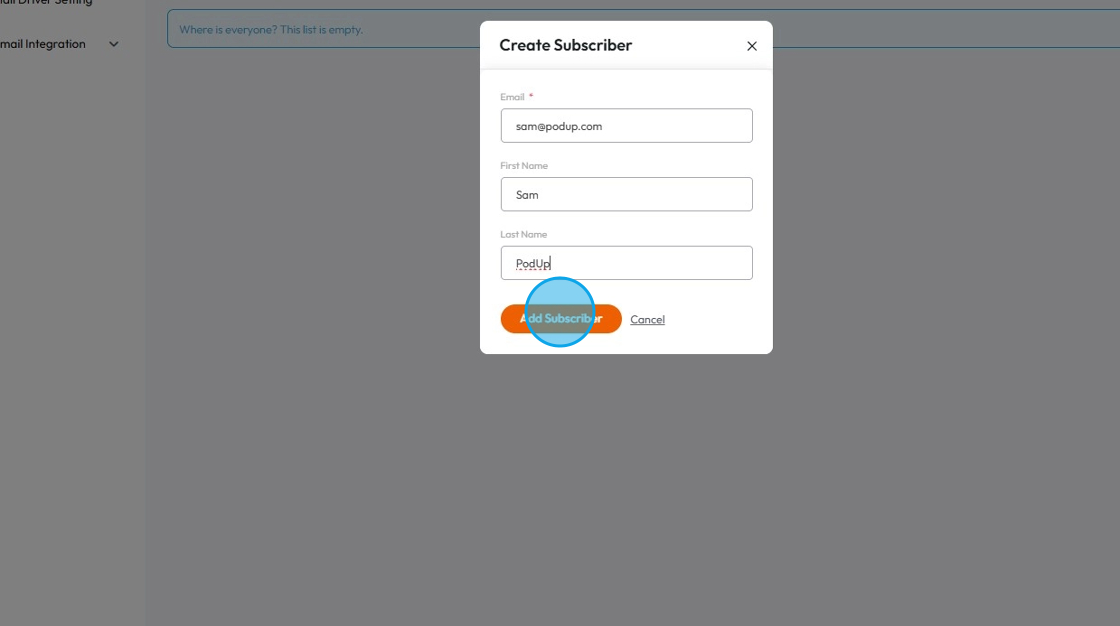
18. A new Pop-up window will get open. Click the "Email" field and enter the email address you want to add in the subscribers.

19. Click the "First Name" field to enter the first name of the subscriber.

20. Click the "Last Name" field to enter the last name of the subscriber.
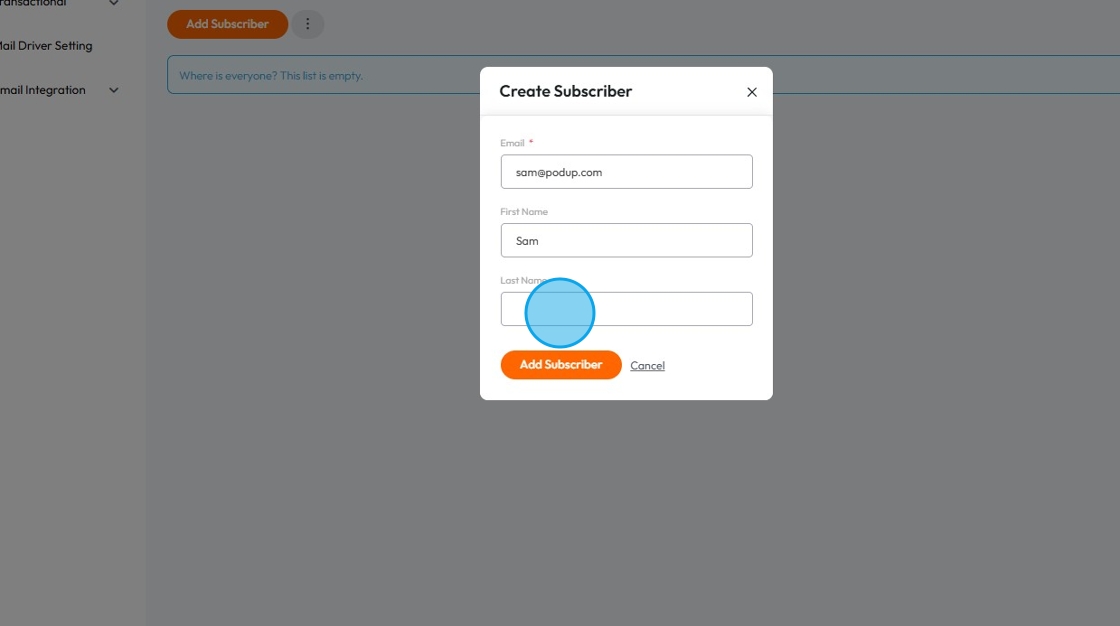
21. Click "Add Subscriber" once done to add the subscriber to your list
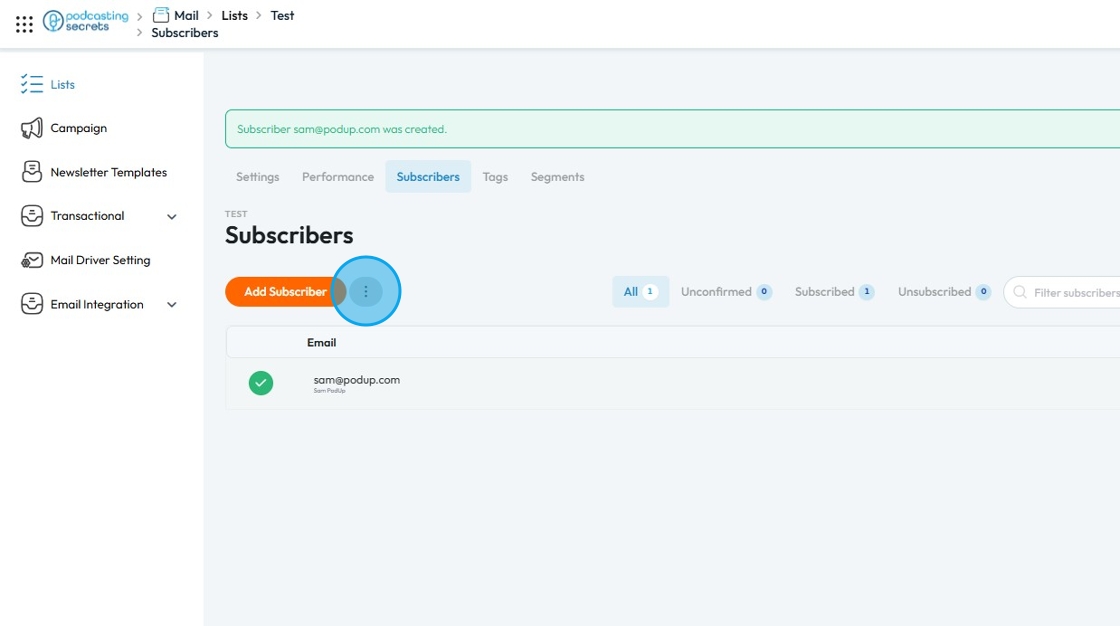
22. The "Subscriber" will be added into the list and you will be greeted with "Subscriber was created" message.

23. Click the "3 dots" button right next to "Add Subscriber".
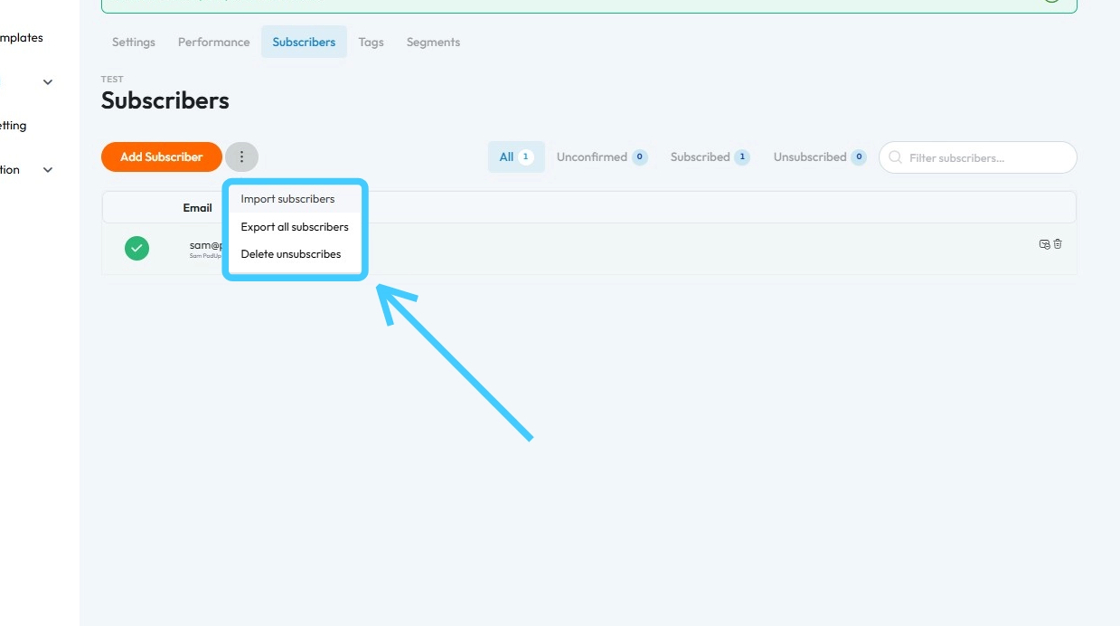
24. You can also:
- Import subscribers: This allows you to add a list of existing subscribers to your newsletter or mailing list, from a file like a CSV or XLSX.
- Export subscribers: This allows you to download your current list of subscribers, in a Excel file format , for backup, analysis, or use in other systems.
- Delete subscribers: This allows you to remove subscribers from your list.
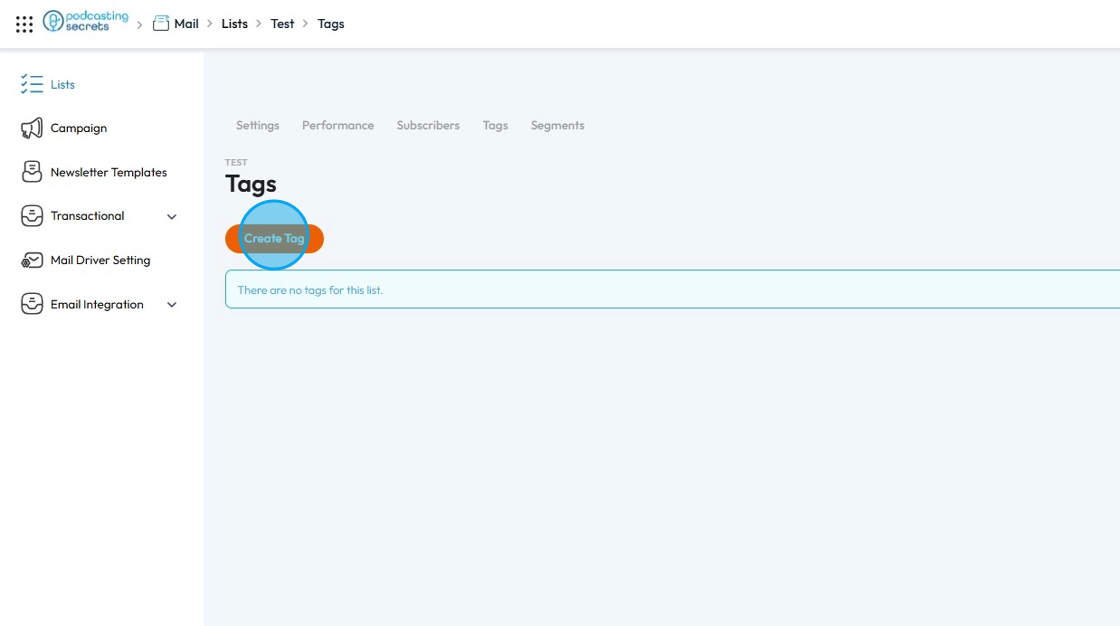
25. Click "Tags"
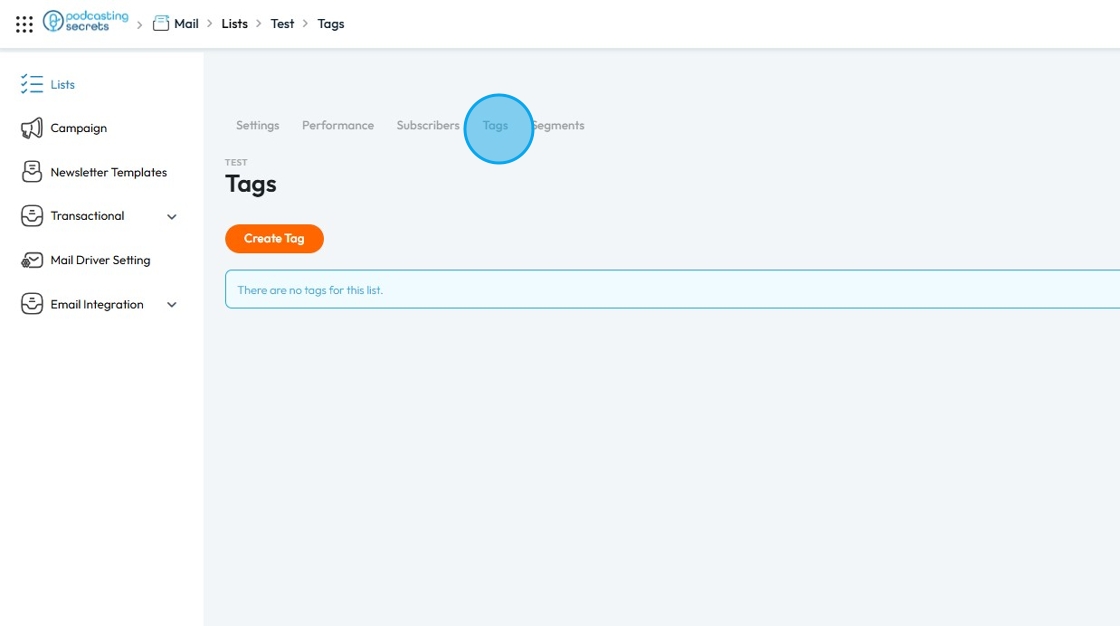
26. Click "Create Tag" to create tags to assign to the email list.
- Tag: Helps you organize your email list so you can send the right message to the right people. It’s useful for targeting, automating, and personalizing your emails based on what someone did or what they’re interested in.
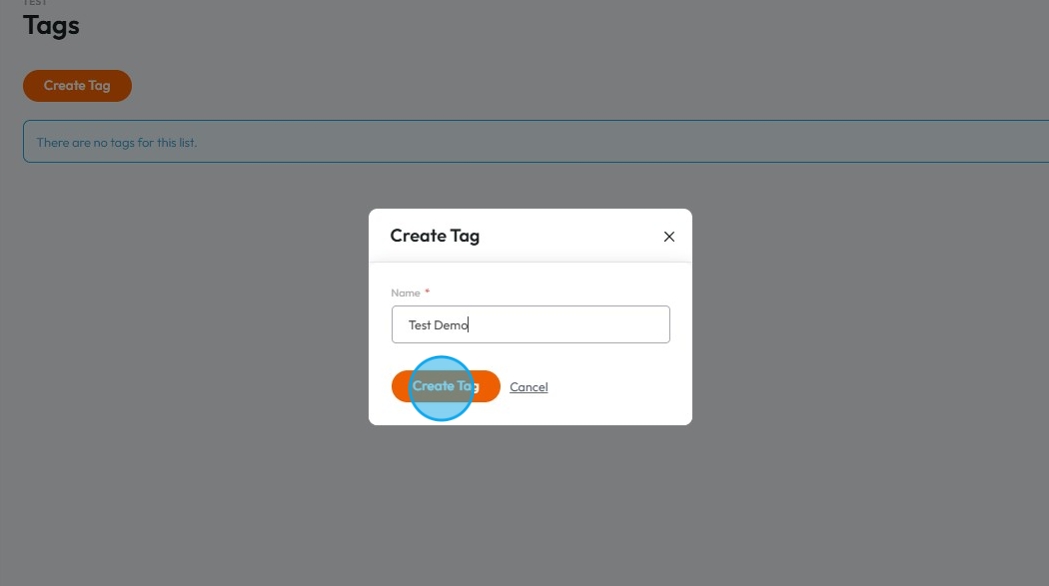
27. Enter the name of the "Tag" and click "Create Tag"
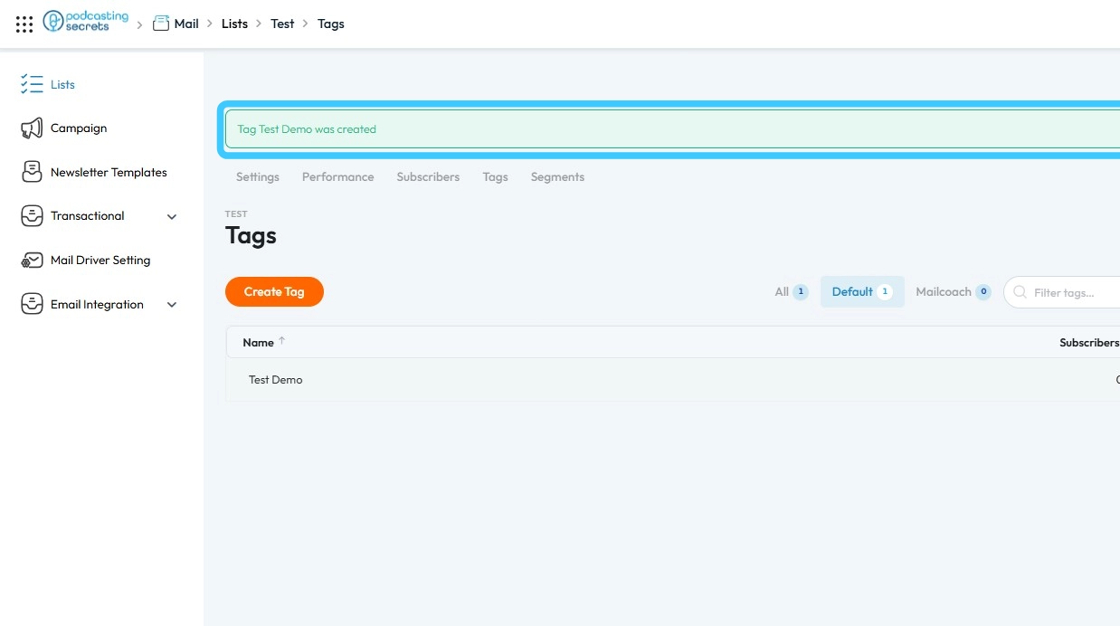
28. You will see a message "Tag was created."
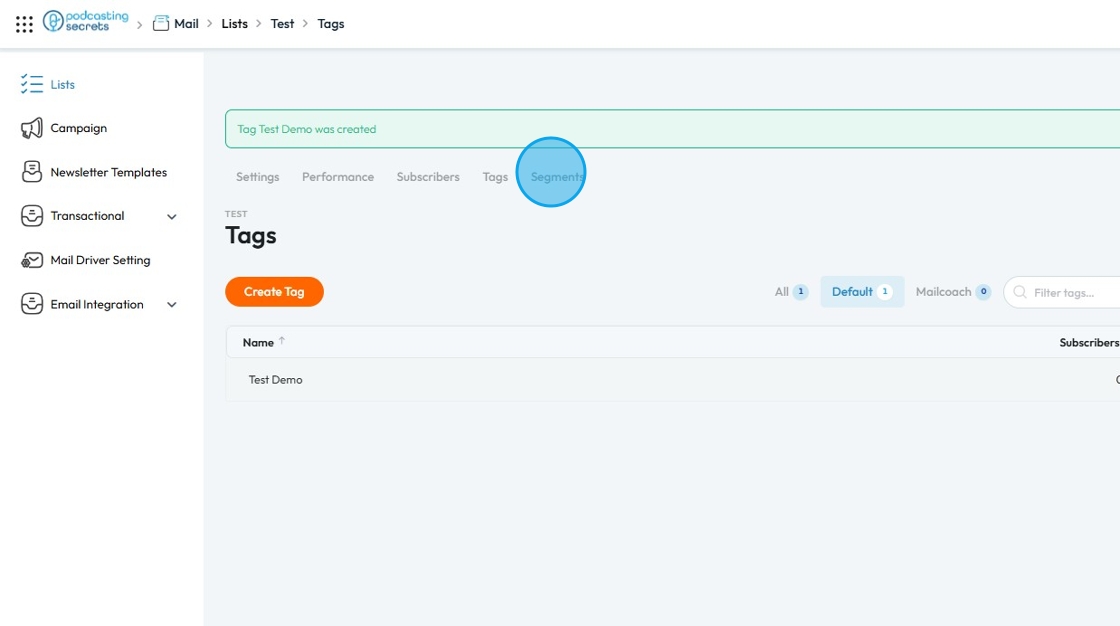
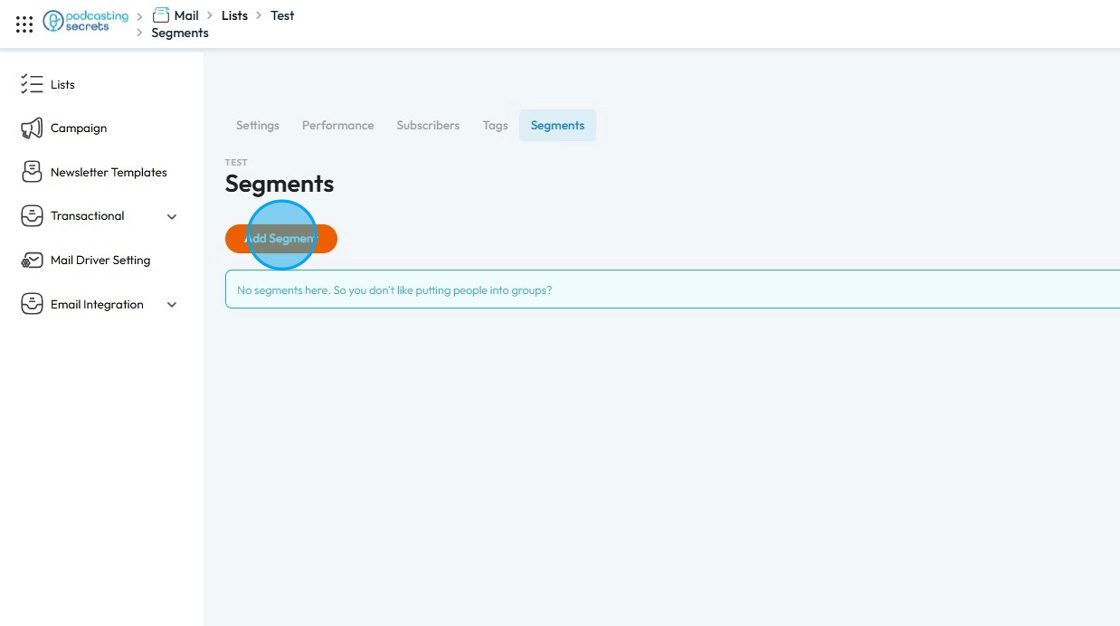
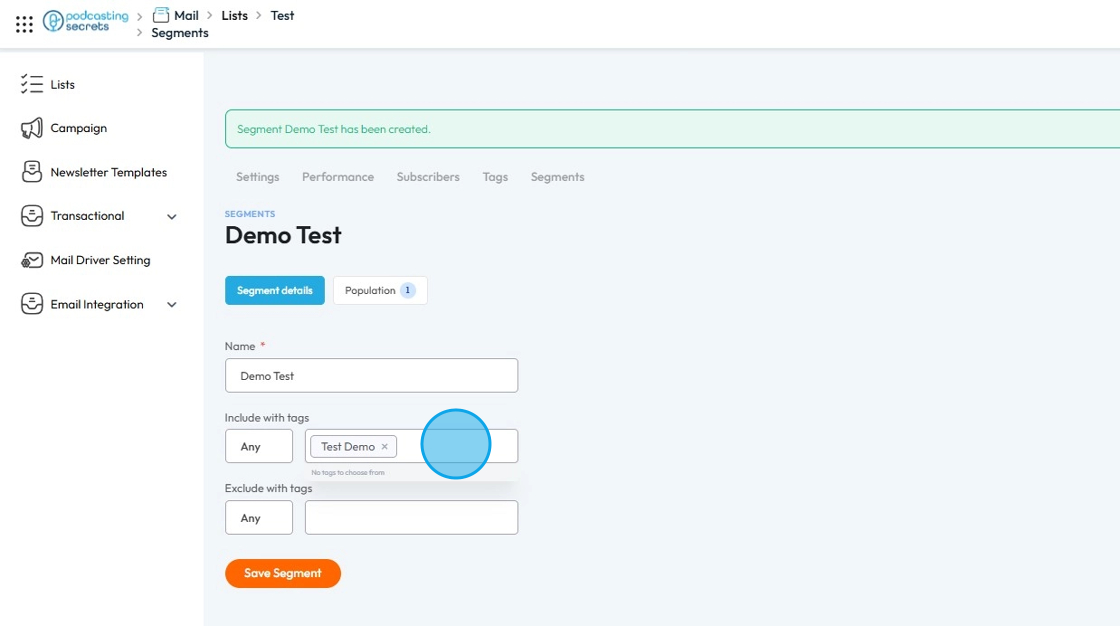
29. Click "Segment"
30. Click "Add Segment" to filter your subscribers in group.
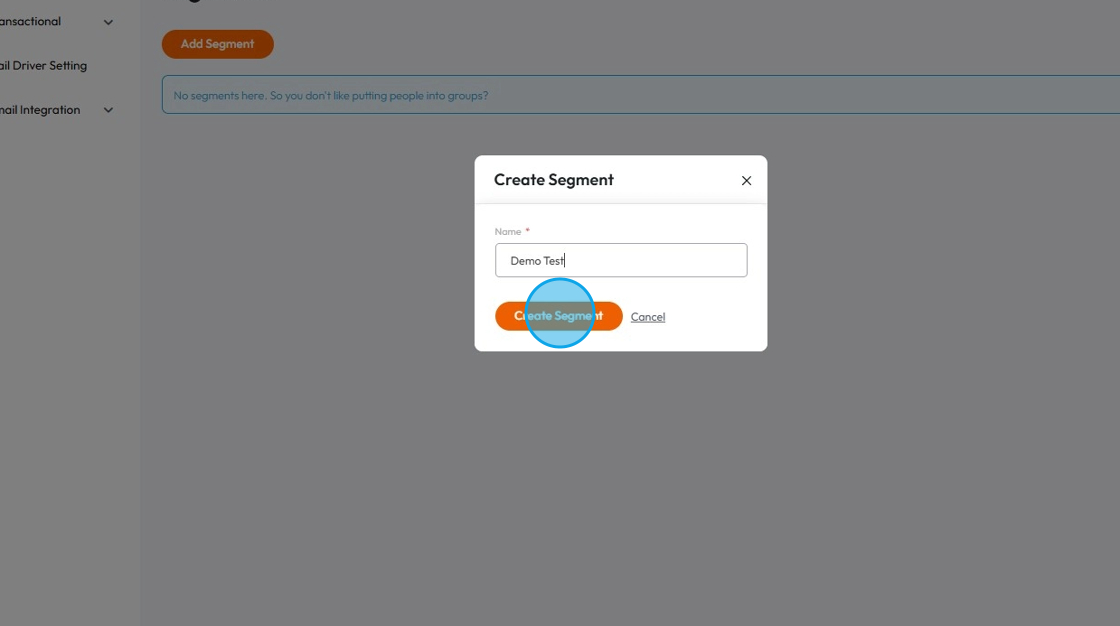
31. Give a name to the Segment and click "Create Segment"
32. Once the segment is created you will see "Segment has been created".
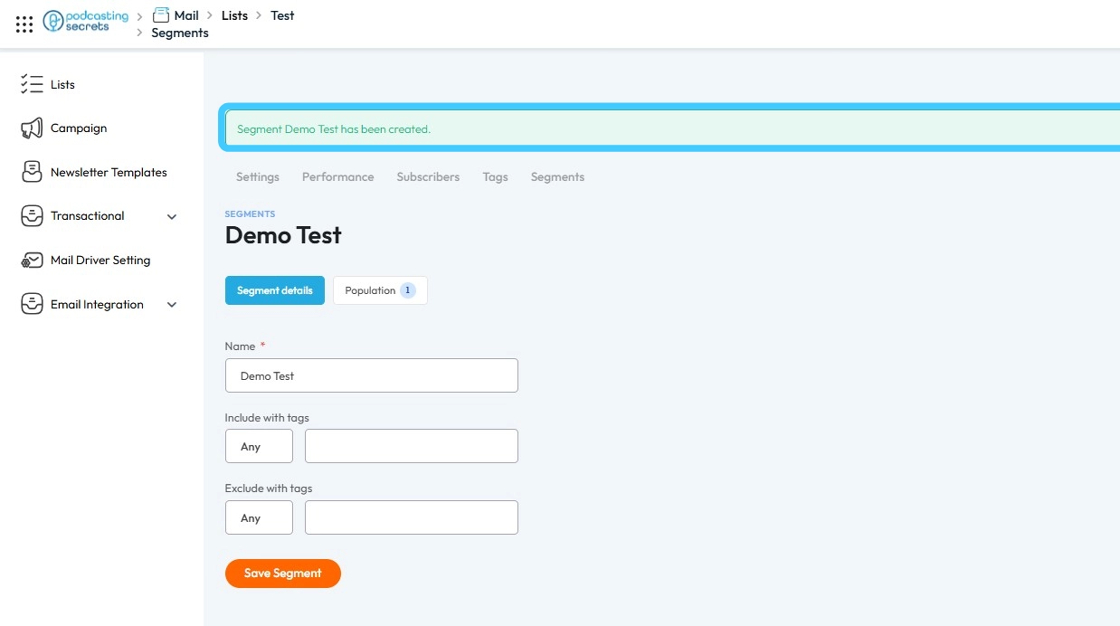
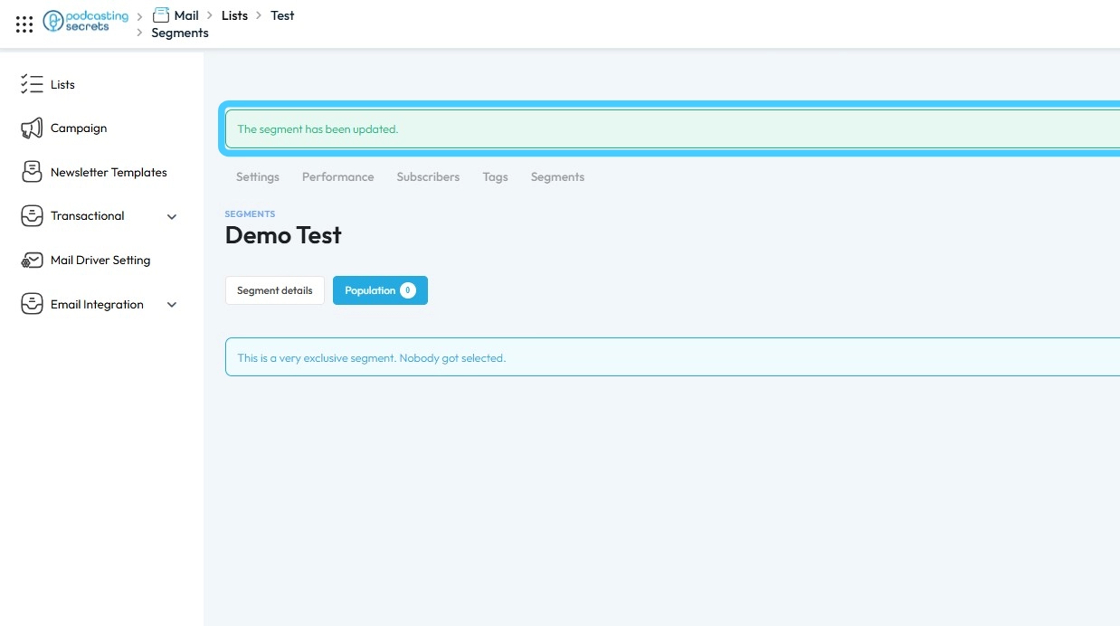
33. The "Population" tab will show the amount of subscribers you have in the list.

34. "Include with tags" field allows you to filter a group of subscribers who have specific tags attached to them.
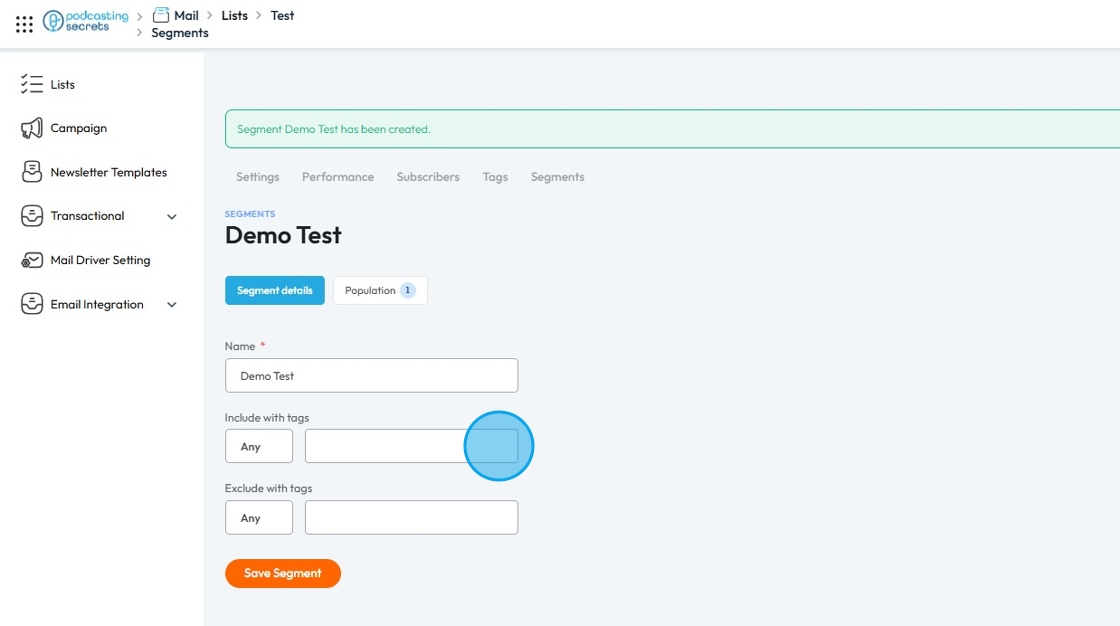
35. Click the "Empty" field under "Include with tags" to choose a Tag. A dropdown menu or list of available tags will appear, from which you can select the specific tag(s) you wish to use for filtering your subscribers
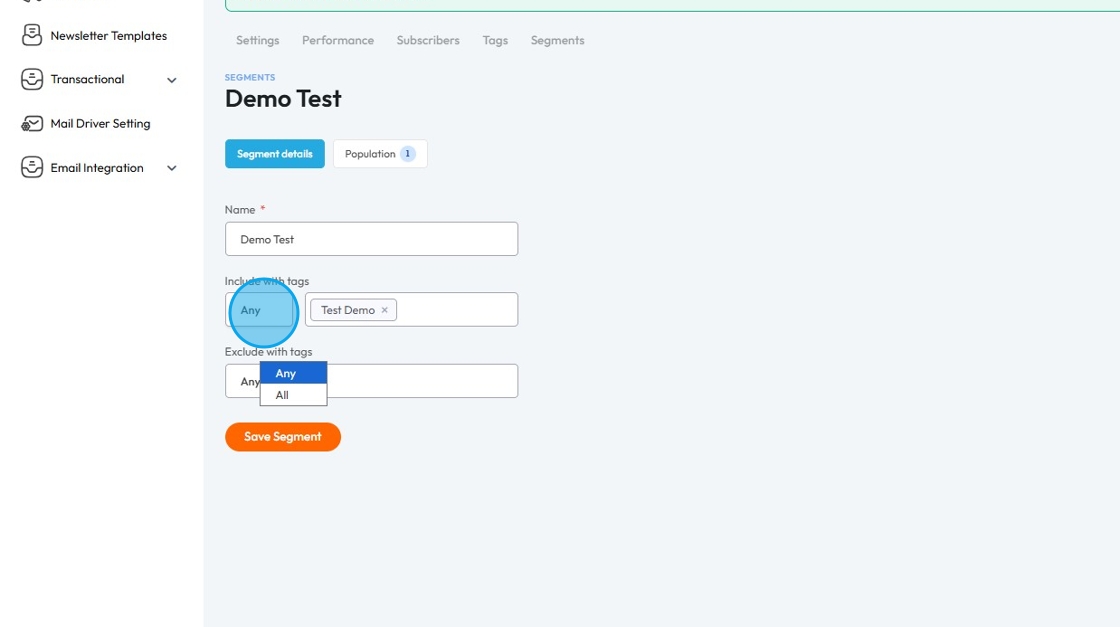
36. You can also change the Pre-set "Any" to "All". This modifies how the tags are filtered: "Any" will include subscribers who have at least one of the selected tags, while "All" will only include subscribers who have every single one of the selected tags.
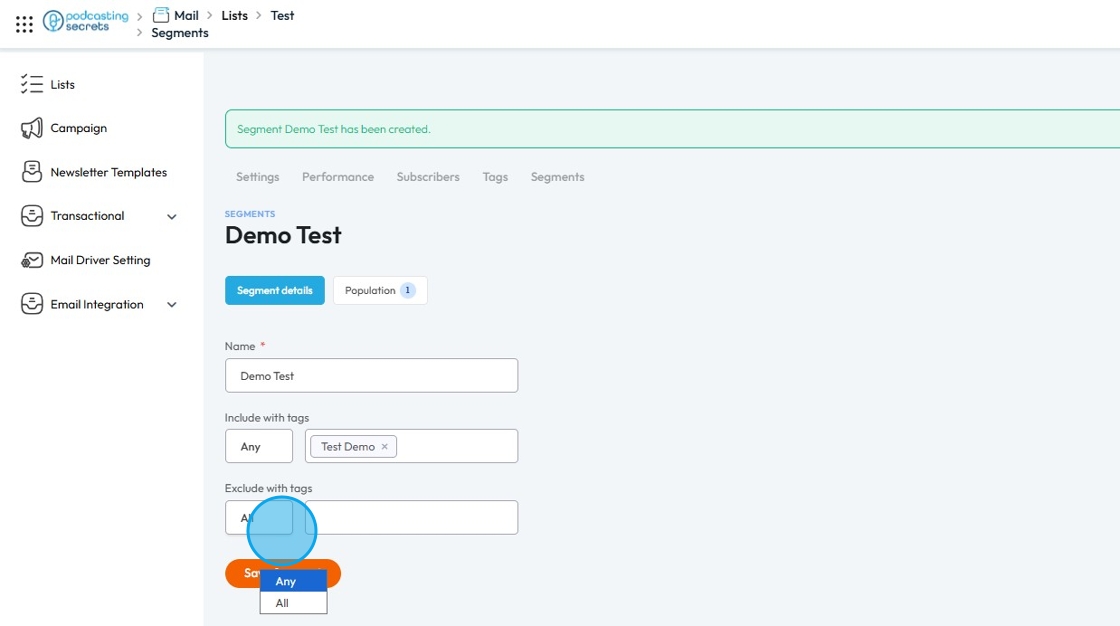
37. Next is Exclude with tags.
This field allows you to filter out a group of subscribers who have specific tags attached to them. Essentially, it helps you create a more refined target audience by removing anyone with a certain tag, ensuring your communications don't reach those for whom they're not intended.

38. Here as well you have two options: Any or All.
Similar to "Include with tags," these options determine how the exclusion works:
Any: Excludes subscribers who have at least one of the selected tags.
All: Excludes subscribers only if they have every single one of the selected tags.
39. Click "Save Segment" to save the changes.
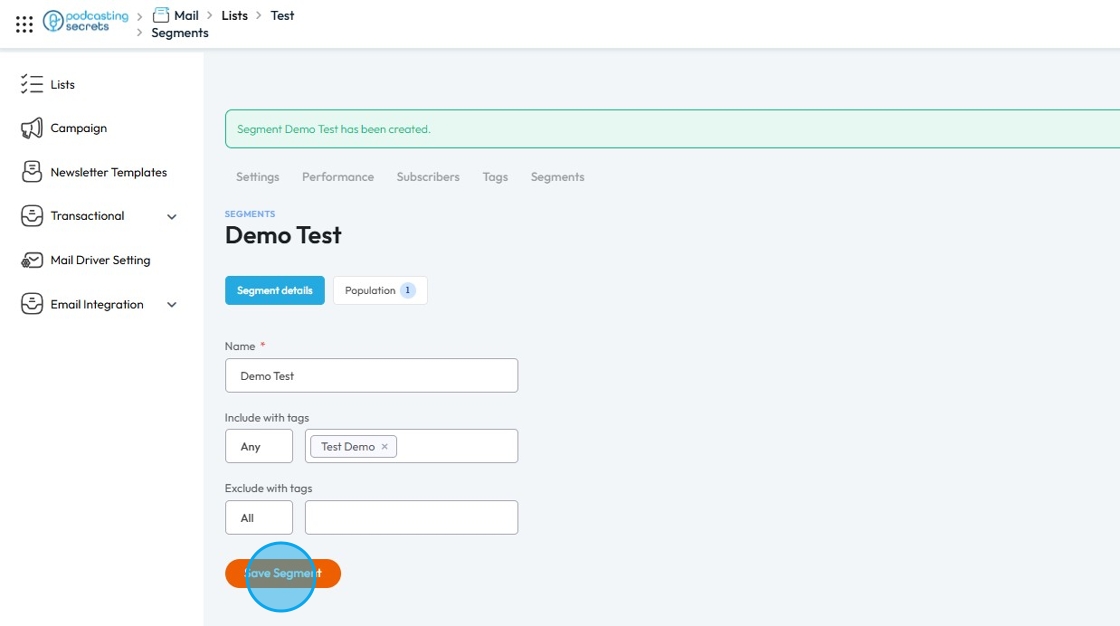
40. Once the Segment is successfully saved you will see "The segment has been updated" message in green box.
41. Your email list has now been created and is ready to capture emails and send out newsletters or other material!
Related Articles
How Create a Newsletter in PodUp
This guide shows you how to create a professional newsletter in PodUp using 40+ templates and easy design tools. You'll learn how to customize layout, text, and components for a clean look on any device. It’s a simple way to create and share engaging ...Create a Custom Newsletter Template in Podup
By following this guide, you can easily create a custom newsletter template in PodUp that reflects your brand and enhances audience engagement. 1. Navigate to https://app.podup.com/home 2. Click "Grow" 3. Select "Email Marketing" 4. Click "Create ...How To Navigate Newsletter Generator (Detailed)
This guide provides a comprehensive walkthrough on generating AI newsletters specifically tailored for podcast monetization. It simplifies the newsletter creation process, allowing users to effectively incorporate keywords, blogs, videos, and ...How do I customize my newsletter for every newsletter?
Follow this guide to customize your newsletter with your own content and images easily. 1. Navigate to https://app.podup.com/home 2. Click "Grow" 3. Select "Email Marketing" 4. The “Newsletter” section will load 5. Click “Create Newsletter Template” ...How to Create and Send a Campaign in PodUp
This guide shows you how to create and send email campaigns in PodUp. It covers each step—from setup to testing and tracking—so you can send effective, well-timed newsletters with ease. Great for both beginners and experienced marketers. Tip: An ...