How do I make a custom font
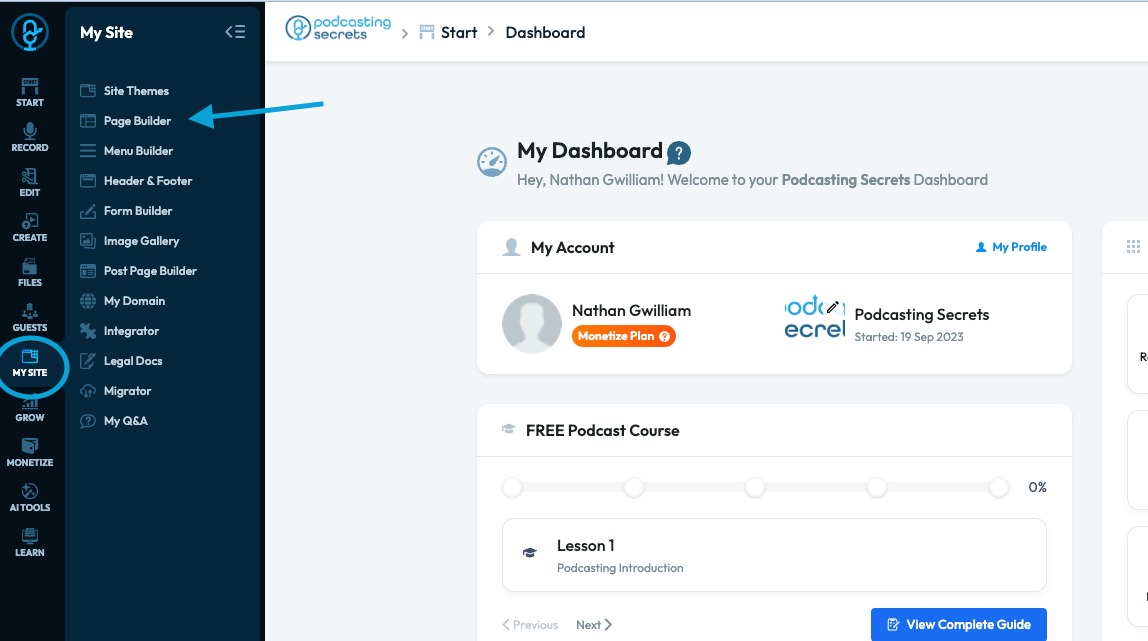
2. Upload a page to customize the text
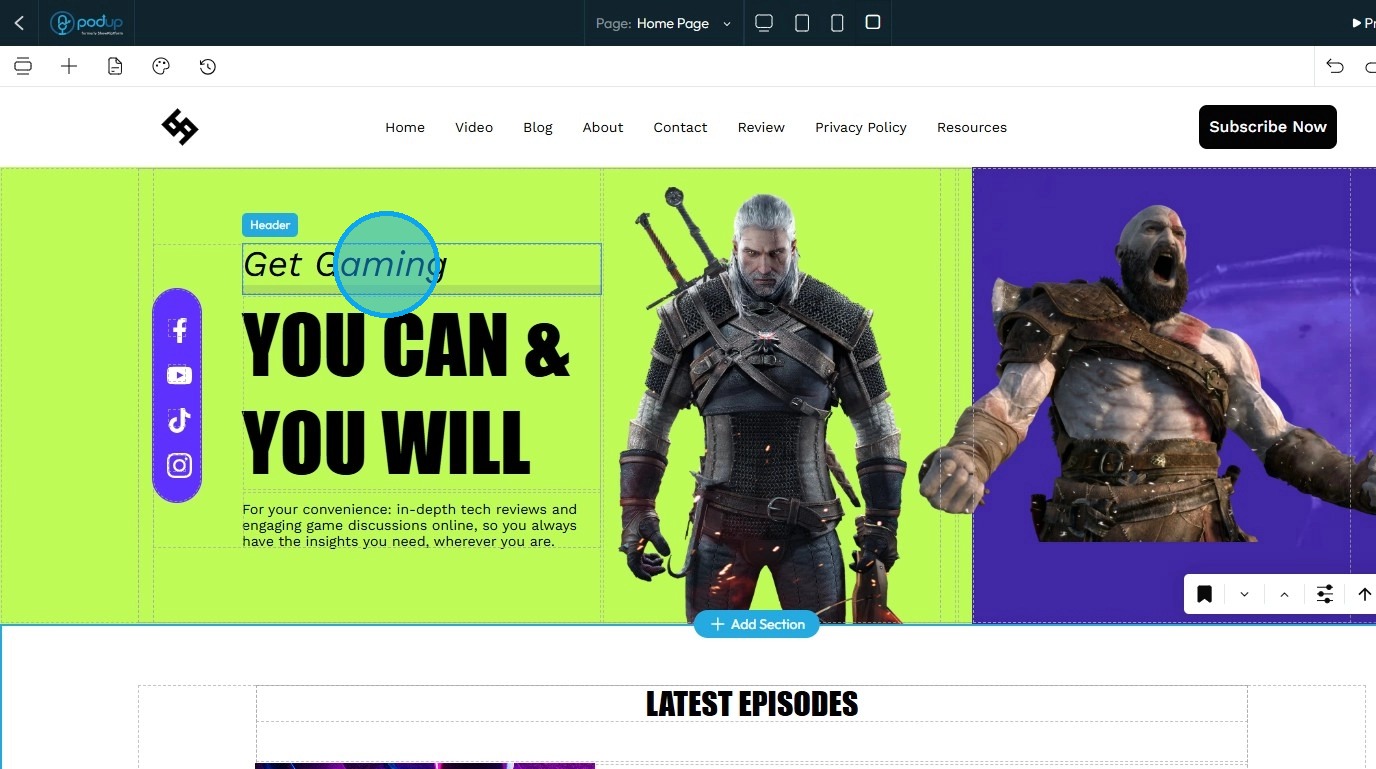
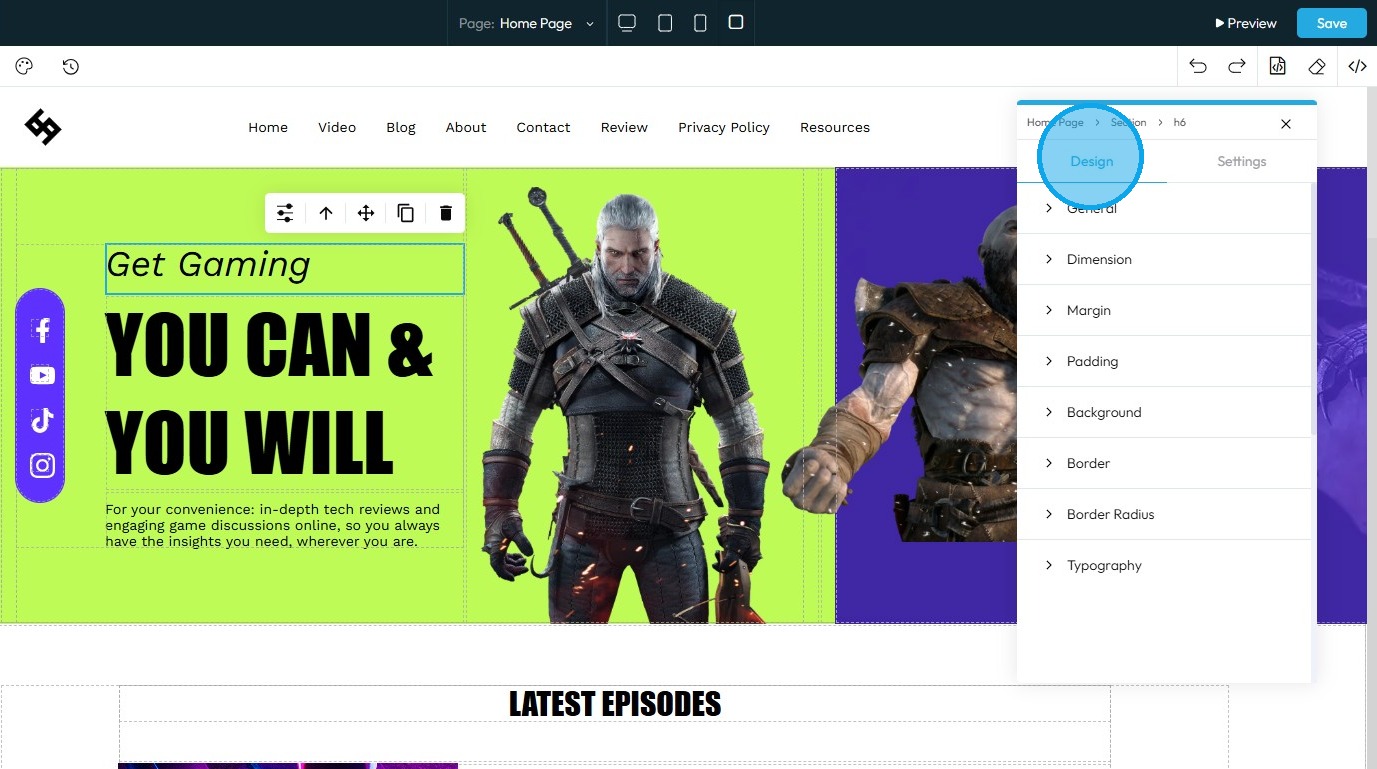
3. Click on the "Text" section you want to customize.
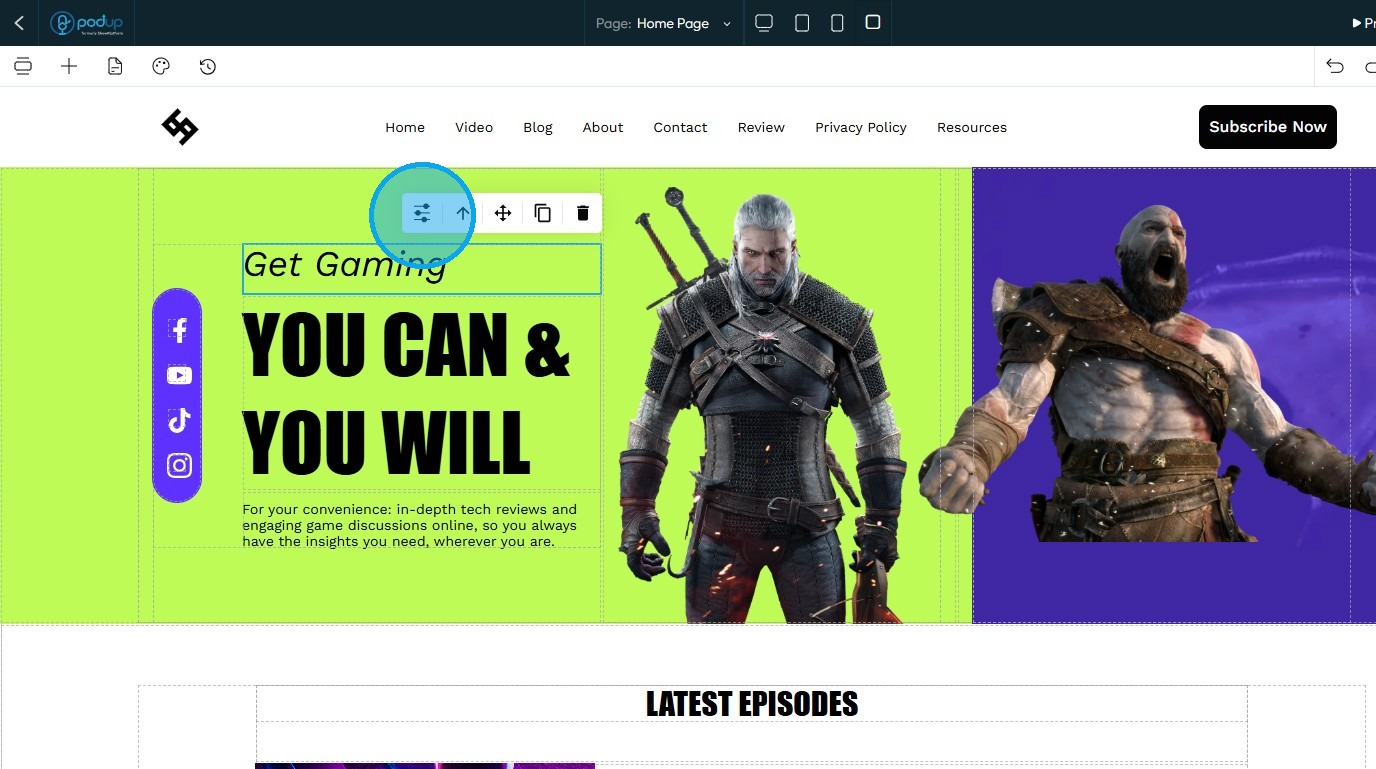
4. Once the block is selected, click on the "Customize" icon
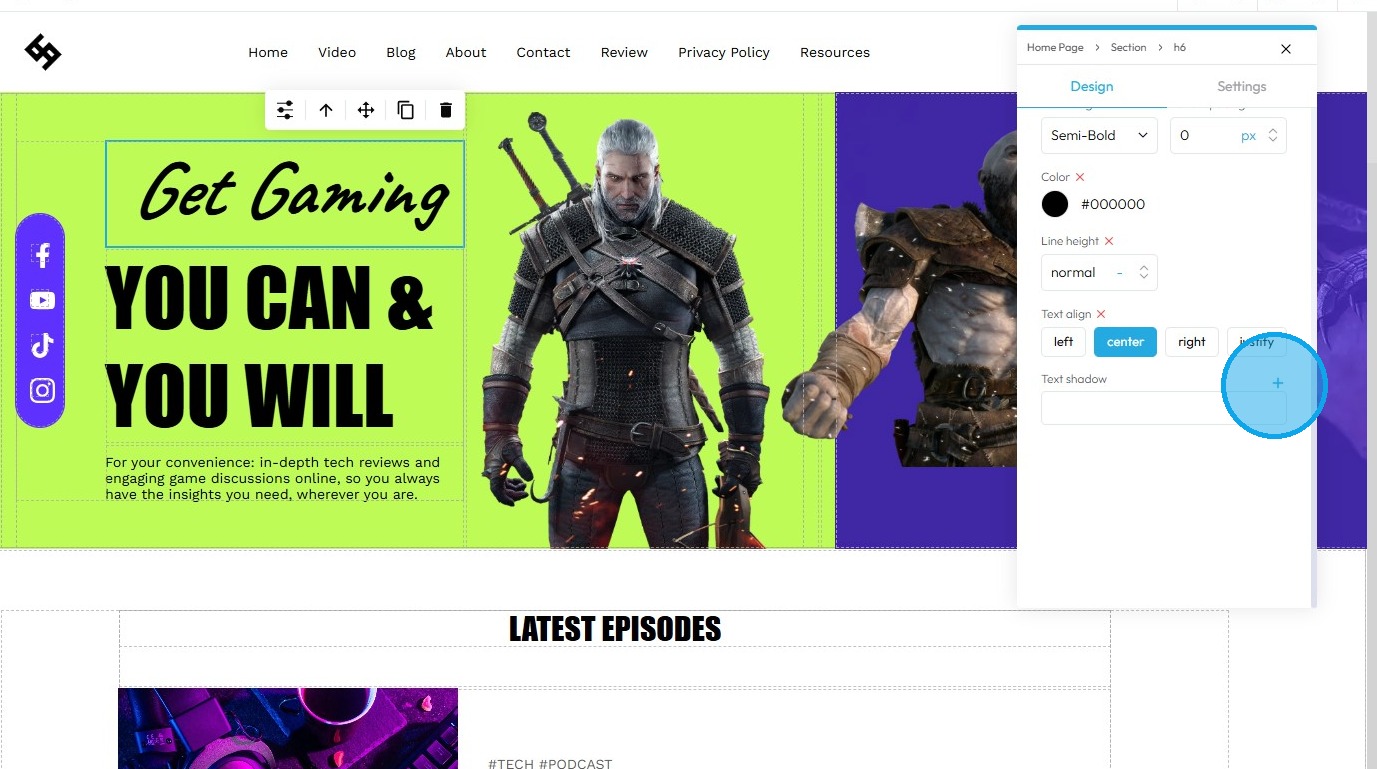
5. Click "Design"
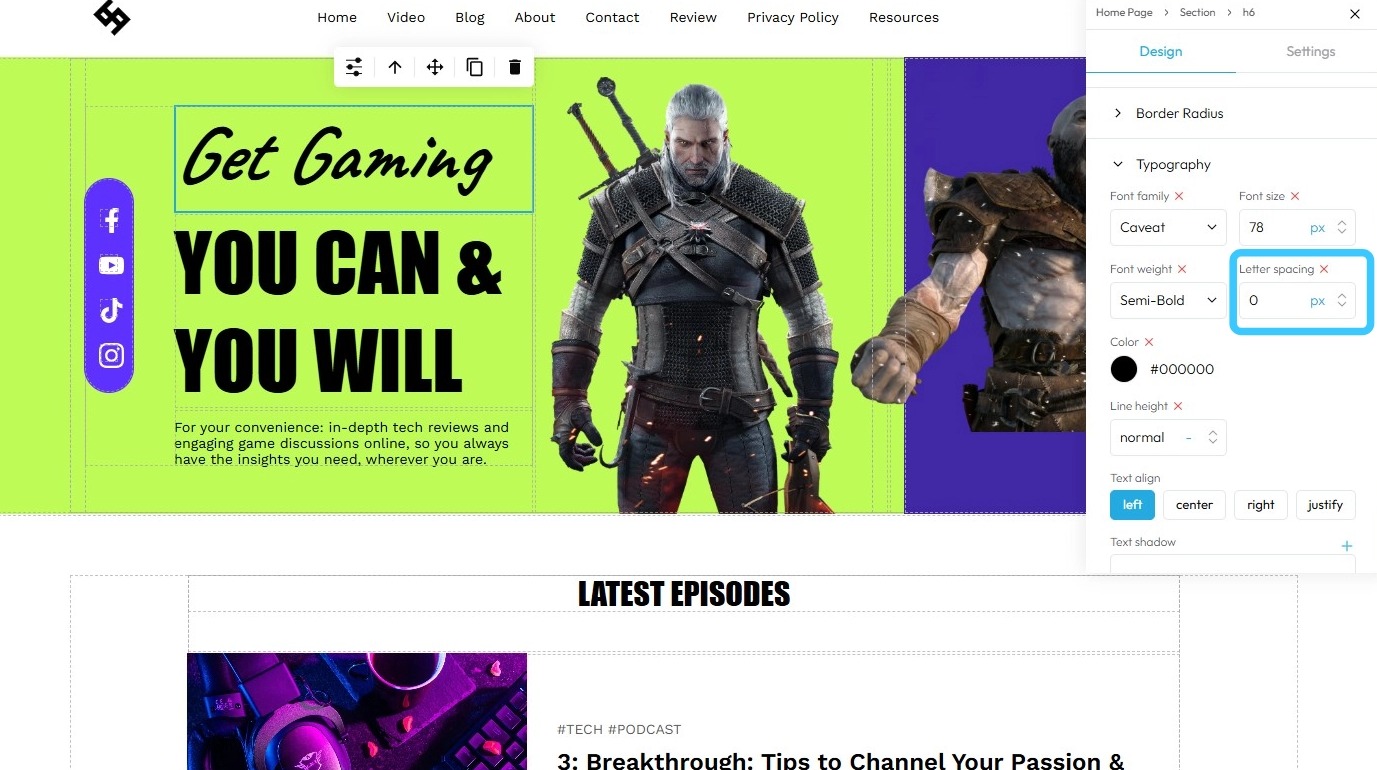
6. And click on "Typography"

7. Under "Typography" you can choose:
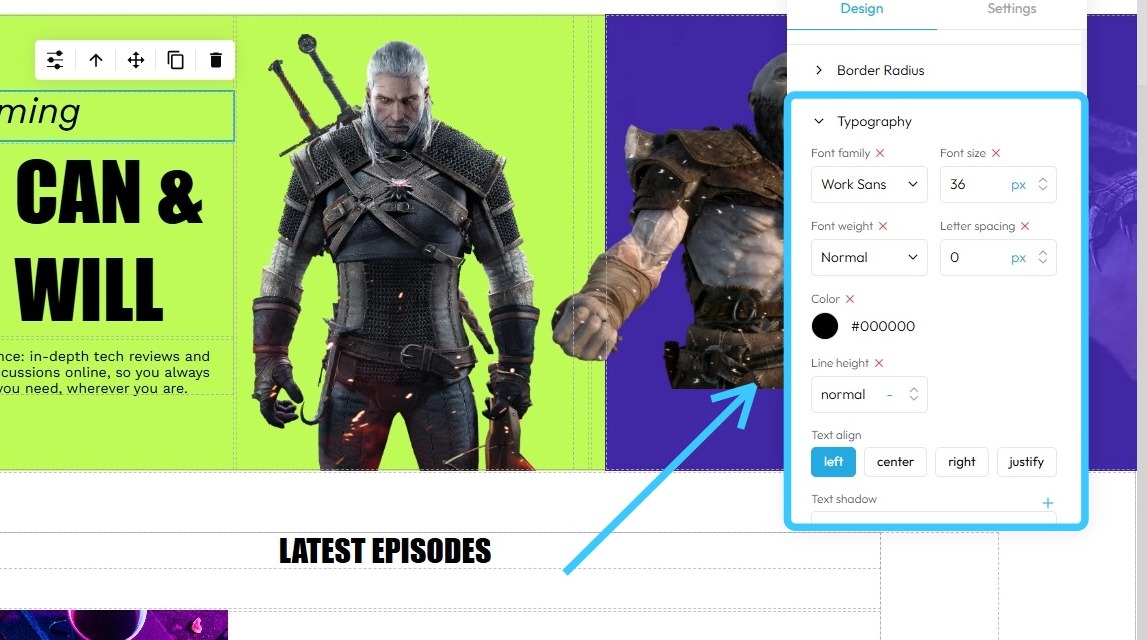
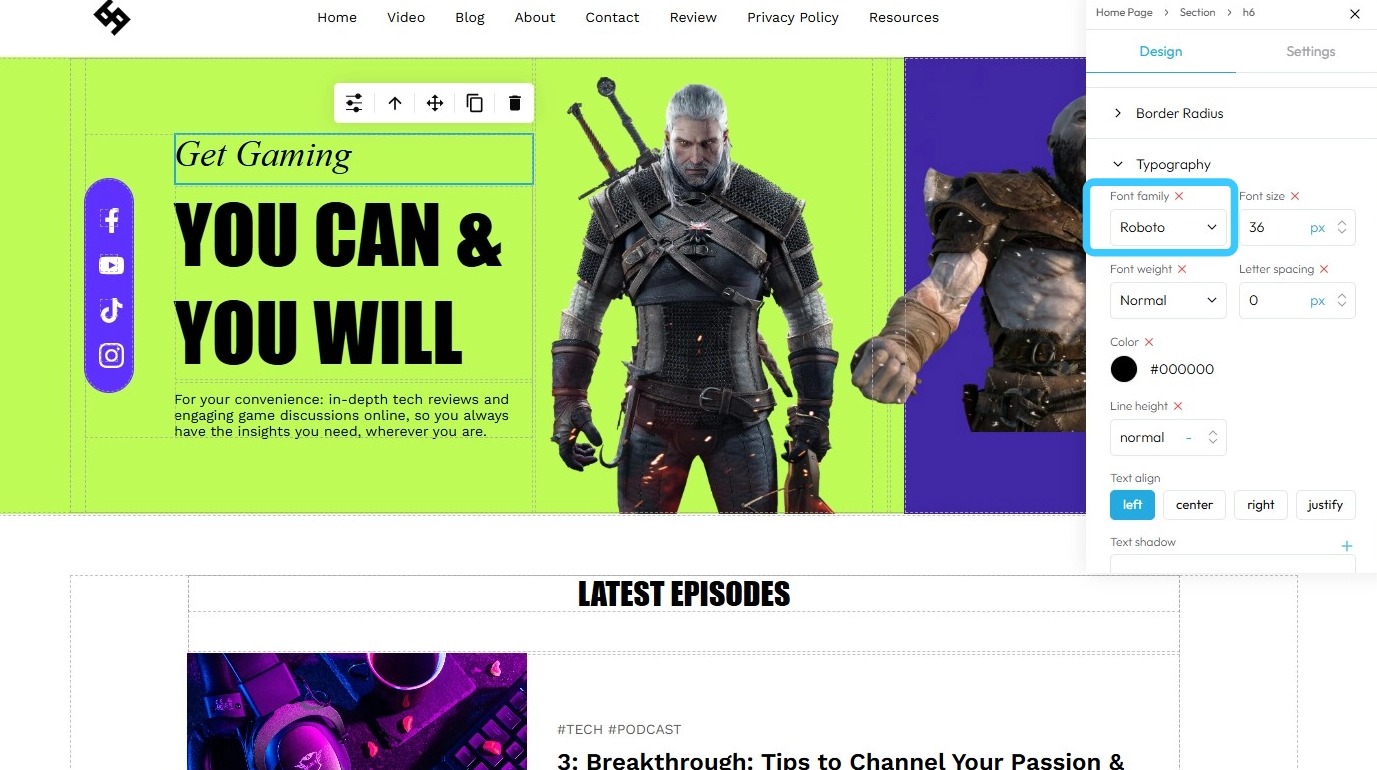
8. - Font Family: Select the typeface or style of the text (e.g., Arial, Times New Roman, Roboto)
9. - Font Size: Set the size of the text, usually in units like pixels (px), ems, or points (pt)

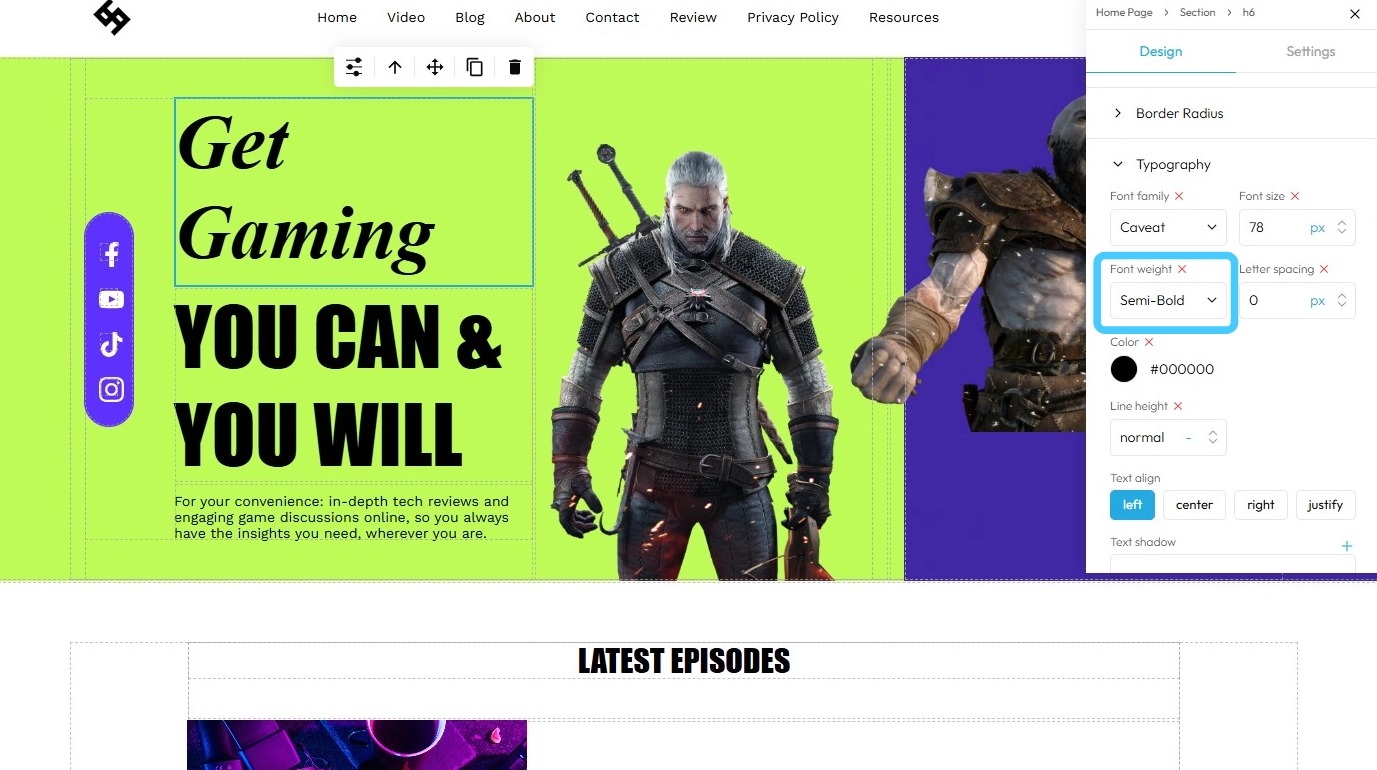
10. - Font Weight: Control the thickness of the characters (e.g., normal, bold, light, etc.)
11. - Letter Spacing: Adjust the space between individual characters (also called tracking)
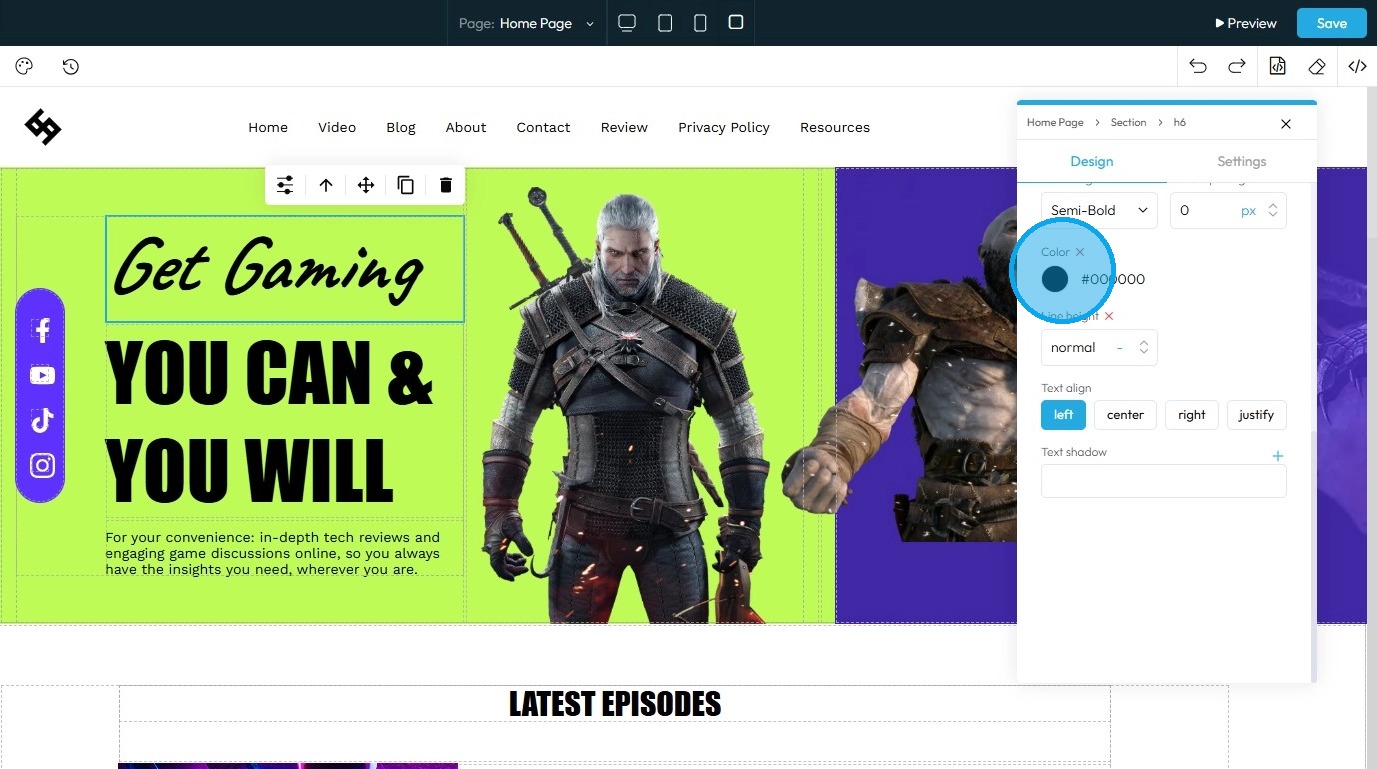
12. - Color: Choose the color of the text, often represented by color codes or pickers
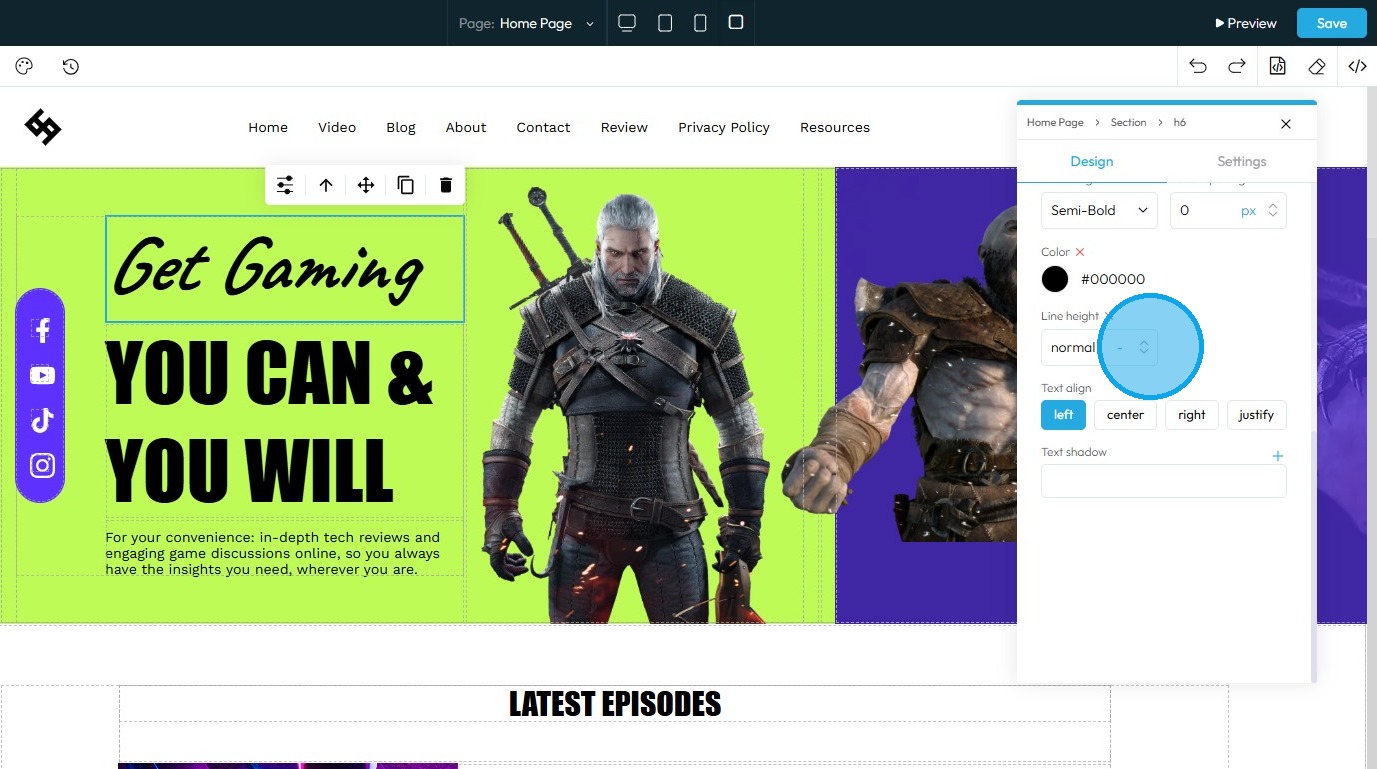
13. - Line Weight: This commonly refers to line height or line spacing, determining the vertical space between lines of text
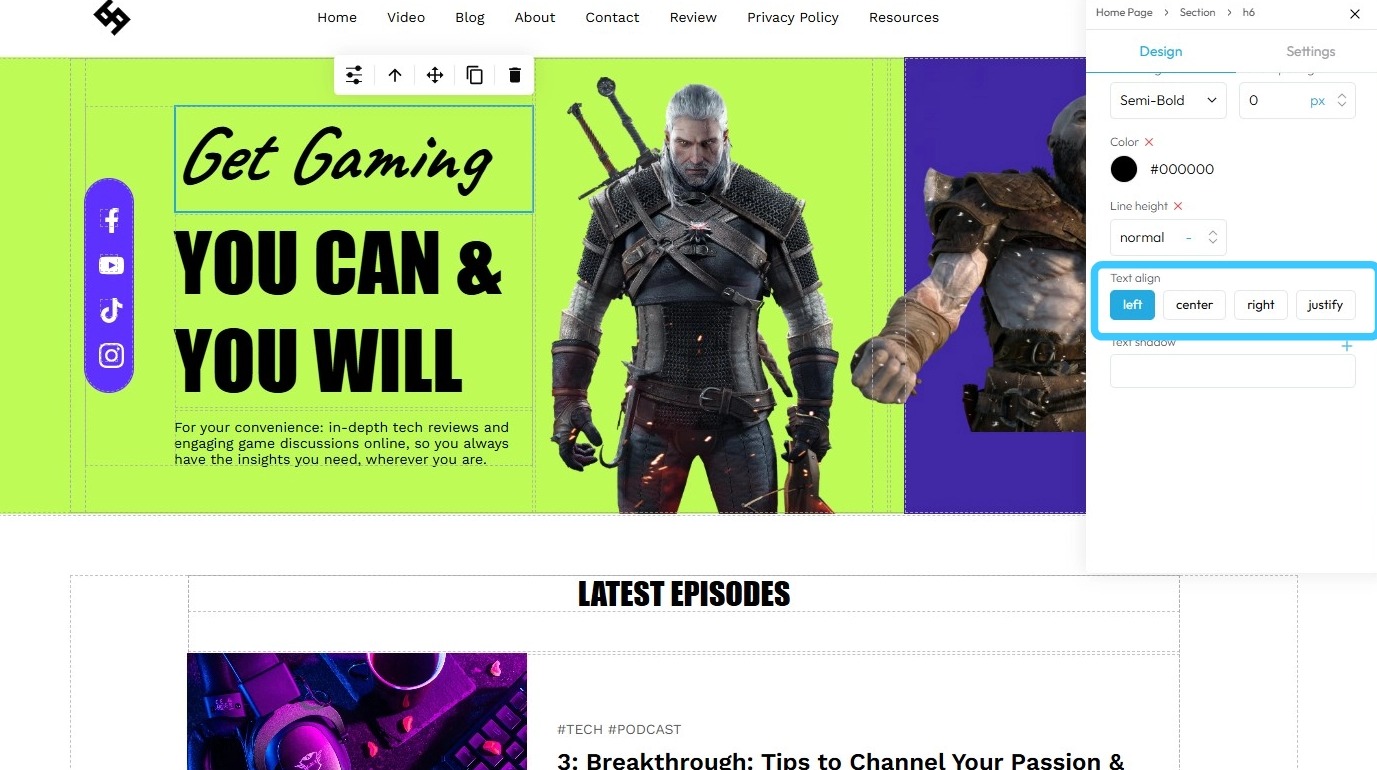
14. - Text Align: The alignment of the text block (e.g., left, center, right, justified)
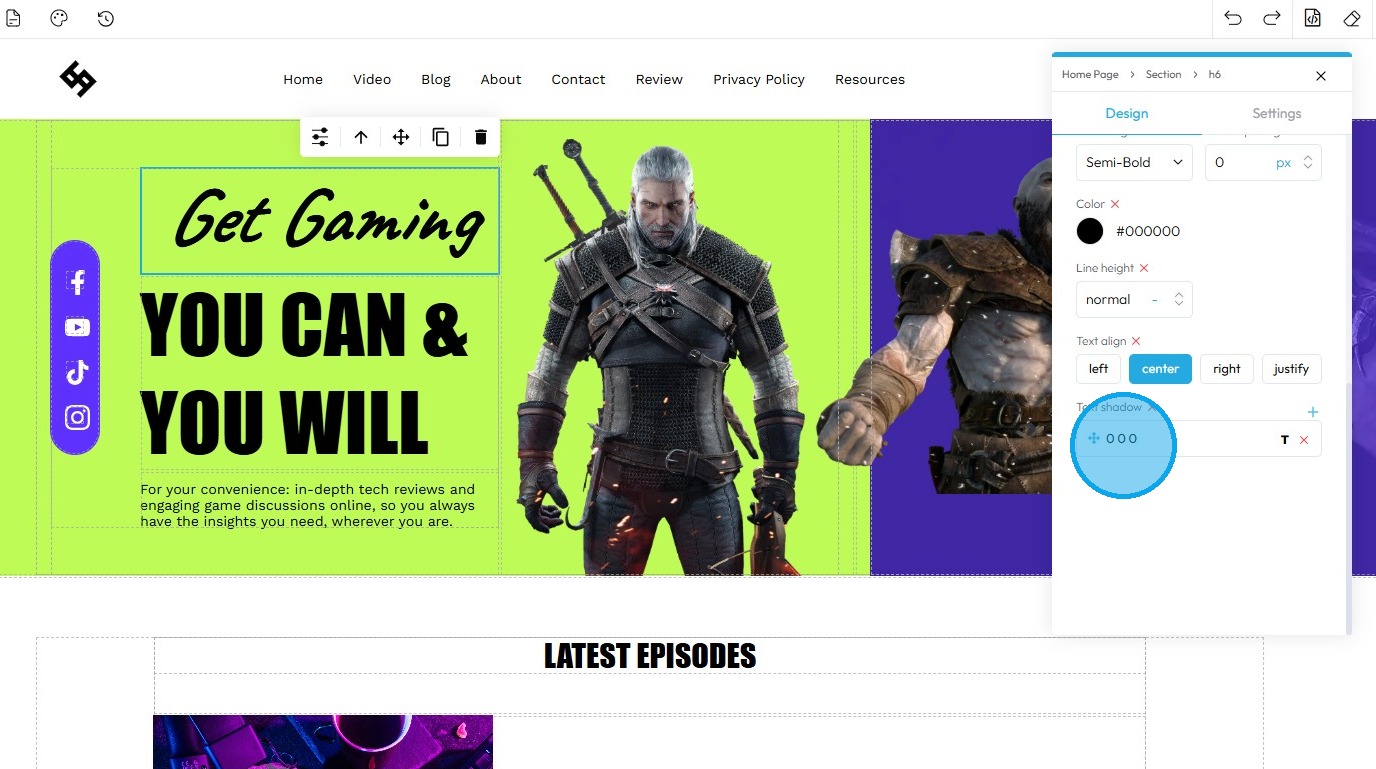
15. - Text Shadow: Add shadow effects to the text, including parameters like shadow color, blur, and offset. Click on the "+" to add the shadow
16. Click "0 0 0" to load up shadow options
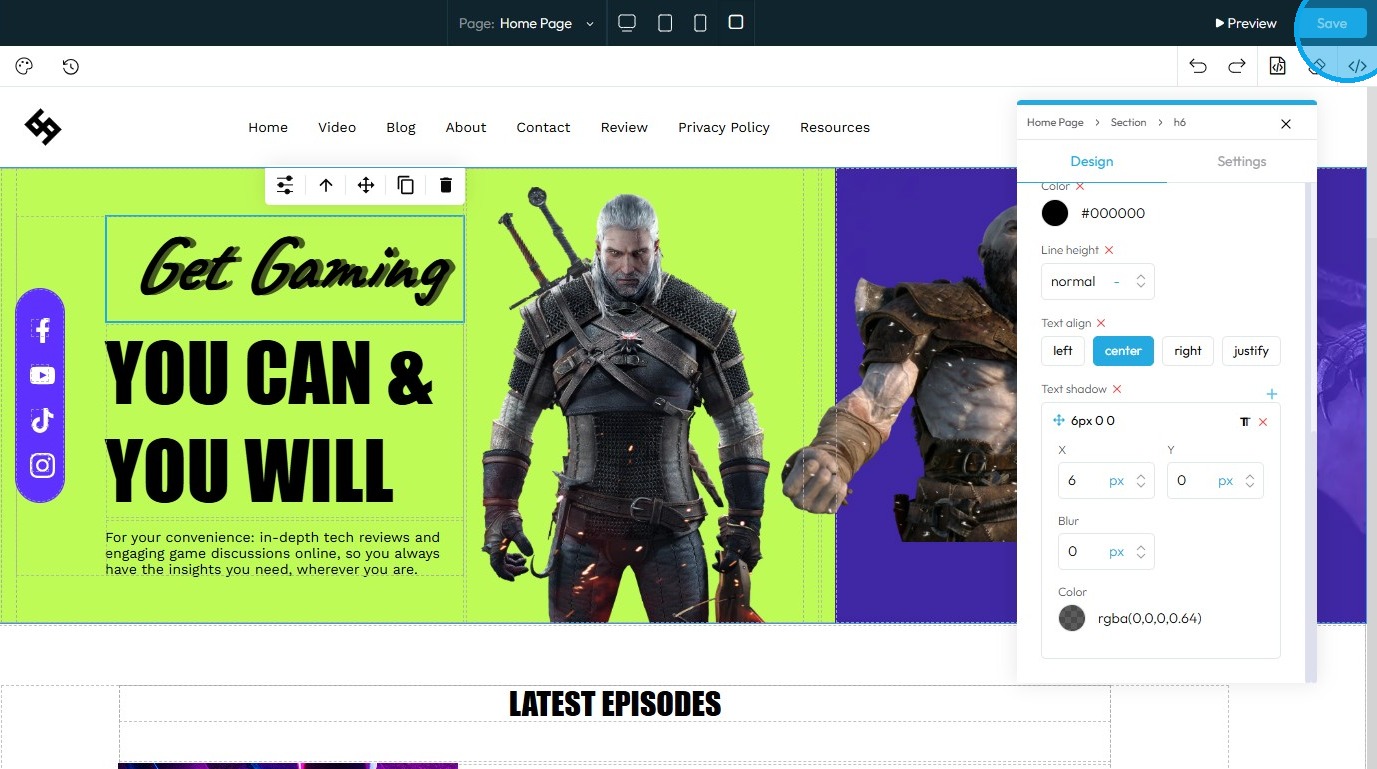
17. - X value: Controls the shadow's horizontal displacement. A positive value moves the shadow to the right; a negative value moves it to the left.
- Y value: Controls the shadow's vertical displacement. A positive value moves the shadow down; a negative value moves it up.
- Blur: Sets the strength or softness of the shadow's edges. A higher blur value makes the shadow more diffused and less sharp; a blur value of zero creates a hard-edged shadow.
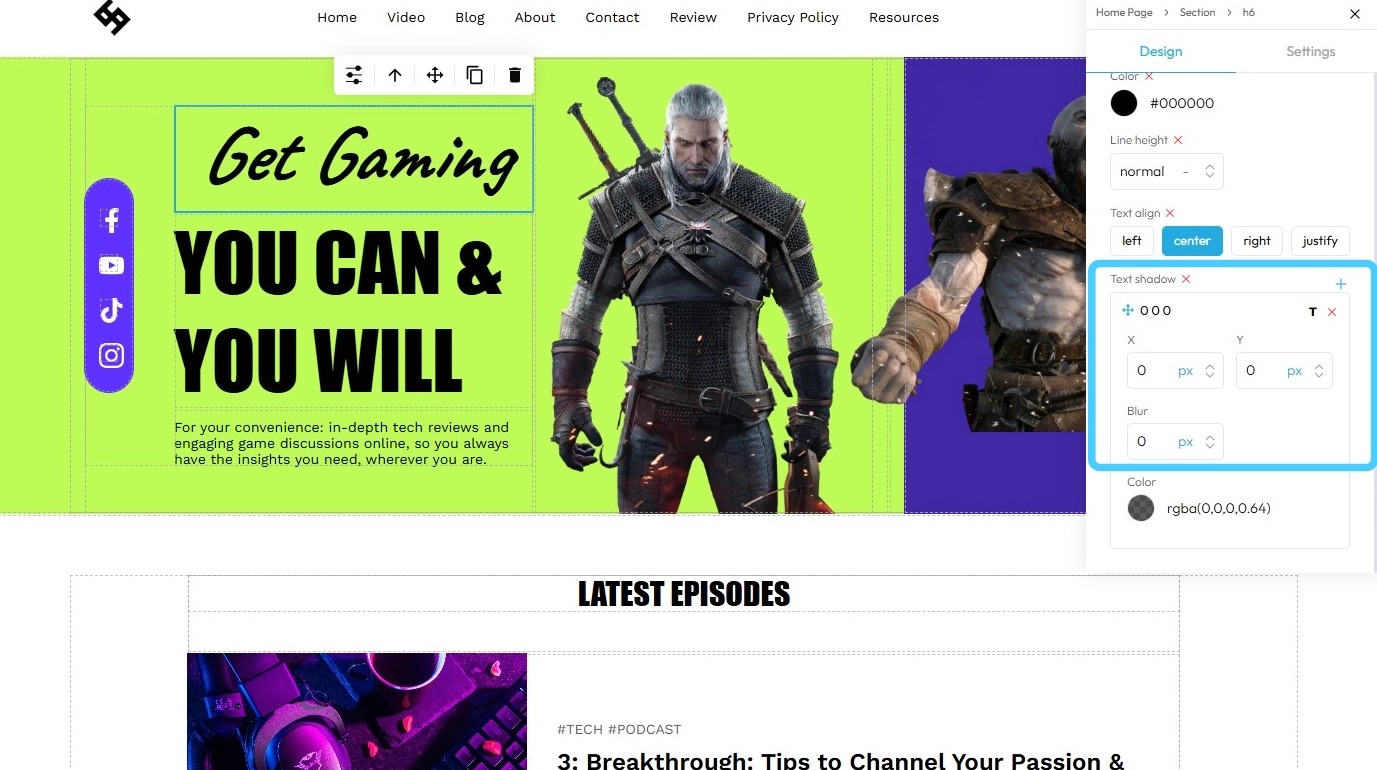
18. Click "Color" to set a custom color for the shadow

19. Select the color of your choice

20. You can change the "Opacity" of the shadow by adjusting the slider

21. Click "Ok" to keep the changes

22. Click "Save" to keep the changes saved on the website
Related Articles
How to Make A Custom Palette
This guide offers a straightforward method for creating a custom color palette for your logo, enhancing your site’s visual appeal. By following these simple steps, you can easily select and adjust colors directly from your logo, ensuring a cohesive ...How to Assign Custom role in Podup
By following this guide, you can create custom roles in PodUp to optimize team structure and assign appropriate permissions for effective task management. 1. Navigate to https://app.podup.com/home 2. Click "Start" 3. Click "My Team" 4. Click "Add ...How to disconnect your custom domain
This guide shows you how to unlink your custom domain from PodUp 1. Navigate to https://app.podup.com/home 2. Click "My Domain" in the Favorite Tools section. 3. The "My Domain" page will be displayed 4. Click the three-dot menu next to your custom ...Create a Custom Newsletter Template in Podup
By following this guide, you can easily create a custom newsletter template in PodUp that reflects your brand and enhances audience engagement. 1. Navigate to https://app.podup.com/home 2. Click "Grow" 3. Select "Email Marketing" 4. Click "Create ...How to Change the Font for All the Text on My Website
This guide shows you how to change the font for all text on your website. Follow the steps to pick a font that improves your site’s look and matches your brand. 1. Navigate to https://app.podup.com/home 2. Click "My Site" 3. Click "Site Themes" 4. ...