How to Add a Facebook Button to My Blog Post and Connect It to My Facebook Account
1. Navigate to https://app.podup.com/home
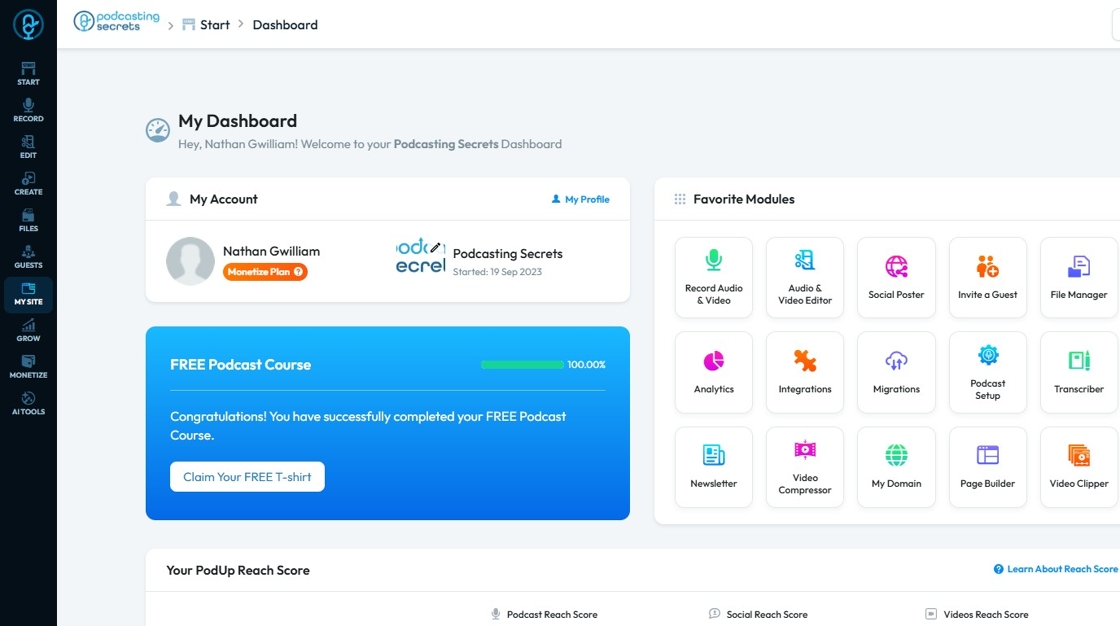
2. Click My Site.
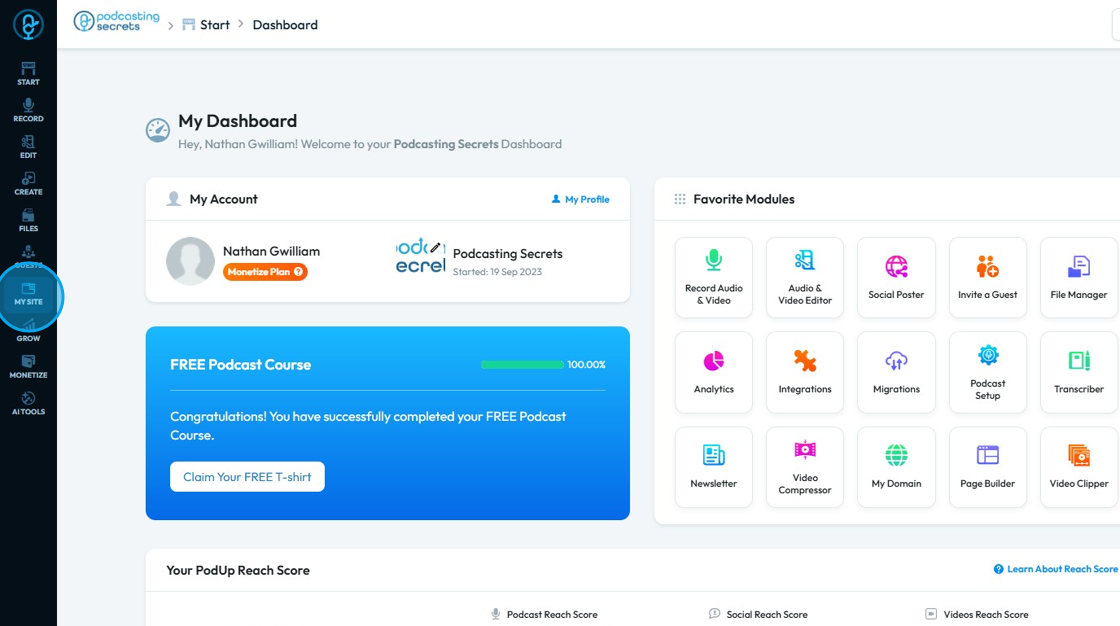
3. Select "Post Page Builder"

4. This will navigate to the "Blog Details Page"
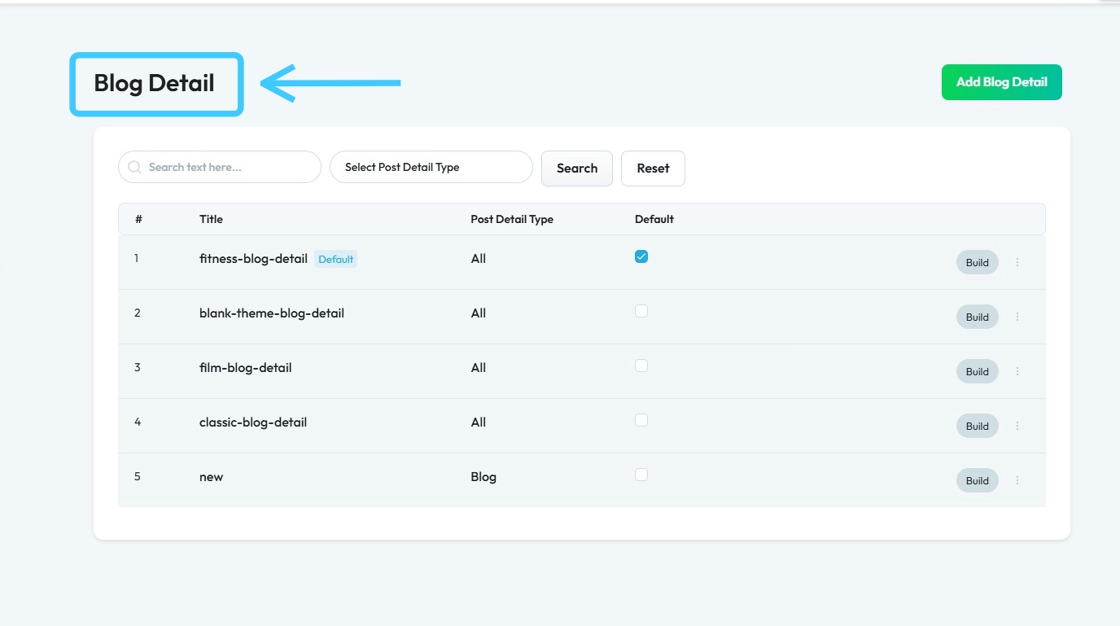
5. Select your blog page and click "Build"

6. PodUp Post Page Builder will load up. Click on the "Component" section.

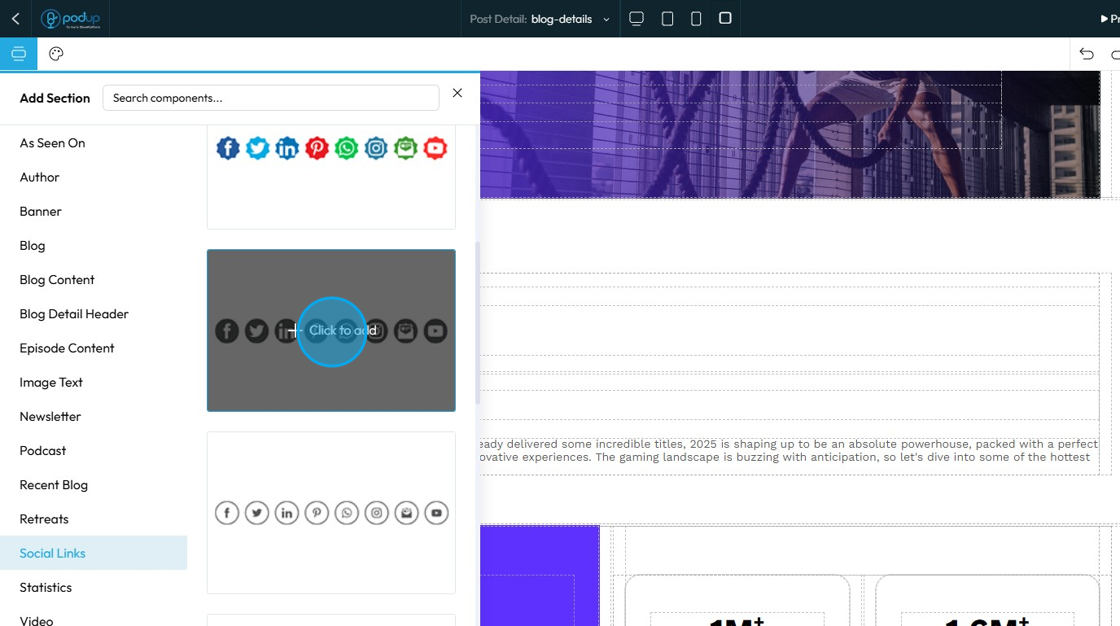
7. Select "Social Links"
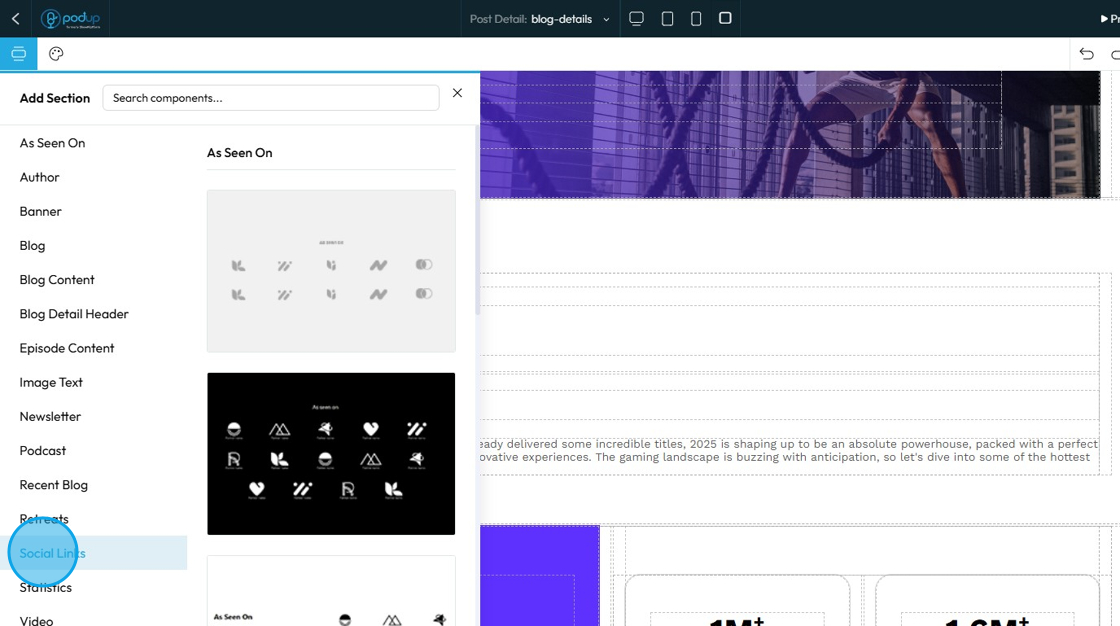
8. Drag and drop the component to your desired location, then click “Click to Add.”
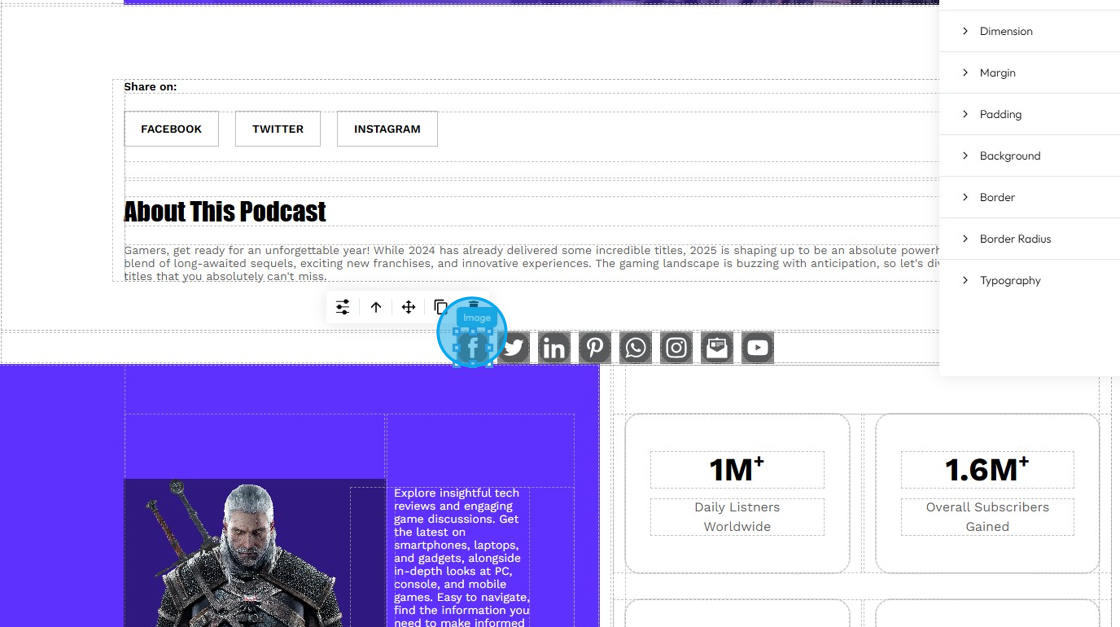
9. Social Link template will be added on the page.

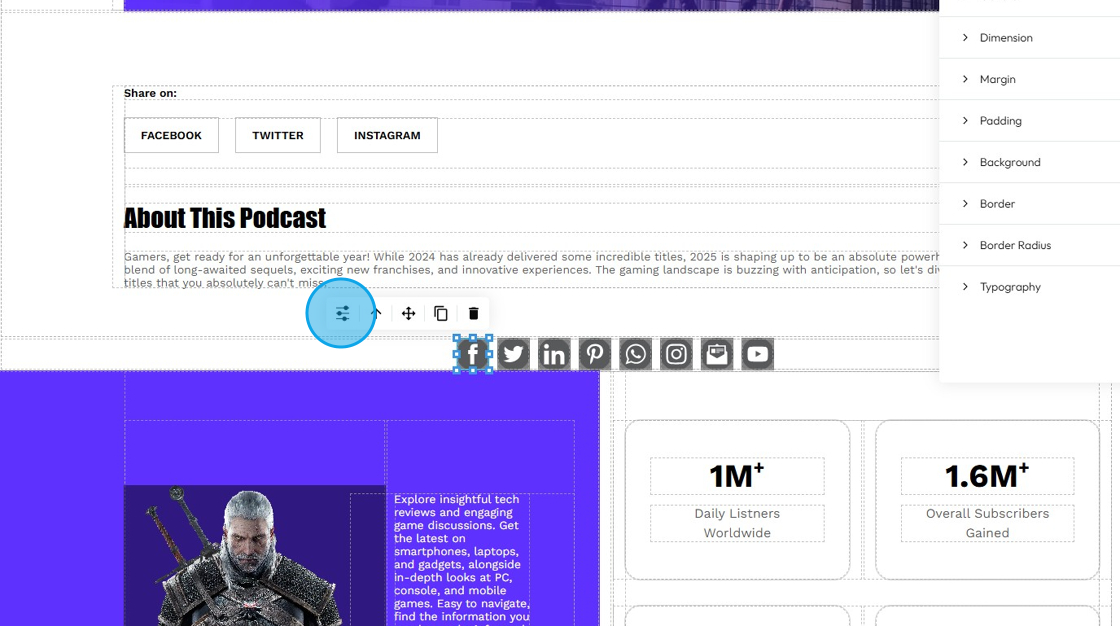
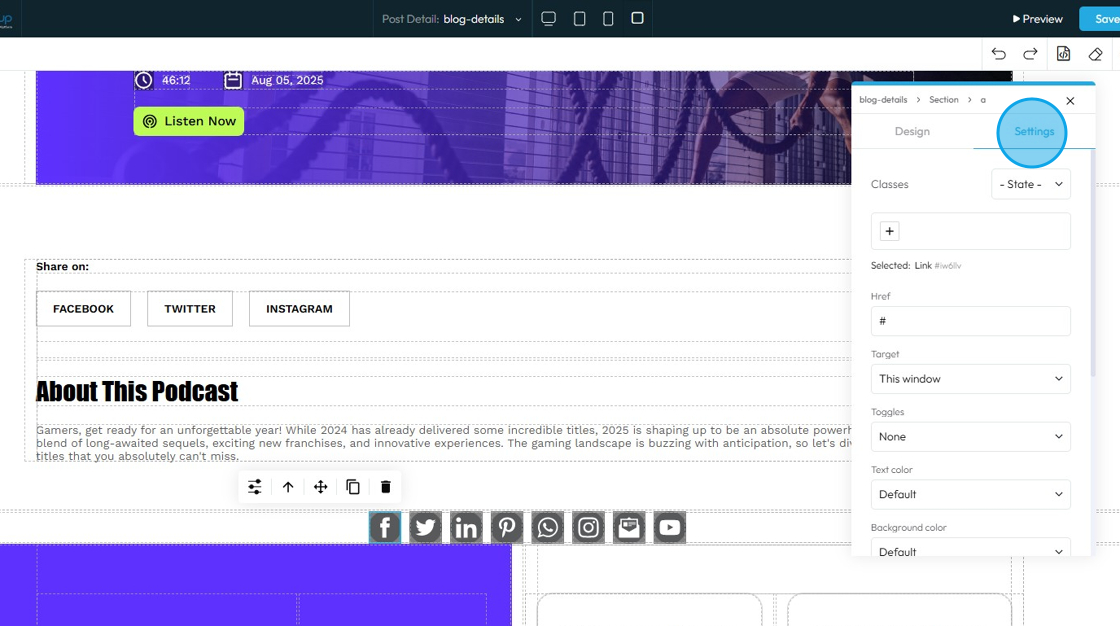
10. Click on the "Facebook"
11. Select customization.
12. Refer to “How to Format a Design Element” in the Design section, as the process is the same for all elements
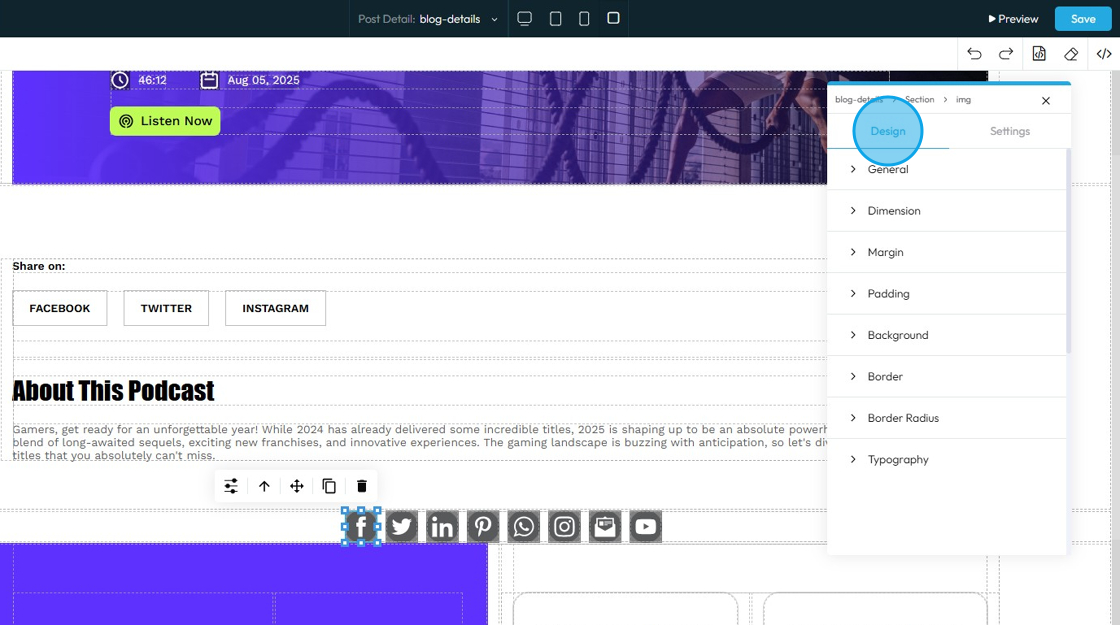
13. Click "Settings"
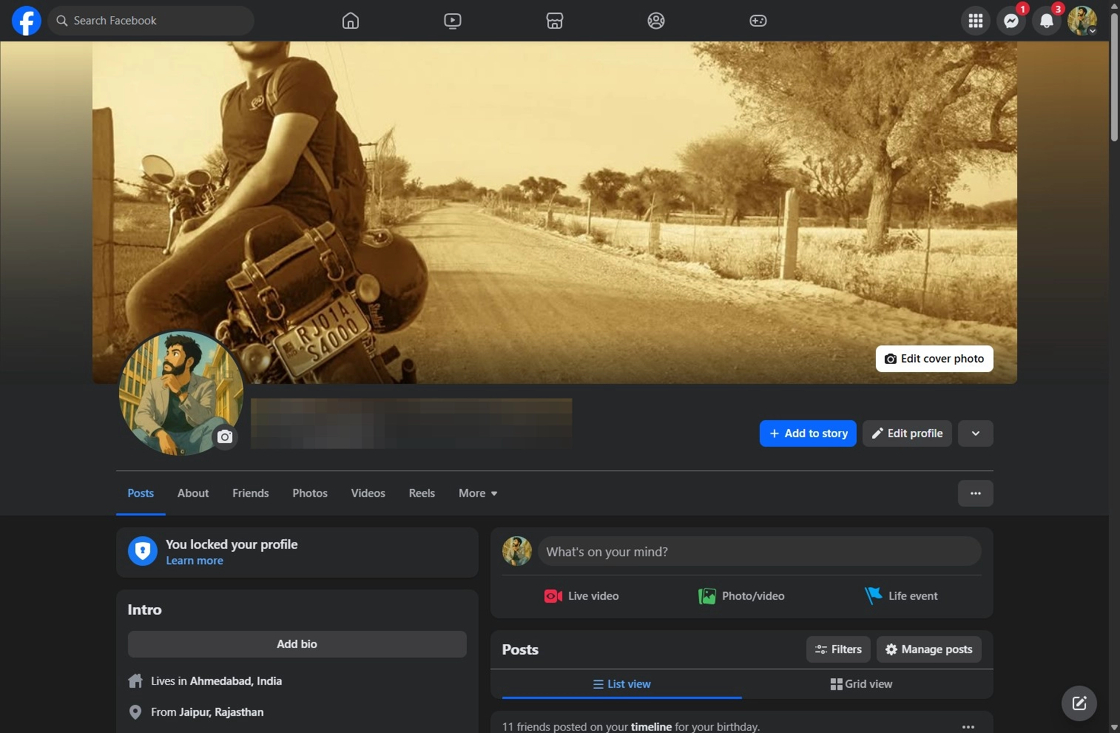
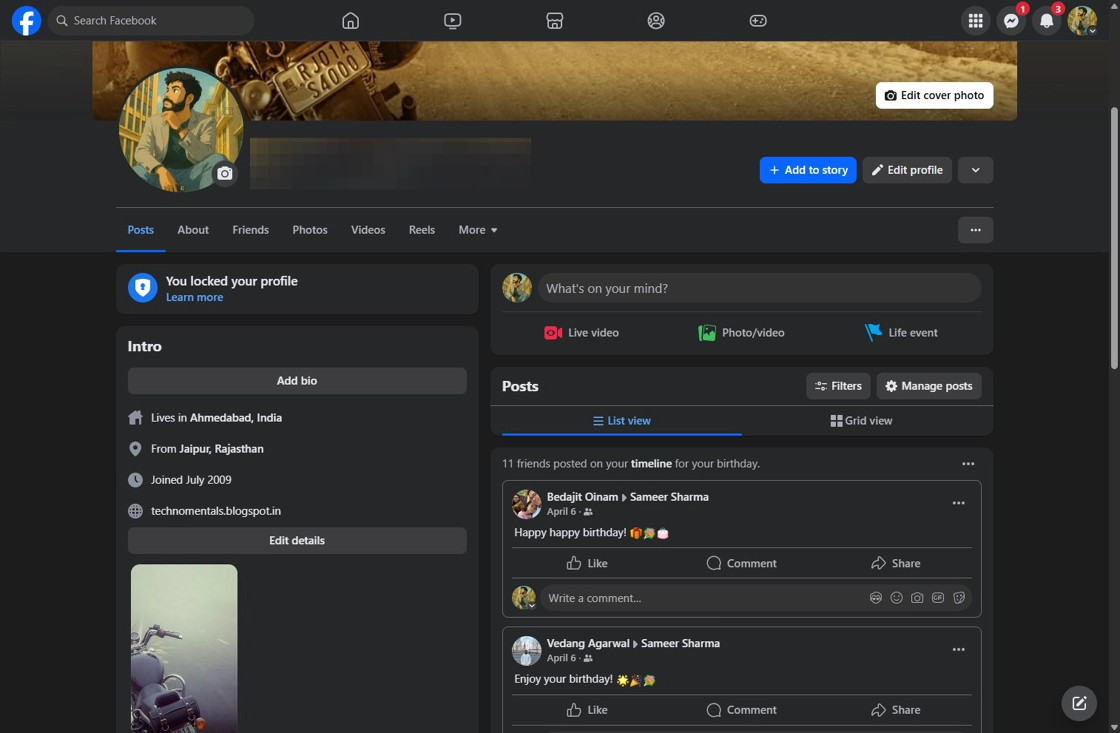
14. Go to your Facebook profile and copy the page URL
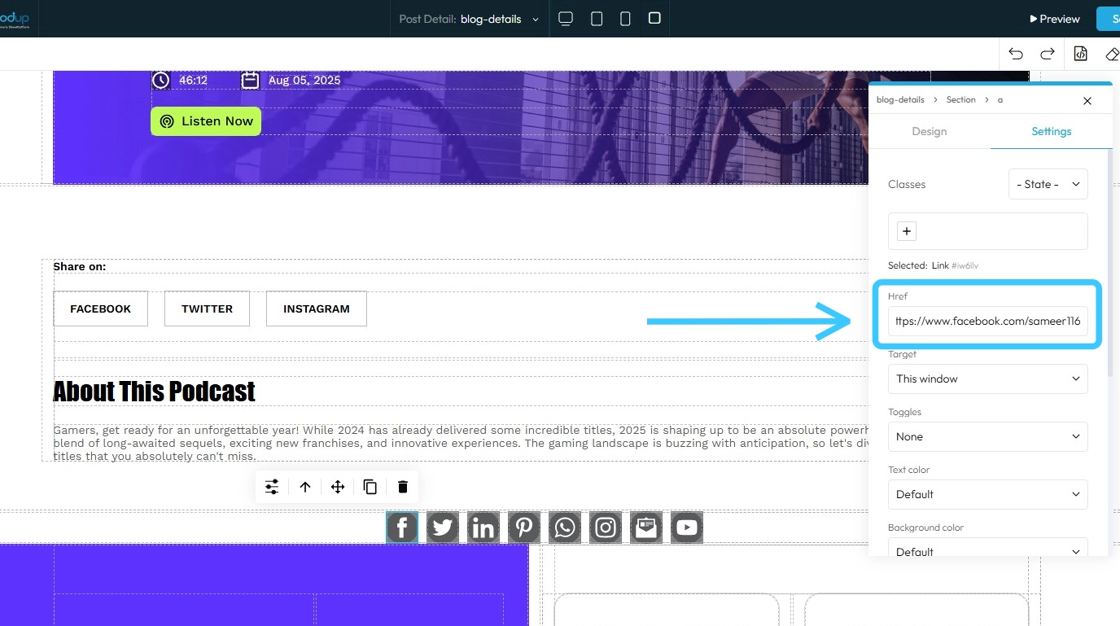
15. Return to the PodUp Post Page builder

16. Paste the copied URL into the Href field
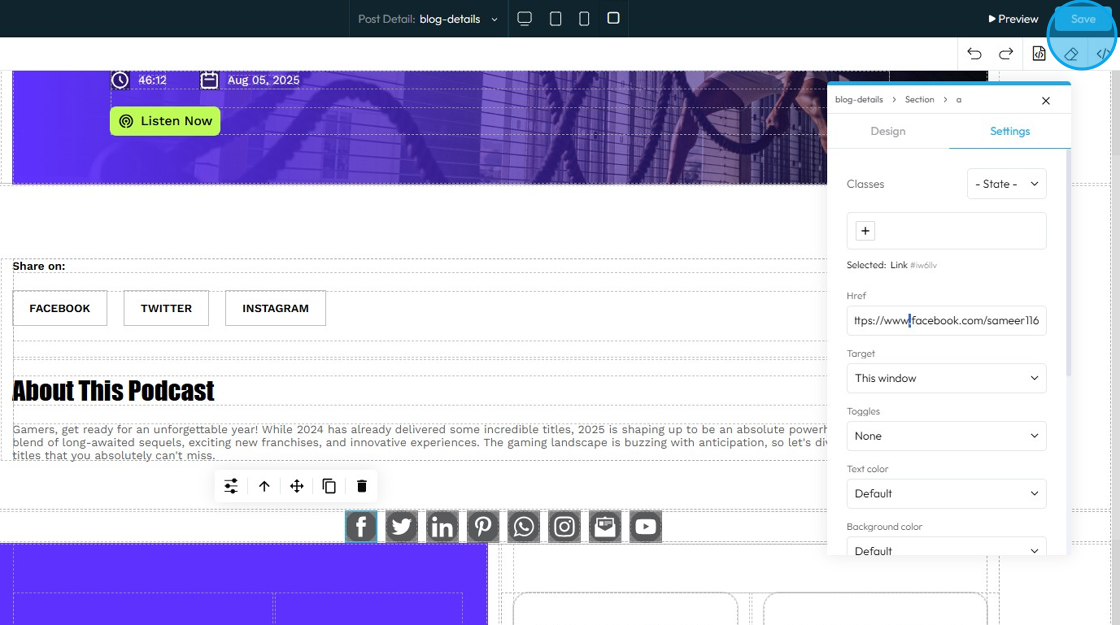
17. Scroll up and click “Save” on the right side
18. Go to your Blog Page and click the Facebook icon
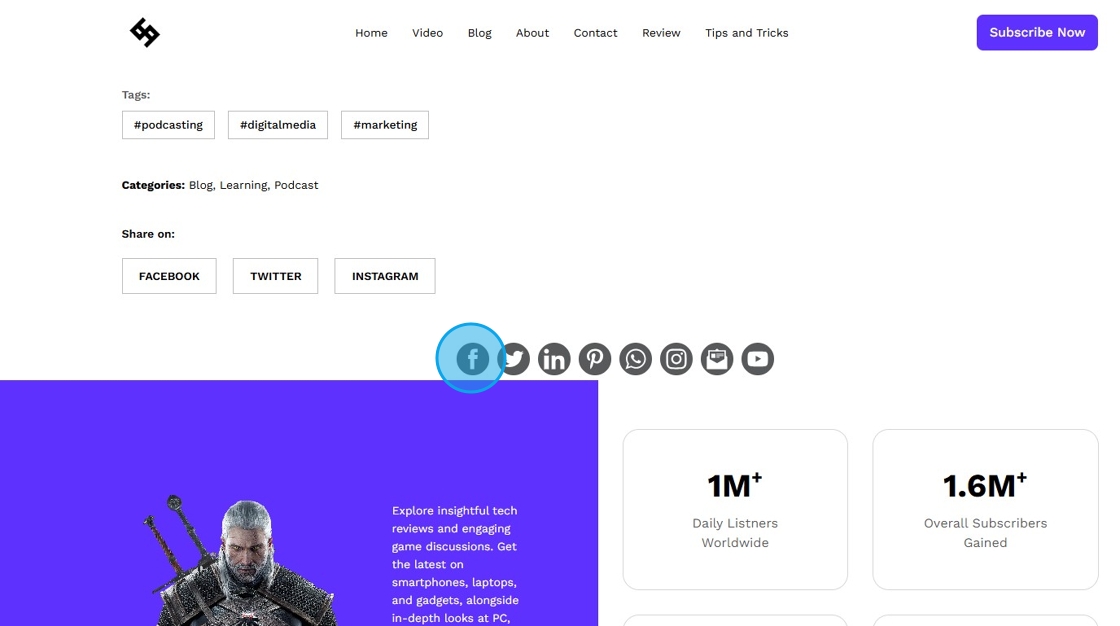
19. It will redirect you to the Facebook URL you copied
Related Articles
How to Add a Facebook Button to My Podcast Page and Connect It to My Facebook Account
By following this guide, you can seamlessly connect your podcast to your Facebook account, allowing listeners to easily access your social media presence. 1. Navigate to https://app.podup.com/home 2. Click "My Site" 3. Select "Post Page Builder" 4. ...How to Add a Facebook Button to My Video Page and Connect It to My Facebook Account
By following this guide, you can easily link your Facebook account, allowing viewers to engage with your social media directly from your video page. 1. Navigate to https://app.podup.com/home 2. Click "My Site" 3. Select "Post Page Builder" 4. The ...How to Add a YouTube Button to My Blog Post and Connect It to My YouTube Account
By following this guide, you can easily customize the button's appearance and link it directly to your YouTube account. 1. Navigate to https://app.podup.com/home 2. Click "My Site". 3. Click "Post Page Builder" 4. The "Blog Details" page will open up ...How to Add A Linkedin Button to My Blog Post and Connect It to My Linkedin Account
By following this guide, you can easily link your blog to your LinkedIn account, allowing readers to engage with your professional profile. 1. Navigate to https://app.podup.com/home 2. Click "My Site". 3. Select "Post Page Builder" 4. The "Blog ...How to Add a Instagram Button to My Blog Post and Connect It to My Instagram Account
By following this guide, you can easily customize and link your Instagram profile, making it accessible to your readers. 1. Navigate to https://app.podup.com/home 2. Click "My Site" 3. Select "Post Page Builder" 4. The "Blog Details" page will open ...