How to Manually Add My Domain Name to My Name Using DNS
This guide shows you how to manually add your domain to your podcast site. It includes step-by-step help with DNS settings and keeping your site private while you build. Follow these steps to set up a professional site and make it easier for listeners to find you when you launch.
1. Navigate to https://app.podup.com/home
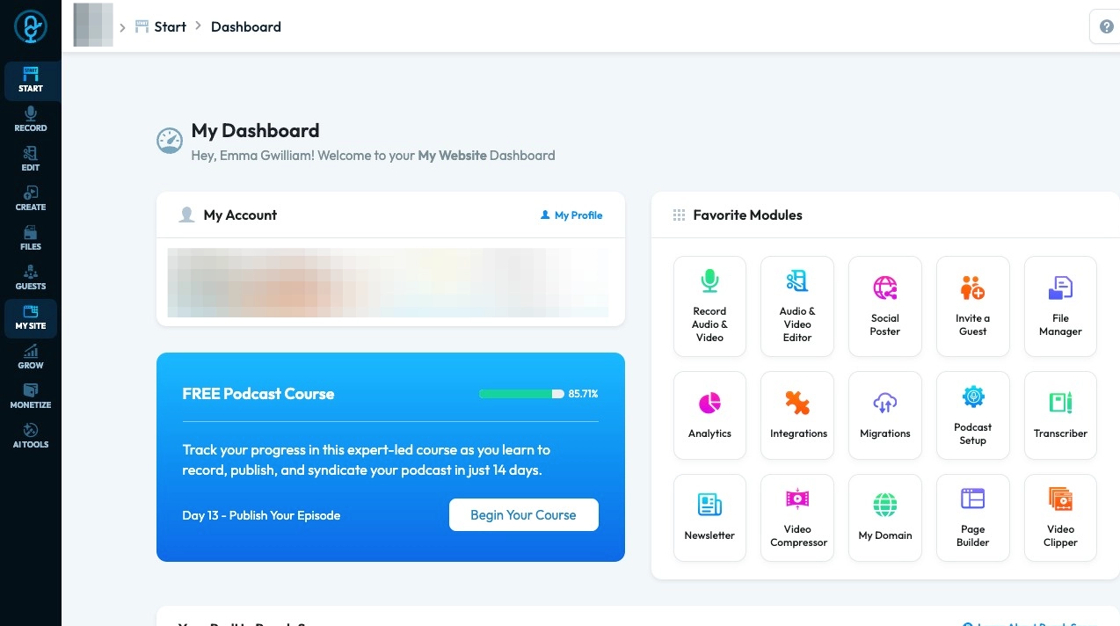
2. Click here.
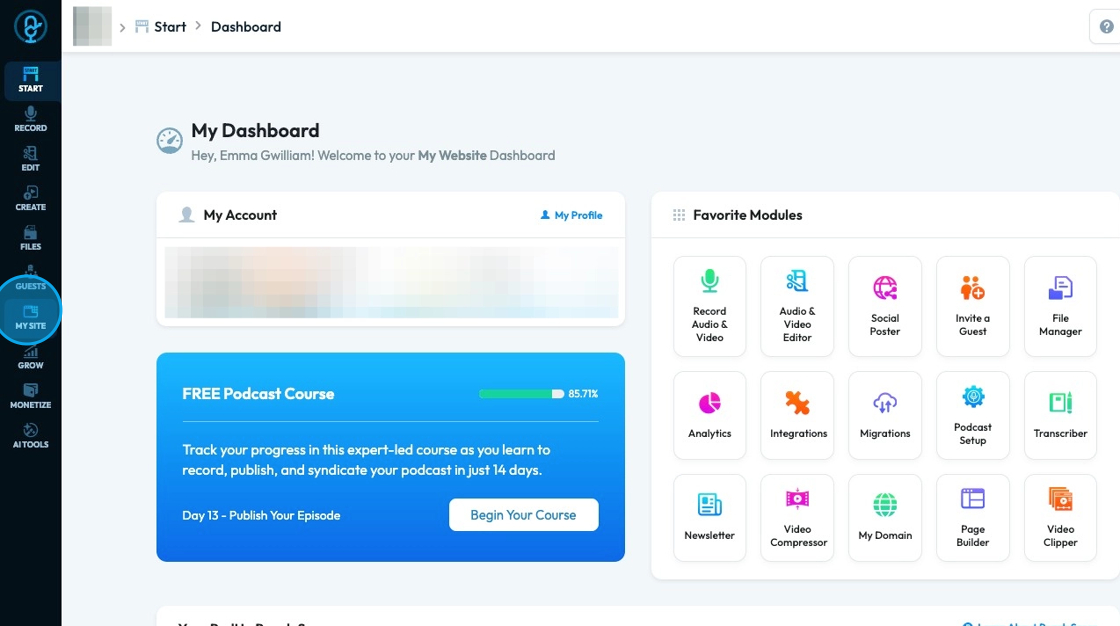
3. Click "My Domain"

4. Click "Add Domain"
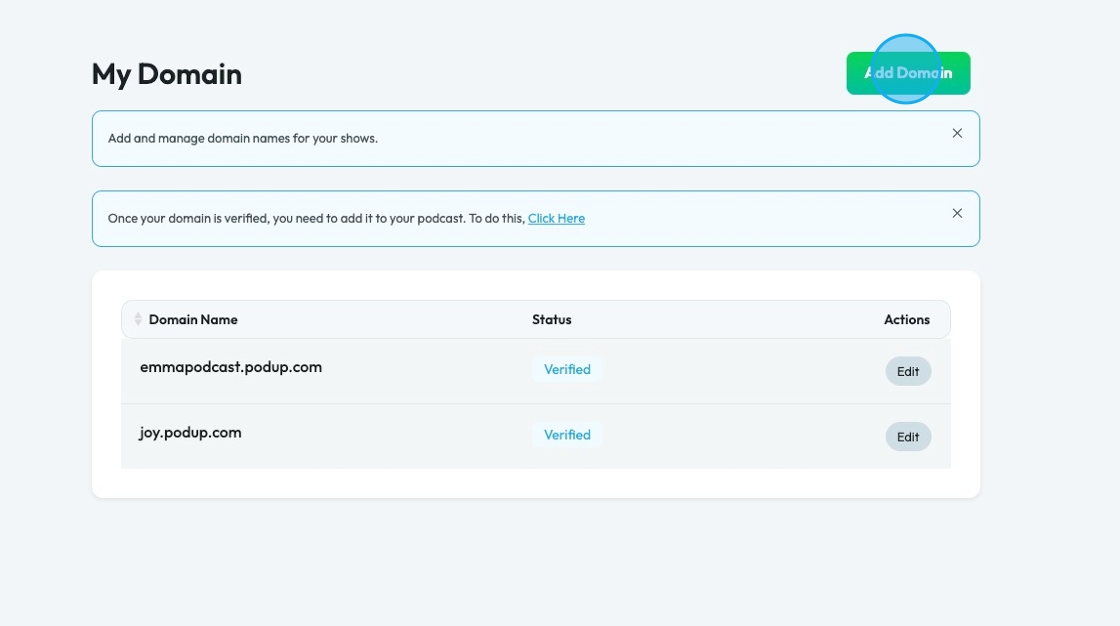
5. Click the "Domain Name" field and enter the name of your podcast

6. Click "Discourage search engines from indexing this site" to ensure that search engines like Google won't go searching your site.
- This is helpful when you are building a website and don't want people to check it out
- Once you have finished building your site, uncheck this box
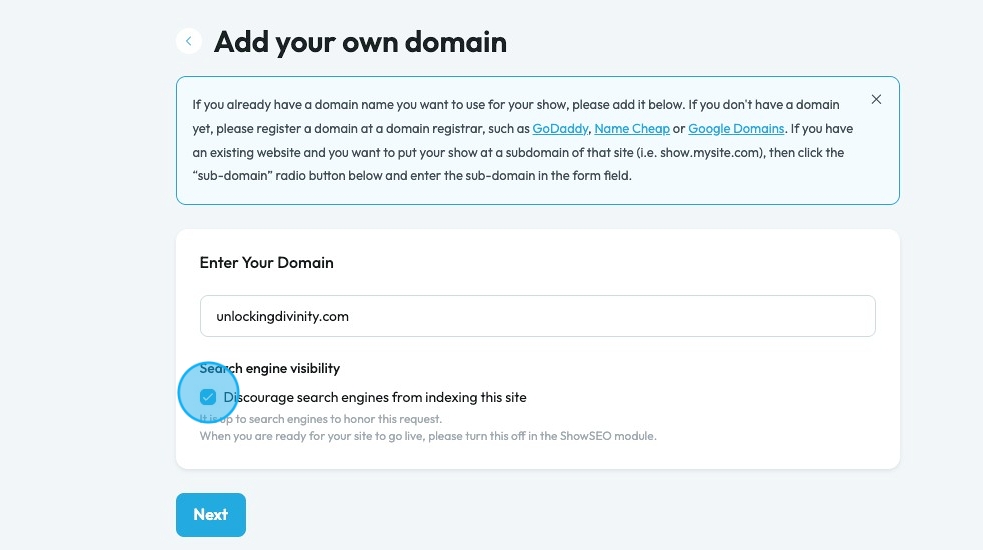
7. Click "Next"
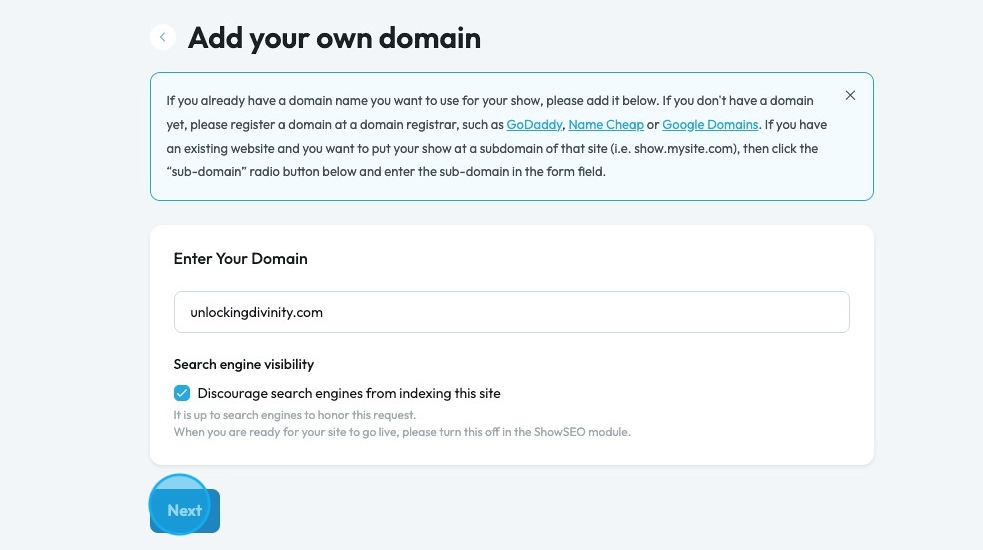
8. Click "Clicking here" to manually set up your domain

9. Log into your DNS provider and find the DNS records. Insert them into their respective lines here.

10. Click "Next" to continue on to the next page

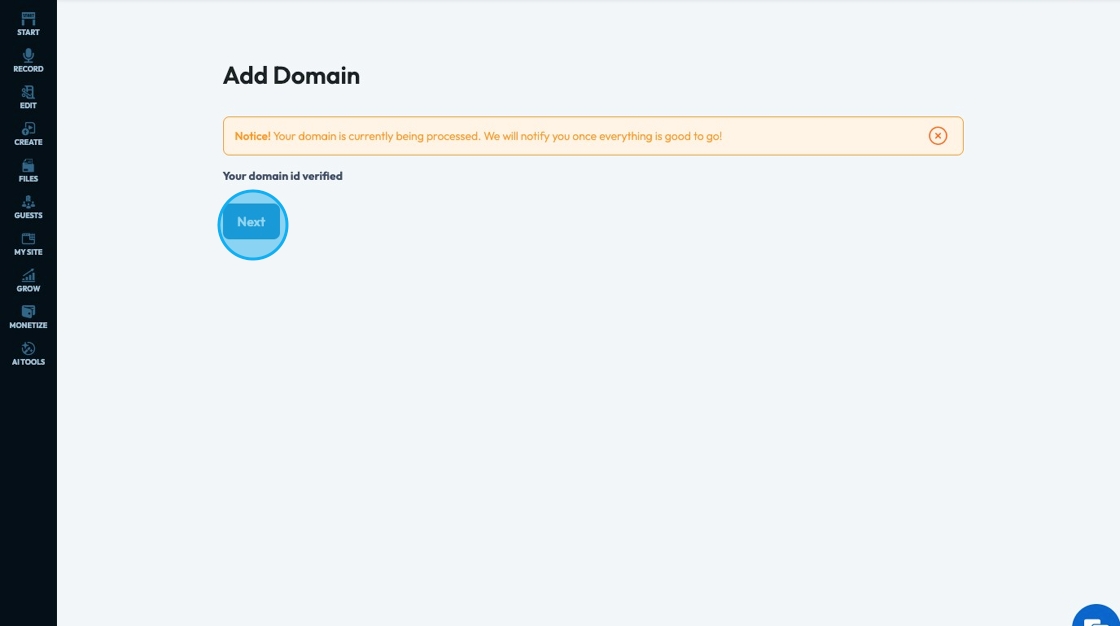
11. A confirmation page will appear letting you know that your domain is now being processed, click "Next" to move to the next page
12. Click "SELECT..." to access a drop-down menu of show options which will start the connection of your show to this domain name

13. Click "Save" to keep the added show

14. The domain will then be listed with your other domains

Tip: Tip! It will take up to 24 hours for the domain to be verified